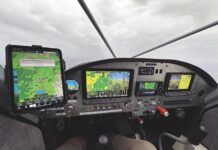
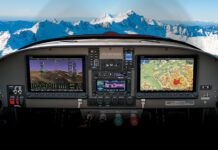
Maybe it’s just me, but it may be some of you too: Your plane is completed and flying, but deep down you know it’s not really finished and probably never will be. It took 10…uh…I mean seven years for my wife Mary and me to earn the coveted “pink slip.” By using a tortured logic that subtracts a long military deployment and a Master of Science degree, our 10-year build time gets reduced to seven building years (You’re welcome, all you long-time builders out there!). The effort was worth it, and every time I roll Shadowfax out of the hangar, the grin reappears. In 2016, we won Reserve Grand Champion for kitbuilt aircraft at Oshkosh, so you would think I could leave well enough alone. Nope!
When I originally ordered my avionics from SteinAir, Inc. in 2013, I chose two Garmin GDU 370 portrait displays. The 7-inch portrait display planform works exceptionally well in the limited panel space in my RV-8. Over the next several years, Garmin released several new display sizes with touchscreen interface, all in landscape orientation. Don’t get me wrong, my original displays have more capability than I use on most flights, but I will admit I had display envy. I wanted all the features of the new displays, including touch interface and wireless uploading of flight plans from my tablet directly into my avionics, and I wanted it in a 7-inch portrait planform. In May 2017, Garmin announced that they would release an upgraded 7-inch portrait display with touch interface…gulp…time to put up or shut up! Our airplane was performing flawlessly, and I fly on the Rocky Mountain Renegades Airshow team. Show season was in full swing, so did I really want to do this? Unequivocally, yes!
Jim Gray, our team leader, was concerned when I told him I was going to do a panel upgrade at the start of the airshow season. Several team members have done panel upgrades in the past, from minor changes to completely gutting their panel and starting over. It always takes longer than predicted, and airshow commitments are just that—commitments!
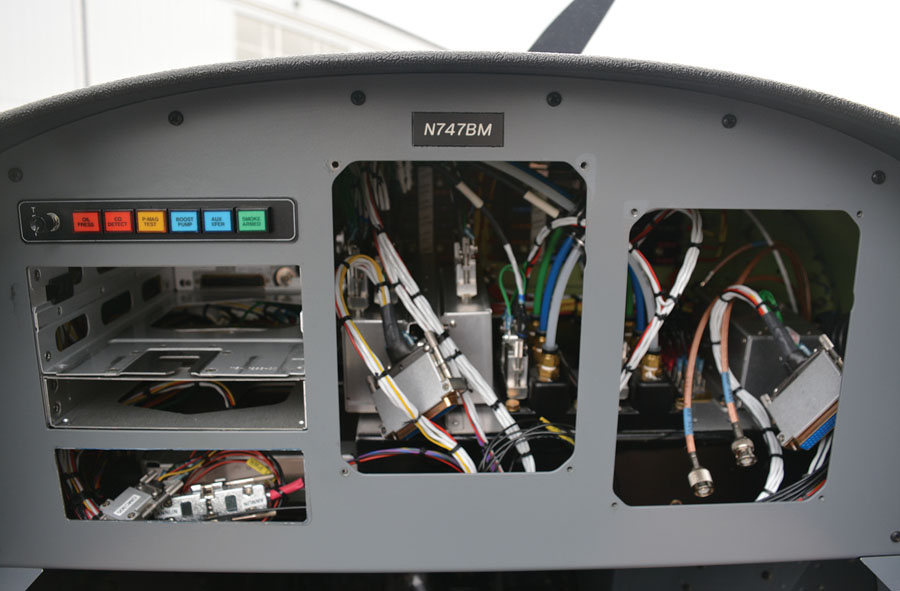
One of the side benefits of the modern glass instrument panel is that when the screens are removed it gives tremendous access to work on the avionics from the cockpit side. I decided to remove all the avionics to prevent metal contamination from the cutting process that was about to begin.
Getting Up to Speed
A call to SteinAir got two GDU 470 flight displays and a mounting kit heading my way. While I waited for the boxes to arrive, I downloaded the latest version of the G3X installation manual. I was thrilled to find a section in the manual that addressed upgrading from the legacy portrait screens to the new touchscreens. All the G3X systems use a configuration module to store system information and user-defined settings such as engine instrument limits and color range markings that appear on the gauges. I was instructed to record all the current settings in the configuration module for use later during the reinstallation process. I used the screen capture feature of the G3X to save all my settings to an SD card and then saved the pictures to my computer. You could just as easily use a phone camera to record the existing settings by taking a picture of the configuration pages.
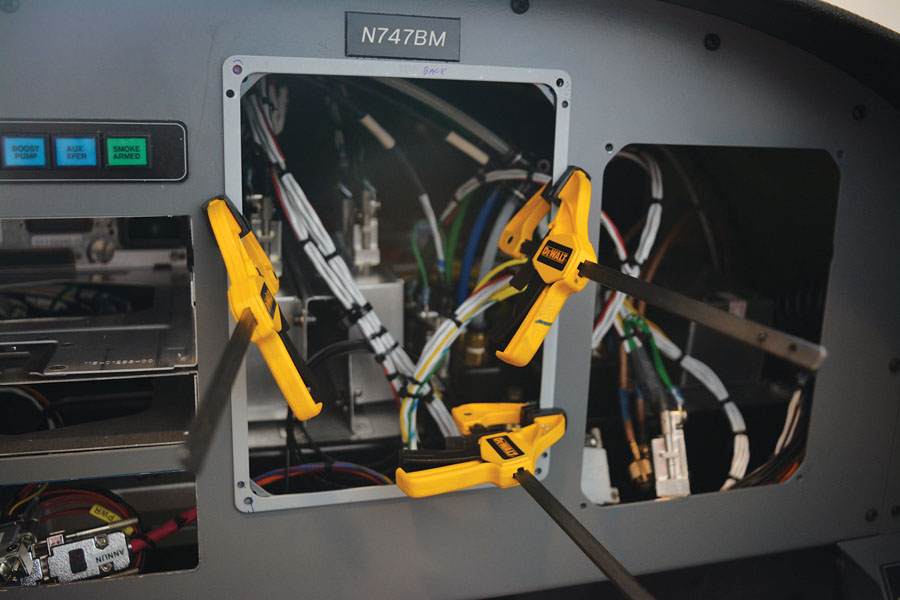
The new mounting bracket is useful to mark areas where the panel needs to be enlarged and to locate the new rivet holes to eventually secure the bracket to the backside of the panel.
All the newer G3X systems include Garmin Connext, which uses close-range wireless capabilities to send information back and forth between your mobile phone or tablet (Apple and Android devices) and your avionics. Although Connext has many features, the one I plan to use is the tablet interface function. I can now flight plan at home using Garmin Pilot on my tablet and then wirelessly uplink the flight plans to my G3X and GTN 650 navigator using Connext. The Connext functionality lives in the configuration module (remember the module you recorded the settings from earlier?). The module is physically located in the D-sub connector that connects to the back of the primary flight display (PFD) screen. My configuration module was one of the original older ones and is green, which meant it did not have Connext capably. The newer ones with Connext capability are black. After a quick phone call, a replacement configuration module was on the way.
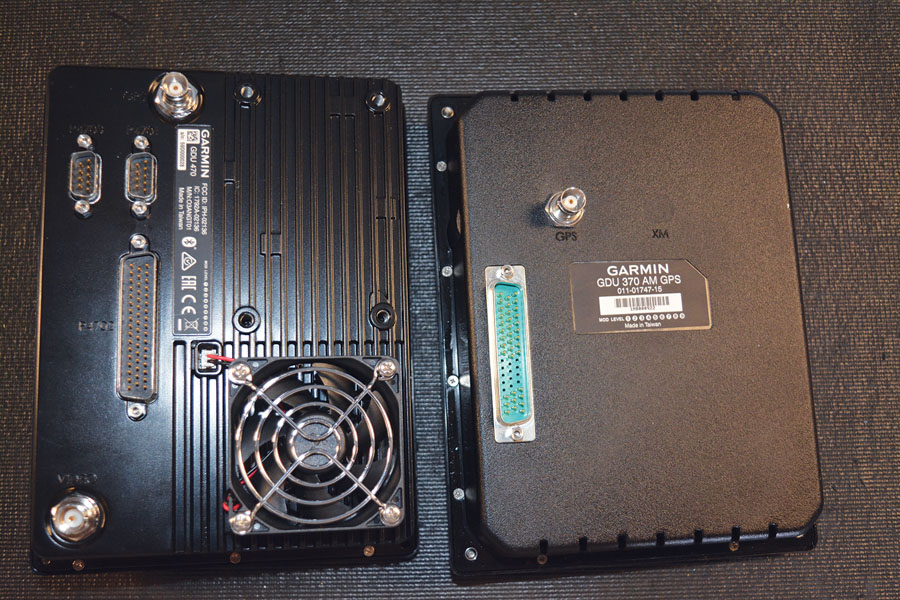
A peek at the back of the new GDU470 (left) reveals several differences that reflect its increased capability. Faster processors produce more heat and require more cooling. The two extra connectors can be used for new functions such as in-screen video camera display.
Wiring and Mounting the Screens
To allow the flight plans to also upload to my GTN 650 GPS/nav/com system, I needed to run three wires from the GDU 470 PFD to the GTN 650. It was easy to add the wires to the D-sub connector at the back of the PFD screen because the connector was already opened to install the new configuration module. Because of the tight quarters of the RV-8 panel, I was concerned about getting to the D-sub connector on the back of the GTN 650 avionics tray. I needed access to this connector to add the wires coming from the PFD. Fortunately, during the build I elected to make a very common modification in the forward baggage compartment. I added a hinged access panel from the forward baggage compartment into the avionics area. I can now access the back of the instrument panel from the forward baggage compartment, or by simply removing my screens, I can access the wiring from the cockpit side. With the GTN 650 removed, and while sitting in the cockpit, I used a long Phillips screwdriver to reach into the avionics tray and remove the two screws holding the D-sub connector to the tray. It was then relatively easy to work on the connector through the access panel in the forward baggage compartment.
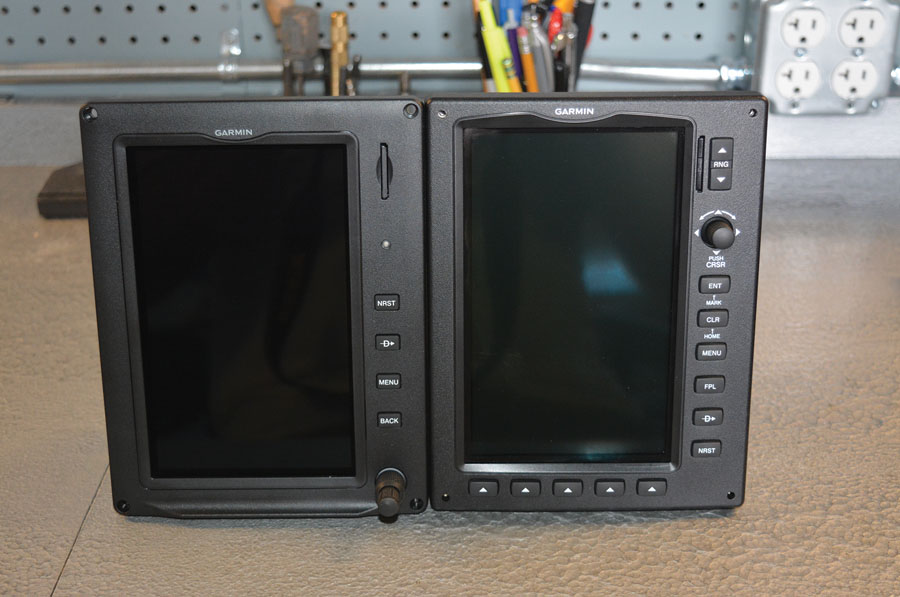
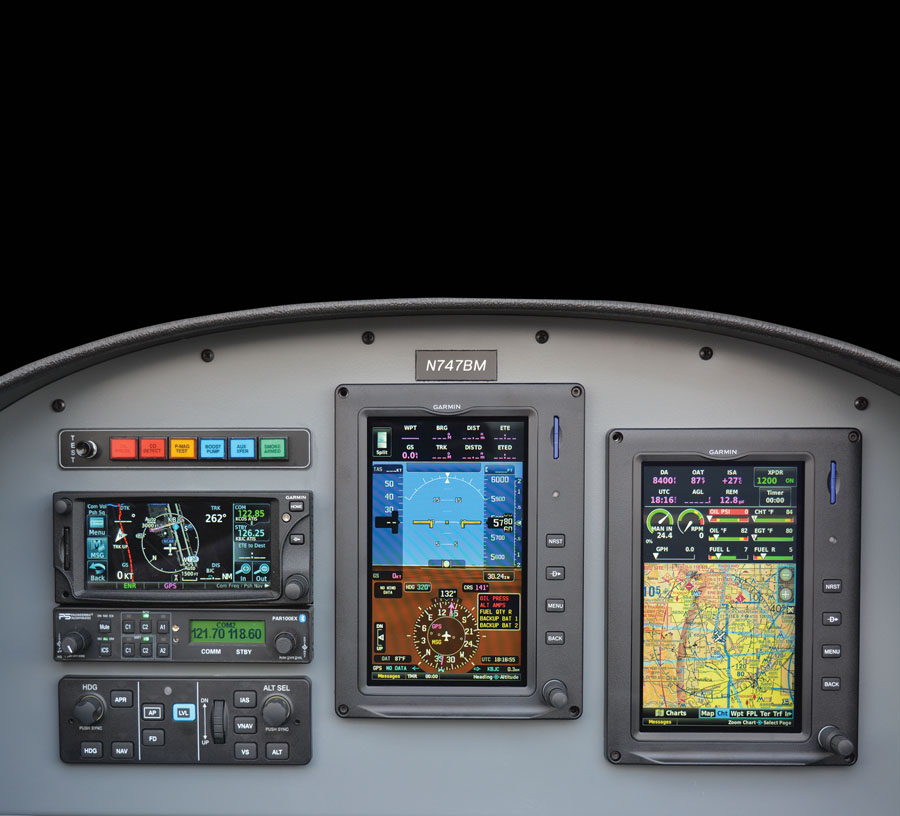
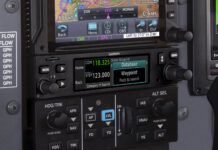
The new screen (left) reduces the button count from 12 to four. The concentric twist knob remains. Menus are accessed through touch menus and sub menus. The buttons that remain are the ones that make sense: NRST, D , MENU, and BACK.
With the wiring complete, the next task was to mount the new screens. The GDU 470 outside dimensions are the same as the GDU 37X screens, but the size of the back case going through the panel opening is larger than the older screens. The openings had to be enlarged slightly at each corner. Team X, the Garmin experimental avionics department, is staffed with smart guys who own and fly homebuilt airplanes. I assumed if I had to make the openings bigger, there was a good reason why they were unable to keep the back case the same size as the old screens, so out came the Dremel cutoff wheel. Rather than trying to make a rounded cut as dictated by the outline of the bracket, I cut the corners square, knowing the bezel would cover that area. Five minutes later, the opening was large enough for the new screens.
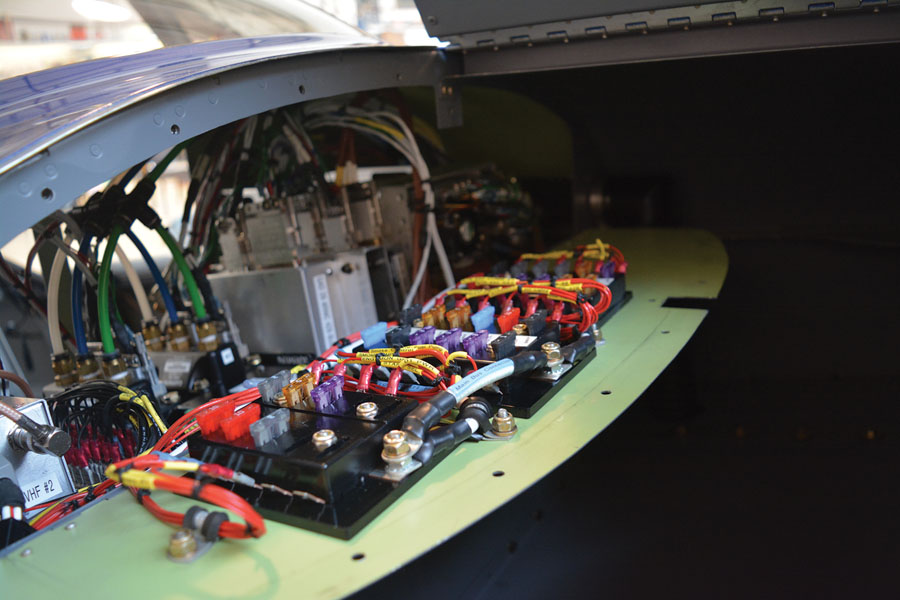
I followed the lead of many previous RV-8 builders and added an instrument access panel in the forward baggage compartment. With the access provided by this modification and the access from the cockpit side without the screens installed, there is almost no hindrance to working in this area.
Both the GDU 370 and 470 screens are designed to mount to the panel using a metal bracket attached to the backside of the panel. This bracket comes in the mounting kit and has Rivnuts installed that the screens then screw into. In reality, many builders eliminate the bracket and instead just rivet nutplates to the back of the panel. That was the case with my panel, so the old nutplates had to be removed. First, I clamped the mounting bracket to the front of the panel and used it as a drill guide to drill the bracket mounting holes. The screw holes that mount the screens to the panel are also in a different location than the GDU 370 holes, so I also drilled these using the mounting bracket as a template. I then used a mirror and a Dremel cutoff wheel and, working from the cockpit side of the panel, proceeded to cut the old nutplates off the back of the panel. I now have a greater appreciation for dental workers who work using mirrors every day! The mounting brackets were then placed on the backside of the panel, and a few pop rivets later, they were attached and ready to hold the new screens securely.

The D-sub connector for the PFD houses the configuration module that stores G3X system settings and is also the device that enables Connext functionality. My original config module was the older green version, which I replaced with the newer black version.
The next order of business was the “smoke test.” Happily, all the smoke stayed inside as I expected because of the relatively minor work that was done to the wiring. Another hour was spent reprogramming the configuration module using the information I saved earlier, and the installation job was done.

When the screens successfully light up and you stop holding your breath, it’s time to start exploring the new capabilities of the touchscreens.
While I sat in our plane getting familiar with the screens, I was struck by how intuitive their operation is. To change the altimeter setting, simply touch the Kollsman window and a keypad appears; you enter the numbers by simply touching the screen. Or if you prefer, you can still use a knob to set the altimeter. The same goes for most other functions.
Worth It?
All told, I spent a day in the hangar at a very slow, relaxed pace making the swap. Some may ask if it was worth all the time and expense to upgrade an already capable panel? I can’t answer for you, but for me the answer is a wholehearted yes! The technology available today to homebuilders was unthinkable a few short years ago. I think Garmin showed real corporate leadership when they allowed Team X to form and develop the experimental line of avionics. They are known for listening to their customers and improving their products.
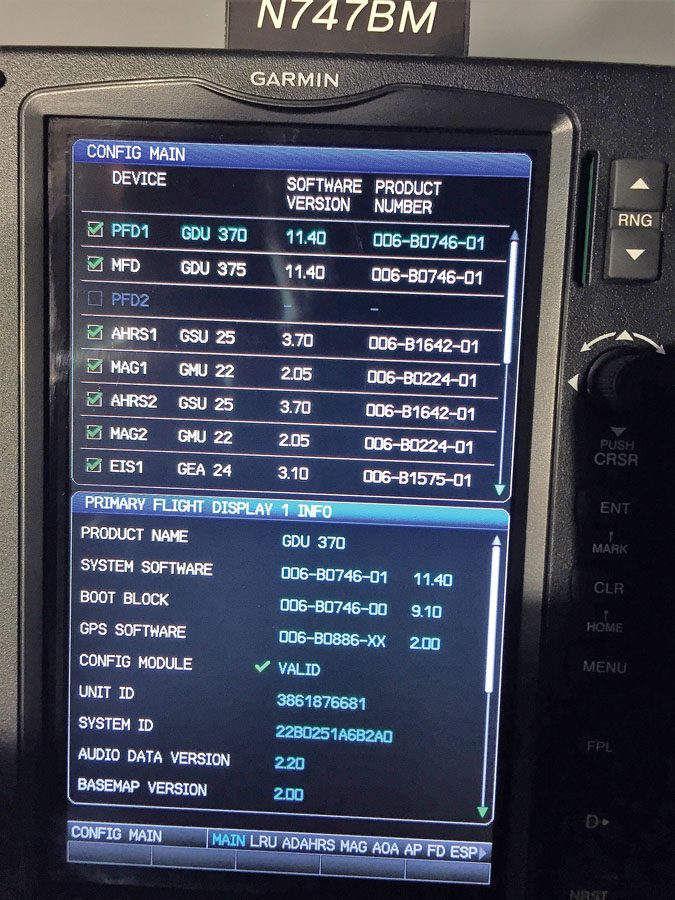
If you are swapping from an older G3X system, be sure to record the original configuration settings. Use the built-in screenshot feature of the G3X or a camera to greatly speed the process and ensure accuracy.
I do have one request for Team X: I believe there is way too much screen area dedicated to the data fields at the top of the new screens, and it robs space for other things more important to me. It appears this was done to allow radio frequencies to be displayed and changed by touching this area. I don’t use that feature, so please give me a software option to reduce the size of the data fields at the top of the screen. An option to select an alternate data field format like that of the older G3X screens would make this an absolute 100% perfect upgrade. I predict Team X is listening. [Since originally writing this, Garmin has released a software update that addresses this issue and improves the screen configuration options. I guess they are listening!]
I’ve promised my wife I will now go into therapy; I just can’t seem to resist the latest “bling” when it comes to avionics. But honestly, with the capabilities of the new GDU 470 screens, I truly believe I’m done messing with my panel…unless Team X has another surprise on the drawing board!

The author and Shadowfax. While it looks good sitting on the ground, the real fun is getting airborne and using the tremendous capabilities our aircraft have.
Bob Markert built his RV-8 and flies with the Rocky Mountain Renegade Airshow Team. He attended Army pilot training in 1974. In 1980, he switched services and earned his Air Force wings and flew the F-15. After 16 years’ active duty, he transferred to the National Guard. Bob spent over 34 years in military cockpits. He started his airline career in 1988 and has flown the DC-9, 727, 737, 747, 757, 767, 777, and A320. Bob is currently flying the B757/767 and is an Instructor/Evaluator for United Airlines.

