In the year 2019 BC (before COVID), I made a number of cross-country trips between 300 and 500 miles. While these distances were well within the one-way range for my Jabiru J250-SP, good planning dictates knowing all the along-the-route refueling options. My Jabiru has sight gauges built into the tanks at the wing roots, so it just takes a second to glance up and check the fuel level in each tank. I have to admit, when I fly with someone who has in-tank fuel-level sensors and a panel gauge, I get a little jealous. But, not so jealous as to go out and install sensors and a gauge!
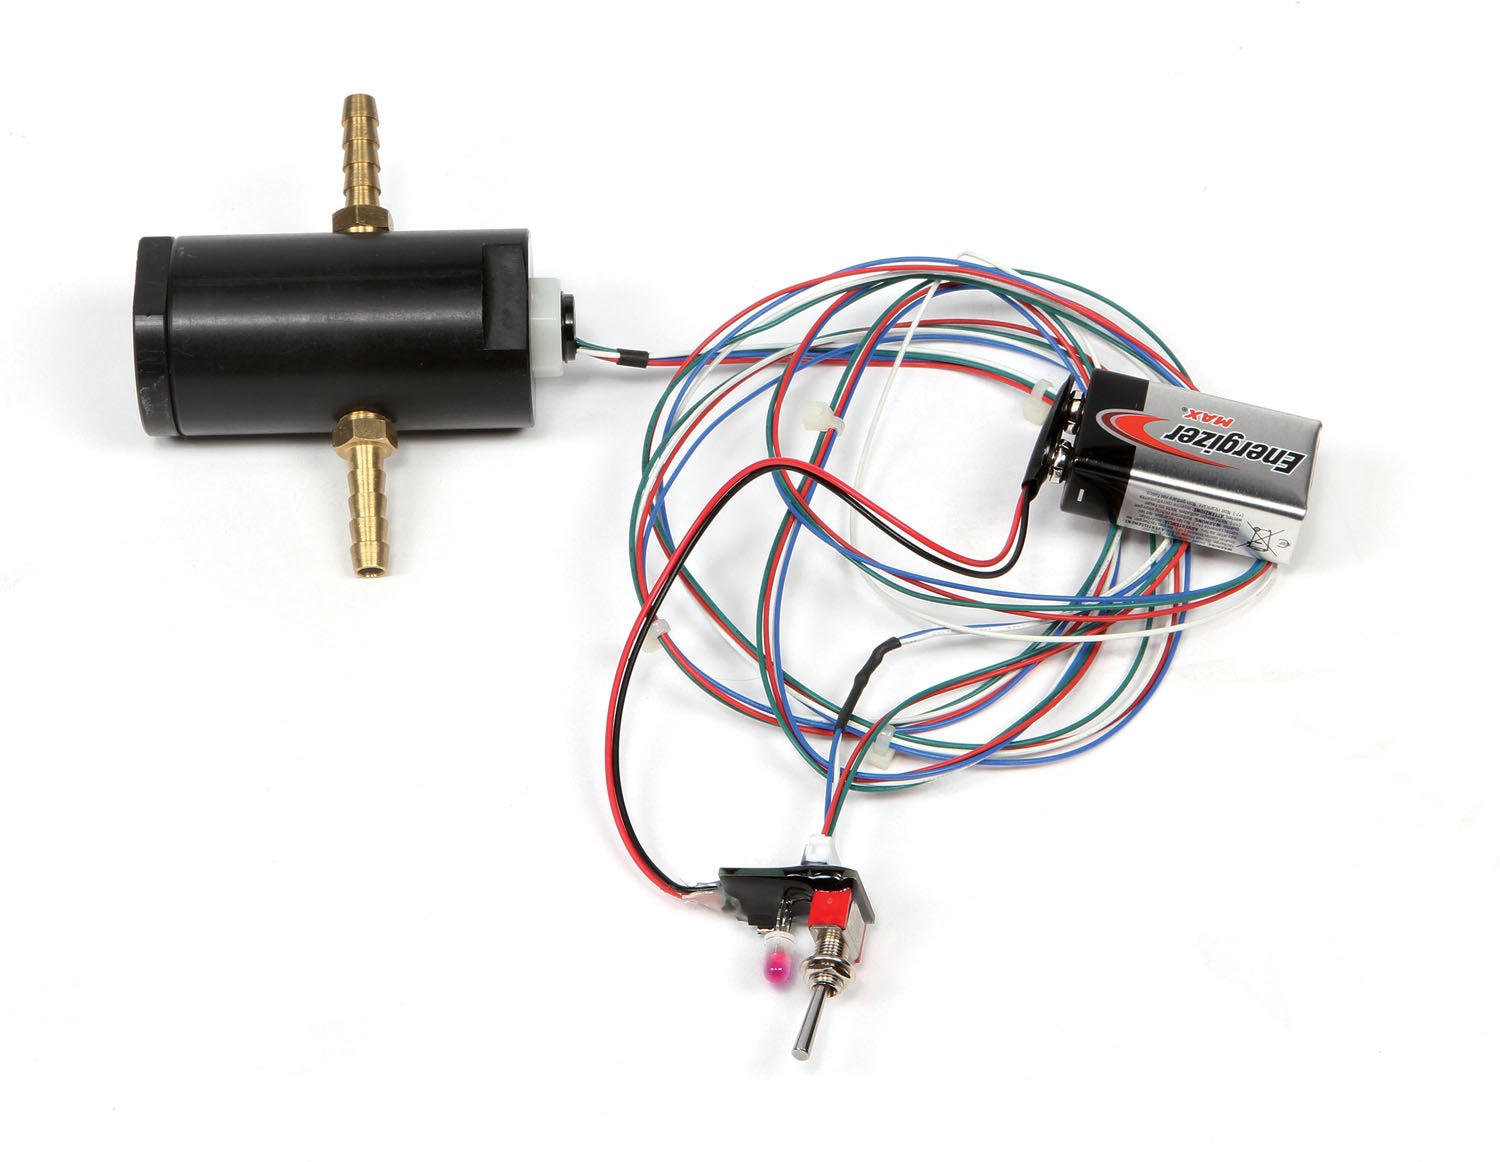

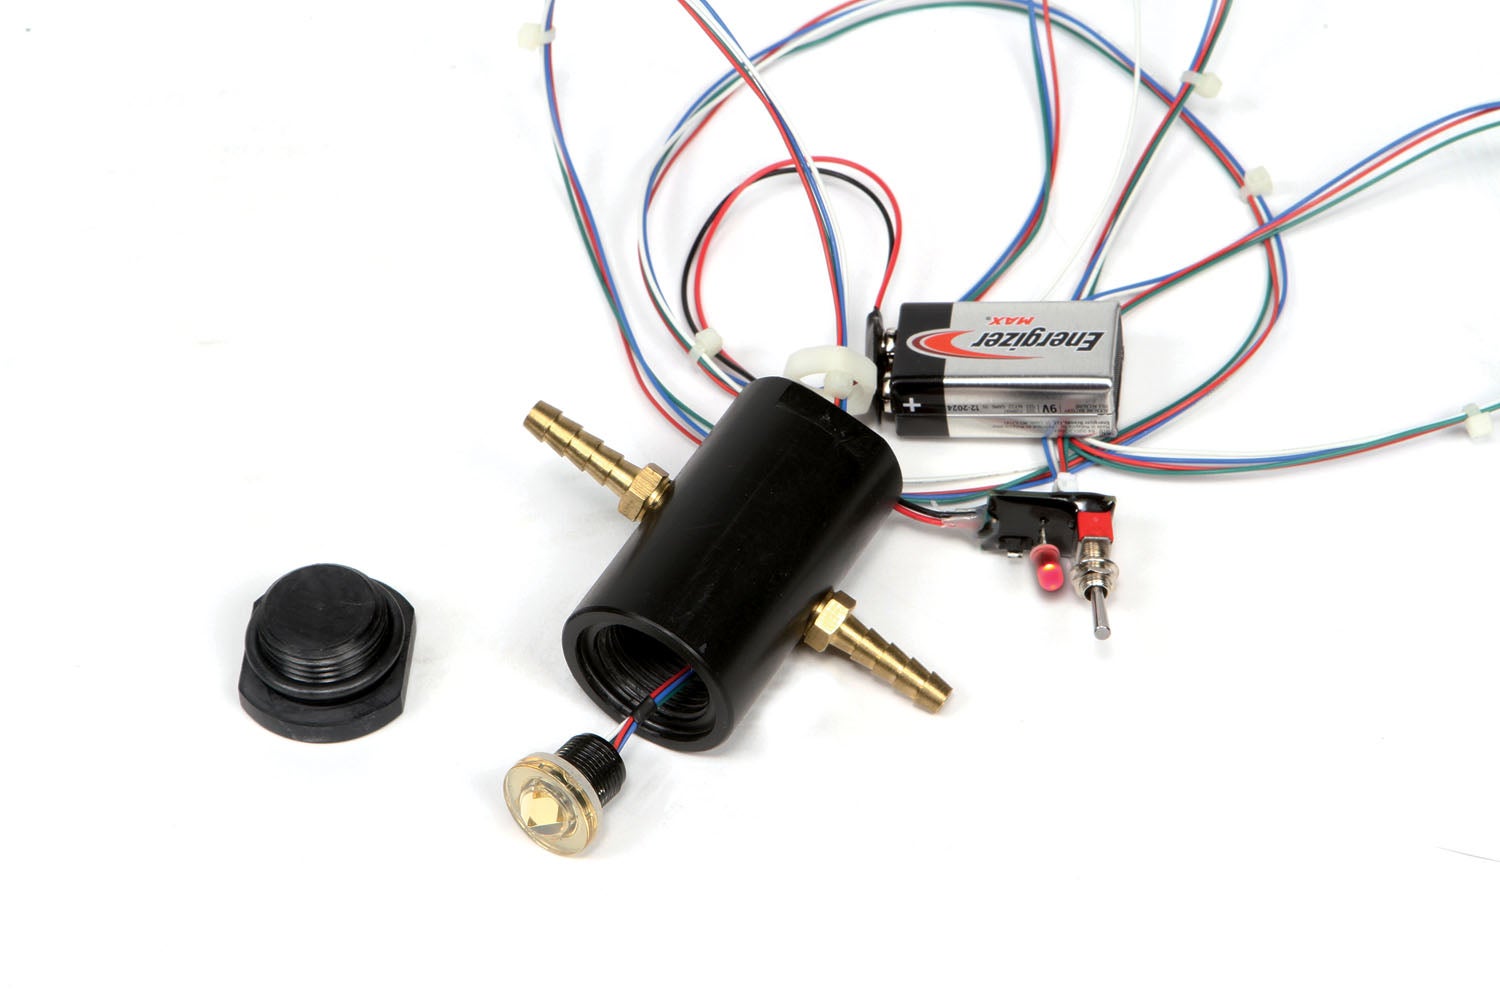
Around midsummer that year, I read a Newsline post on the KITPLANES® website about an inexpensive device made by Radiant called the Bingo-3C liquid detector. Basically, it’s an all-in-one low-fuel idiot light system. To quote the post, the Bingo system is “aimed at reducing accidents based on fuel monitoring errors.” That, I thought, would be the next best thing to a panel fuel gauge. The kit consists of a sensor with a wire harness and a small board that includes an LED. It’s marvelously simple: When there’s fuel, the LED is green. When there’s no fuel, the LED is red. How much fuel you have when the light goes red depends on where you install the sensor. The Jabiru has a tank in each wing (about 17 gallons each) that feed into a 1.5-gallon header tank under the passenger seat. A Bingo sensor near one of the wing tanks, well above the header tank, will trigger the warning light with about 2 gallons of fuel left—about 15 minutes reserve fuel. Not that I plan to run that low. But, if for some reason I do, well, that’s why they call it an idiot light, right?
A little while after getting the Bingo kit, COVID happened and for the next couple years I didn’t do any flights over 100 miles. So the Bingo project was forgotten. Flash forward to mid-2022 and the prospect of making regular 400+ mile trips is looking good. So I dusted off the Bingo kit and got going on the project.
The first order of business was to figure out how to splice it into the fuel system. The sensor must be in direct contact with fuel. The simplest installation would be to drill a hole in one of the fuel tanks. But the tanks on the Jabiru are fiberglass and are integrated into the wing at the factory. So I’d have to drain the tank, drill a hole and then blindly fish the wire harness through the filler neck and to the hole.
I decided on a less-invasive solution: Install the sensor into a shop-made miniature “sensor tank” that I could splice into a fuel line between one of the wing tanks and the header tank.
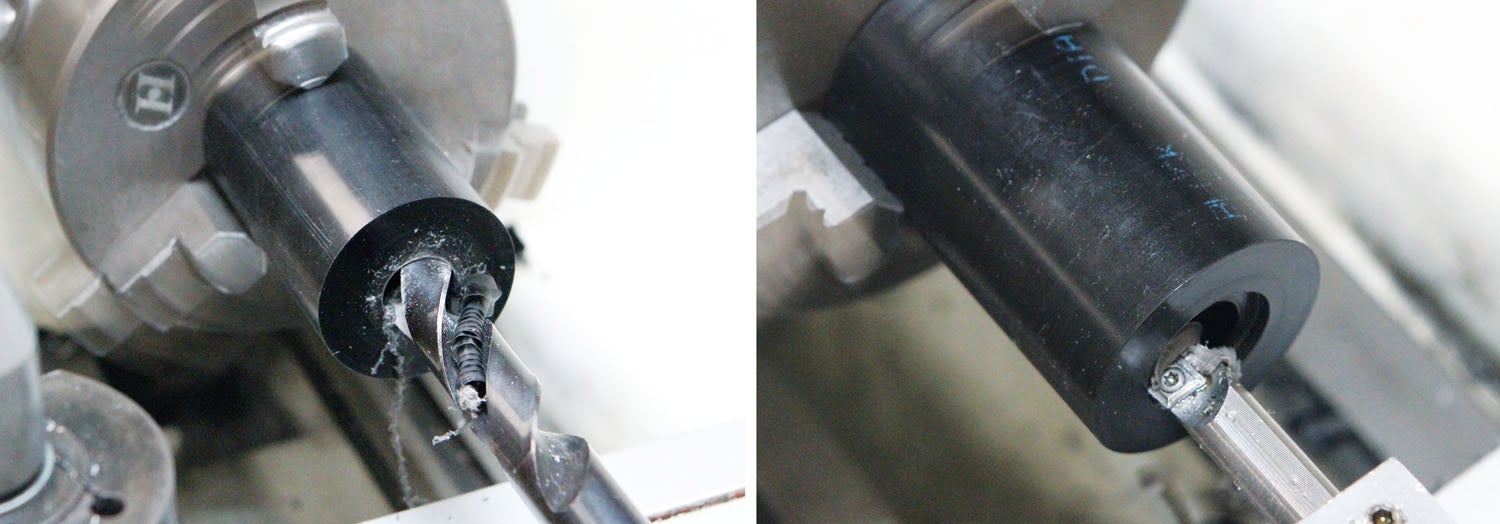
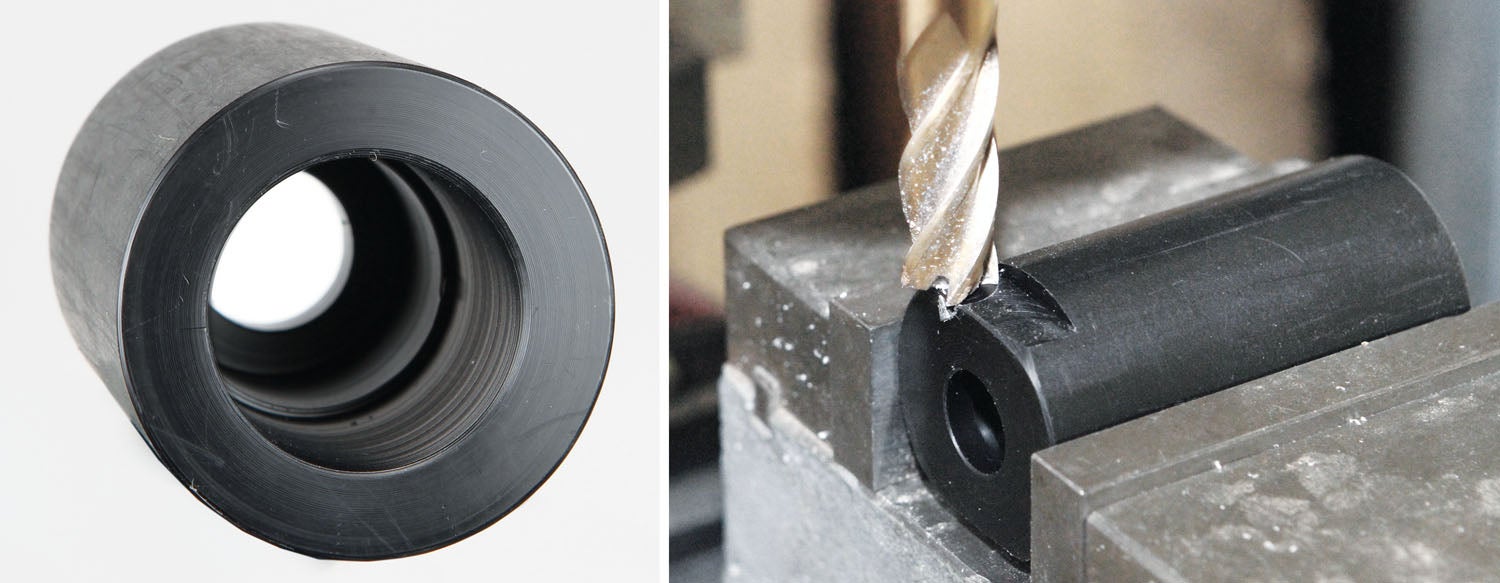
The sensor tank I made is about the size of an old-school 35mm film can, but significantly more robust. I made it from Delrin, a high-tech plastic that is very easy to machine and is resistant to most solvents including gasoline and diesel fuel. The sides were made 1/4 inch thick in order to provide good thread engagement for the 1/8-27 NPT threaded nipples that make up the inlet and outlet connections for the fuel. One end of the tank is drilled and faced flat for the Bingo sensor and the other is threaded for an endcap, which includes a recess to capture an O-ring seal.
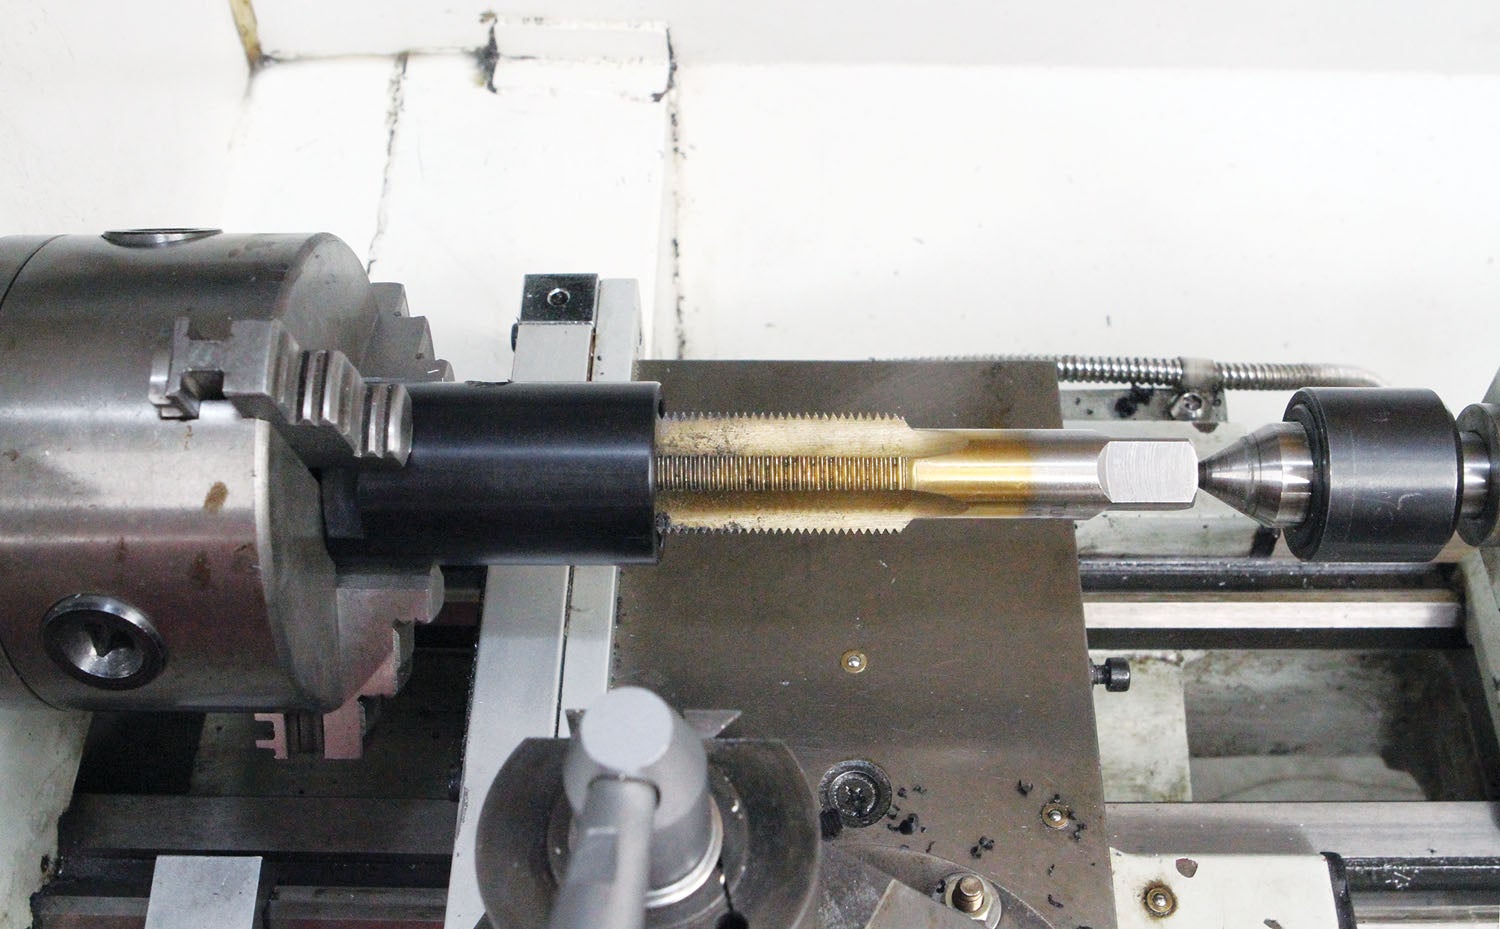
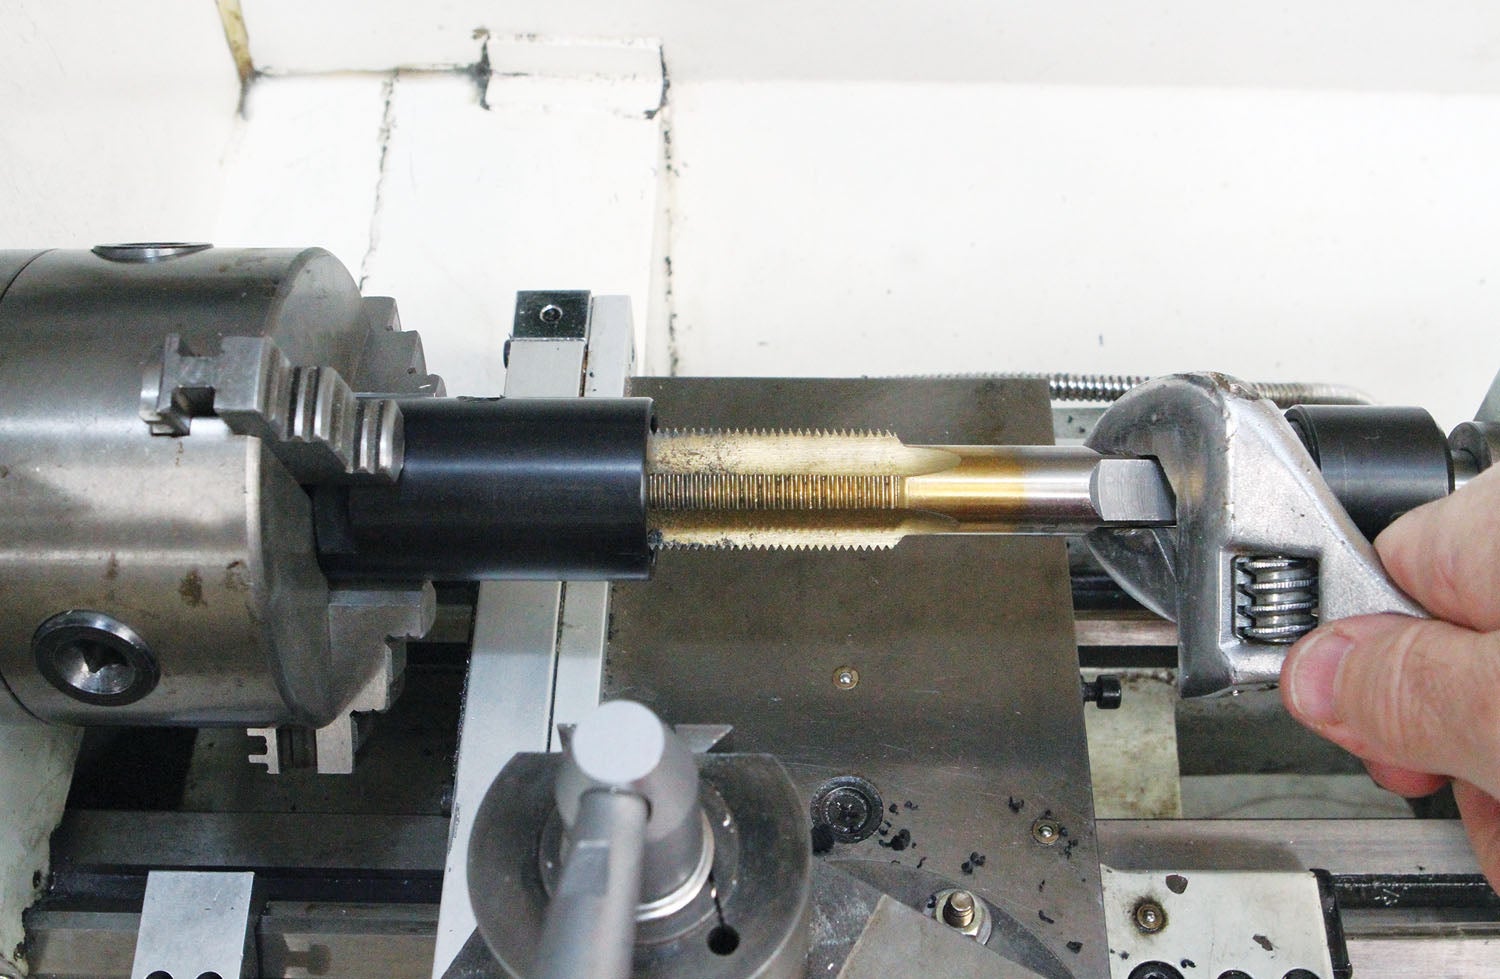
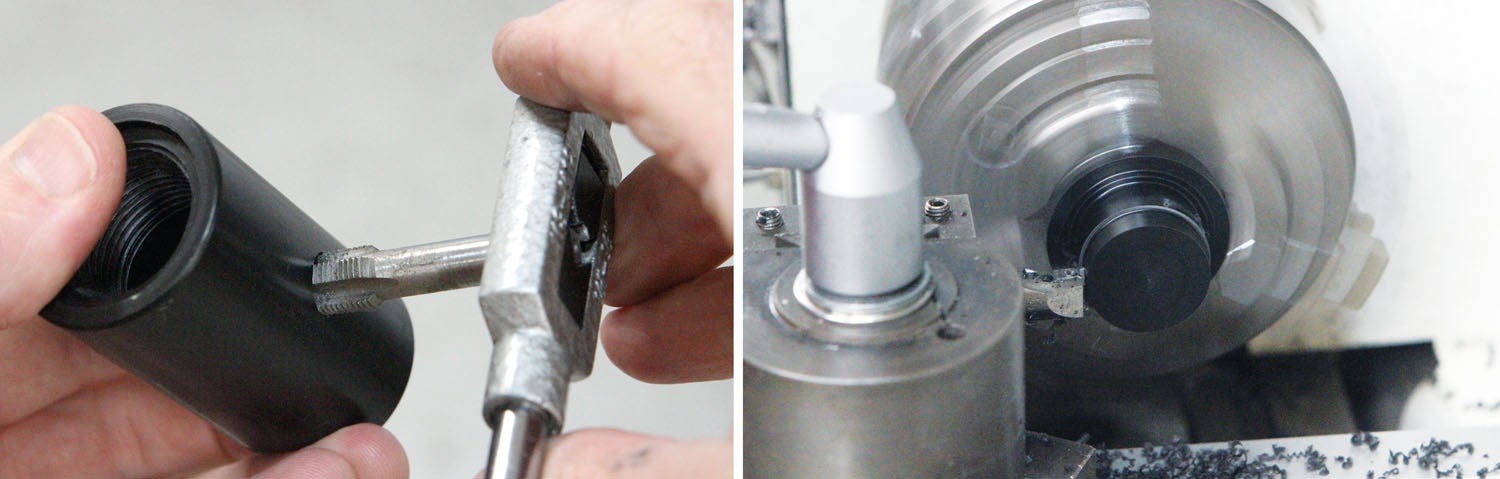
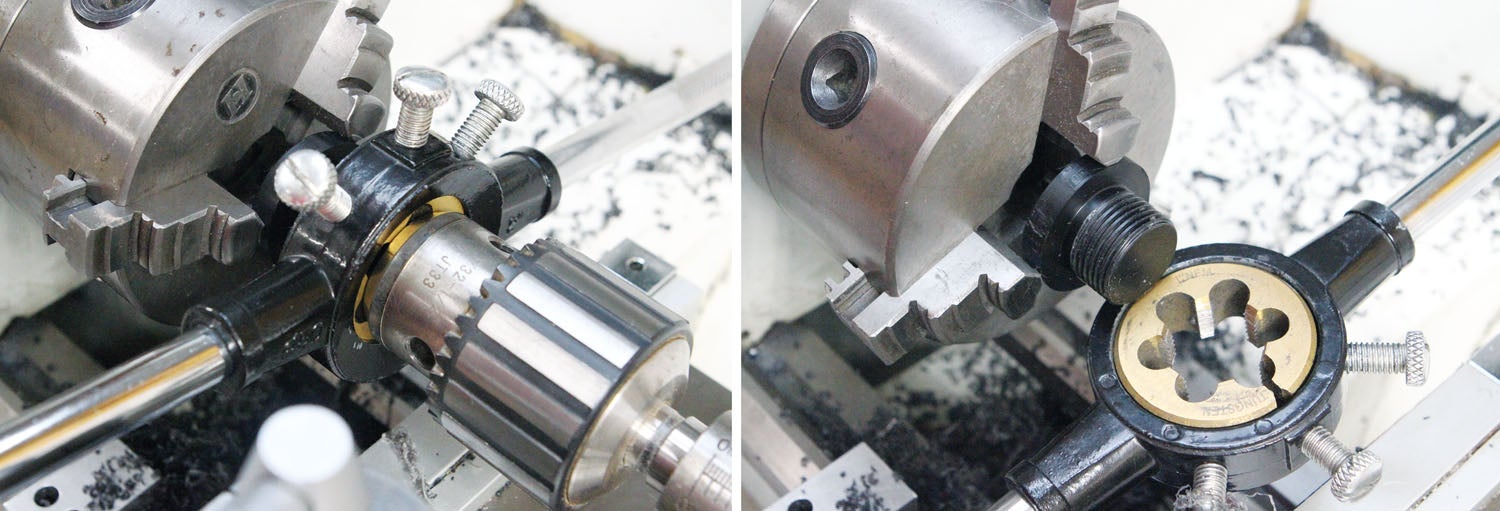
The project was mostly lathe work, with the milling machine used for cross drilling the holes for the 1/8-27 NPT threaded nipples and making the flats on the endcap and tank body. To make the threads (1-inch x 14 TPI) for the endcap, I used an inexpensive, imported tap and die set that I bought years ago just for this purpose: threading soft materials like plastic (and wood). If I were making the same part out of steel or aluminum, I would have chased the threads on the lathe (see “Chasing the Elusive Thread,” May 2017). The reason is, even with a really good tap and die set, it’s a bear to hand cut threads over 1/2 inch in diameter.

Next month we’ll make a mini subpanel to mount the idiot light. In the meantime, it’s time to get back in the shop and make some chips.
Bingo Update 2022: The Radiant Bingo-3C kit described here has been replaced by the Bingo 4, which is an ultrasonic sensor that works by bonding to the outside of the fuel tank. In other words, no drilling is necessary.
![The week ahead: a KC-135 tanker passes over the grounds at EAA AirVenture Oshkosh, where Phillips 66 will set up at tents #430 and #431. [Credit: USDA Forest Service]](https://www.kitplanes.com/wp-content/uploads/2026/07/Screenshot-2026-07-22-at-10.01.04-AM.jpg?w=218&h=150&crop=1 "Phillips 66 Sets Course for Oshkosh With Specials, Seminars—and Popsicles")
![[Credit: Radiant Technology]](https://www.kitplanes.com/wp-content/uploads/2026/04/550095_5165745cc27748a598699799d796fd94mv2.jpg?w=218&h=150&crop=1 "Radiant Technology Unveils SafeGyro")


Thank You Bob very interesting and well done !
I was smiling when I just find this article ..
I got exactly the same situation , never install my Bingo 3 sensor , trying to find the best way to install it without drilling to my existing tank etc..
I still have my Bingo 3 brand new sensor but never install it ..
But my first challenge is that I can’t found the interface board so could you help me on how I can found or make new one ?
Thanks in advance for your advise
Comments are closed.