Laying out rivet patterns can take a lot of time, especially when the drawings specify distances from a leading edge or other reference mark, and the distances are not whole numbers. If you have to lay out a number of rivet holes on identical items, it is easy to make a measurement mistake if you go back to the drawing for each one. Fortunately, wing and tail ribs on a constant chord surface usually have the same pattern across the span, so you can use a little mass production to help you out.
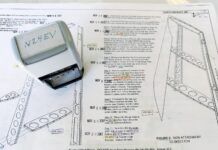
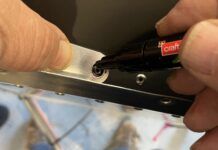
I use some thin scrap aluminum cut into one-inch strips, with the edge made straight on a belt sander. Lay this against the full-size drawing and mark the rivet locations with a Sharpie. Be sure to include a “zero” point for an easy-to-find reference point, like the leading edge of the sheet. Label the template to make sure that if there is a difference between upper and lower surfaces, you don’t get things reversed-then move to your wing or tail skin and transfer the marks quickly and consistently.
The best thing about using a Sharpie on aluminum is that when you are finished, you can erase it all with some acetone and reuse the blank for your next marking project.
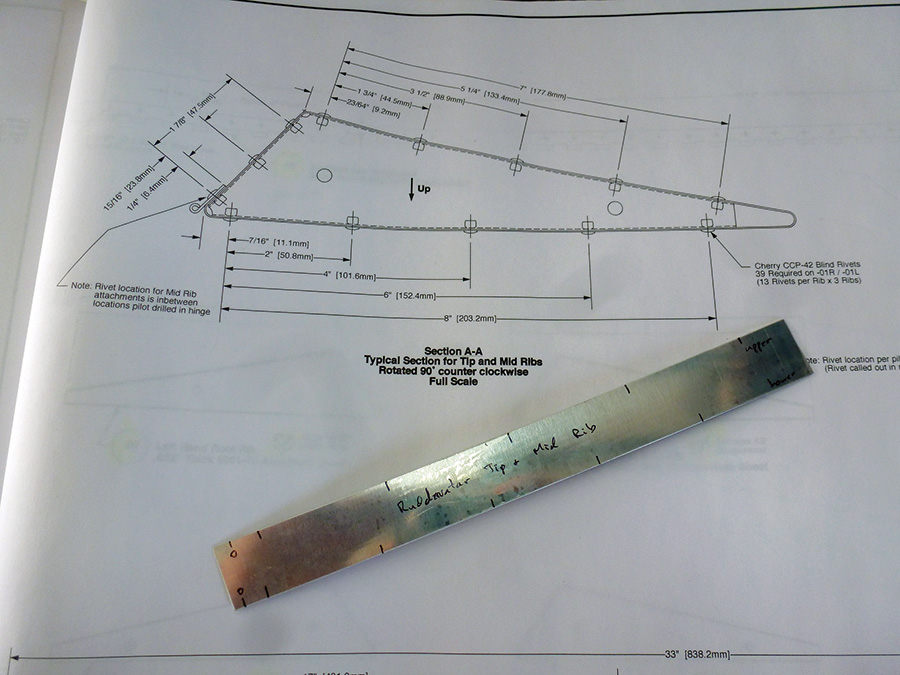
Lay a thin scrap of aluminum against a full-size drawing and mark the rivet locations with a Sharpie. Be sure to include a “zero” point for an easy-to-find reference point.



Paul
I had my own drafting and electrical design business for 17 years. With my drafting experience and with the advent of AutoCAD, I started doing some airfoil experimentation. A problem became quite apparent soon.
While drawings ploted from AutoCAD, when details were measured with a rule, they were accurate. I could plot up to 48″ wide by 3″ drawings. Converting the .dwg drawings to .pdf drawings is where the issue became apperent. The .pdf drawings were inaccurate to the scale.
It just might be worth the precaution of measuring the published drawing you are marking the aluminum strip from, first. Just to make sure you don’t have a problem of missalignged holes in aluminum pop rivited pieces. Make sure the associated dimensions shown on the drawing are exactly the same as the drawing you are working from.
Tom Planer EAA 1527527