Decisions, decisions. One of the blessings of building an airplane is the ability to dress it up any way you please. However, for those who struggle making decisions—and livery is a huge one—the plethora of options can be a curse as well.
Some builders know exactly how they want the airplane to look before the first rivet is even bucked. Others fly months or even years in the buff before putting on the shine. One fellow who strolled by at OSH told me that he painted, stripped (not striped) and repainted again within months to get Missus Copilot happy with the result. With the help of Brian Head, the owner/operator of Arizona Aircraft Painting, we will endeavor to help outline some thoughts and recommendations for those thinking about painting or repainting.
While it certainly is possible for a builder to successfully paint their own aircraft, today’s high-end materials and coatings are extremely sensitive to mixing ratios, contamination, temperature and humidity, not to mention several environmental concerns. My original intent was to paint myself. I set up a shop booth and painted my interior with Stewart Systems’ excellent water-based products with very acceptable and durable results. However, I quickly realized that the exterior deserved professional capabilities and results rather than fisheyes. I would equate self painting to assembling your own engine. Many builders are appropriately capable but most, including myself, are not. I will gear this treatise primarily to using a professional paint shop. Although I will primarily refer to the most common aluminum structure with some composite elements, most of the discussion will be equally applicable to completely composite airframe structures and even fabric-covered assemblies of wood or metal.

Out of the Blue Film
Most builders of Van’s kits are familiar with the blue vinyl film that comes on aluminum sheet stock and press-formed parts. Other producers have other colors of film, including clear. They all serve the same purpose: to protect the surface of the material during bulk manufacturing and shipping. Van’s discusses this material in section 5.12 of their builder’s manual.

Off and on, it becomes popular for new builders to leave the film on the pieces, especially large skins, and only remove strips along the rivet lines. While it does make for more dramatic project photos, leaving the film applied serves little beneficial purpose and can actually cause harm. The top layer of Alclad is very soft and merely removing the strips (usually with a soldering iron) can leave unwanted impressions on the tender skin. Also, the vinyl adheres more obstinately over time, especially in high-temperature environments, making it harder to remove later and more likely to leave a residue when removed. Like corrosion, paint doesn’t adhere well to raw Alclad, so the first thing a paint shop is going to do is raspberry the carefully protected surface with abrasive Scotch-Brite pads. Unless the goal is a polished surface, the recommendation is to skip the laborious effort to save the film and remove it from the pieces as you start using them. One easy way to do that on large skin sections is to roll it off by wrapping it on a piece of a broomstick, which gets easier as the vinyl-clad broomstick gets thicker.

The Scheme
Most paint shops have high-end computer software that will facilitate scheme design, allow 3D depiction of the scheme on your particular model and then print templates for the shop to use for the graphics, including N numbers. They will either charge separately for this service or include it in the initial quote. Trophy winners often hire professional graphic artists to conceive and produce a custom scheme. I purchased an inexpensive software package designed for RC models with the most common Experimental aircraft in their database, and I (enjoyably) played with that for hours in the initial conception phase.

Many paint schemes originate the old-fashioned way where someone walks the flight line at OSH looking at hundreds of examples of their project model until they find something they like, take a bunch of pictures and then endow the design with the highest form of flattery by shamelessly copying it. C’est la vie.
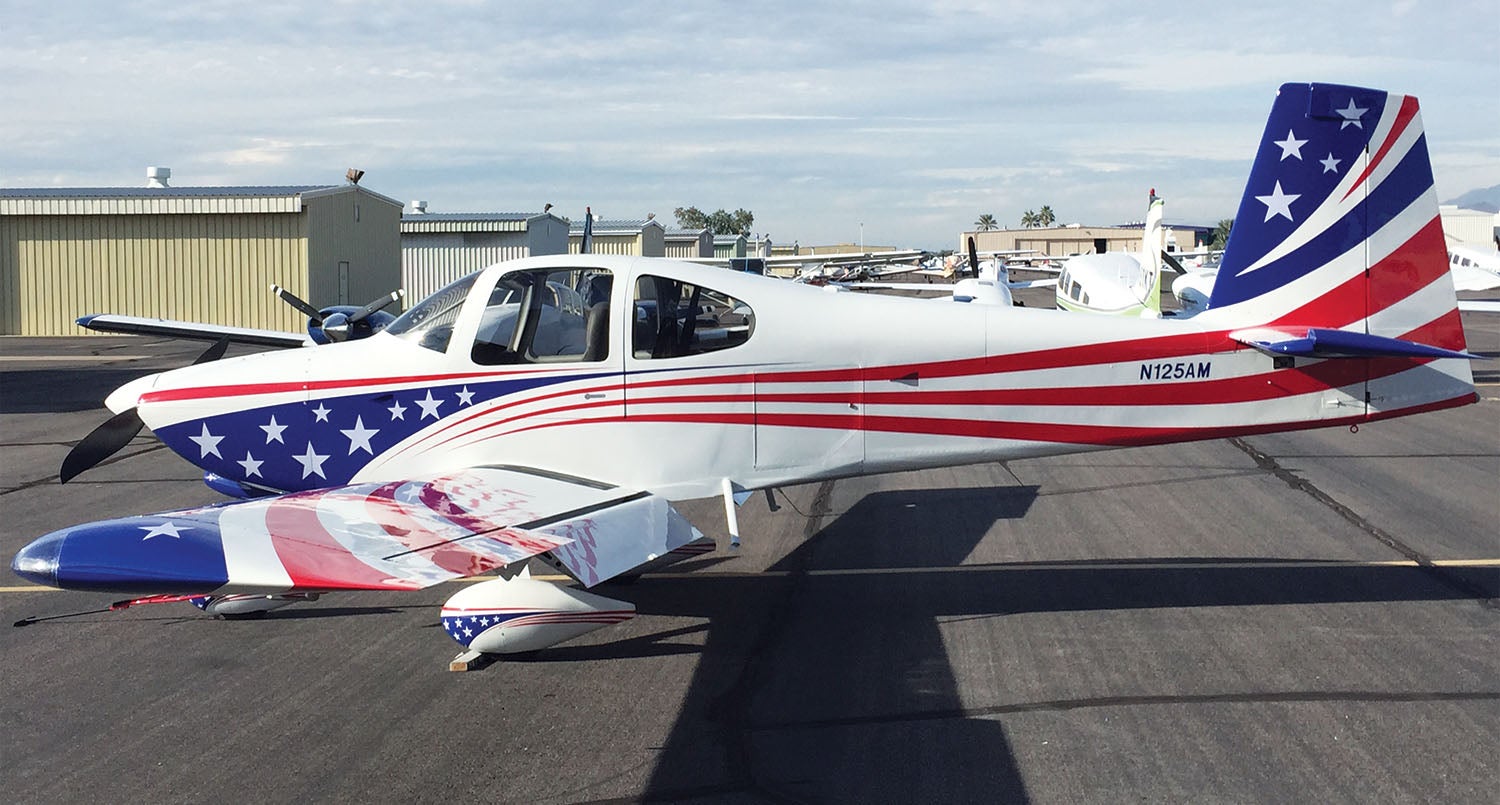
Most paint shops initially quote based upon a base color and two colors of (simple) stripes. Additional colors, complex graphics, checkerboards, shadowing and especially hand airbrushing can raise the cost exponentially. The scheme can be as simple or complex as you desire and can afford.
Finding a Shop
I know folks who traveled hundreds or thousands of miles to use a particular paint shop chosen either by reputation or an attractive bid. I can attest, however, to the major convenience of using a local shop. There are many stages of the process that are important to monitor. Also, after the application is complete, there are often touch-ups, modified or replaced parts or hangar-rash repairs that a local shop will usually take care of as a courtesy; this would result in a significant charge for a non-customer or big expense and inconvenience if it requires a long trip.
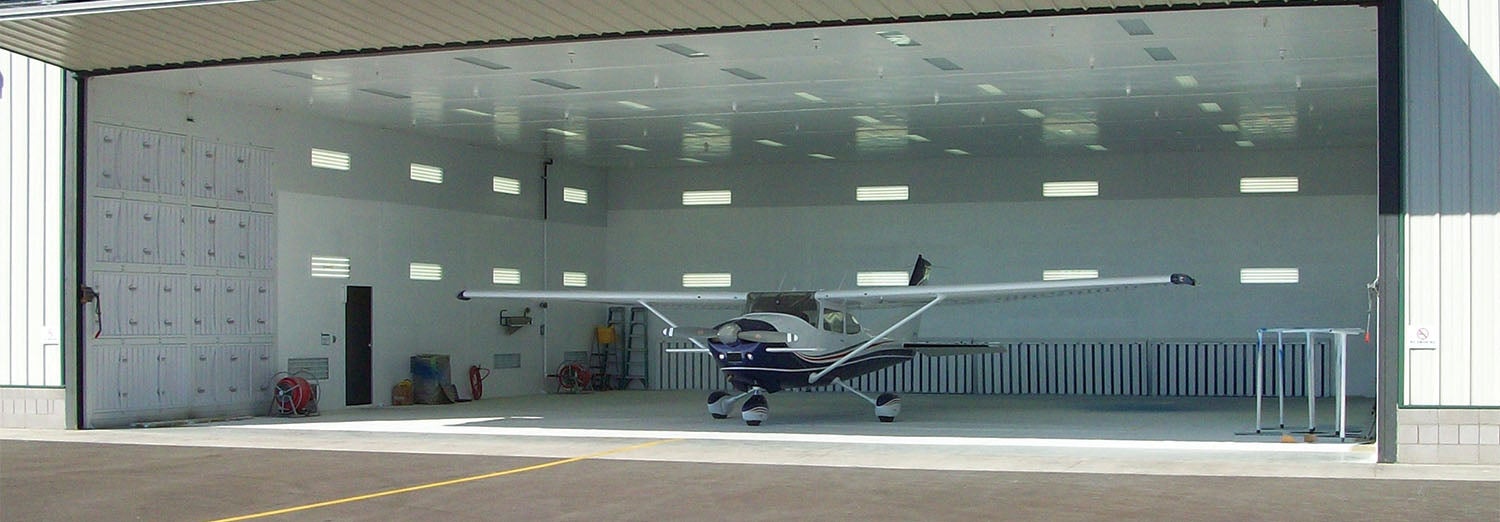
Certain minimum requirements should be verified before the selection of any shop. Some examples are licensing, bonding and insurance. You should also inquire about proper ventilation and temperature and humidity control for the materials used—in other words, a proper paint booth instead of simply a hangar. Having a composites specialist on staff is important, as is having a licensed aviation mechanic because it’s common for disassembly and reassembly of components to be required. Before hiring a “guy in a van” to come to paint in your hangar or shop, be aware that most airport authorities, hangar rental agreements, and HOAs have stringent environmental restrictions on such work. There have been projects interrupted midstream and significant fines imposed because of such violations.

Before the Paint Job
Most builders get pretty proficient with the metal part of the project. The odd smiley or misshapen rivet will be easy to take care of during the paint preparation process. However, it’s the composite components that separate the craftsmen from the hobbyists from the hacks. Some composite work is purely cosmetic, but other areas like window and windshield settings can be crucial to safety.
Paint shops are likely to add a few shop hours of composite work into their bid and will advise if more is needed or recommended. Some builders do the bare minimum of composite work and pay the shop to make it right. Others bring the airplane to the shop in ideal condition, ready for primer. Either way, it is vitally important for the paint shop to thoroughly inspect the aircraft before committing to a firm bid and for the builder and estimator to thoroughly discuss and document the relevant issues so there are no misunderstandings later.
There are a couple of tricks going around for composite finishing work. Pinholes are a common problem and are hard to see when they fill with sanding dust. One trick is to clean the area with high-pressure air and then squeegee a couple of highly thinned epoxy coats over the surface to fill the holes that hopefully the primer and paint will eventually cover. Another tip for curved or faired areas like windshield bases is to spray a light coat of cheap rattle-can paint over the surface. As you resume block sanding, the high surfaces will wear the paint off quickly, but the remaining paint will show low areas that need filler. Viewing the area with light from various angles will also identify areas requiring further work. Speaking of filler, a popular choice is SuperFil epoxy filler, available at places like Aircraft Spruce and Wicks. It is inexpensive, easy to work with and very effective.
Process and Products
Once prep is completed, the aircraft structure will be thoroughly cleaned in preparation for etch and alodine. The acid etch cleans and conditions the aluminum to prepare for the next “conversion” coating. Alodine, which is chromic acid, is then applied for better adhesion and corrosion control of the aluminum. Once the Alodine application is thoroughly dry, the task begins to mask out windows, jambs, engine openings and other areas that are not to be painted. Immediately prior to the first application of primer, the structures receive a hand wipe down with a tack cloth to remove any remaining dust or lint that could degrade the finished surface.
A corrosion-resistant chromate epoxy primer is commonly used for primer, often of the “high-build” variety. This is an essential step for proper adhesion, corrosion protection and resistance to contaminants like fuel and hydraulic fluid.
After the primer coats are finished, the next step is the base coat, which is usually applied to the entire structure. Aviation-specific coatings are formulated for flexibility and tolerance of atmospheric and temperature extremes that cars rarely see. There are very few suppliers for these high-quality products, which drives up cost.
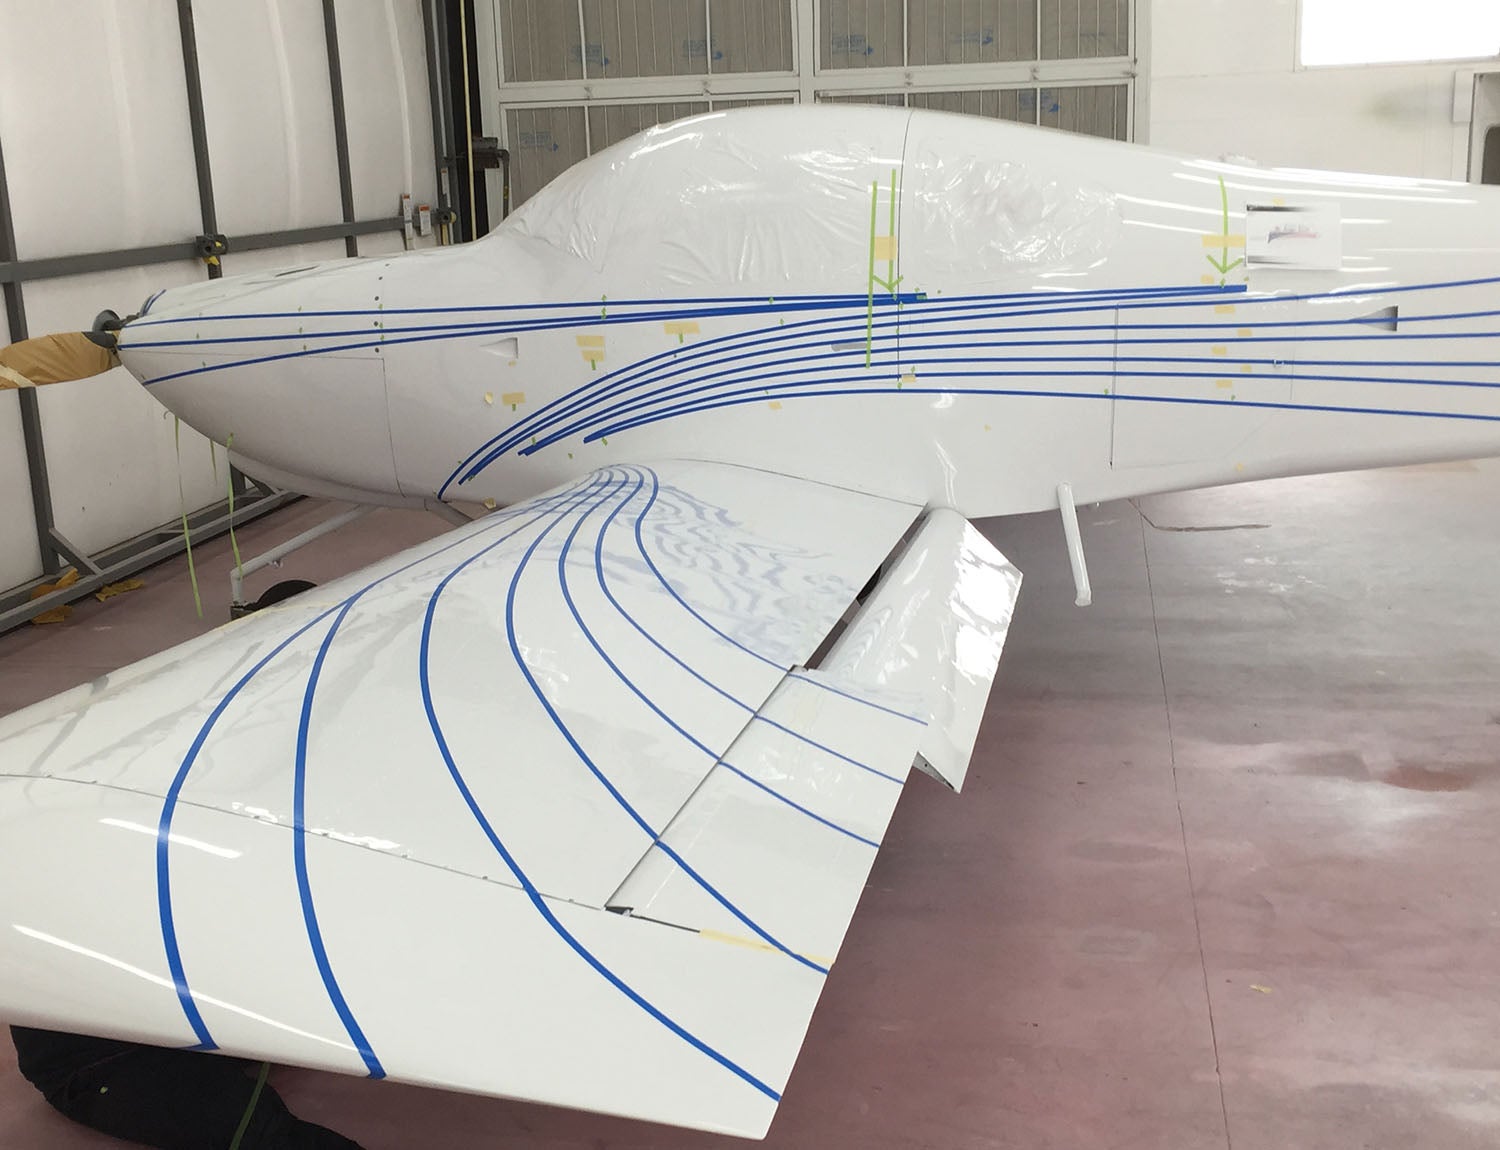
After the base coat is complete comes the often laborious task of masking out and applying the accents, stripes, graphics and so on. Obviously, these steps have to be redone for every color change and vary by the whims of each client. Once complete, there are still several required placards, warnings, advisories, like fuel capacities, no-step areas, static openings and so on that are usually accomplished with decals or vinyl graphics that you can easily find. Some builders pay considerable costs to have those painted by hand.

That’s a Wrap
In place of painted stripes or graphics accenting the base coat, another option is to use vinyl graphics that special machines can print out full-sized with colors, designs, even photo quality reproductions that would be impossible to mask out by hand. Many certified manufacturers have been using accent appliqués for years, as have airlines. You can even have the entire aircraft wrapped, although certain areas like overlapped skins and the like aren’t as easily covered with film as they are with paint. Most experts doubt that a wrapped project could compare to paint in durability, but the tech of both is constantly improving.
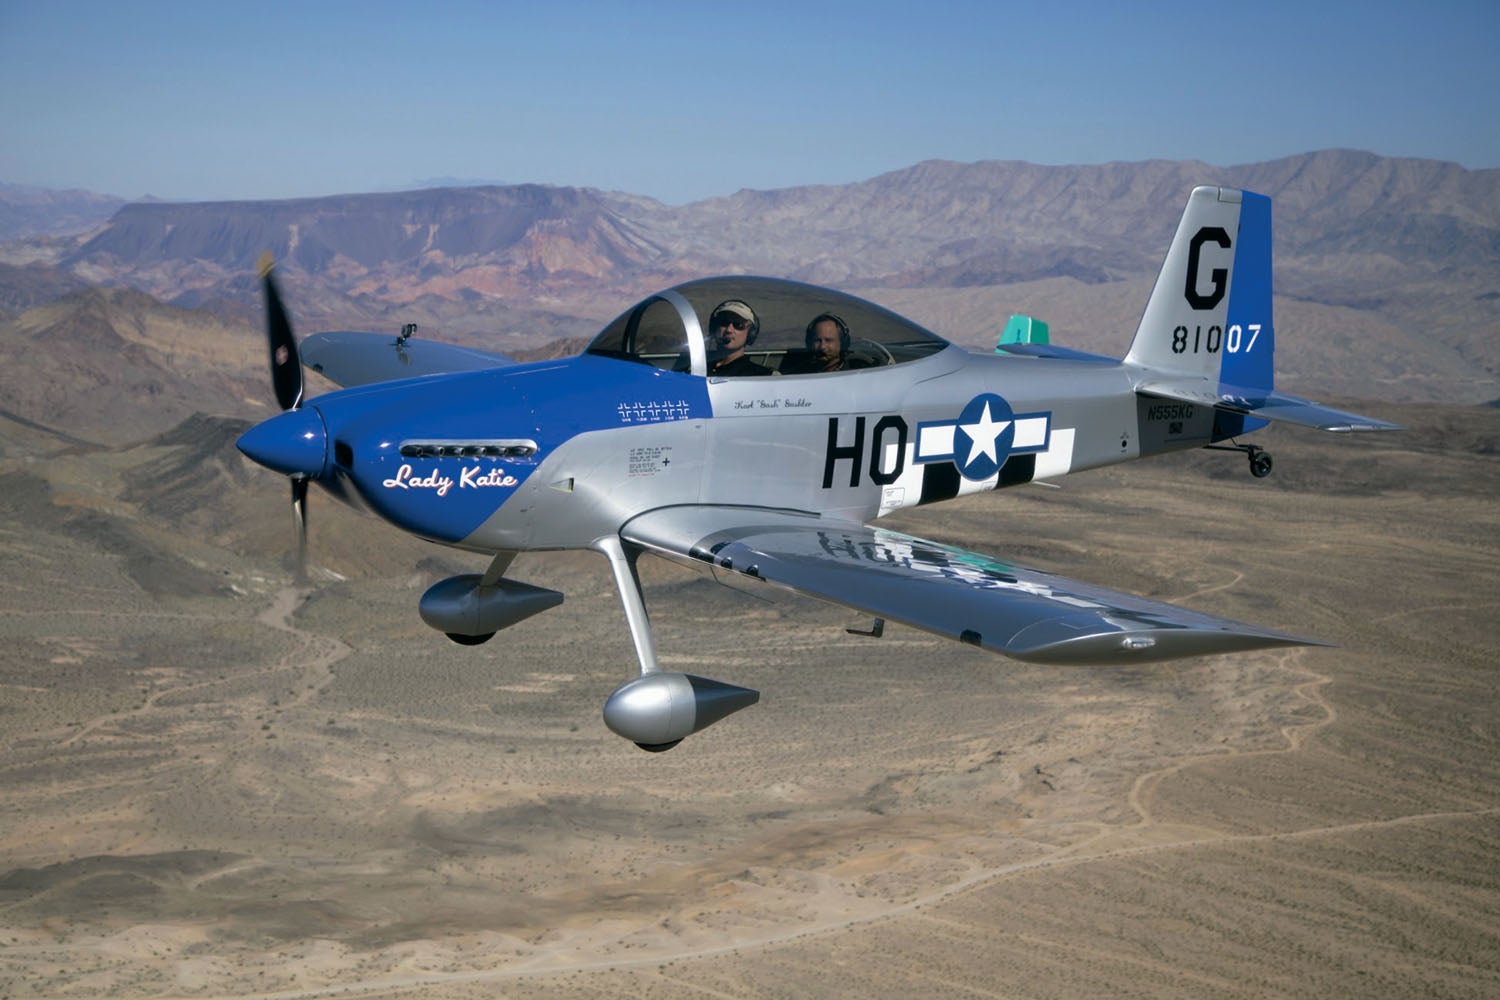
The key to an attractive and long-lasting livery is performing your due diligence, educating yourself on the options, asking a lot of questions and getting the key elements of the project on paper so there are no surprises. Although often the catalyst of some sleepless nights and hand-wringing, this final packaging of your project can be one of the more enjoyable and rewarding parts of the whole amateur-built process—and a source of great pride in your airplane. Few experiences beat sitting on a lawn chair next to your aircraft at one of the big airshows and having someone walk by and compliment its paint job. Or so I’ve heard.
Photos: Myron Nelson and courtesy of Karl Gashler and Brian Head/Arizona Aircraft Painting.


