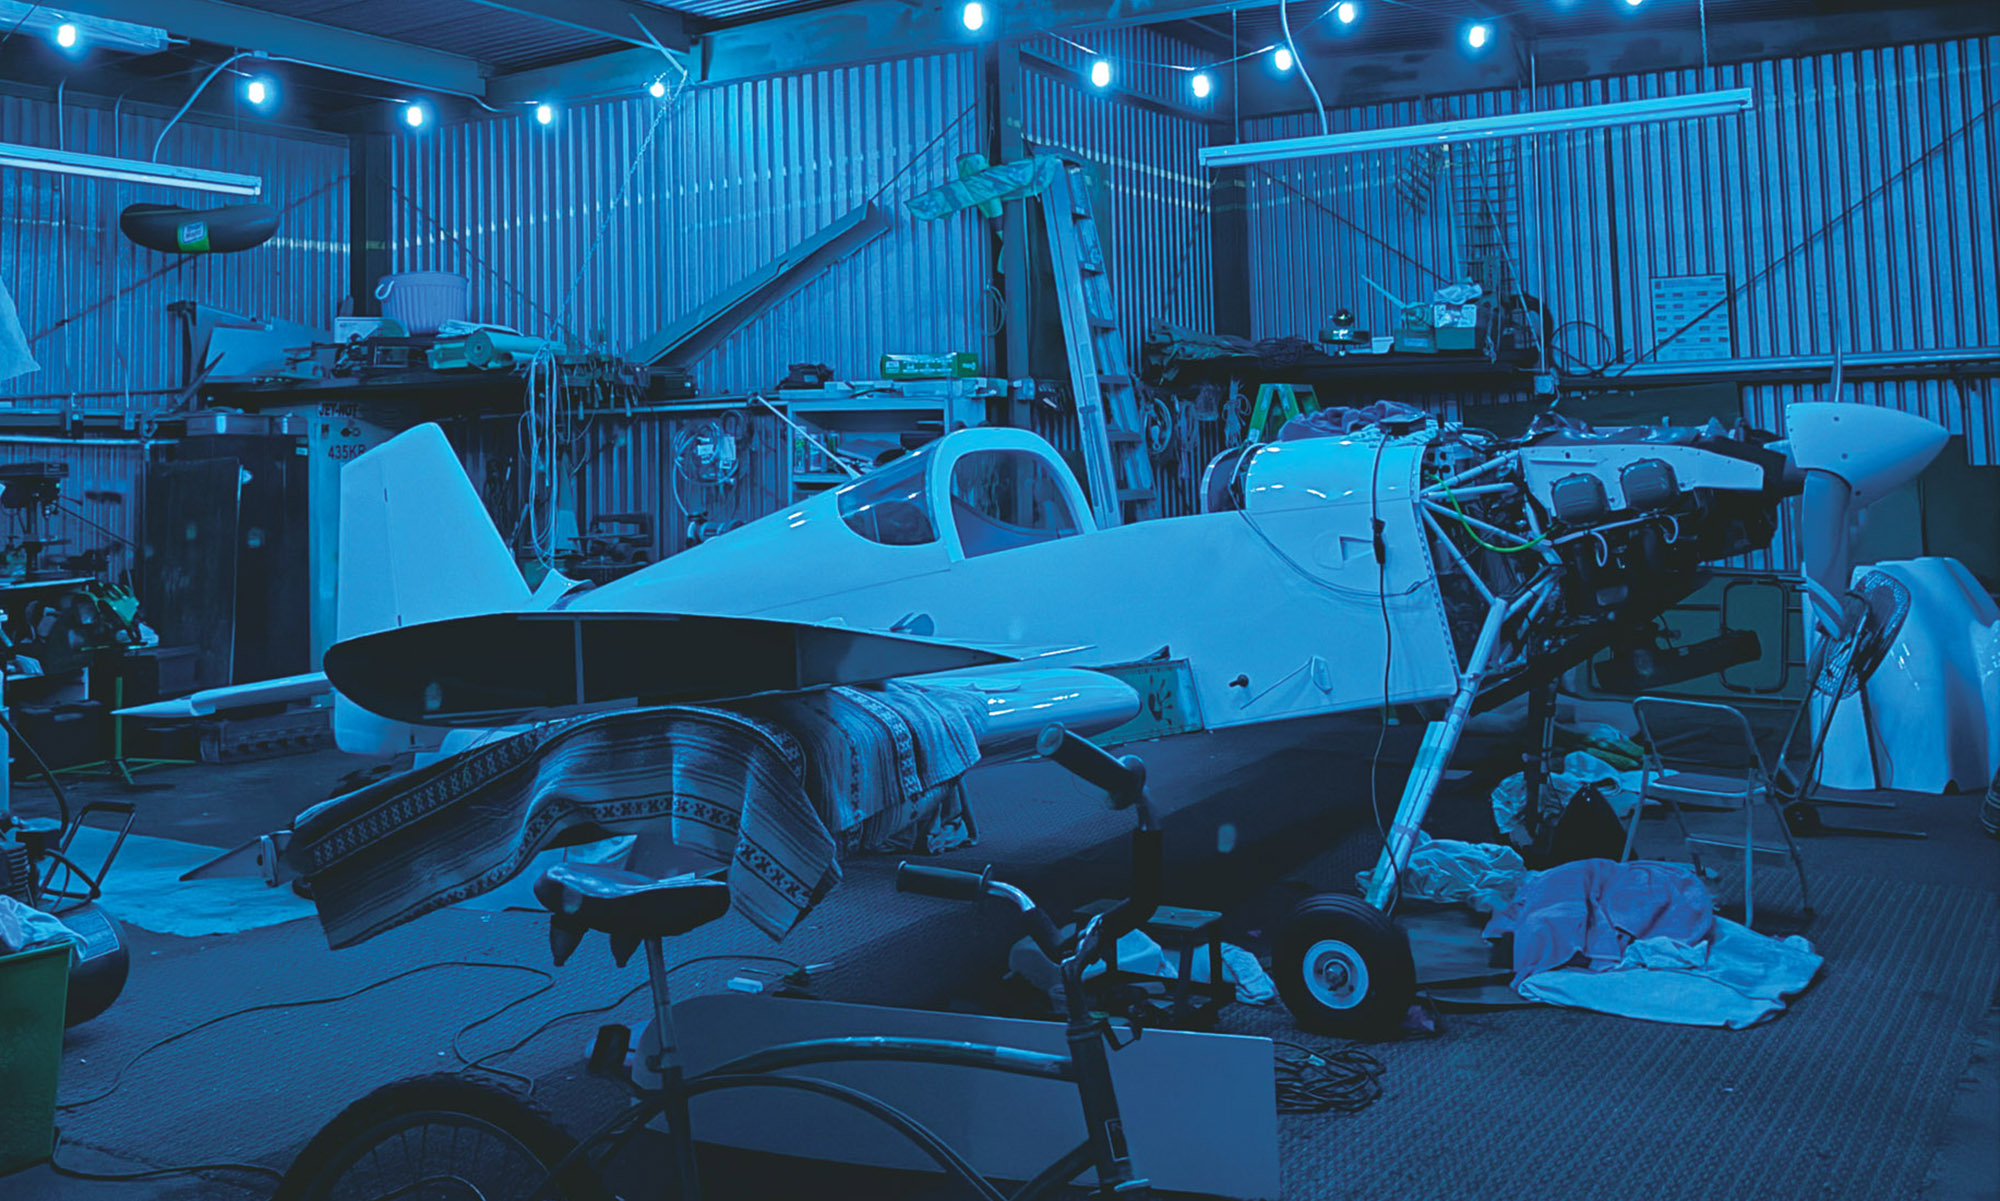
 Oshkosh 2025 is approaching rapidly and N2165U wants to go! We have been working hard to finish small projects and continue moving toward test flying.
Before we test fly, somebody will need to perform a condition inspection, as this plane has not flown in three years now. The inspection will be extremely thorough and we will make sure that every single nut and bolt is tight. Because of this, I decided to plan ahead and get N2165U looked at now while it is still somewhat apart. The fuel tanks, wingtips, fairings, cowling, and rear bulkhead are still off.
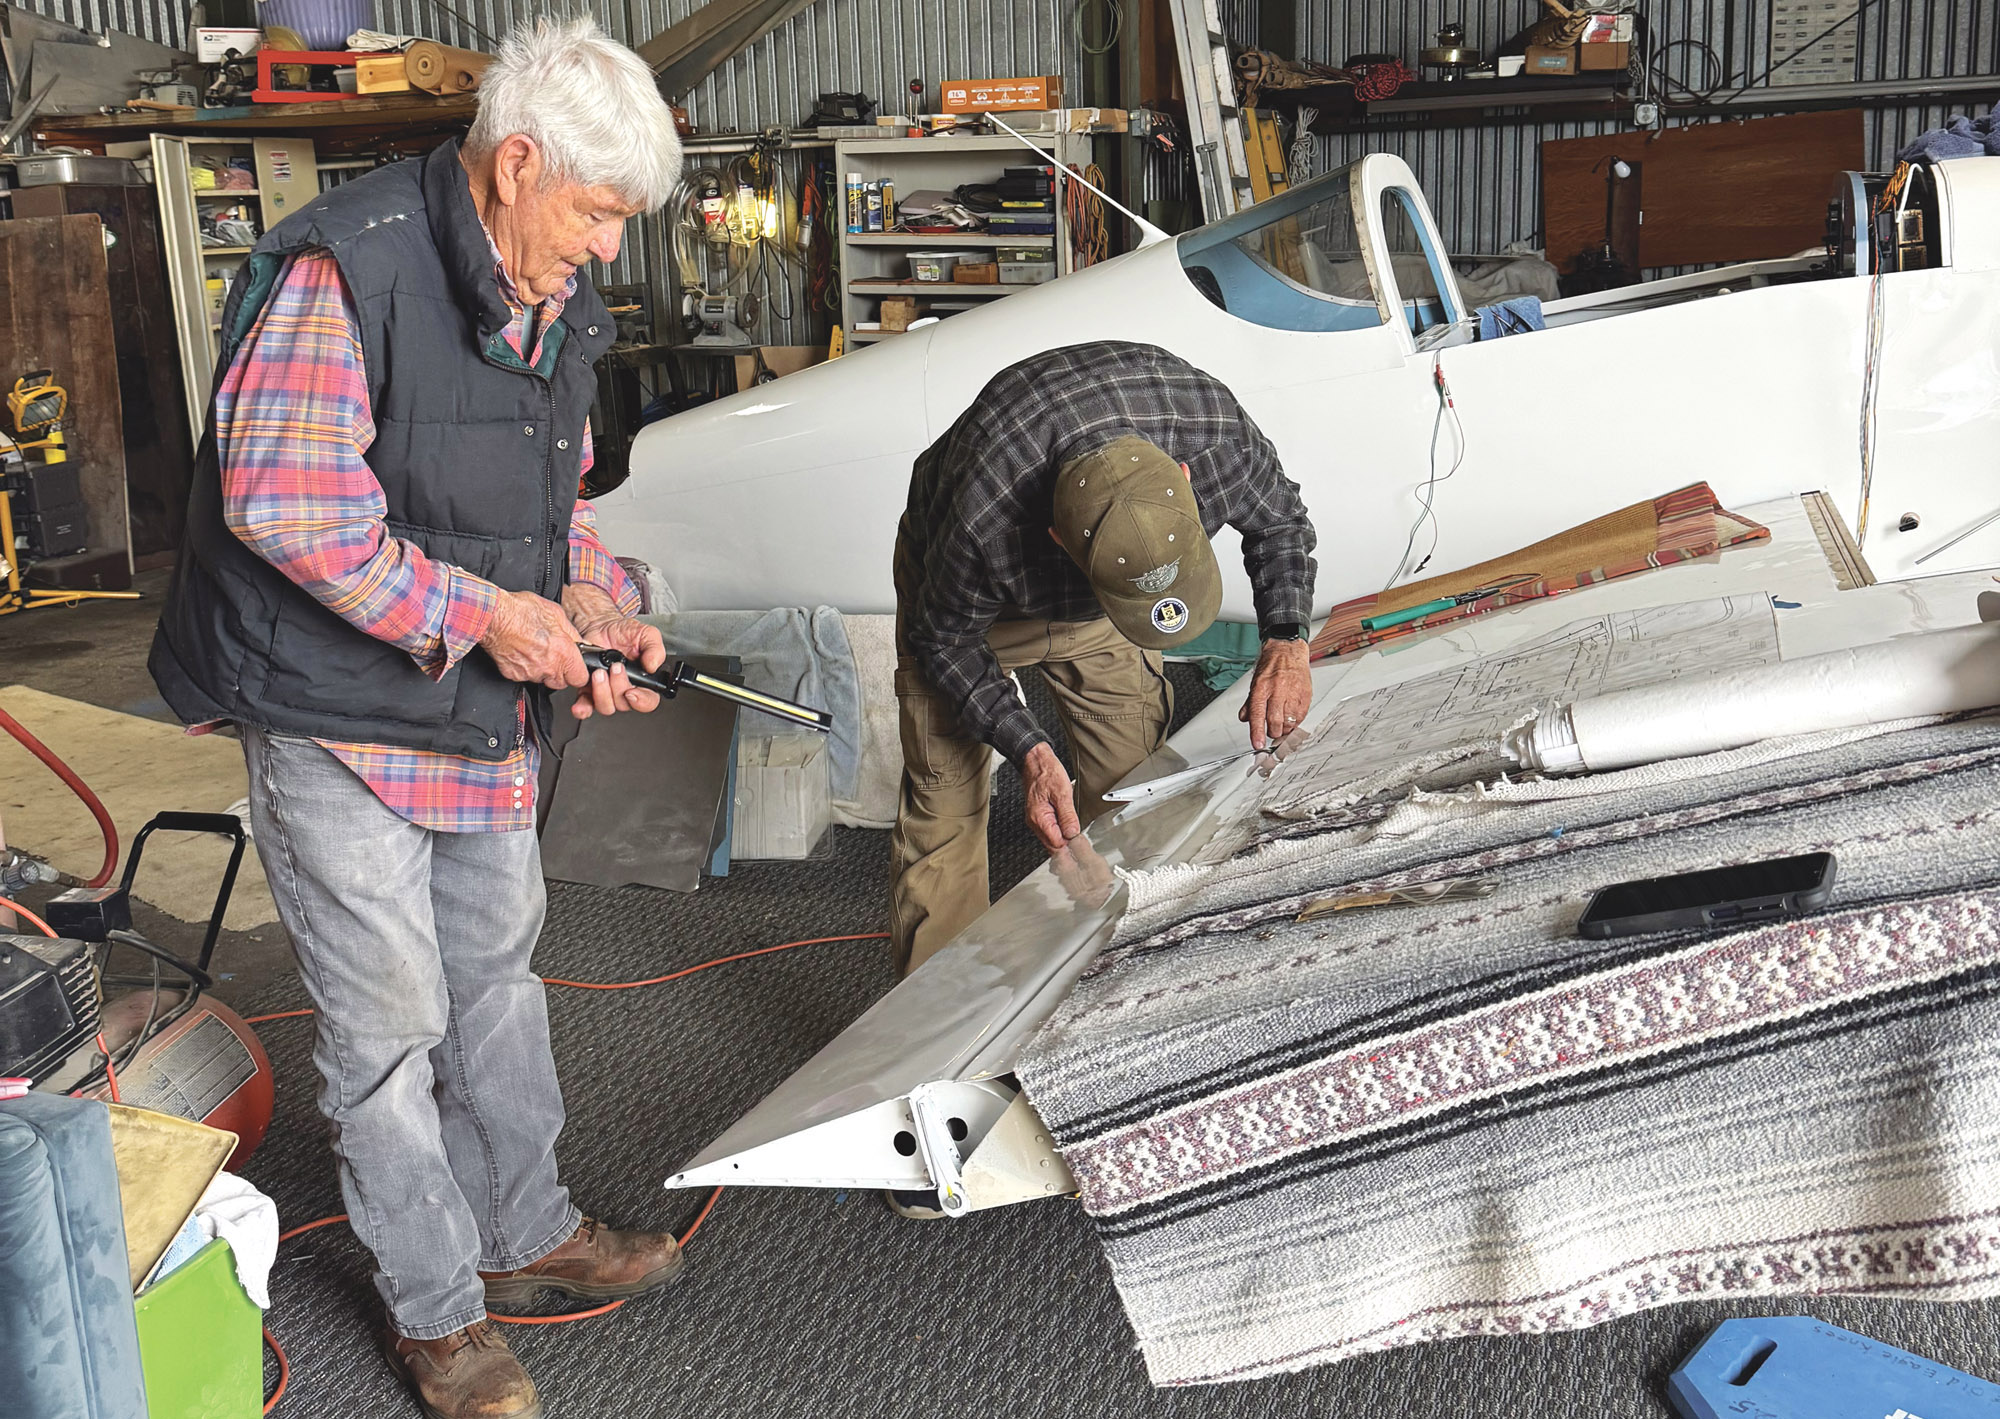
About a month ago, I asked my mechanic friend, Lee Ulrich, to come take a look at N2165U. Lee is an Aircraft & Powerplant Mechanic (A&P), Aviation Inspector (AI), and Van’s RV-7 owner. We agreed that it was a good idea to take a look sooner rather than later and proceeded to spend a good hour walking around my RV-6. As you can imagine, we found a lot of items to be addressed, some critical and some not.
The To-Dos
During the walkaround, I rapidly jotted down notes to make a solid and clear list of things to do. To this list I added my own to-dos. For the next month, we worked through a good majority of that list plus my own to-dos.
For this article, we discuss the horizontal stabilizer and associated service bulletins, protecting wires going through the firewall, creating and installing the carpet, officially troubleshooting the ailerons, and more to-dos.
The Horizontal Stabilizer
When we first started taking apart N2165U, my dear friend Kerry Richburg, RV-6 and RV-9 builder, noticed that the horizontal stabilizer had elongated holes in the main spar. To fix this, he had attached a supporting bracket. Last year we got it painted and then mounted it back on the plane along with the elevator, vertical stabilizer, and rudder. Everything was buttoned up and torque sealed.

As Lee and I were walking around, he saw this and also noted that there are a couple of service bulletins for the horizontal stabilizer. These include SB 14-01-31 and SB 14-02-05. SB 14-01-31 states that it is common for cracks to develop in the forward flange of the rear spar. It wasn’t clear if my spar had cracks due to the paint, but we thought we could see traces of them. Van’s sells a kit to upgrade the rear spar. The other service bulletin, 14-02-05, states that you can get cracks in the elevator spars. Once again, Van’s has a solution where they sell a doubler plate that you can attach if cracks are found to reinforce the area.
Lee is extremely familiar with these service bulletins and has done work for many people to help repair their planes. He kindly offered to do mine for me. With a million other things on my to-do list, I happily took him up on the offer. Kerry and I then proceeded to spend an afternoon undoing our work bolt-by-bolt. We carefully handled all the beautifully painted parts and pieces as we removed the rudder, vertical stabilizer, and elevator and cut the electric trim wires that had been hooked up. Oof. Feels like one step forward and two steps back.
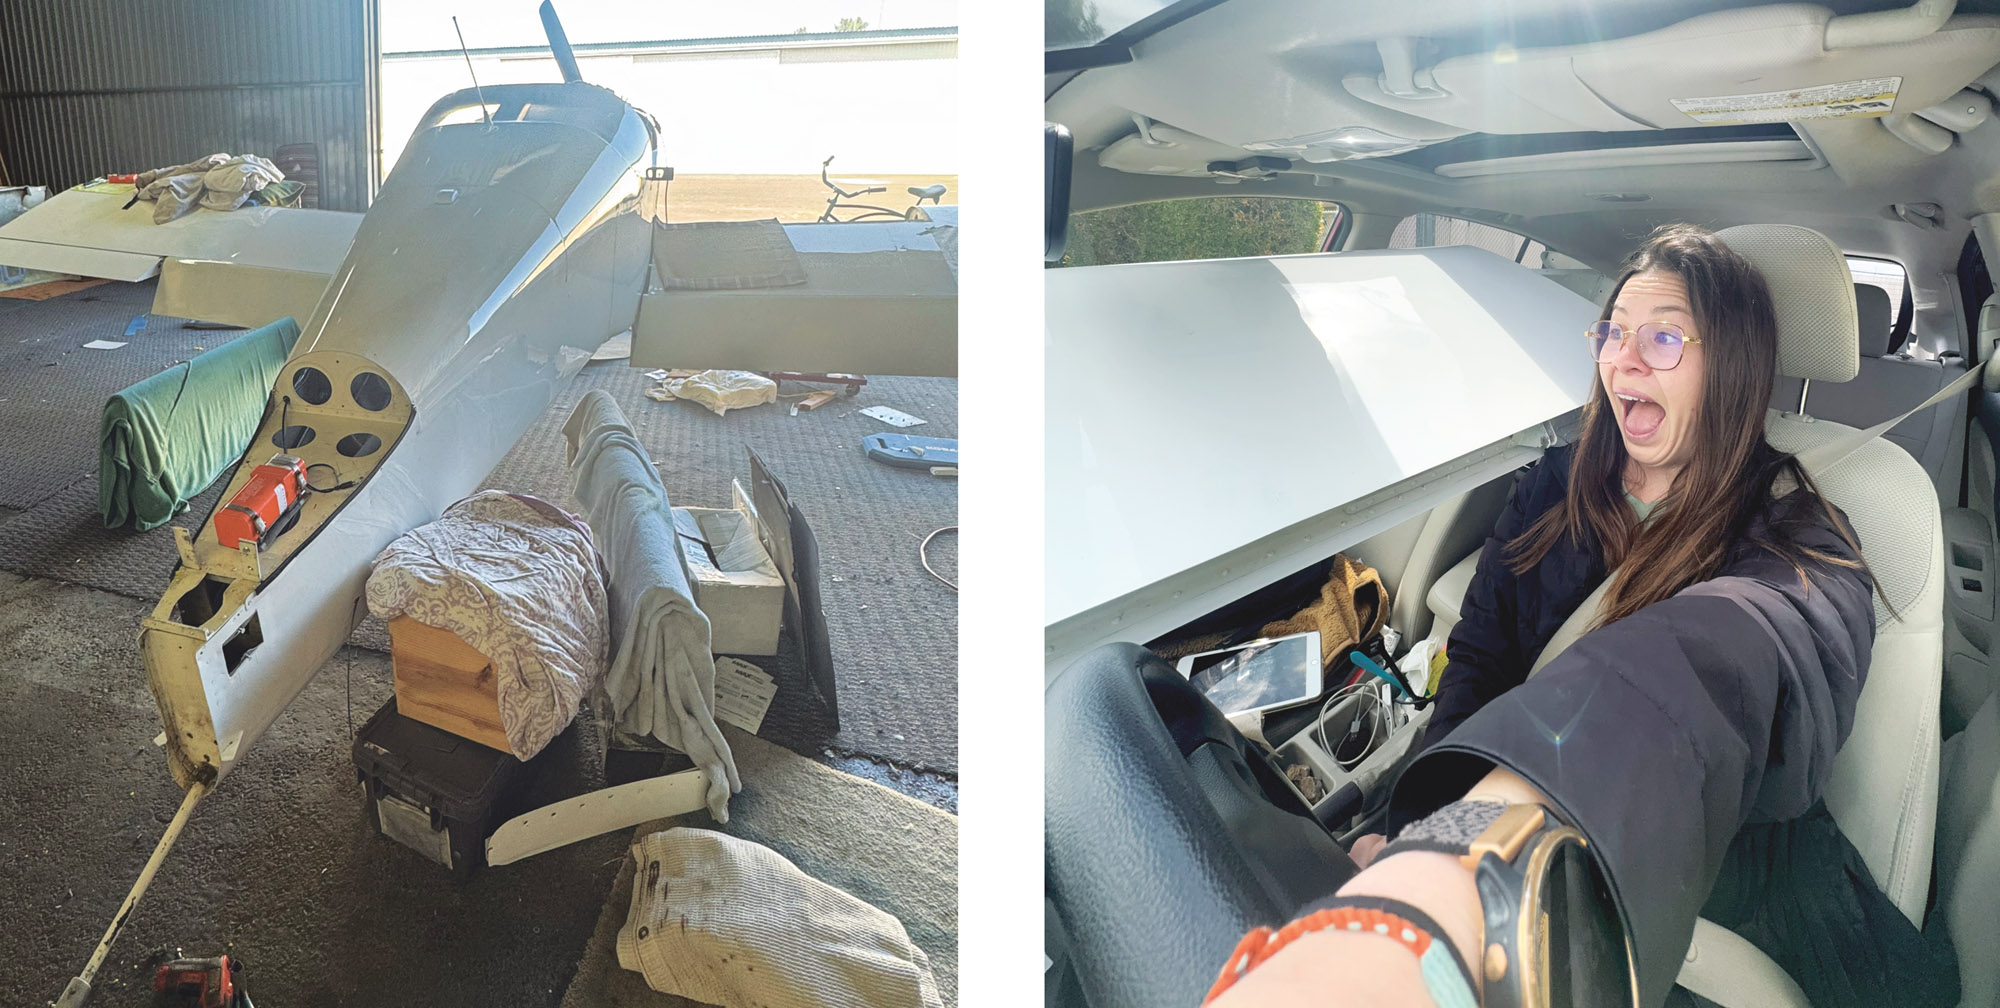
We finally got the horizontal stabilizer off and when loading it up to drop it off with Lee, I was pleased to discover that it fit in my 2013 Subaru Crosstrek perfectly. I was even more pleased (and quite honestly, shocked) to get a text three days later saying it was done: “Horz is done.”
Lee is truly an expert. This project would have taken me two weeks, but he managed to finish it practically overnight. He replaced the main spar in the horizontal stabilizer, carefully undoing many rivets and then placing them back in. In addition, he installed the doubler to comply with SB 14-02-05 in advance.
If you want more information on these service bulletins, AVweb published a great explanation of them.

Protecting Wires Going Through the Firewall
In an effort to keep everything simple and clean when bringing the wires through the firewall, we had drilled two holes, side by side. Unfortunately, we didn’t take into account the two layers of steel and later noticed that the inside was chafing. We had already connected the wires to their respective places, so looked for a solution to protect them without undoing everything.

Kerry, Stan, and I came up with the idea to put a piece of plastic tubing around them. As long as we could find one thin enough to fit around all the wires, that could work. After a quick trip to Home Depot, I managed to find Everbilt clear tubing ¾-inch outer diameter, ⅝-inch inner diameter. I also picked up some Permatex Ultra Red Gasket Maker High Temp. Using zip ties and a lot of patience, I cut the clear tubing to be about 2 inches long and was able to stuff it through the firewall and wrap it neatly around the wires. To fix it in place and further fireproof the area, I squished the Permatex around the inner edges of the tubing and between the wires.
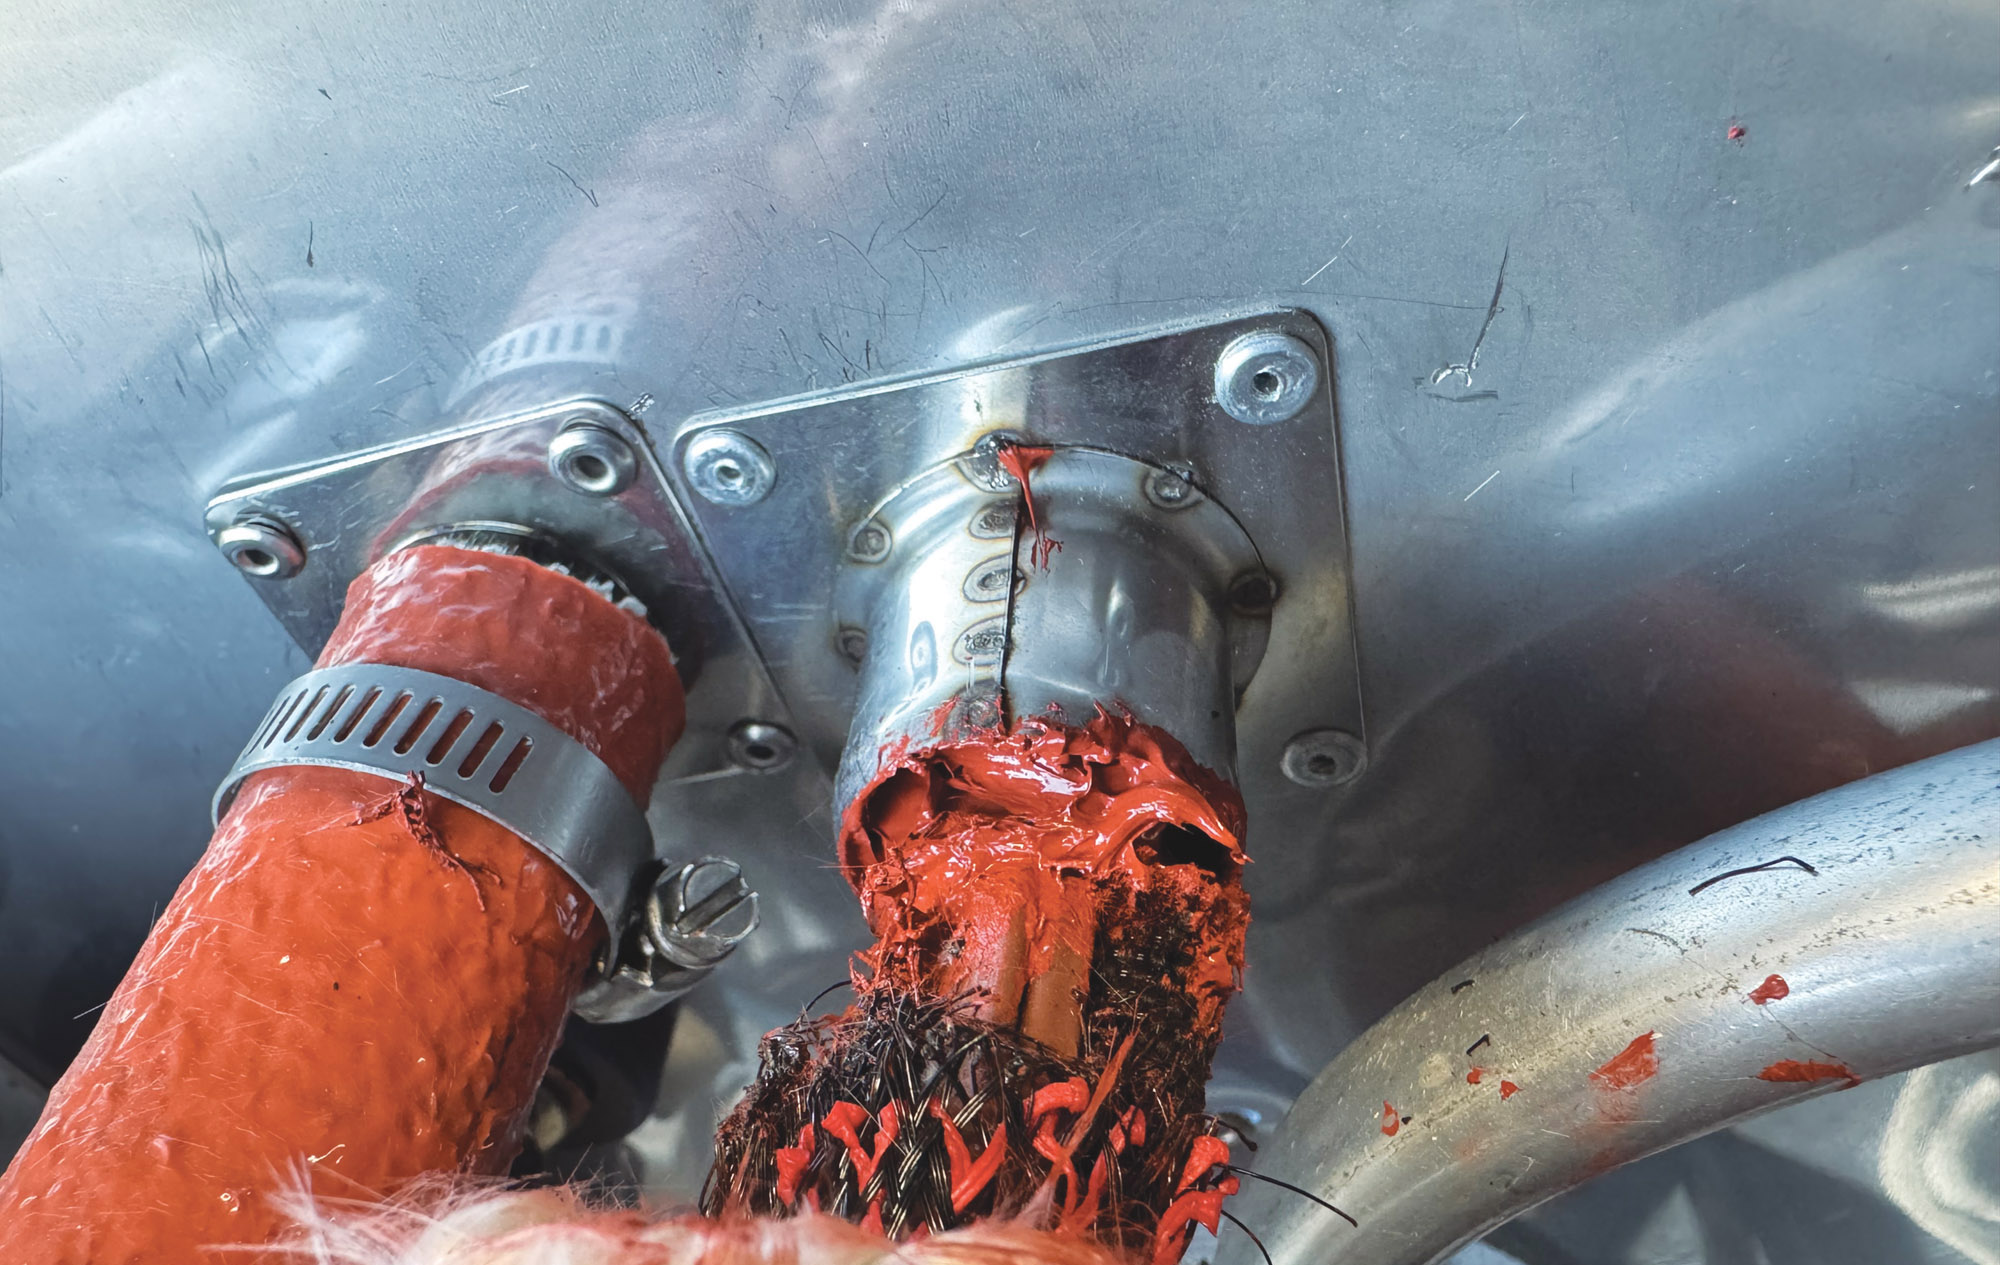
After that, I covered the tubing with fireproof hosing and clamped it tight with hose clamps. If we need to work with any of those wires at all, it may be a bit difficult to remove the Permatex, but at least it is ultra-fireproof and anti-chafed!
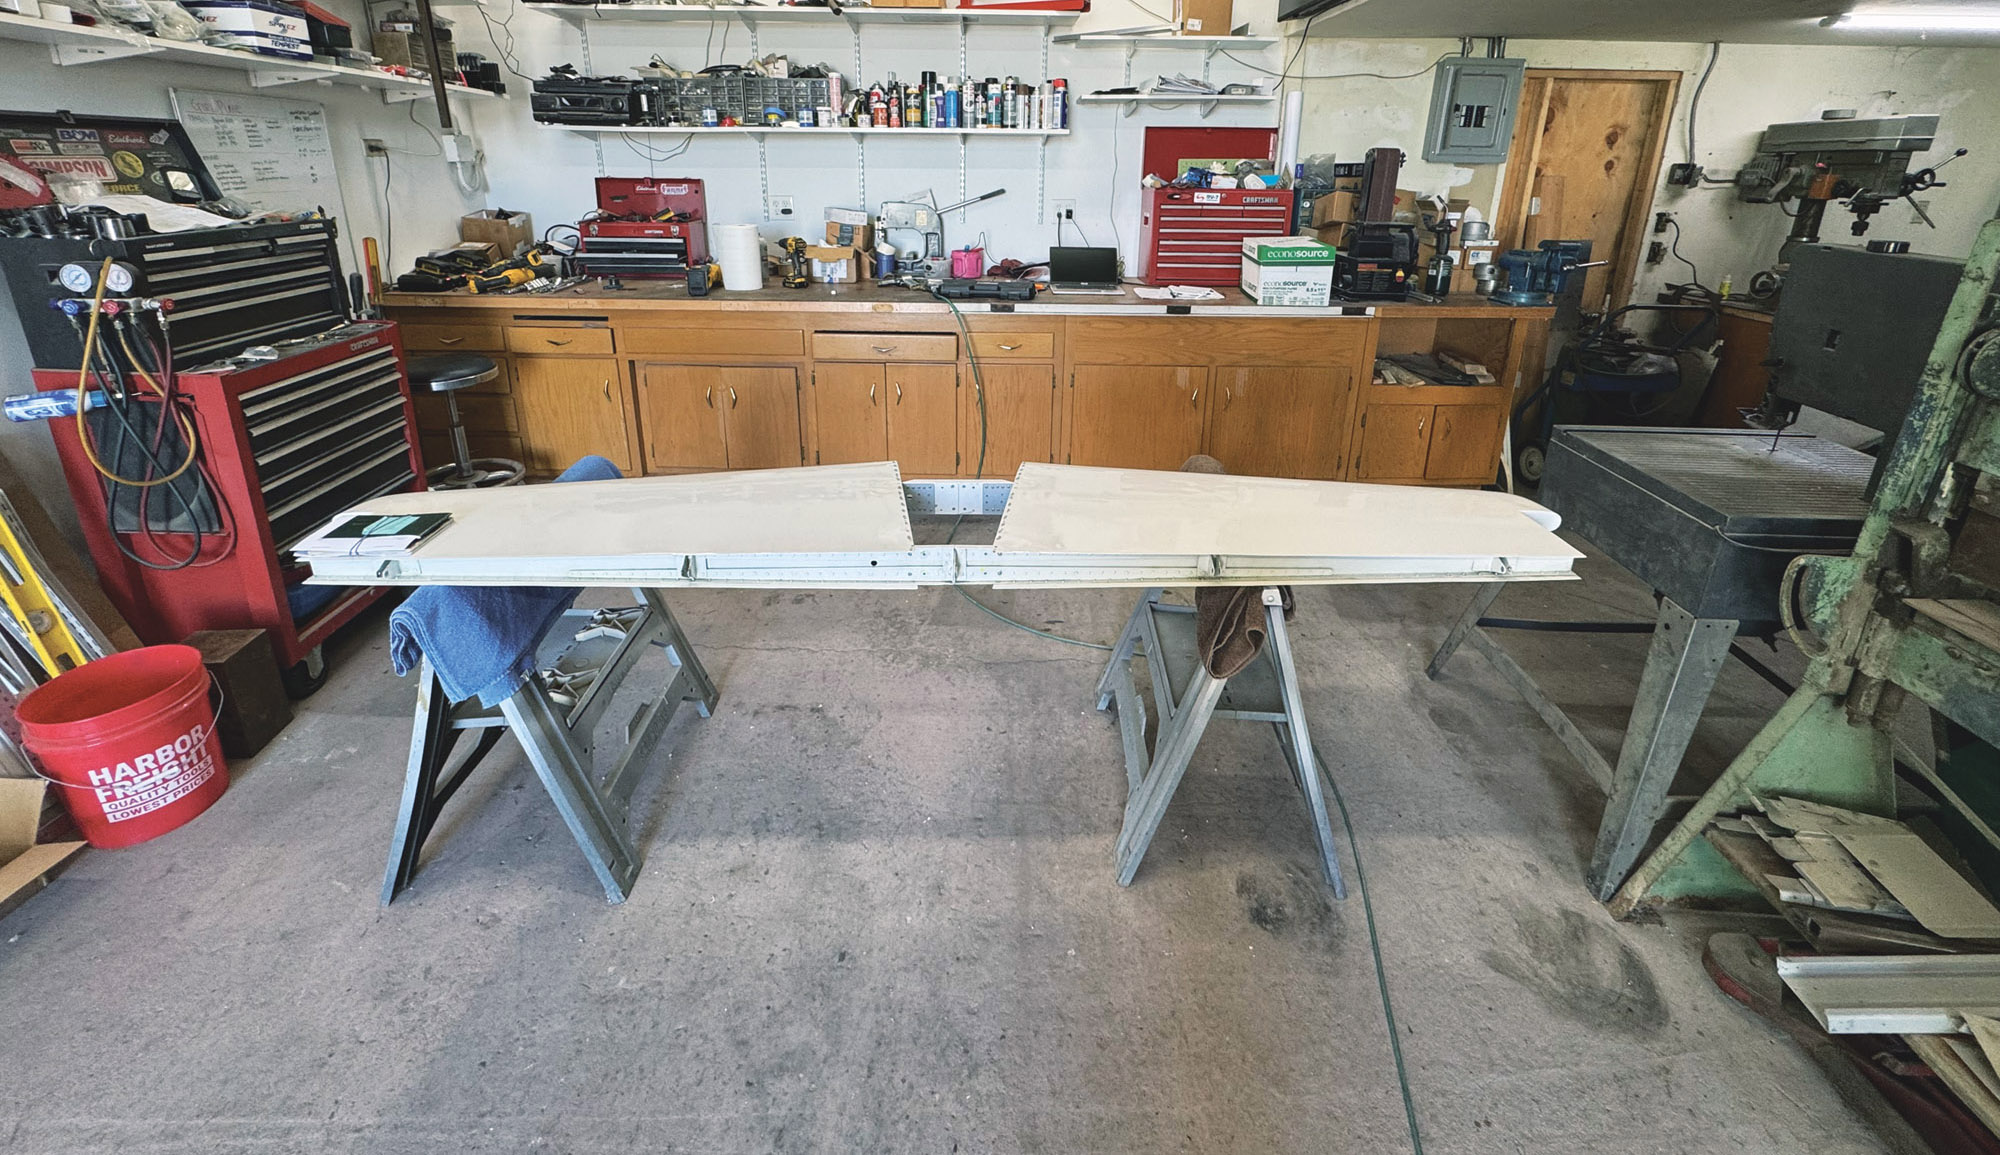
Creating and Installing the Floorboard
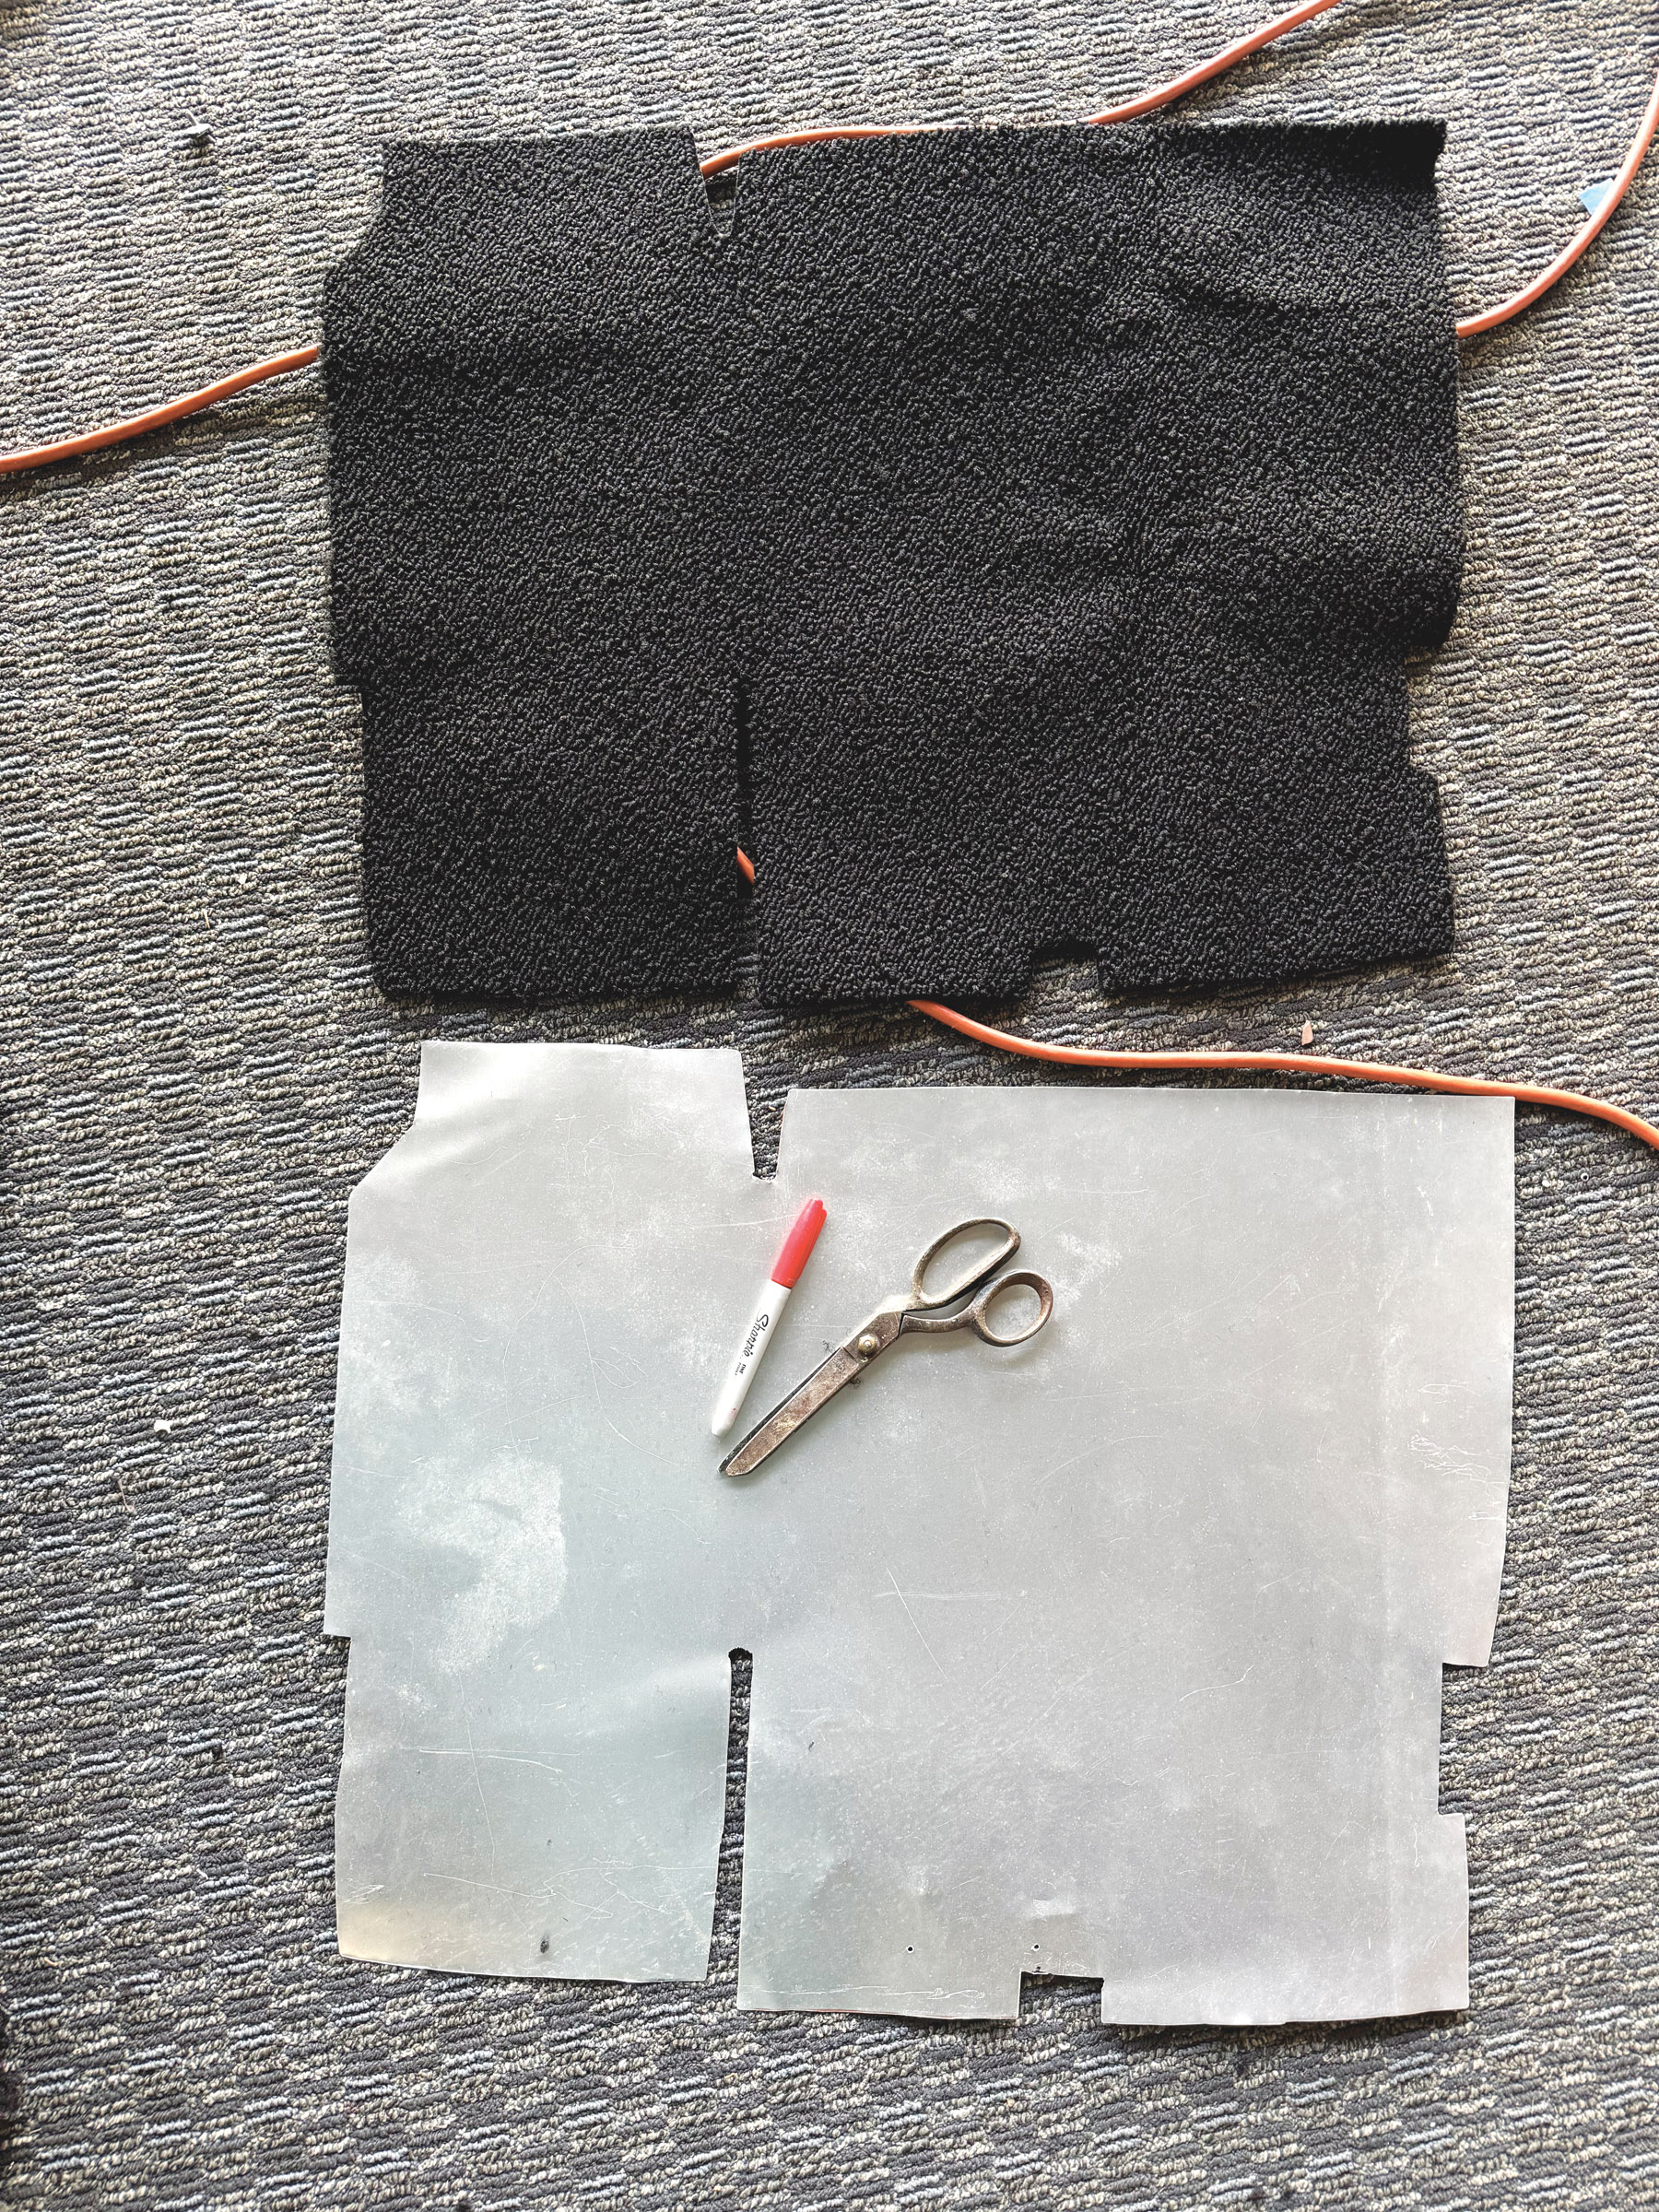
For the floorboard, I had previously cut a large piece of aluminum. It was pretty big, which made it hard to get in and out of the plane without scratching the panel. Stan cut it in half to make it easier.
He also ordered black carpet. I carefully laid the carpet fluffy side down on the floor and placed my aluminum board pieces on top. Using a sharpie, I traced the outline, then using some sharp scissors cut out the carpet to match my lines.
Before attaching the carpet and aluminum sheet, I placed them inside to see how it fit. Unfortunately, my fuel line rubs against the floor now, due to the added thickness. I’m currently working on redoing the fuel line to make it work.
Officially Troubleshooting the Ailerons
My ailerons have given me more grief than I ever anticipated…I mean, the plane was ferried to me from Colorado! After trial and error over the previous months with adjusting the shim, adding the welded washers, and shuffling spacers around, we finally found the solution.

After talking to Lee, we discussed the importance of having a large washer there. My large washers have been giving me the biggest issues, because either the washer rubs on the pushrod, or the pushrod rubs on the wing spar. Either way, not good.
We decided to remove the large washer and everything runs beautifully now. Woo-hoo!

Final Thoughts
The horizontal stabilizer is back and Kerry and Stan reinstalled it. We now need to continue to finish securing the empennage area, resolder the electric trim wires, and then run a few major wires to the panel. This includes the GPS, AP pitch servo, and AHRS.
In addition, we need to finish up the navigation lights and reattach the wingtips, install and wire the control sticks, and polish up the roll servo (it’s installed but rubs a little bit). Other than that, we need to install the canopy and work on some of the things Lee mentioned for us to go back and fix.
While lately with needing to go back and fix things it feels like we’ve been going one step forward and two steps back, I know that this attention to detail will pay off in the long run. And as always, I’m super grateful for my friends who have helped mentor me and motivated me to persevere through the process.


Technically, an A&P can hold an Inspection Authorization (IA), commonly misstated as an Aviation Inspector (AI).
Comments are closed.