 Ted spread out the plans for the two-place sheet metal airplane on the expansive workbench, placing wood blocks at the corners. “Are you sure you can do this?” asked his friend Larry. “It looks extremely complicated.” “It does look a little frightening, doesn’t it?” replied Ted. “But if I follow the directions, I should be able to build it. After all, the fun is in the details.” “Just make sure you don’t deviate from what the manufacturer tells you, or something might fall off in flight,” said Larry. Ted let out a hearty laugh and shook his head. “Right, OK, I’ll leave the lavatory out.”
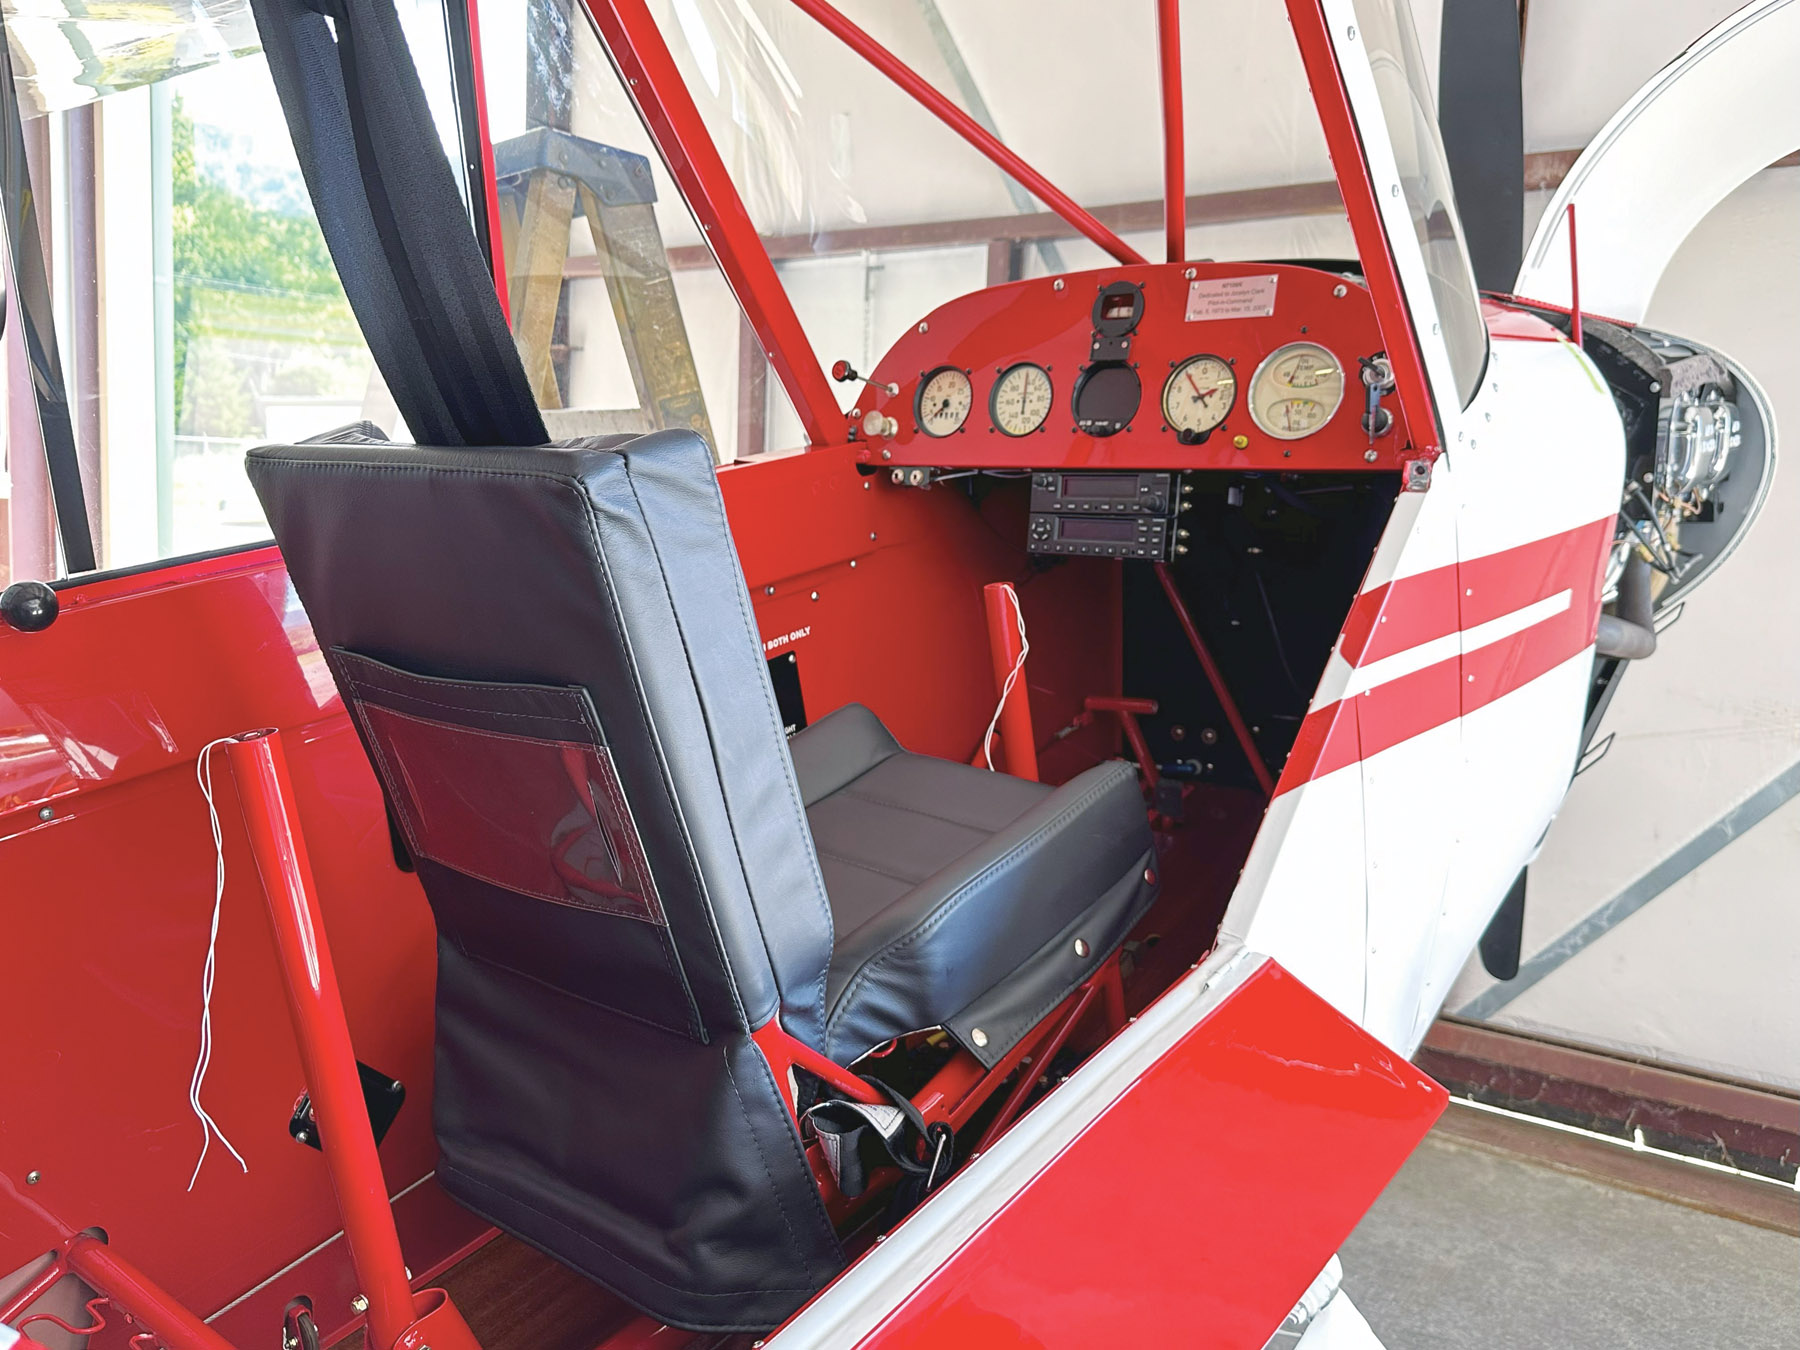
Building or planning to build an airplane? You’ll find that we’re reminded frequently to stay inside the “lines” for safety reasons—not only for our own safety, but for the integrity of the airplane itself. That said, we do have creative freedoms that can make the airplane more useful. Depending on where you are in your dreaming or building phases, there are changes and additions you can design in at the beginning and at the end. I’m talking about things that will add little in complexity or weight but make all the difference in utility.
As you’re thinking about your list of additions, contact the builders’ group and ask owners who are finished and flying what things they wish they had done differently or what things they would have added, or did add, and are pleased with. Here are some ideas.

Hidden compartments and/or glove box. The best time to figure out where these go is at the beginning, as you determine where structural components and bulkheads go. A great place is the center armrest, if there’s room above linkages, and below the panel if it’s a Cub.
Armrests on the outboard sides if you have room. These can also make nice channels for small items you need to secure.
Overhead panel or a reconfigured main panel. In an airplane without a sliding or hinged canopy, you may have some room overhead. In my Kolb, I placed the ignition switch, breakers, and gauges overhead. It looked cool and turned out to be very handy.
Cup holders. Of course!
Seat cushions. If the seats in your homebuilt are not adjustable—and many are not—make up a variety of cushion sizes to accommodate both yourself and your passenger. This is also a selling point; make the seat big enough (think legroom) so that the next owner can easily fit, using the cushions to adjust.
Cargo cleats or D-attach rings behind the seats so baggage doesn’t shift around. Mounts for fire extinguisher, headset, etc. Canopy or door locks, extra handholds, etc. You get the idea. These are just a few suggestions. The sky’s the limit.
Some caveats as you build in your extras. Check the weight of the airplane as you go. We almost always end up with heavier airplanes than the manufacturer’s specification listing. Check the final weight and balance carefully. While the added items may be small, they add up. Make sure when you’re building in compartments that they don’t interfere with linkages or cables that could get caught or chafe. Finally, make sure you don’t compromise any structure with your creations. For example, building in a chart case (“glove box”) hanging from the avionics panel may require reinforcements. Running your additions by the manufacturer is always a good idea.


