Flying airplanes need attention, even when they aren’t flying and especially when the factory issues a new service bulletin! This winter, Van’s Aircraft put out SB-00036, requiring inspection of the horizontal stabilizer spar where the outboard elevator hinge attaches. The trick is—you need to inspect it from the inside. This SB affects the majority of the early models of RV, and that hit our RV-3, RV-6 and RV-8.
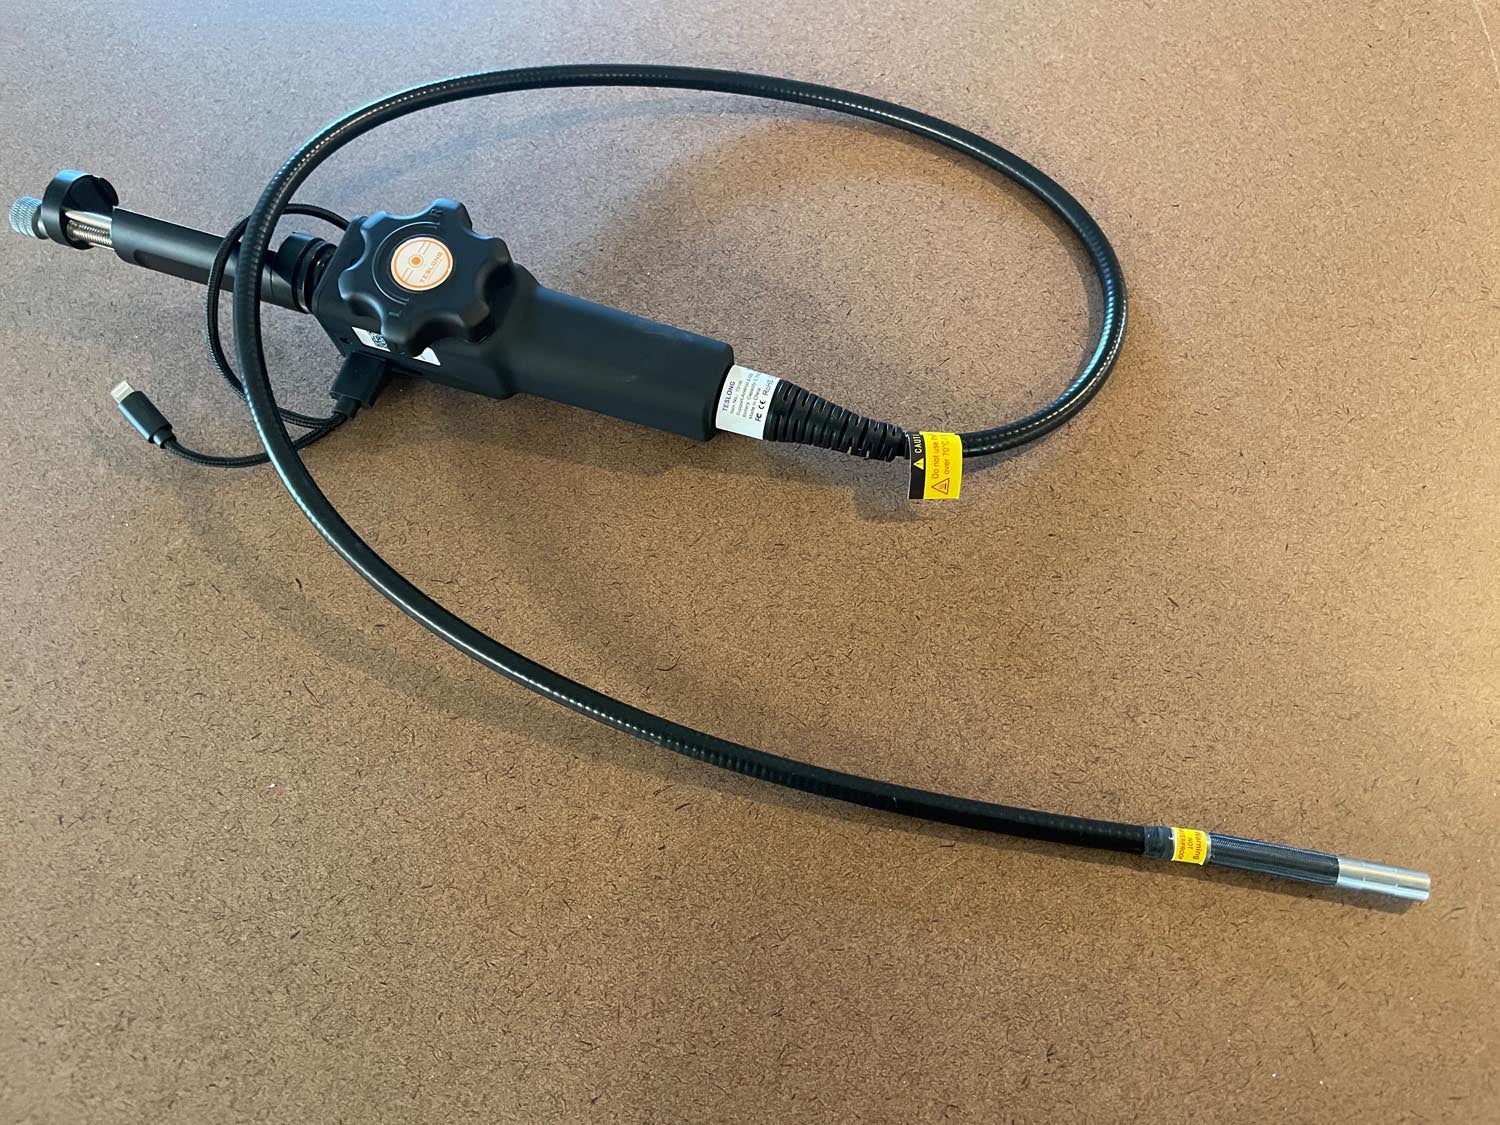
The inspection, fortunately, isn’t all that hard as long as you have a borescope. And of course, I have a borescope but it has been getting a bit long in the tooth, is a bit buggy to connect with my i-Thingy devices and was old enough to have poor resolution. So into the shop came a new Teslong borescope designed to work with an iPhone and providing sharp, high-resolution pictures.

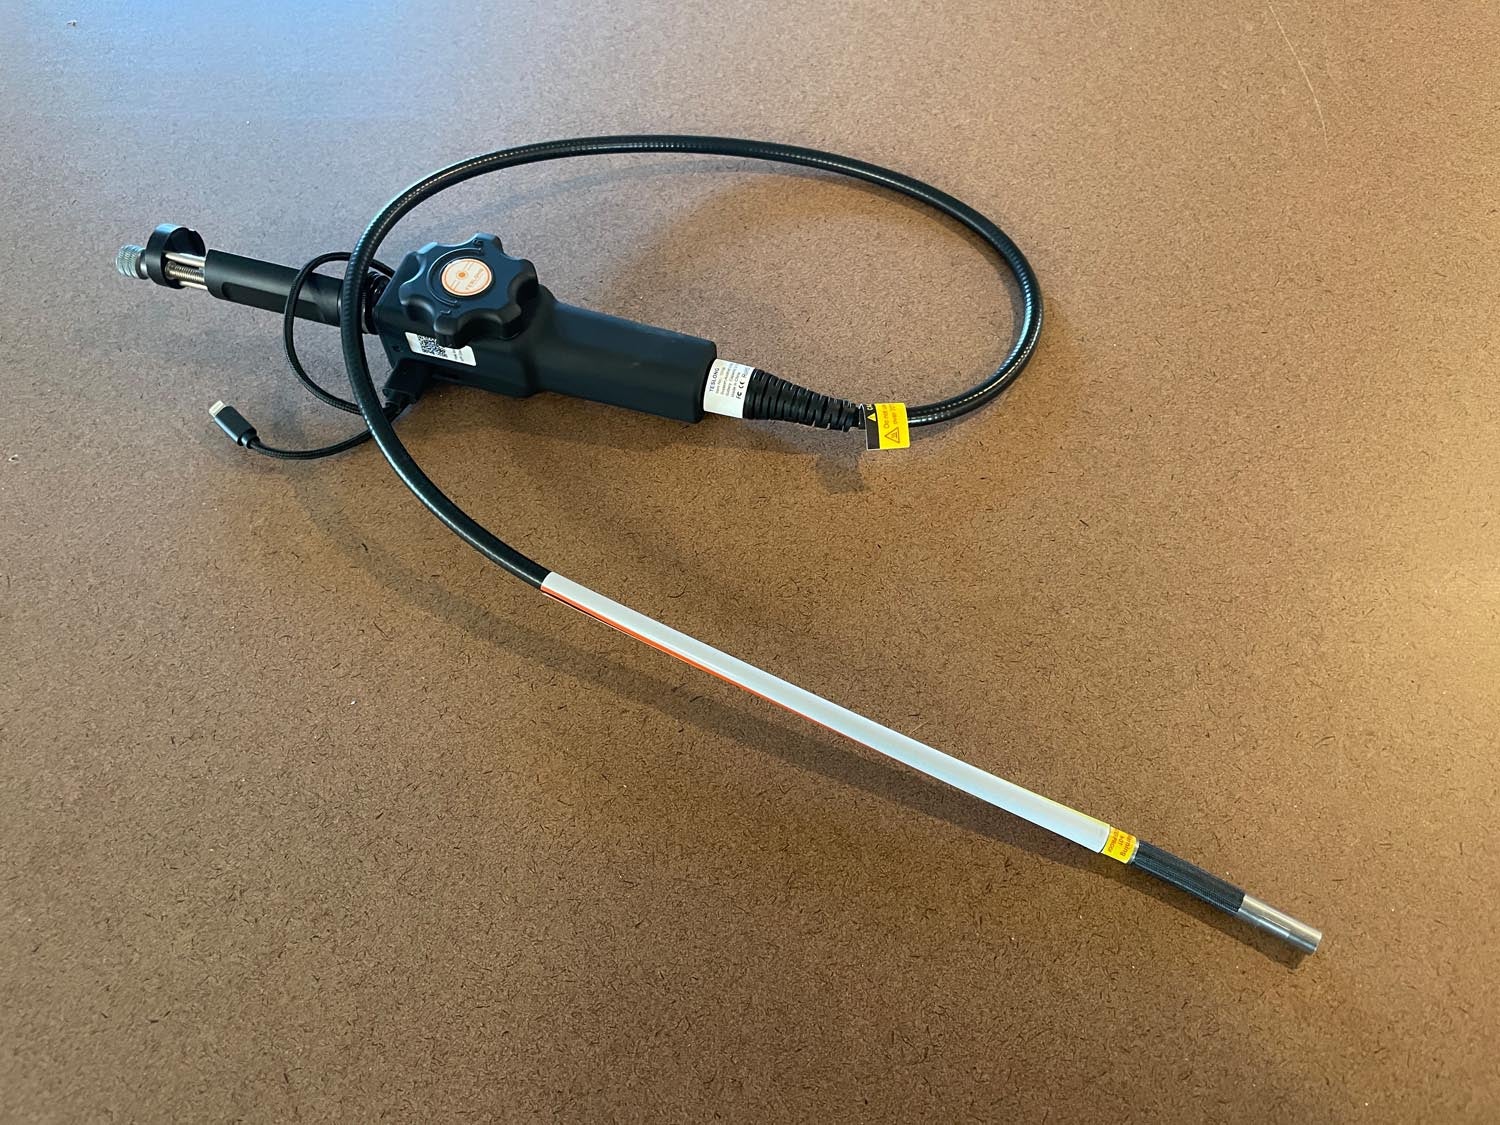
Here’s a tool tip! I liked my old borescope’s straight tube (with an articulating end) because I could maneuver it precisely. The new Teslong has no stiff section, so it is a bit floppy, making it a challenge to get it to go where you want. But you can fix this with a plastic soda straw—just slit the straw lengthwise with a razor, slip it on and tape it in place. Now the last 10 inches of the bore scope is rigid and more easily maneuvered. Yes, the end still articulates.
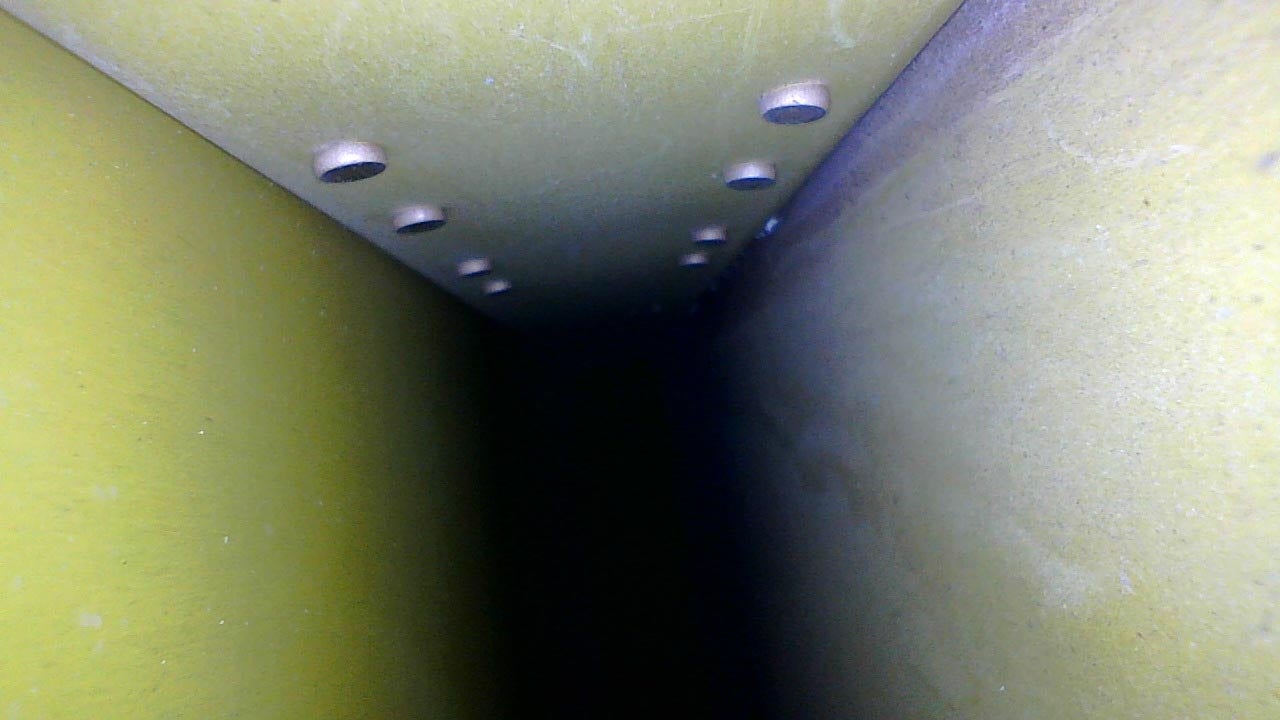
The inspection required enlarging a tooling hole in the outboard rib of the stabilizer after moving the elevator counterweight out of the way. This was easily accomplished with a step drill. Sliding the bore scope in and angling it around for a good view was a quick task, and voila! No cracks were found on either side of the -6 or the -8. Logbook entries made, service bulletins filed until next year, when the inspection has to be repeated.
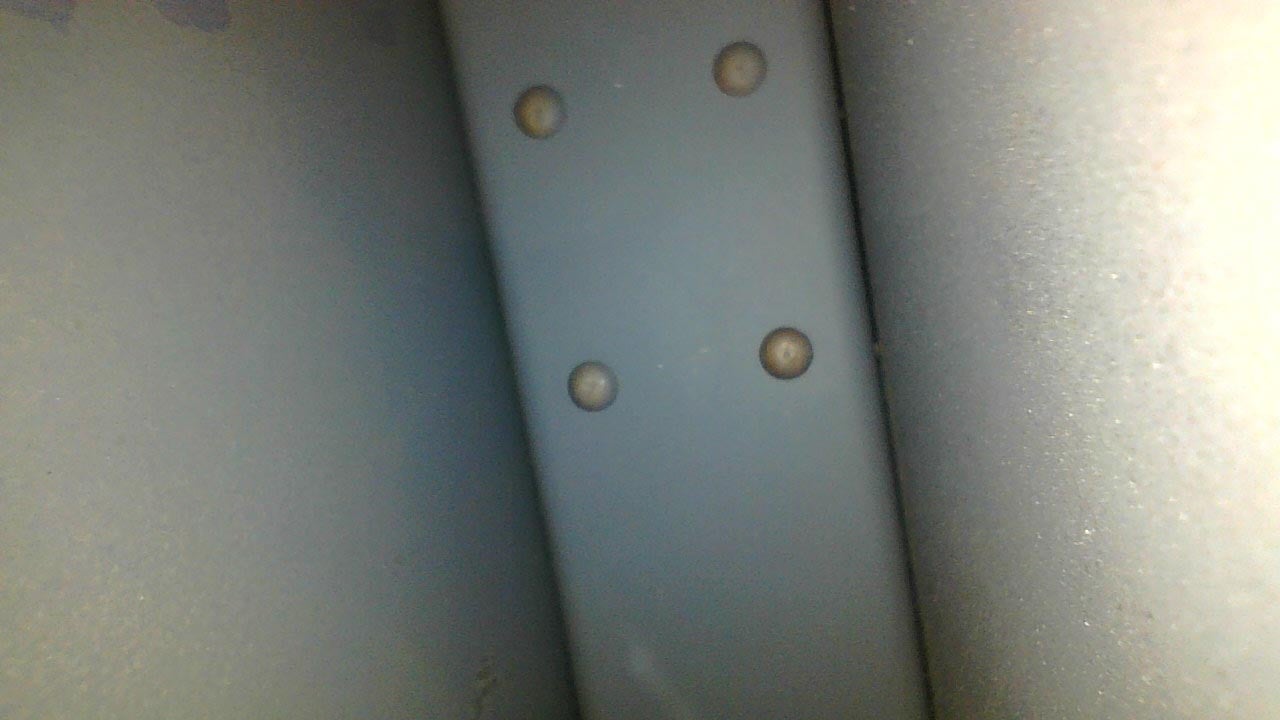
But what about the RV-3? Well, it’s also fine but took a little more ingenuity. Since there are no outboard counterbalances on the elevator, the tips are glassed in to the end of the stabilizer, providing no access from the tip end. But the stabilizer is short on such a small airplane and the empennage fairing comes off. There are only two ribs on each side of the stab—root and tip—so with nothing in between to be navigated, it was a simple task to (once again) enlarge a tooling hole and slide the borescope in, this time all the way in, and confirm that we had no cracks. “Whew!” (I dread having to repair a cracked spar, not because of the metal work, but because of the custom paint job.)
Of course, we did the RV-6 inspection as part of its annual condition inspection in February—so at least that airplane is out of the shop for awhile. But the SubSonex jet gets its annual physical in March so, once again, we’ll have a patient in the examination room!


