 Builders who conducted their own Phase I flight testing who say that the last few hours of that endeavor did not involve sitting there watching the hour meter tick toward 40 are either being dishonest or involved in a project really stretching technological boundaries. For those building a “typical” modern Experimental, where the airframe and systems are well known, the last few of the previously mandated 40 hours probably felt like the last hour of detention; not much is happening, you’re just running out the clock. And yet, despite putting many hours on the Hobbs, some Phase I flight testing programs are actually incomplete. The old joke is that the worst kind of Phase I flight test is to repeat the same hour 40 times.
Recent developments may change that attitude. After years of promoting the idea of a task-based flight-test program, EAA has received buy-in from the FAA for the idea, which was published early this year in Advisory Circular 90-89C. In a nutshell, the new guidance allows the use of a task-based Phase I flight test program in lieu of the normal hour-based system. (The previous option remains in place.) Complete each of the flight-test steps—some of which are small and simple, some that may take multiple flights—and once each is concluded satisfactorily, you’re done with Phase I.
This change in philosophy has been a long time coming. According to the agency, “The FAA has been shifting to more performance-based rules and policy, which has led to allowances for performance-based criteria in Experimental aircraft flight testing. The minimum 25- or 40-hour flight test period has long been considered necessary to ensure that the aircraft and its systems are properly and thoroughly tested, found to be reliable, that the aircraft does not exhibit any undesirable flight characteristics or system flaws, and that it is tested throughout its intended flight regime. This AC creates the ability for builders to utilize a comprehensive, individualized task-based flight test plan to meet the objectives of the flight test, but according to certain completion criteria and possibly less than the typical 25 or 40 hours, depending on the complexity of the aircraft.” Finally, the idea of one-size-fits-all has been replaced by a program that, in effect, requires the test pilot to do the necessary work.
The Prep Work
Committing to a task-based plan requires, um, planning. First of all, talk to your DAR (designated airworthiness representative) so that you’ll be using the correct version of the current operating limitations, where the flight-test program is identified. As this is written, EAA is working to get DARs and FAA personnel to recognize the new guidance and can help builders about to begin flights; email them at govt@eaa.org for assistance.
Then you will need to build a proper AOH (aircraft operating handbook), which is something new to Experimental/Amateur-Built aircraft. Technically, with a normal time-based Phase I, none is required, though many builders either create their own or start with the baseline provided by either the kit/plans maker or a user’s group. As a result, many of these manuals are generic in nature; they do not identify or represent the characteristics of a particular airplane, especially in categories like performance or systems management. “The FAA will permit the use of a task-based flight test plan based on your use of this AC and adherence to the objectives of the task-based flight test plan, providing the specified logbook entry, and maintaining the AOH on board the aircraft following flight testing,” says the AC.
An important offshoot of the task-based Phase I testing is the development of the AOH, which will be valuable to you as the pilot of your dream machine but especially so to the next owner. Even though very little is required of Experimental aircraft, the ones that are more comprehensively documented (build, Phase I, performance, etc.) will be more valuable down the line. As the AC is written, it’s clear the FAA is mandating the development of the AOH and its presence in the airplane after Phase I is complete.
So what does the task-based flight test look like? It’s actually quite open, says the FAA. “There is no requirement to create, submit, or use a formal flight test plan. However, the FAA strongly encourages amateur builders to develop and utilize an individualized, comprehensive, requirements-based, operation-centric (task-based) flight test plan appropriate for the complexity of the aircraft with specific tasks and objectives.”
There is, however, a list of required elements for the flight test with the goals of ensuring “the aircraft will be adequately tested and determined to be safe to fly within the aircraft’s flight envelope [and producing] flight test data to develop an accurate and complete AOH and to establish emergency procedures.” Don’t worry too much about the test list; it has the elements that make up a good program anyway—including fuel-system testing, handling evaluation (including stability and trim effectiveness) and methods for determining various important performance numbers. Those include stall speed, best-rate and best-angle climb speeds, cruise-speed verification and best-glide speeds. Yes, most airframe designers will give you baseline figures, but your job is to determine if those assumptions apply to your airframe.
Helping Hands
There are many ways to build a flight-test program, but the pros all use a version of flight test cards, basically a condensed description of each flight. The AC says, “The task-based flight test plan should contain ‘flight test cards’ that can be used to document results of flight test procedures and provide for the AC 90-89C collection and recording of flight test data.” It lists the items that should be on each card: date; aircraft N-number or serial number; location (airport ID) for takeoff and landing; start time, takeoff time, landing time, and shutdown time; the name of the builder/owner pilot and additional qualified pilot, if applicable; flap setting for takeoff and landing, if applicable; name of observer, if applicable; takeoff weight and center of gravity (CG); takeoff fuel quantity; planned duration of flight; planned landing fuel quantity; altimeter setting; objectives for each flight test element; risk level or risk designation for each flight test element; specific procedures for each flight test element; emergency preparedness measures necessary and specific to each element; acceptable or satisfactory completion criteria or outcomes for each flight test element; and comments and results for each flight test element.
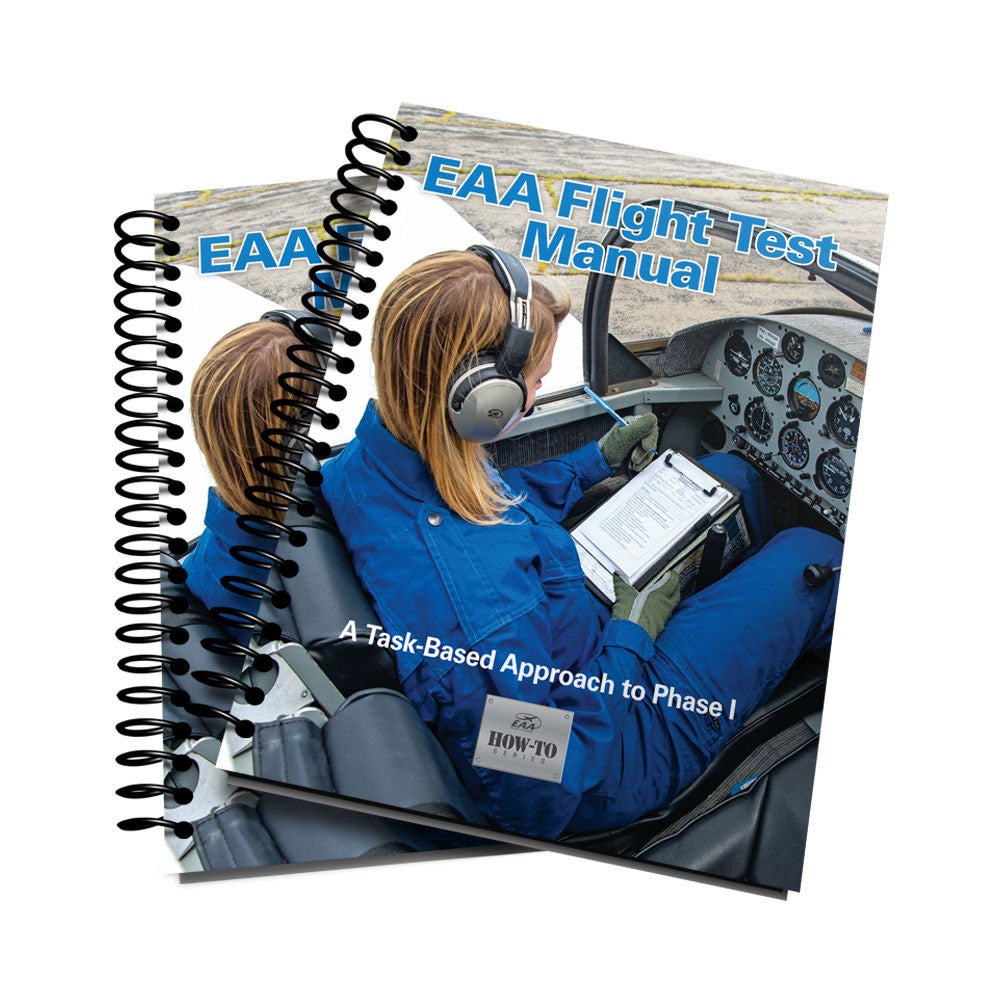
The AC helpfully includes an example of a flight-test card. You could certainly build your own but there’s a very nice commercial example from EAA called the Flight Test Manual and the accompanying Test Card Book that’s all of $25 ($22.50 for EAA members), which provide an extremely well-considered flight-test plan and incremental steps laid out in the card book. In essence, you study for the work as you’re building and then follow the sequence card-by-card until you’re done. The beauty of this system is that it’s built in an order that maximizes your time and reduces duplicate effort.
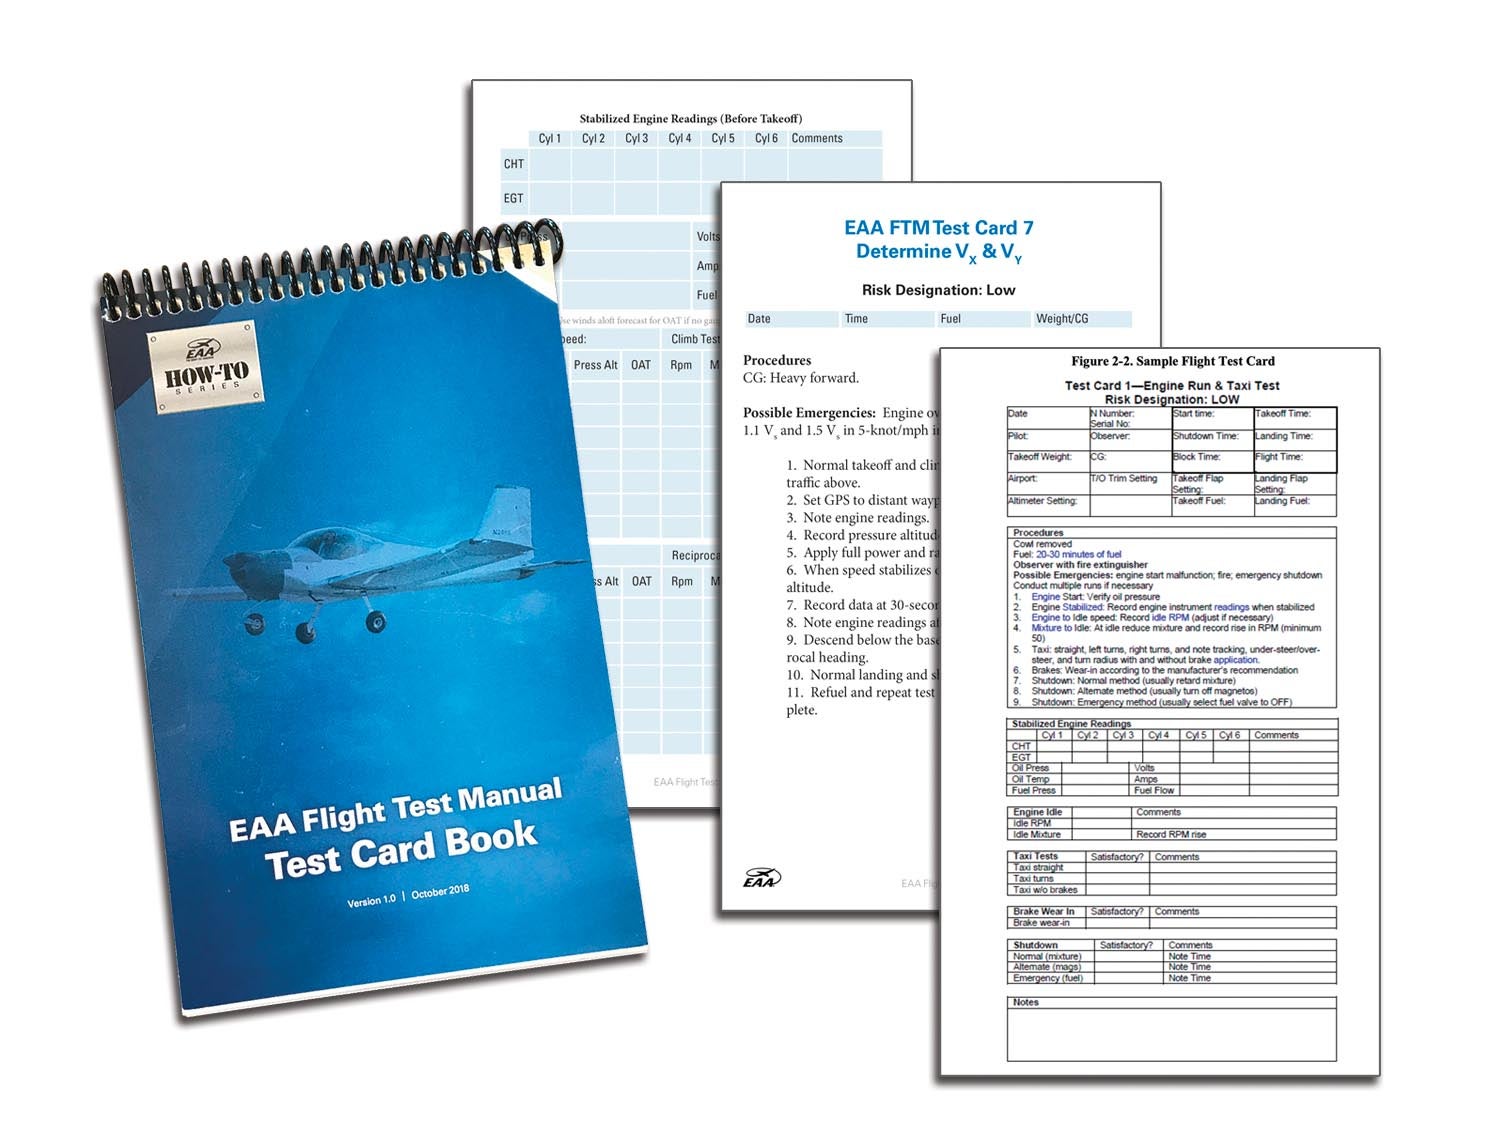
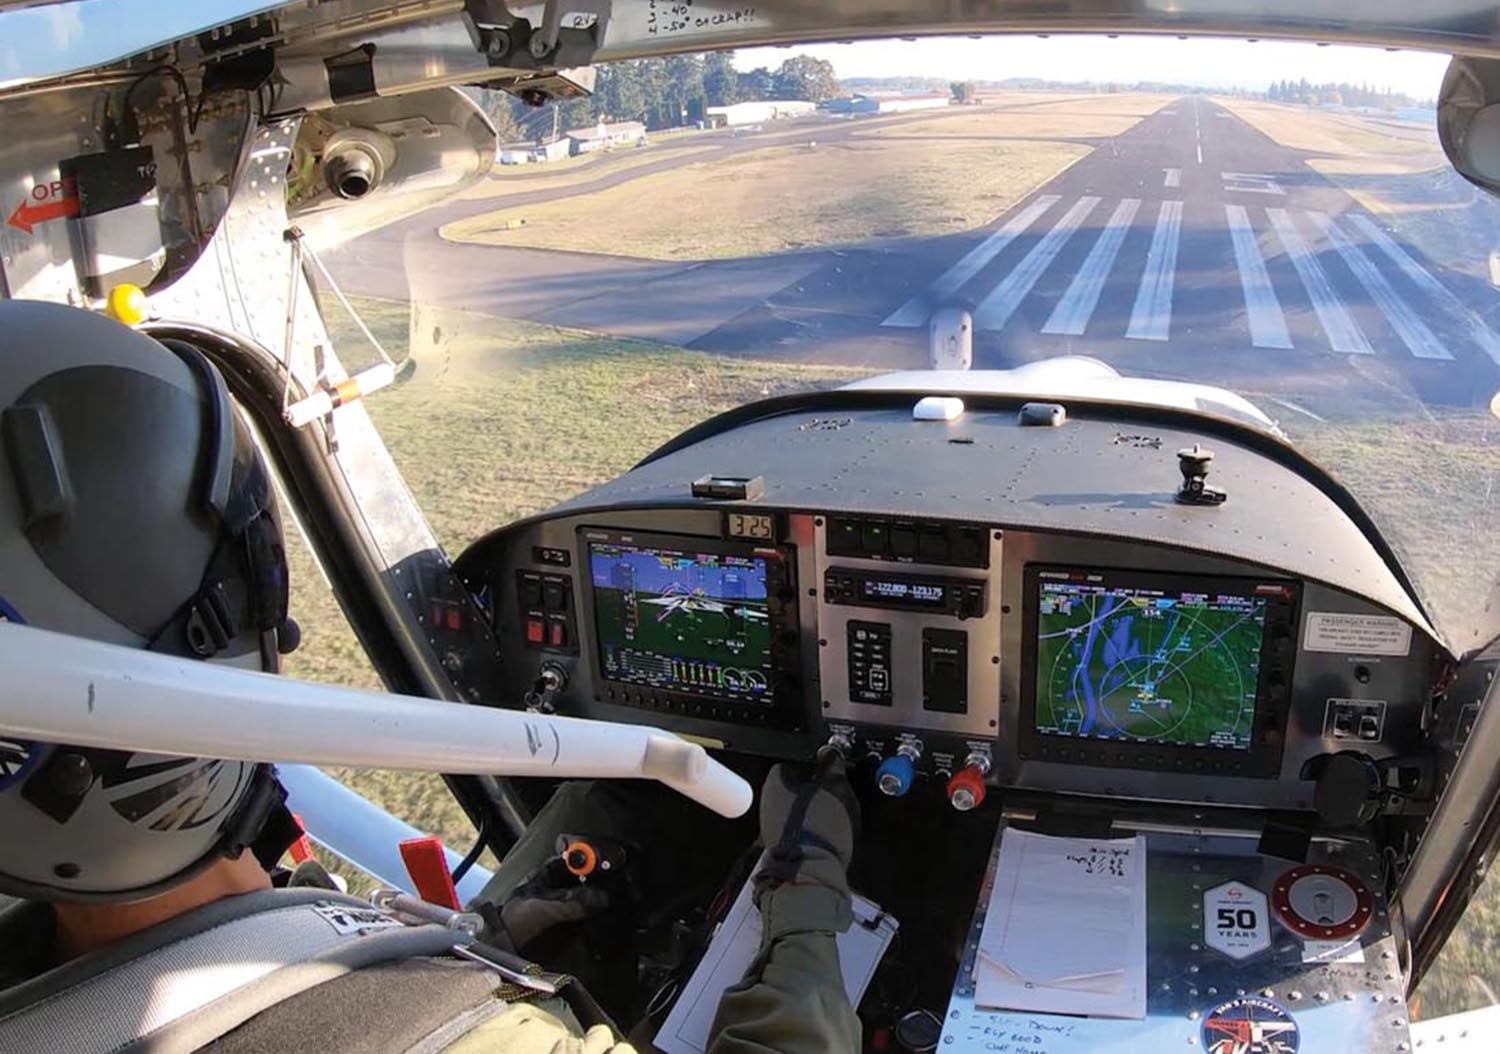
Take a journey through the EAA’s flight-test cards and you’ll see the brilliance of the concept. Each card tackles a specific segment of Phase I, from first engine start, taxi tests, initial flights, systems validation and performance testing. Each card contains clear goals for the operation (flight), describes an expected risk level, lists possible emergencies for the task and provides ample room to note key instrument readings. You are free to collect other data as necessary but the flight-test cards would be a good place to reference data files for, say, the engine monitor or attitude instruments (should they store data), as well as linked files to your flight track (from ForeFlight or Garmin Pilot) and even video files for each flight. (Video is hugely helpful during flight test but be sure you fly the airplane and maintain situational awareness before worrying about whether your GoPro has bricked.)
In the End
Once you have worked your way through the 18 test cards and have completed each task as appropriate, you will sign your logbook much the same way you did at the end of the 25- or 40-hour test period, attesting that “the aircraft is controllable throughout its normal range of speeds and throughout all the maneuvers to be executed; and the aircraft has no hazardous operating characteristics or design features.” Collect your flight-test cards, additional notes, photos, data and video files for safekeeping. Clean up the AOH and store it in the airplane. And enjoy Phase II perhaps, but not for sure, in less than 40 hours total time.
Photos: Paul Dye, Marc Cook and courtesy of Van’s Aircraft and EAA.<.small>


