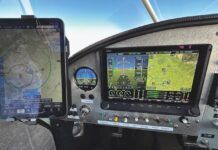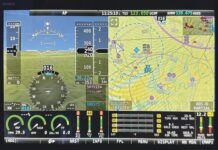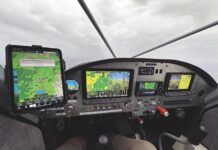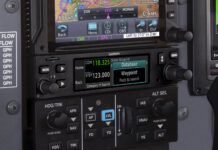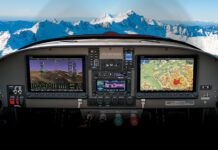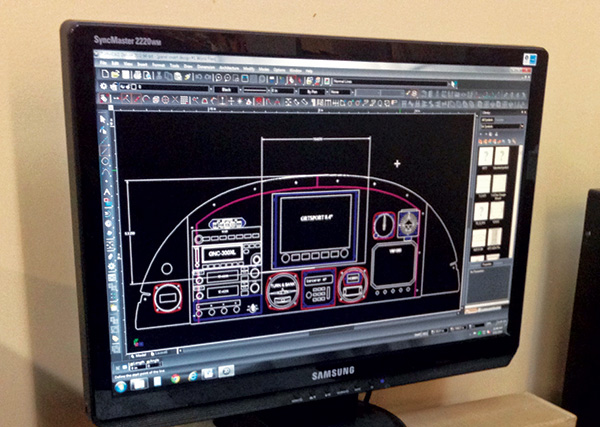
If you are going to have a panel cut, the easiest way to ensure precision is to do a layout in CAD. For the computer-savvy builder, this is simple—for the rest, it is easily done by an avionics shop or whoever is going to do the cutting.
Continuing our series on upgrading your panel, this month we’ll take a look at some hints to make the layout portion of your project easier. We’ll also take a closer look at what’s involved with “minor” and “major” surgery for your instrument panel.
Plan, Plan, Plan…
Before you begin any sort of cutting, removing or other modifications, it’s important to take some time to figure out what you’re going to do. That means doing at least a rough layout of what your panel will look like. The easiest way to do this on a budget is to simply do the “paper doll” thing and tape life-size pictures of the new components to your panel. This will allow you to play with things for a bit in order to determine where they best fit. If your upgrade is going to be a bit more involved than a simple or singular instrument, then perhaps doing a full layout in a drawing program (like Visio, Photoshop, CAD, or one of the panel planner systems) would be a good investment of your time. Many times, if you’ve decided to have an outside shop cut a new panel for you, they will do the layout for free or at an extremely good price.
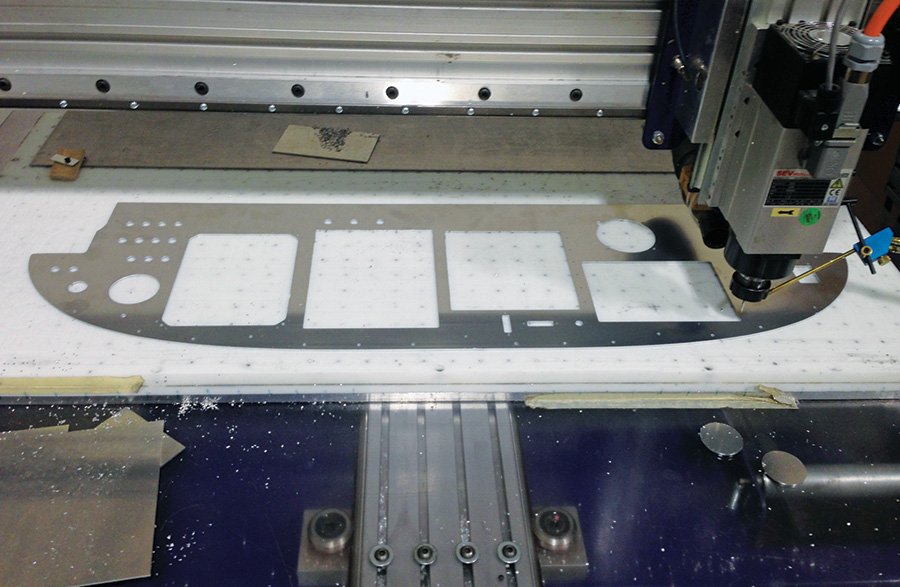
Modern CNC machines can easily and precisely cut new panels. Builders can do the same thing with drills, punches, saws, and files at the expense of time and effort. The trade is up to the individual.
I’ve said many times before: keep the layout as clean and traditional as possible. There is a reason that traditional layouts look like they do—they work, they are ergonomic, and they are easy to work on. Folks like the airlines, NASA, and the heavy-iron airplane builders literally have millions of fleet hours of time into refining these layouts. I still am amazed when I occasionally see a layout that looks like a box of instruments were loaded into a shotgun and fired at the panel. There are times when nonstandard layouts are called for (sometimes folks like to fly from the right seat, it’s flown by two pilots often and duties are shared, or other reasons), but as a whole, the standard layout just works, so don’t try to re-invent the wheel.

Transforming an old steam gauge panel into a modern EFIS platform can be simpler than you think. Here is the old panel with lots of round holes.
Pro Layout Tips
Here are a few rules regarding panel layout that will help you:
1. The space in front of the pilot called the pilot’s field of view (whether you fly from the right, left or center) is prime real estate and is considered sacrosanct. Do not utilize that space for things like ELT remote panels, 12VDC plugs, USB jacks, dimmers, parking brake controls, or other items that are not part of your normal flight duties throughout the entire flight. This area should be primarily focused on the regular tasks needed for flight.
2. Keep the primary flight instruments and any moving maps as high on the panel as possible. This will keep your eye movements during the transition from outside the cockpit to inside the cockpit to a minimum. Also, try to keep the primary flight display somewhat close to the pilot’s center field of view. This also will keep unnecessary eye movements to a minimum.
3. If you can, place the AoA (angle of attack) indicator on top of the glareshield/dashboard. Given the fact that during the final crucial moments of landing you rarely are watching the panel, this device will register in your peripheral vision and hopefully keep you out of trouble.
4. While it may seem logical to put each switch next to the device it controls on the panel, that creates a lot of extra wiring, a lot of extra hand movements, and is not conducive to an ergonomic cockpit. Instead, try to place most switches in a general area that is easily accessible and, if possible, keep them in a general single row (or as few rows as possible). This will make installation, maintenance, and operation much easier. Try to group switches by function (lights, avionics, etc.) together. Also, arrange switches such that their position is defined by their frequency of use. For example, the master switch is typically only used once per flight, so there is no reason to have it in an area where you are frequently moving your hands. It can be quite disturbing to have your panel go blank during a wifferdill because your hand accidentally shut off your master or avionics switch. Conversely, things like the flaps should be placed close to where they are easily and quickly manipulated since they are often used multiple times per flight. Sometimes these are also mounted on stick grips.
5. If you are using circuit breakers or fuses, make them accessible, but don’t use the important real estate for them except for absolutely critical things like ignition. Try to keep them arranged in rows or columns as this again will assist in installation, use, and maintenance.
6. Position the radio stack so that you can operate it with your non-flying hand (i.e., the one not on the stick during normal flight). Switching hands on the stick is wasted movement. Despite the fact that you may think you can’t operate a stack with your non-dominant hand, you’ll likely find your brain will adjust very quickly and you will have no problems with it.
7. Position things on the stick that are important to be on the stick, but don’t get caught up in controlling the entire plane through your stick grip. If you have a helicopter this is a different story, but keeping the stick grips simple is often better.
8. If you can, when you are designing the panel and planning future upgrades, leave space for future equipment. Perhaps you can only afford a single EFIS screen now, but maybe in the future you might want to add another. If you leave the space it’s an easy addition later down the road. Similarly, you might leave room in your radio stack for future goodies. Sometimes you can easily cut the radio stack hole larger and easily mount a plate in it to cover up the future expansion space.
9. Resist the urge to make your panel too big. Small adjustments (less than an inch or two in height) are common and are fine. Many folks will add to a panel when they don’t need to, either for looks, perceived maintenance benefit, or whatever. The reality is, if you make the panel too big, you will then constrain taller pilots, and possibly have stick grip interference.
10. If you are able, mount the engine controls and any other control cables on a removable quadrant/sub panel. That way, if you decide to change the entire panel in the future, you won’t have to remove the entire control cable from the airplane.
11. Lastly, consider resale. I know, I hear it often: “I’m not building this airplane to sell.” But sometimes life gets in the way with things changing, and with a few smart moves you can improve the chances of not only selling the plane quickly/easily, but also getting a good price. That means not putting the radio stack in a non standard location, keeping the switches logically organized, keeping the flight instruments together and sensibly positioned, and making smart equipment choices, no matter IFR or VFR. For example, at this point, using a tablet as a primary flight instrument still isn’t the greatest choice (maybe in the future, just not yet).
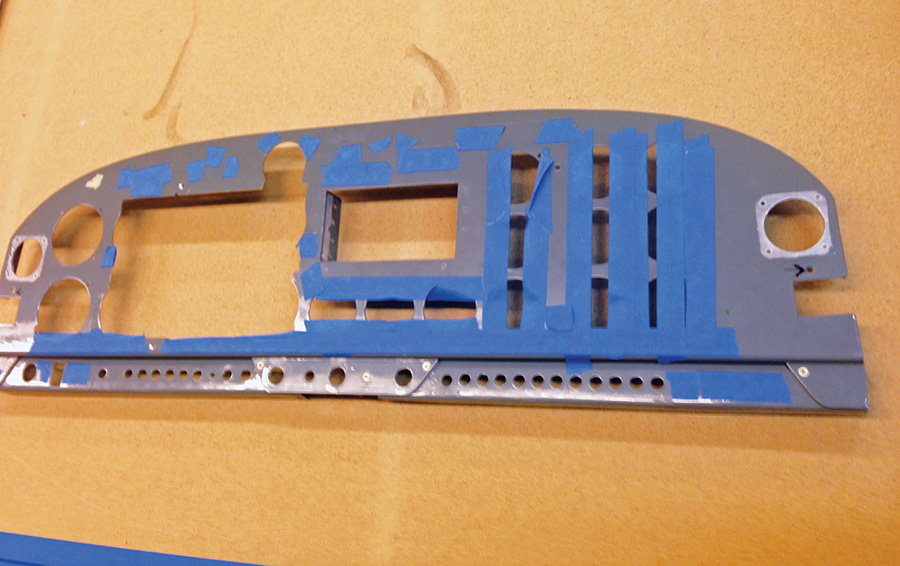
To replace the primary flight instruments with a large glass panel, all you have to do is cut away many of the old holes, leaving the rim of the panel to support new structure.
Making the Cut
Before we dig into the differences of minor versus major surgery, it’s worth noting that in either case, it’s often easier to have a new panel cut, rather than trying to salvage the old one. There are a number of folks out there who can cut a new panel that includes the necessary modifications for new equipment, yet also matches the placement of existing items. The cost is usually in the $200–$500 range. You then have to remove the old panel and insert the new one. A quick search on several popular Internet forums has many posts dedicated to such endeavors. For those of you with planes where the panel is harder to remove, there are also additional options, which we’ll discuss in further detail.
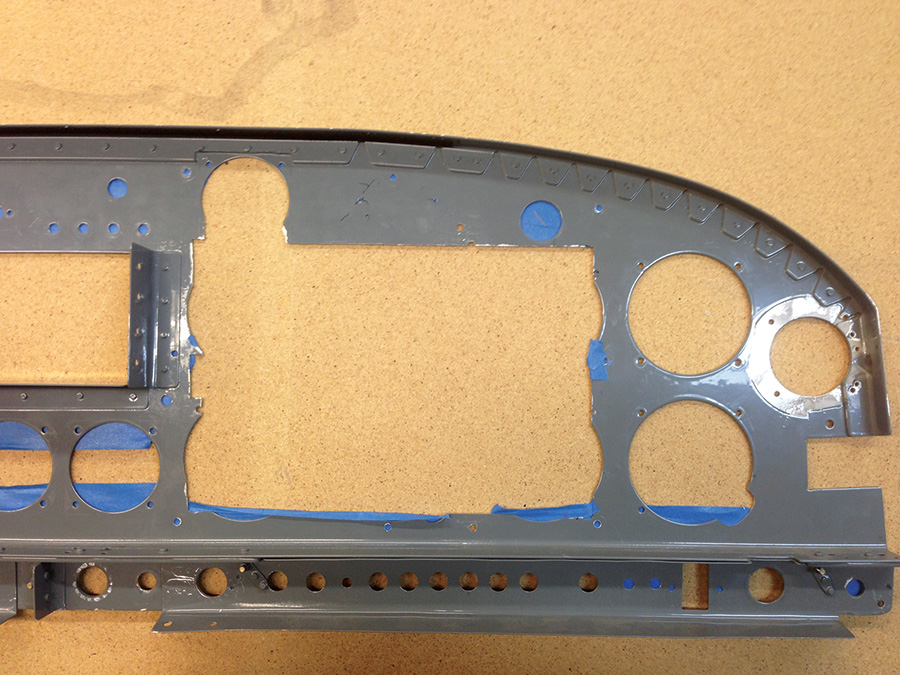
With a little smoothing, filing and finishing, this old panel will support the new EFIS screen, and the builder doesn’t have to rebuild the entire panel from scratch.
Minor Surgery
As previously discussed, minor surgery is something like simply replacing a round instrument with another round instrument and not doing much else. With that in mind, there are some things to consider when looking at this relatively simple procedure. If you are replacing something like a vacuum-powered attitude indicator with a newer digital instrument like an Aspen, Dynon, Gemini, or RC Allen type of EFIS, all of these units will fit into normal 31/8-inch holes. Remember, most of them still will need both a pitot and static connection, power and grounds, along with other optional interface wires like GPS input/output, radio interface, transponder interface, or autopilot interface.
Regarding the instruments themselves, Dynon is unique in that they have a product (the D1/D2 portable EFIS) which simply mounts on the face of an existing instrument panel via a nicely designed mount that snaps into an existing hole with no other interconnections required. The Aspen unit requires removing an instrument below the attitude indicator (or below whichever instrument you decide to replace), and the Gemini from TruTrak, along with the RC Allen units, will likely fit into an existing hole, but are mounted from the back. The Dynon D6/D10A units will also install into round holes from the front, but like the MGL EFIS, their outer bezel size and rectangular shape is larger than the existing hole and may, or may not, protrude into instruments beside the one you have removed.
Getting back to the surgery portion, many of the popular upgrades are something more than a simple “remove and replace in a round hole” type of device. If you’re going to replace an entire six-pack with a mid-sized EFIS system, additional modification is required. For devices like the smaller AFS displays, Dynon D100/SkyView 7-inch screen, GRT Mini (and smaller Hx display), MGL XTreme, or Garmin G3X screens, you simply need more room. Often times this can be accomplished by simply drawing a line around the outside of your normal six-pack of round analog instruments. You then simply cut between all of the holes, and you are left with a space that will handle many of the aforementioned products. By making yourself a simple metal plate which screws into the newly created opening, then mounting the new EFIS into that plate, you have a relatively easy modification that leaves the entire rest of the instrument panel untouched and unmodified.
You can also just cut a big hole that is larger than the six-pack, depending on the size of the unit you are installing.
For folks who have something like a Glasair, Lancair, Sportsman or other airplane with a fiberglass/composite panel that has metal plates in it, the obvious and easy solution is to simply get another plate cut for the area in front of the pilot. Most of the shops that cut panels can either scan your existing plate or they may already have a CAD file to cut a new one. Just ensure that your screw holes for mounting are either standard or match-drilled to the new plate.
Note that as you progress into the larger sized units, there is a likelihood that you will start to encounter interference from items behind the panel. Things like airframe tubing, ribs, sub-panels, bulkheads, or other structural items can all make it difficult to install new equipment.
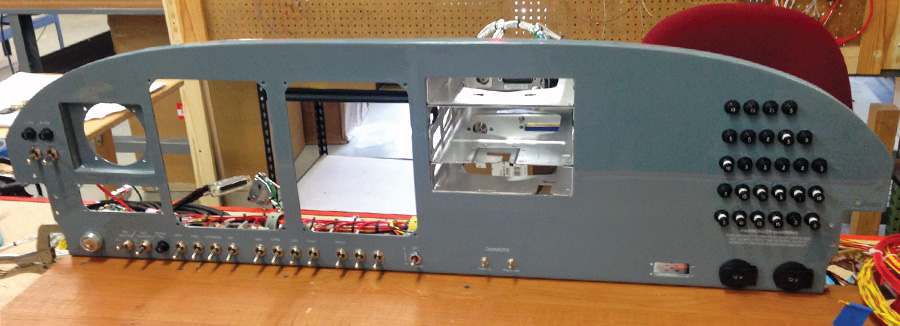
A new panel can be economically cut to replace an old one, oftentimes for less time and effort than modifying the old one. A builder can do this in their own shop, or pay an avionics shop to do it for them. Either way, installation is usually fairly simple.
Major Surgery
If your upgrade entails more than a simple remove/replace of a round instrument and could include a change to the radio stack, it’s likely you will need to replace the entire panel or large portions of it. Let’s look at the radio stack specifically.
If you are lucky and are removing a bunch of old radios to replace them with new, modern ones that take up the same space, installing the new trays into the existing cutout with perhaps a slight modification will be easy. If not, then you might need to plan on a smaller opening due to remote mounting of many popular boxes like transponders, radios, audio panels, etc. or a larger opening if you are installing something like a big, certified GPS. Remember that many of the certified units are also quite deep and can require modifications to sub-panels or structure behind the panel.
If you are doing anything major, let me save you some time and just give you a rule: If you are doing more than a simple upgrade, just get a new panel cut! As I mentioned previously, it only costs several hundreds of dollars to get an entirely new panel (or set of insert plates) cut. Now some of you may say, “But my panel is riveted or bonded into my plane, I can’t easily remove it and install a new one.” My response is, “Oh, but you can!” Simply leave the old panel in the plane and cut out everything except for an outer frame or mounting area of around 5/8- to 1-inch in size all the way around. If you remove everything in the middle, you now have a way to mount a new panel into your existing plane without drilling out rivets or cutting out fiberglass. Then have a shop cut a new flat overlay type of metal panel that you simply screw into the existing framework you have left behind. The caveat here is to ensure that your new devices and items fit within the remaining space you have.
Modern panels feature large cutouts for EFIS screens. Clean designs with simple organization make assembly and wiring of switches much easier.
For those who can easily remove your panel, it’s a rather simple affair. Either use the old panel to trace a new outline onto a sheet of metal and cut a new one, purchase a blank from the kit manufacturer (if you have a standard type of panel), or hire a shop to cut one for you. If you want to build your own metal panel that has a bent lip across the bottom, but you don’t have access to a bending brake, don’t fret; simply cut yourself a panel out of flat sheet, then either rivet or screw an angle to the bottom rear of the panel.
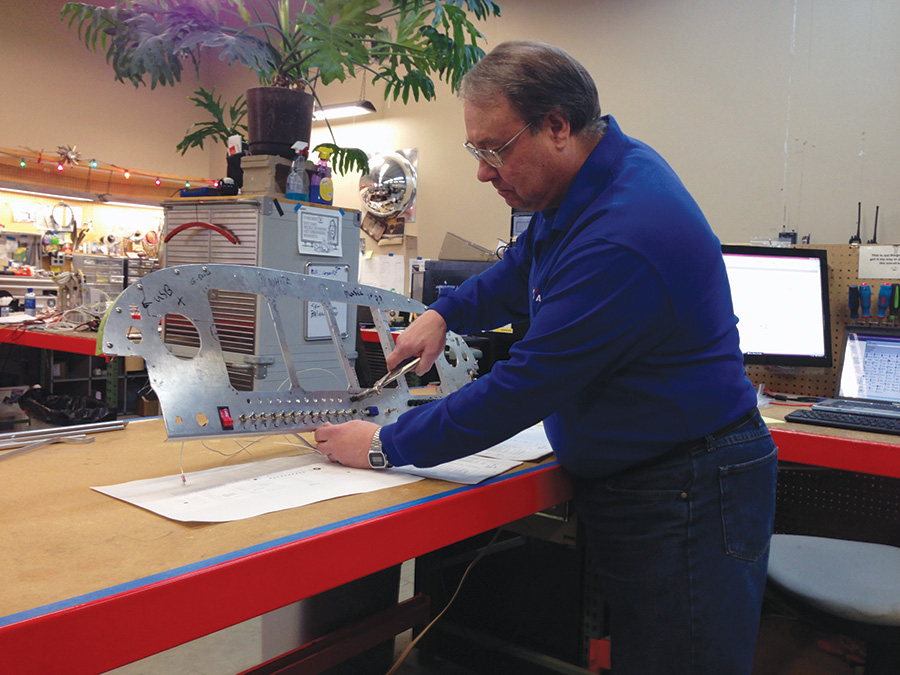
As far as actually cutting the panel yourself, the outline can easily be done with a jigsaw, a tabletop band saw, a die grinder with a cutting wheel, a nibbler, or other tools. For the holes and cutouts inside the panel there are a whole slew of options, but the easiest and quickest is to hire a shop with a CNC of some sort to cut things out for you. Simple holes and boxes are easy to cut yourself, but things like locating the mounting holes of instruments can get tedious and are easily done with a CNC.

Creating a modern panel is a great way to upgrade an aircraft’s capabilities. In the Experimental world, the sky is the limit on capabilities —a luxury not shared by the certified world that is limited by available STCs.
Even if you are replacing the entire instrument panel, it’s often advantageous to try and keep many items in their existing locations. Things like switches, circuit breakers, vents, engine controls, trim controls, flap controls, and other devices often times have cabling, wiring, tubing, bus bars, or other structure attached to them that can create a domino effect with modifications if you move them. That said, if your existing layout is nontraditional, and you’d like to clean it up, then expect a bit more work.
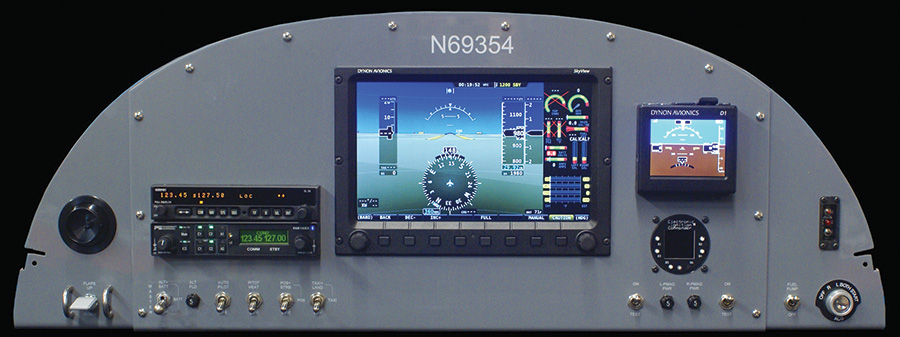
Going glass does not mean you have to fill every nook and cranny with expensive bits. Simple, inexpensive panels can provide all you need for VFR operations.
In the end, there isn’t a defined method that will work for every single upgrade of every single panel on every type of plane, but I hope these hints can help you with yours in a general way. Most of the time, the simplest path is also the cleanest and will result in the nicest finished product. None of these things are always the absolute cheapest, so sometimes trading a few dollars for time/value can be a big help when doing upgrades.

Redundant EFIS panels with dissimilar backups and capable navigators and autopilots provide confidence for IFR operations—assuming that the panel is mounted in a capable airframe.
In the next article we’ll take a look at actually cutting out your instrument panel (or modifying your existing one), mounting components like radios and such, and other tasks needed to do the physical installation. We’ll also cover some of the items often forgotten during the thought process of the upgrade (like additional antennas, post installation checkout, learning how to use the stuff you just bought, etc.).
Photos: Stein Bruch

