For the past couple months, we’ve been talking about upgrading the instrument panel in your airplane and what it takes to do it. We’ve covered the general overview of what such an upgrade may look like as well as some hints and advice on how to approach it. Now it’s time to actually start having fun! We’re going to take a look at cutting your panel and mounting various components into your newly modified (or completely new) instrument panel.
Before You Cut
In the last article we took a pretty specific look at how to lay out your panel. But in advance of making the shavings fly, there are a few tedious and boring steps you should perform. To put it simply, you need to do what any good metal or wood carpenter would do: measure twice and cut once!
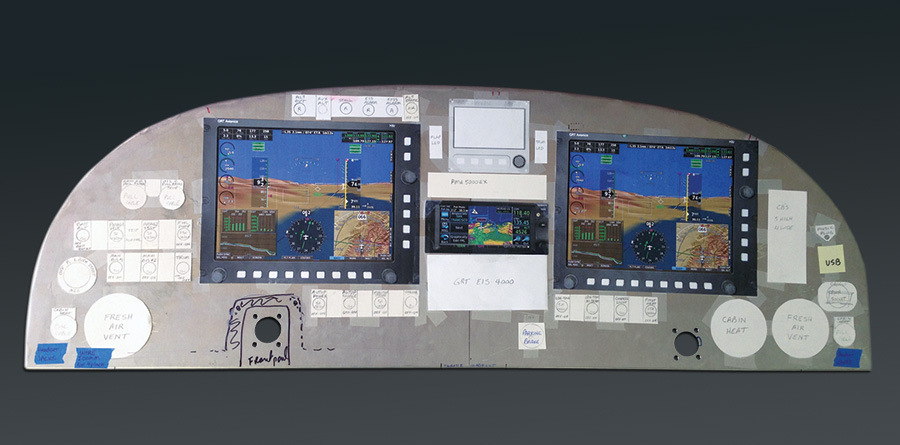
Lucky for us, many of the new goodies we might purchase to put in a panel have rather easy holes to cut (like simple squares, round holes or rectangles), and many of the manufacturers will even provide template drawings you can print out to use as rough guidelines on the physical panel. The reason I mention this is, besides the ability to look at the panel and see what fits where, it gives you the chance to sort of mount fake versions of the real boxes before you drill any holes. Why is this important? Well, many (almost all) of the popular airplanes we might be building or have built will have some sort of structure behind the panel. In some cases the structure is easy and approved for modification, but in some cases the structure must not be modified, tampered with, or removed in any way.
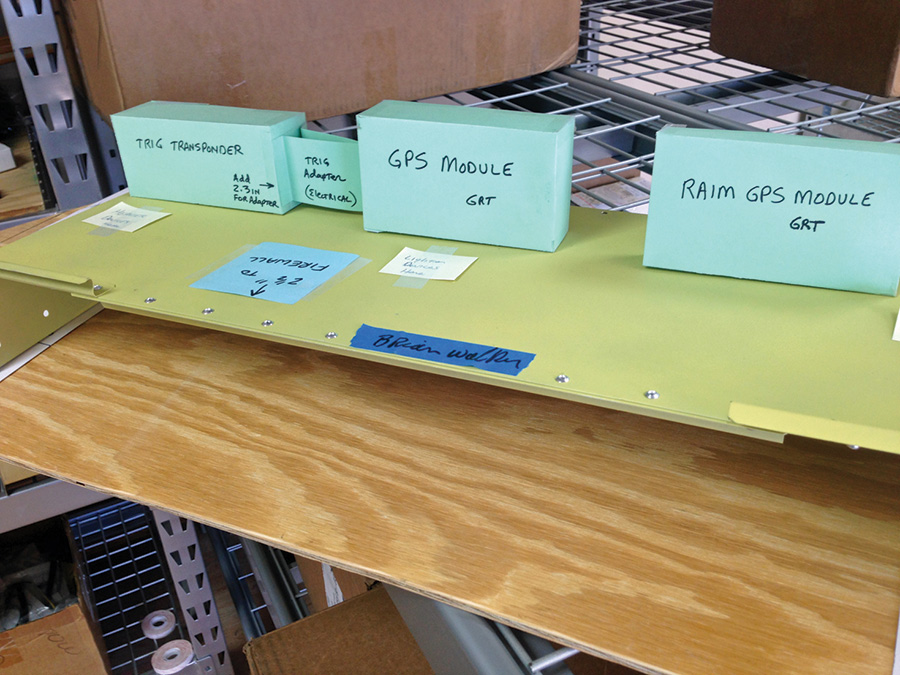
Using cardboard and plywood to mock up locations and mounting of avionics boxes on/behind the panel.
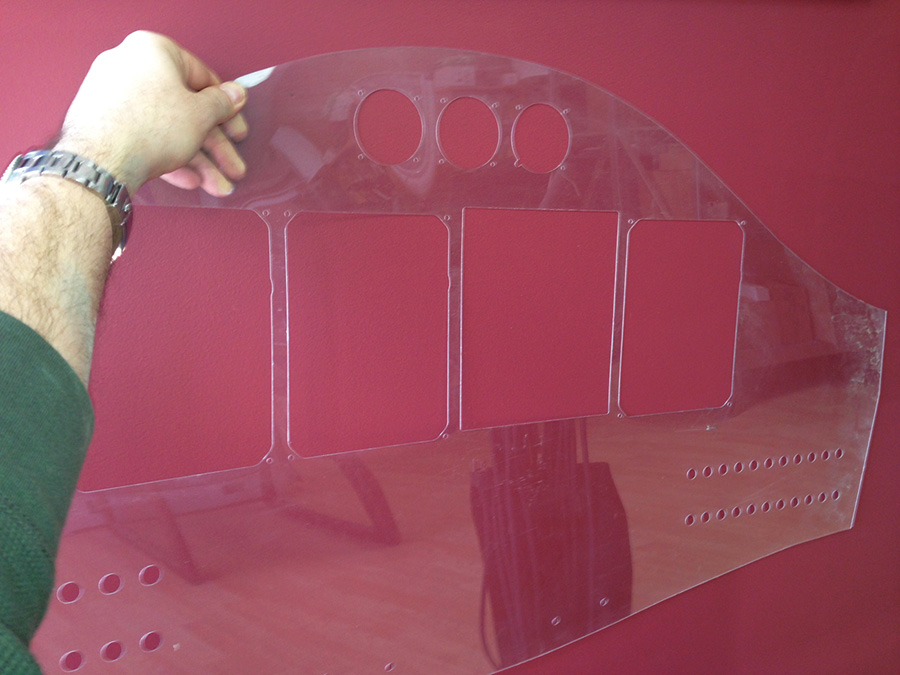
I know a good number of folks (including myself) who have cut out their perfectly laid out panel, only to find out that some of the components interfere with structure behind the panel. One trick you can do that doesn’t cost much money (though it does cost a few extra hours) is to go down to your local home improvement store and buy a 2-foot by 4-foot chunk of Lexan (many have it in stock), and use it to cut out a fake panel or template. You then take this rough panel and temporarily place it in your airplane. Once it is provisionally mounted in the plane, you can see through it to identify any offending structure that might be in the way of your new avionics. Simply take a black marker and trace onto the clear panel the areas of interference, then when you remove it from the airplane and take it back over to your bench, you can lay it right on top of your good panel to determine if your layout will work.
The alternative to this is obviously to do everything in the computer via CAD, but not many folks have the entire structure of their airplane modeled in CAD. We’ve found the transparent Plexi/Lexan panel an excellent alternative for most builders. Plus, when you’re done, you have yet another piece of aviation “wall art” to put in the hangar or on your garage wall.
The other big thing to take into account is spacing of components and how they relate to other components around them. Sometimes units are larger behind the panel than they are in front of the panel (or vice versa), and despite your best attempt, they could end up interfering with each other. This can have the result of leaving you no other alternative than to start over—which really is no fun at all. Simply put, before you cut, make sure you know the size of the components in front of the panel, including any bezels, screws, or other protuberances, as well as taking into account the items behind the panel (structure, size and depth of the unit, etc.). You’ll want to check the dimensions of all components currently installed in the panel, as well as new items you intend to install.
Last, you must remember to account for any panel overlays, post lights, quadrant, or other devices that might affect depth and thickness of the entire finished structure, as well as the total thickness of the material you’ll be mounting the items in. For radios or other items that have mounting trays in the back, the thickness of the total finished panel plays a part in whether you will actually be able to get the removable component in and out of the panel when finished, as well as have it make contact with any connectors that are mounted to the trays. It has often been the case that a builder installed his radio or EFIS tray in the panel too far aft, only to find out that when the unit is inserted from the front, it will not fully seat into the connectors. If the tray is permanently riveted into the panel, this can make for a very frustrating modification. It’s important to note where the manufacturer expects the front of the tray to be positioned—either flush with the front panel, behind it, or some other determined distance.
The above subjects aren’t necessarily the most fun aspects of completing your retrofit, but they are some of the most important.
Cutting Metal
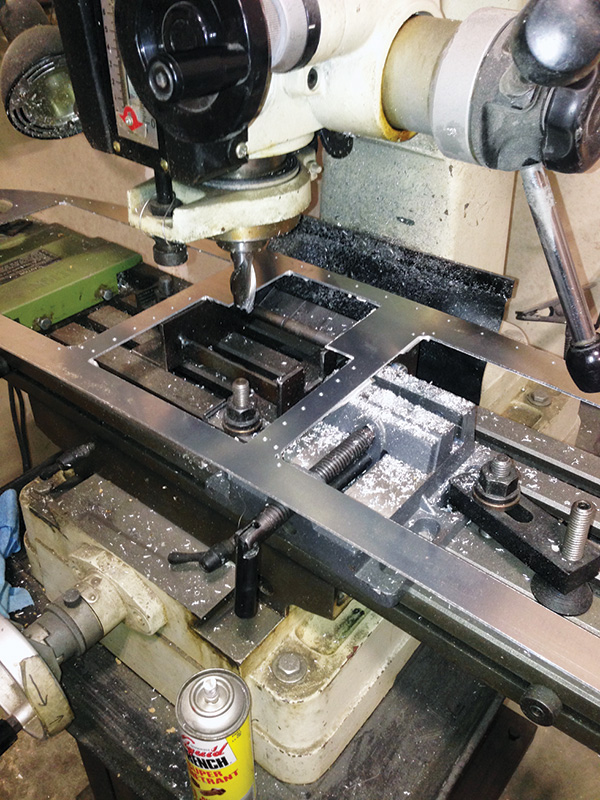
At this point we’ll assume you’ve decided what you’re replacing, how you’re going to replace it, created a nice, ergonomically pleasing layout, and also ensured that everything will fit; it’s time to make the cut. There are, of course, almost endless ways to cut your panel, but I’ll focus on the most obvious, easiest, and common methods.
1. CNC Router/Mill/Laser/Water: This is the process where you deliver a blank instrument panel to someone with a computer-controlled machine that is able to cut your panel. Specific methods are better for various substrates. For example laser is better for steel or fiberglass, but less so for aluminum or stainless, whereas these materials lend themselves to a CNC mill, router, or waterjet. If you have your panel and layout completed, you could either create the computer file yourself in a CAD program, or pay someone else to do it. Besides my own business, there are many other shops across the globe that will do this task for you at a reasonable price. By reasonable price, I mean somewhere in the $100 to $500 range, depending on time, complexity, whether you supply the metal, and the method used. Using a CNC ensures nearly perfect cuts, measurements, and overall alignment of things. One other big bonus of using a CNC is that it’s relatively easy for them to do things like nutplate holes, screw hole locating on round instruments, keyway cutouts, USB cutouts, D-sub cutouts, and other finicky shapes that aren’t easily cut by hand.
2. Manual Mill: Many of you will know someone who is a master machinist with skills on a non-CNC milling machine that are extraordinary. These folks can often do as good of a job as a CNC, but usually take a bit more time. I’ve seen some perfect instrument panels cut on various machines guided by hand, so while not common, it’s a definite possibility.
3. Power Tools: If you’re cutting the panel on a bench, there are a number of power tools that will do an excellent job. A plain old router will do a very nice job if you create some templates for it. A jigsaw is also a wonderful tool, if you go easy and perhaps cut the holes slightly undersize, then finish with a hand file or sander. A power nibbler will work on some panels, depending on material and thickness. A simple air-powered die grinder with a cutoff wheel works very well for cutting out larger rectangular holes in an existing installed panel. Just remember, if you’re using any of these tools in the actual aircraft, remove any sensitive avionics (vibration, static, and errant filings are bad juju for electronics). Having a vacuum handy definitely is good practice. Don’t forget that whichever tool you used to cut the panel, it’s likely you’ll have some burrs or other edges that you should clean up and smooth out before you install the actual avionics.
4. Manually: Sometimes the best tool for the job is just a little elbow grease. In some cases all you’ll need to do is slightly modify an existing hole, change the shape of an opening, or extend an opening. In these instances it can simply be easier to pick up a file, a manual hole punch, a manual nibbler or tin snip, and get on with it. For an entire panel I wouldn’t recommend this, but it has and can be done. One word of caution: if you mix the manual and power tool methods and use something like a fly cutter on a drill press (which will work marvelously by the way), be careful! Metal as well as fiberglass are both sharp, and blood is corrosive!
Mounting the Goods
With the hard part done, it’s time to start putting the components into the panel. There are a couple of distinctly separate things to consider when doing this. The first consideration is, obviously, ease of initial installation, but equally important is to consider future maintenance. What might be easy now could be very frustrating later if you need to remove, modify, or access the part you are installing for even simple tasks like software updates, a pitot static check, a factory update, or removing it to access other components. To that end, when you determine the way your new unit mounts (screws, clips, threaded bezel, etc.) also think about what will be easy to use in the future.
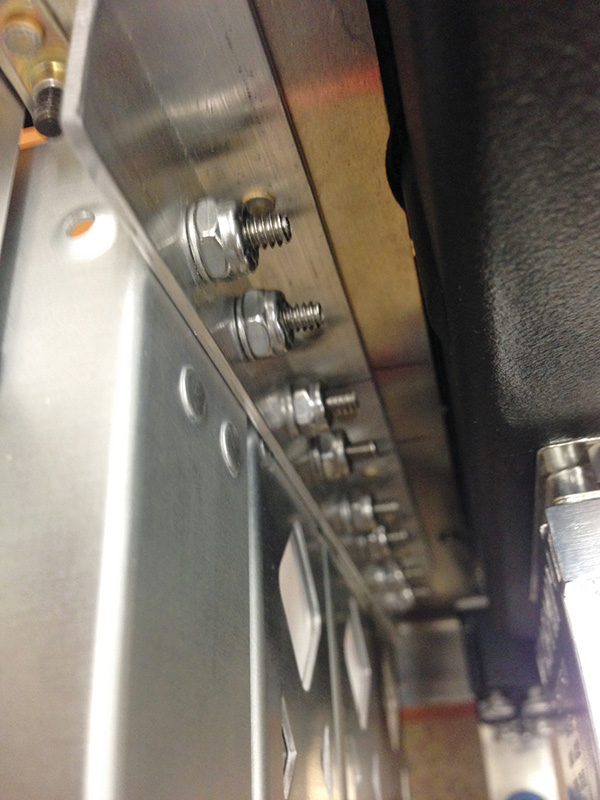
One of the best examples is a simple front-mount EFIS. The majority of them have a bezel with four holes in it where you screw the EFIS into the panel. The obvious solution is to put in a screw and then put a nut on the back of the screw. While this may be fast and easy for the initial installation, it often is hell later on down the road when you have to try and get a tiny wrench onto that nut behind the panel, up high with one hand in the dark, while laying on your back over a spar with your legs twisted outside the canopy! To that end, let me strongly encourage you to go ahead and install nutplates into the panel. Preferably, you would use floating nutplates because, to be blunt, they allow less-than-perfect builders a bit of margin for holes that may not be perfectly located (CNC cut panels will usually not have that problem). Alternatively, some systems (like some Garmin and Aspen EFISes) come standard with a mounting ring—simply a thin metal band with threaded nutserts in it that allows you to easily put it behind the EFIS and quickly thread in the mounting screws with no further modification to the panel.
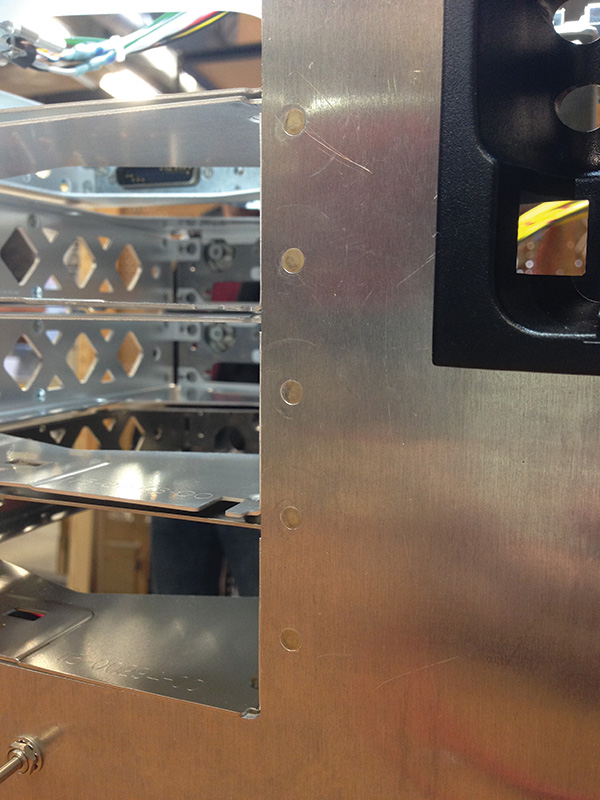
If your device requires its own mounting tray (for example some Dynon, AFS, TruTrak, Garmin, PS Engineering, Trig, or others), you will need to mount a tray either to the panel or somewhere behind the panel. Again, you have a couple of choices. You can permanently mount the tray to the panel with rivets. If using rivets, you typically would want to use flush rivets, so as not to encumber the bezel of the device being mounted. This is a fine way to go if you intend to paint and finish over the rivets (or the unit being mounted hides them), but if not, then you are left with exposed rivet heads that can be unsightly. The alternative is to use screws (and either nutplates or locking nuts). Screws can be countersunk just like rivets, but can be much more attractive and also allow for future removal of the mounting tray.
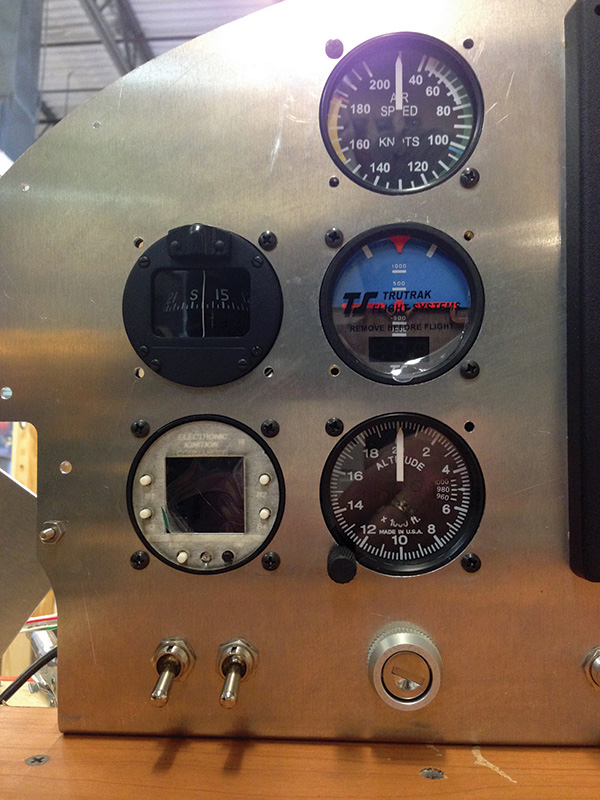
Round instruments spaced evenly, secured with standard screws, and a centered “ATI” instrument cutout.
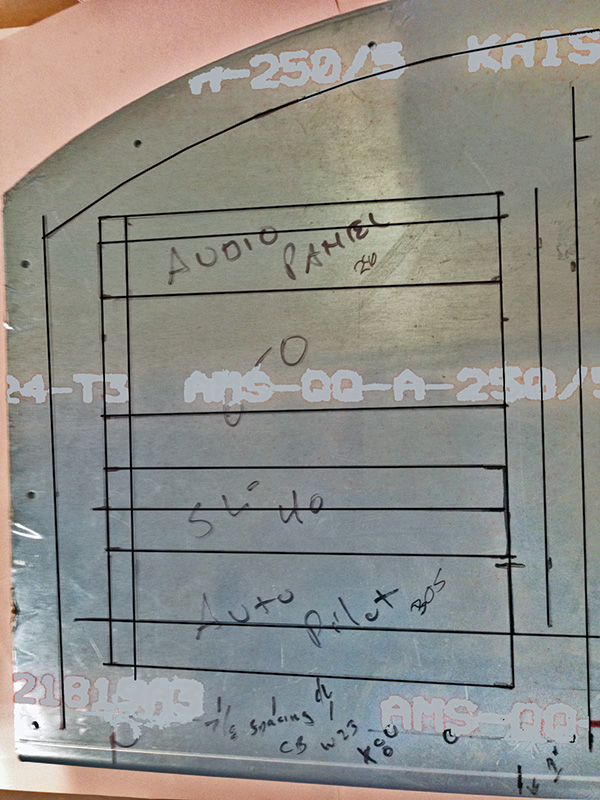
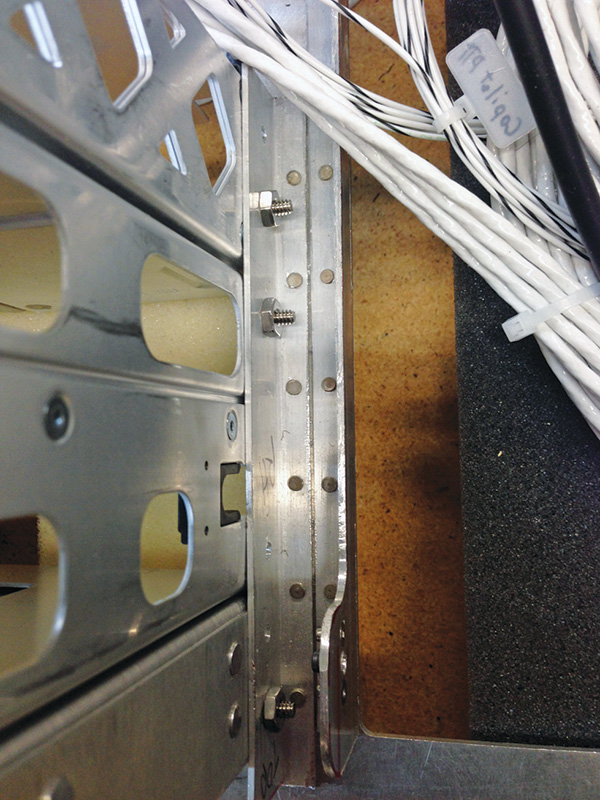
For mounting devices in a standard radio stack type of setup, there is really only one good and easy way to do this. You simply use some aluminum angle (you could use steel I suppose, but why?) and then either rivet/screw the angle to the panel with a space of 6¼ inches between them. These angles will then hold the trays (which almost always should be screwed in, never riveted) for the radios, audio devices, autopilots, etc. There are several alternatives in the marketplace, and also other ways to accomplish this task, but the simple use of aluminum angle is fast, cheap, light, clean, and easy.
Last, while we are on the topic of cutting a panel (or parts of a panel), it is of value to note a few other things to consider. Make sure you don’t lay out your panel and then cut it in a “mirror image” because you used the back of the panel instead of the front. Make sure you know which is left and which is right (and which is up/down). If using power tools, remember to clamp things securely and hold on to the power tool (seeing a piece of your airplane flung across the room and lodged in the wall is never fun). Be mindful of where your other hand or fingers are, lest you cut into or poke holes where you didn’t want them.
Next time we’ll take a closer look at integrating, wiring, configuring, and testing your new units. This can be fun, but also challenging. Patience is a virtue—just like the entire airplane project!

