 With the last installment focusing on weight loss, I figured we should talk about how the CH 750 Super Duty is now getting ready to gain some weight. First, the ULPower 520T engine should be here by the time you read this! This is always an exciting part of an airplane build, perhaps particularly because the engine is usually a significant portion of the airplane budget.
The arrival of the engine also seems to be a common turning point with this type of project, providing a needed boost in builder dedication and the drive for completion. That has been the case for me as well with this one. I have been dreaming and thinking about how the relatively lightweight 220-hp turbo engine will perform in my 750SDX. I want to see this thing in the air!
Putting on Pounds
There are plenty of other small weight gains in the works as well between adding plumbing for fuel and getting the wiring into the wings. Even though I have taken extra time to lighten certain kit parts (as discussed in the previous article in the April 2023 issue), most of those are now being installed. I’m happy to report that it’s coming together really nicely.
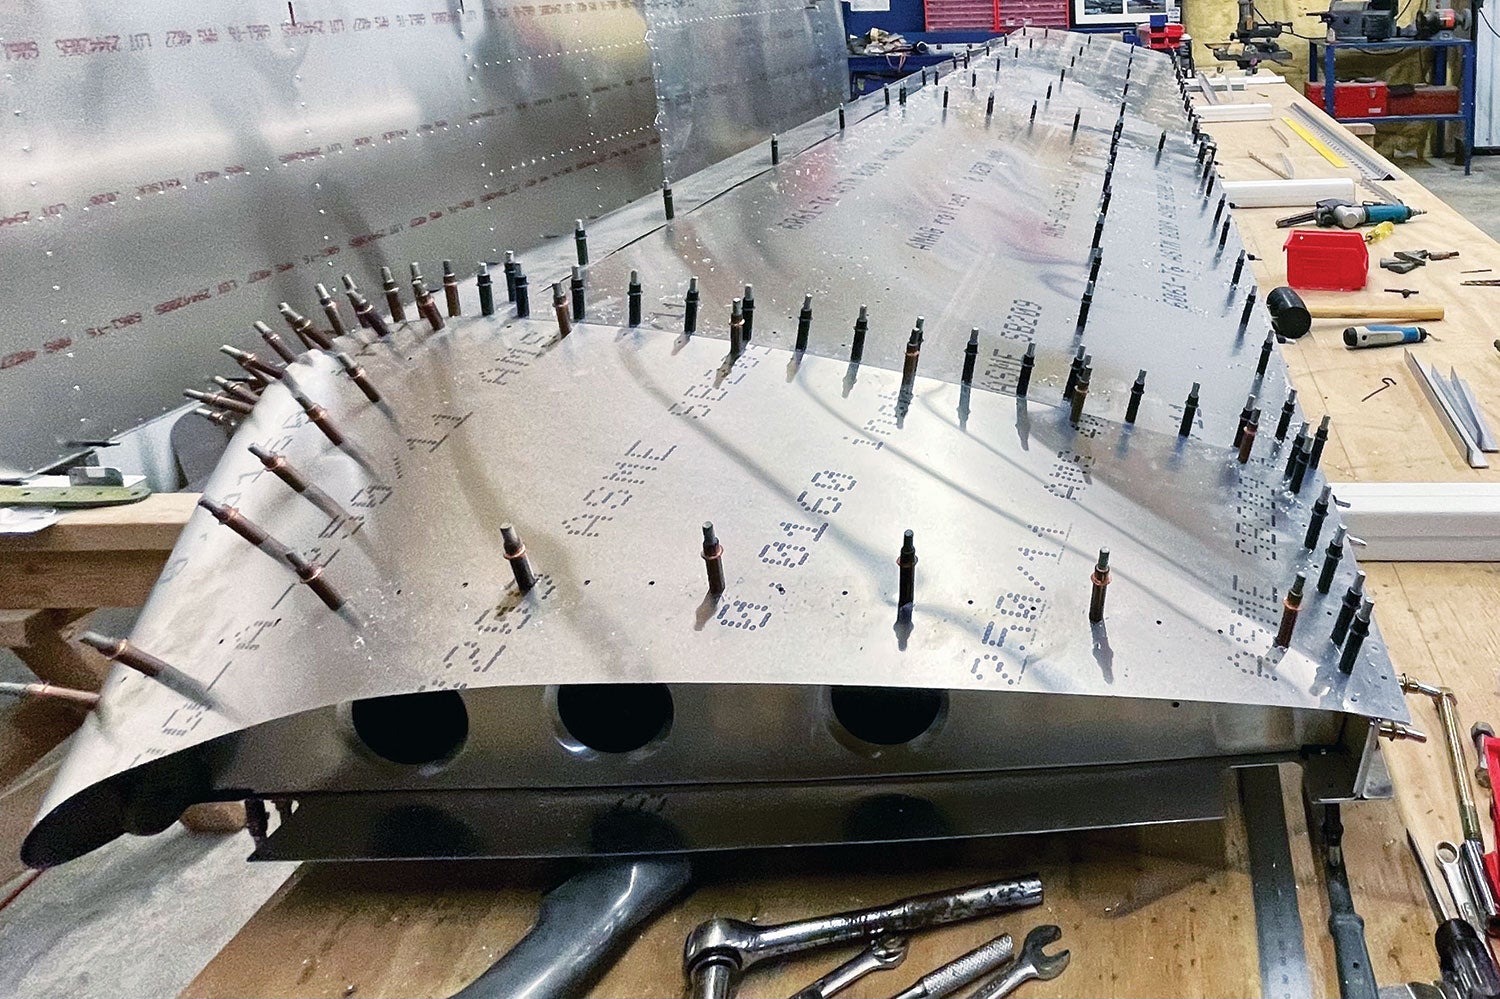
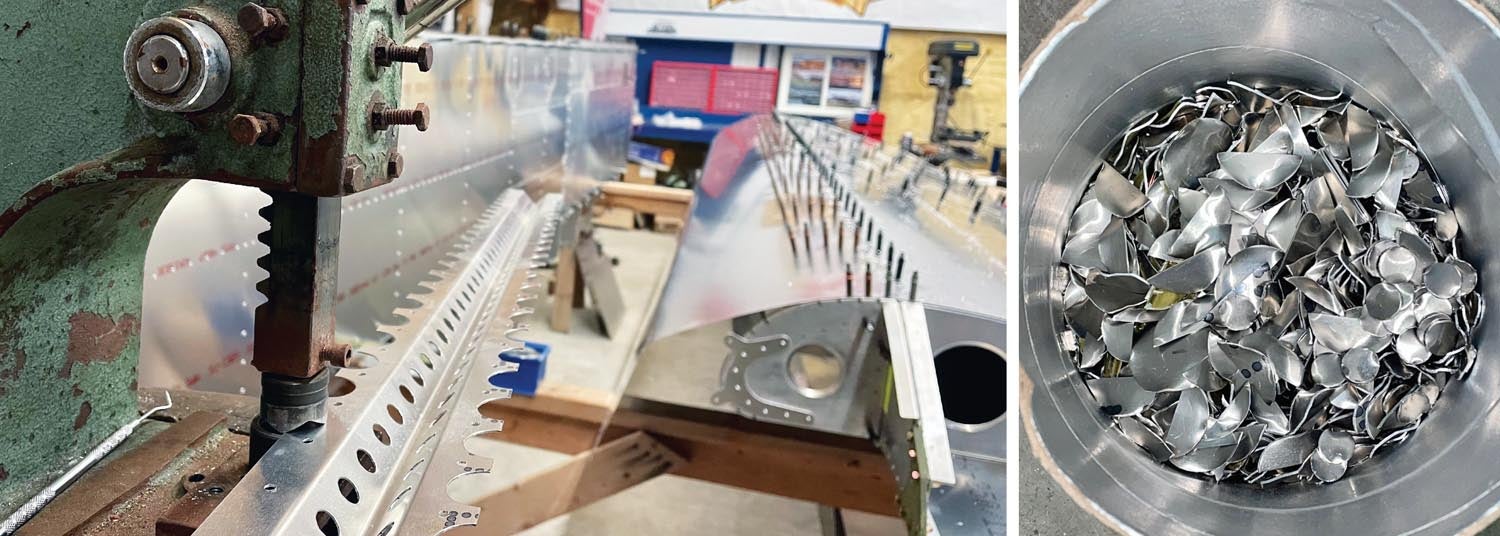
Working on this project, I continue to find it truly amazing how far the latest CNC’d kits have come when you compare them to early airplane kits. The CNC final-size match-drilled parts allow you to simply Cleco parts together. Many of them have hole spacings that only allow the part to be put together in the correct position or orientation and it is spectacular to see these pieces go together so precisely without any cutting or drilling required. I’ve been able to leave a lot of my old building tools in the toolbox while doing the basic assembly because they just aren’t needed for the 750SD.
There is really no comparison between the newer Zenith kits and the 701 kit I bought in 2016 (which eventually turned into the Super701). The older kit took a lot of extra time and tools to achieve a similar-quality fit and finish to what I am now getting easily on the 750SD with only a set of Cleco pliers. Remembering how I spent all day building the older rudder and then being able to assemble a rudder from a new kit in only 10 minutes has left me very appreciative of the improvements made by the technology Zenith is now using in manufacturing its kits.
Wing Work
I am getting very close to permanently buttoning up the wings. The fuel system in an airplane is something that needs a great deal of consideration because it has to work, period. I used rubber hoses to plumb the fuel system in the Super701, but am planning to build aluminum fuel lines to connect the wing tanks in the 750SD build.
If done correctly, the aluminum lines should require less maintenance over the life of the airplane whereas hoses would need to be inspected and replaced periodically. The aluminum lines also have a mostly uniform inside diameter even through the fittings. Since sometimes fittings for a rubber hose can have a much smaller diameter port inside the barbed nipple, I am hoping using the aluminum lines will optimize fuel flow in the relatively small-diameter tubes by eliminating that potential bottleneck. In addition, the aluminum lines should have the benefit of being slightly lighter.
I will be running a header tank in the rear fuselage, just like I have done before. All the venting in the tanks will be handled through the vented fuel caps, leaving only one wing tank outlet for the main fuel supply line to the header tank and one small drain/check valve in the bottom of the wing. Although not having an extra vent line running from the header tank back to the wing tank is probably a hot topic, this setup has worked without a glitch in my Super701 for 700 hours and it really helps to keep things simple by eliminating the extra return lines and several connections.
The only other thing required before final assembly of the wings is installing the wiring for navigation, strobe and landing lights. This is a relatively easy task but it is taking some careful planning to install everything correctly through the spars and ribs and to get it all secured properly across the length of the wing. I will be using AeroLEDs lighting, just as I did on the Super701. In my experience, it is an excellent lightweight, bright and effective lighting system that requires less power consumption than most of the older bulbs.
I catch myself thinking a lot about how to make the wiring and plumbing connections as clean as possible, especially where the wings join the fuselage. I have several ideas in mind, but integrating an idea into a finished product can sometimes be a challenge. While I tend to like challenges, I also want to get this thing in the air—and challenges always cost time.
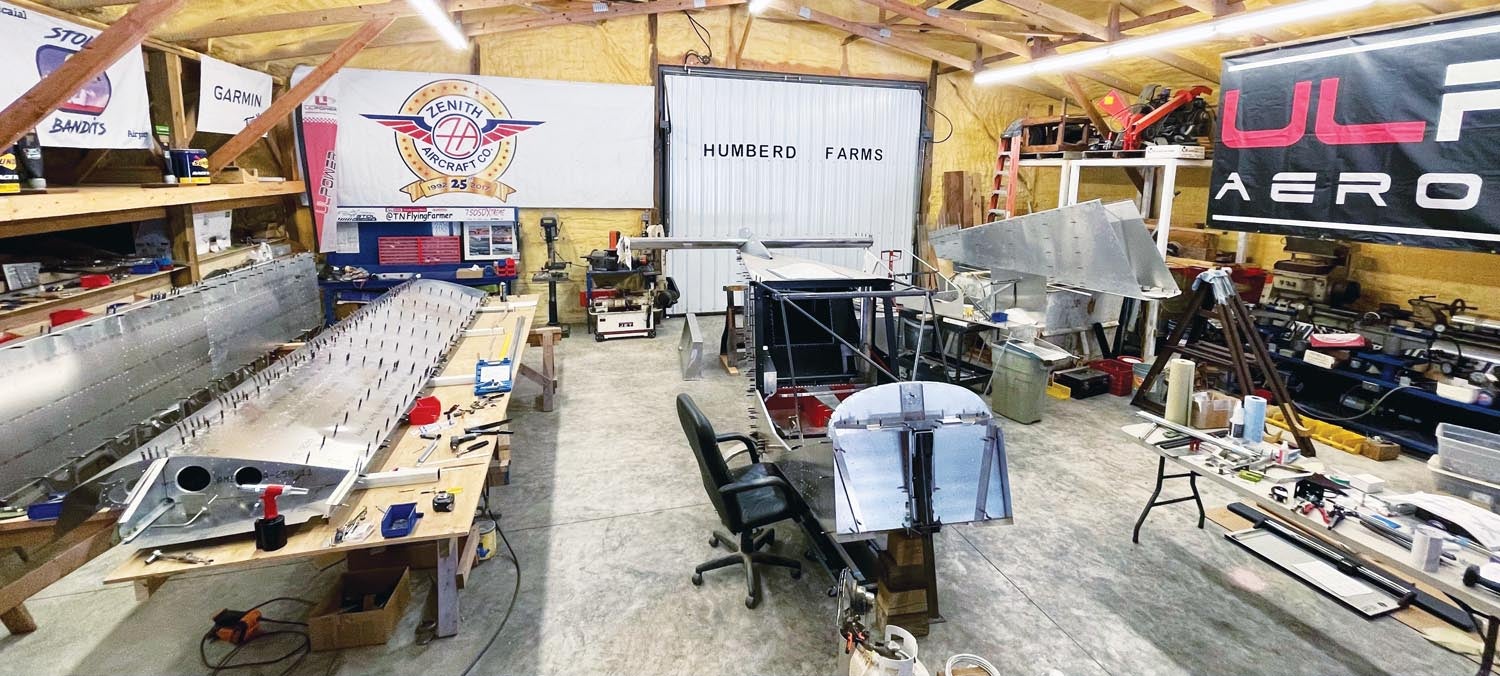
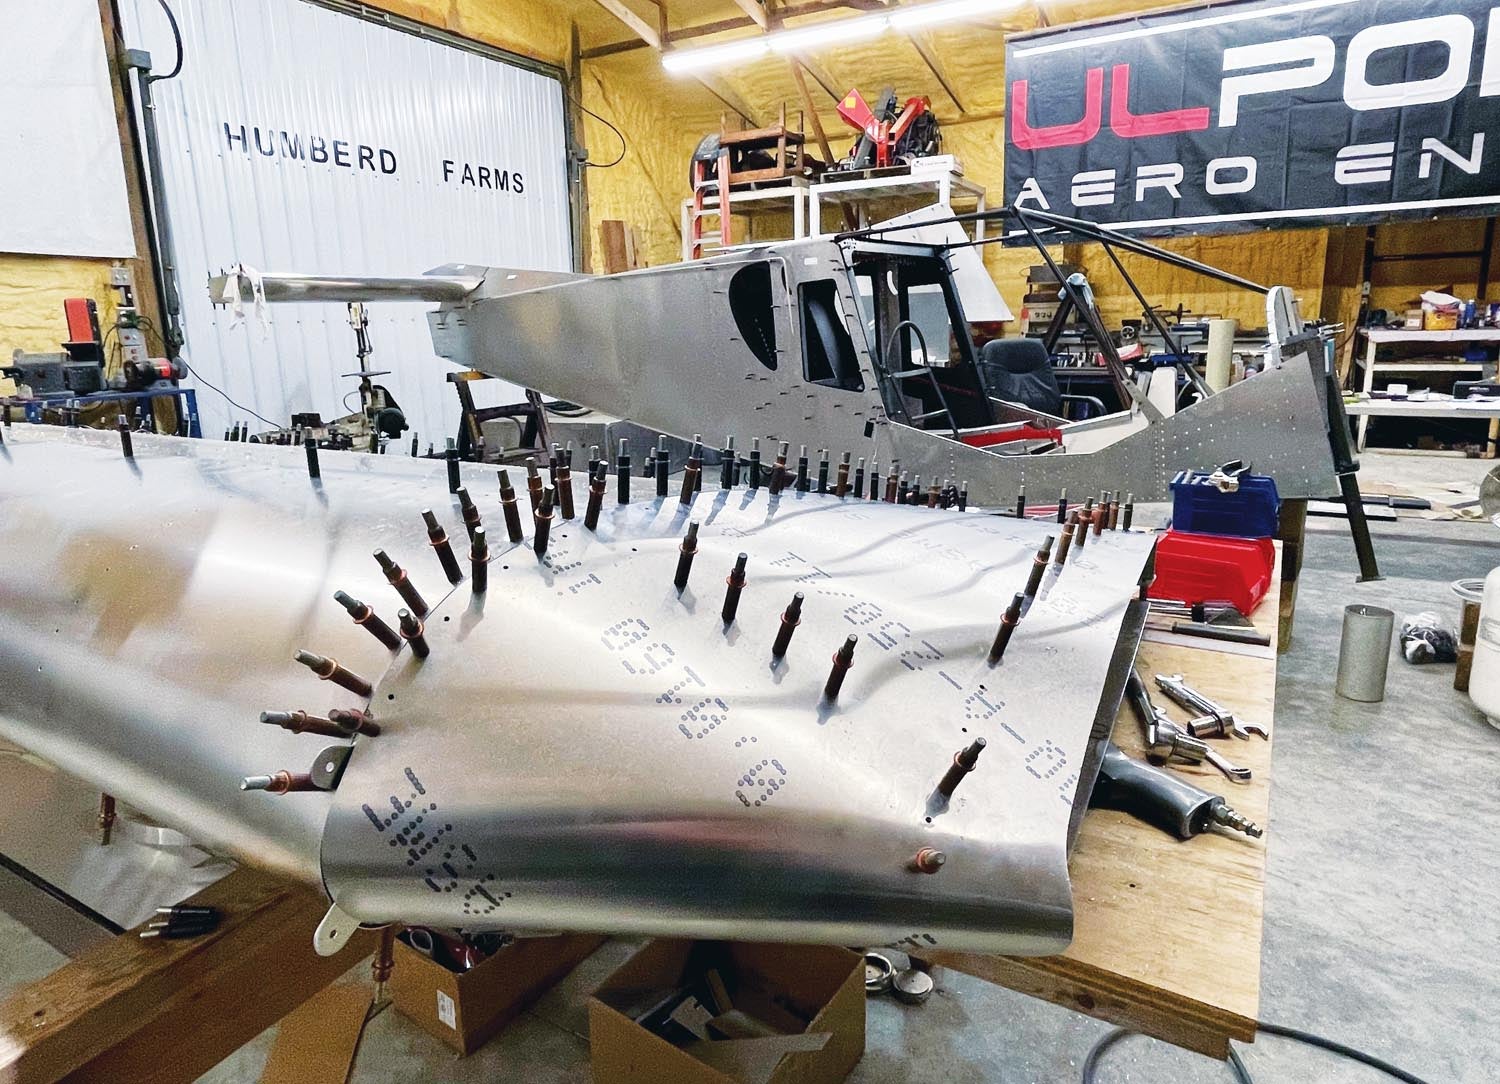
Forward Fuselage Planning
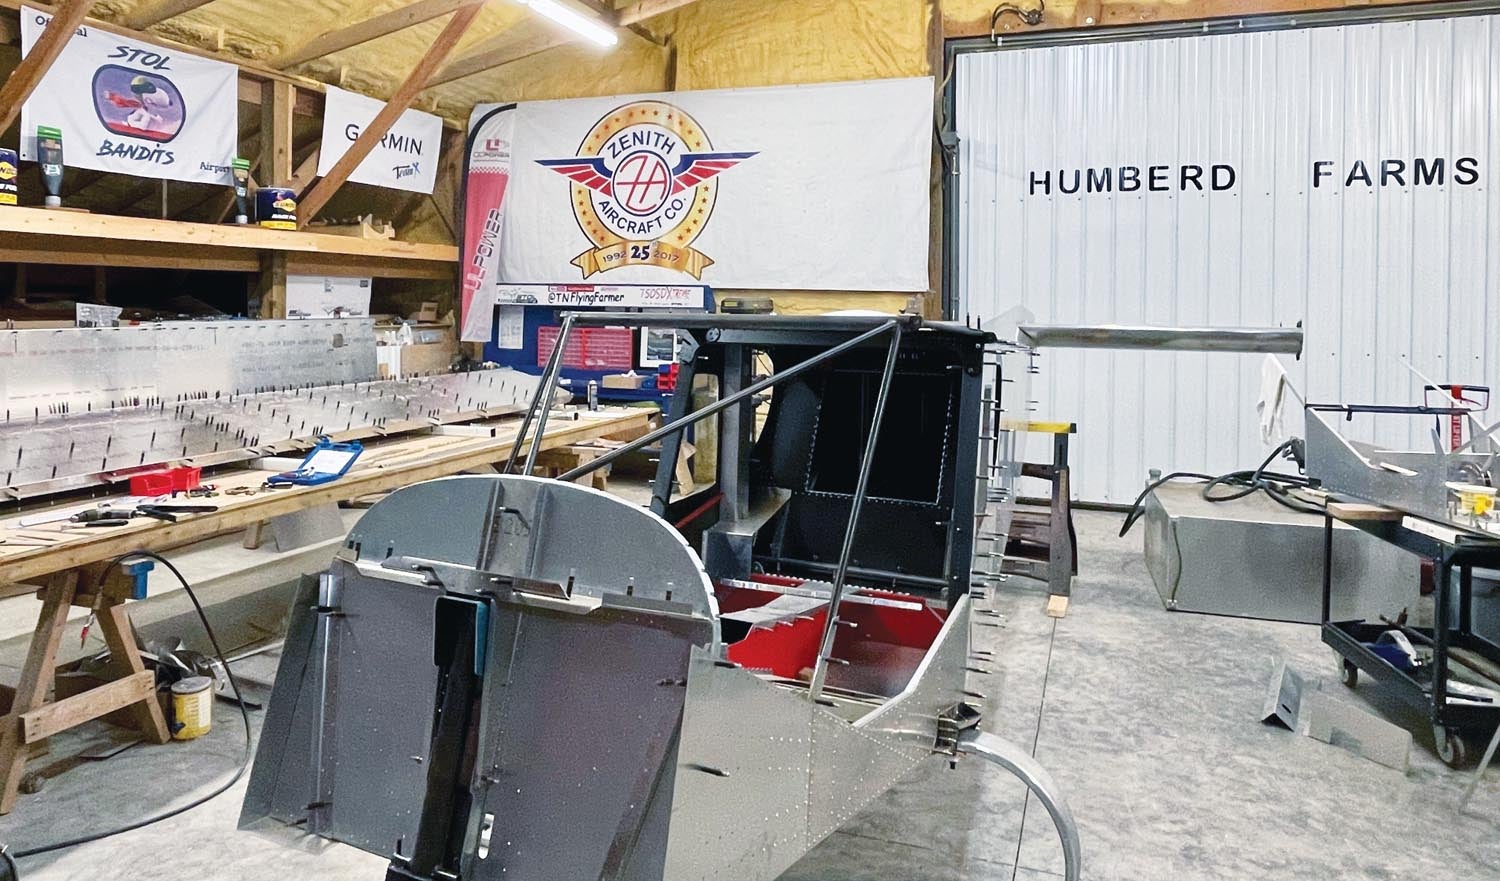
Getting closer to having fully assembled wings is also forcing me to start looking at the forward fuselage again. It is about time to get more things moving along there, like preparing the upper cabin area for the upcoming wing joining. At the moment, the forward fuselage is all Clecoed together and not yet riveted because I am still doing some planning.
On the list of stuff I’m still figuring out in this area are things like the instrument panel, engine mount, controls, seat and several other things. Some of it may require modifications to the cabin frame and other chrome-moly components that I’d like to paint before they are assembled. There is also some work to do with the landing gear, firewall and pedal assembly.
Weight and Balance
While my current focus has been on the wings, once the engine is delivered I will most definitely switch to working on the fuselage. On the top of that task list is figuring out the engine mount and trying to make sure things come out the way I want with the weight and balance of this airplane. I created a weight and balance spreadsheet on my computer and have been crunching all kinds of numbers so I can get the center of gravity positioned just where I want it.
It shouldn’t surprise anyone at this point that I’m aiming for a CG that is optimal for STOL operations. In my opinion, there is a fine line between having the CG optimally located and keeping it just forward of the rear CG limit. Basically, I want this airplane to be right at the rear CG limit when it is loaded in its most aft load configuration—buying myself some “margin” by having the airplane more nose-heavy doesn’t do its STOL performance any favors.
There is an engine mount available for the 750SD/520T combination. However, with my very specific ops in mind, I am looking at custom-building a shorter engine mount in order to move the empty CG back and make this plane handle just the way I want for my mission. ULPower, which makes the mount, has made it work for more of a real-world kind of loading. I have a feeling creating my own mount will involve a lot of work, but I am almost ready to tackle it!
Circuit Breaker System
Pretty soon, I will be looking at the interior and working on things like seats, controls, the door assembly, the instrument panel and electrical system. Among the growing pile of electronics on the back workbench waiting to be installed is a Vertical Power electronic circuit breaker system. I am excited about this particular system because I have used it before on the Super701 and it definitely helps to clean up the instrument panel real estate and the wiring.
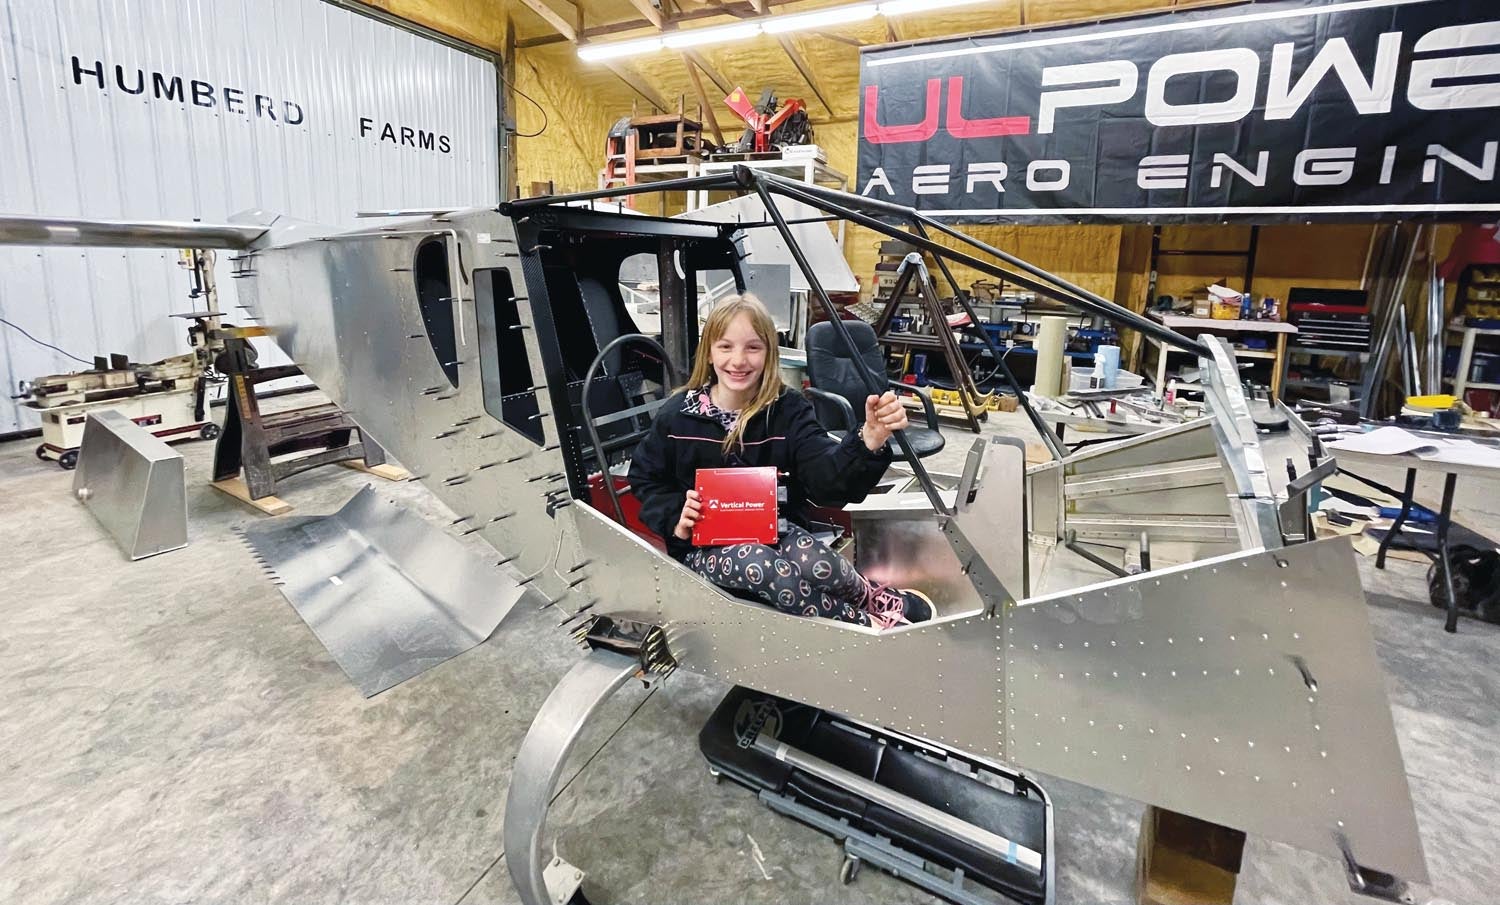
The Vertical Power system eliminates the need for a bunch of individual mechanical circuit breakers and many of the switches by replacing them with one small, remotely mounted solid-state module controlled through the EFIS. From the EFIS screen, you can monitor the current (amps) of each electronic device, reset any circuit and also turn circuits on and off without the need for any external switches or breakers.
The Vertical Power website has a very thorough planning tool that works great for electrical systems. Once you plug in all your desired electronics and enter the parameters for each device, the tool will configure it and give you a map of how to put everything together. This even includes wire sizing, pinouts and planning for the connectors. The online planner creates a config file for you to download that will program all of your preplanned parameters into the Vertical Power system and configure it, eliminating the need to sit in the cockpit pondering how to integrate everything. I can’t say enough good things about this system. It has performed amazingly well in my Super701 and I am looking forward to continuing that trend with another VP-X in the 750SDX.
Taking Advantage of Show Season
I plan to be at Sun ’n Fun 2023, where I will talk with vendors such as Beringer, DUC Propellers, Garmin and Levil Aviation in hopes of figuring out exactly what I need to complete this project and securing the products necessary to keep it moving along. If you are looking at building an airplane, I highly recommend you to go to shows like SnF and AirVenture to check out all the planes and vendors and to talk with other builders and flying enthusiasts. There is a huge wealth of knowledge—and also some extra motivation—at these events to help you get going with your own project.
Videos of Humberd’s builds—and some of the fun that can be had with flying a STOL airplane—can be found at www.youtube.com/@TNFlyingFarmer.
![Coming in for a landing at Humberd’s Farm [All Images Credited to Jon Humberd]](https://www.kitplanes.com/wp-content/uploads/2026/07/9-1.jpg?w=218&h=150&crop=1 "Overcoming Setbacks on the Zenith 750SD Xtreme")
![[Credit: Zenith Aircraft Company]](https://www.kitplanes.com/wp-content/uploads/2026/06/31142685469.jpg?w=218&h=150&crop=1 "Zenith Throws Open Its Doors for “Fly-In to Summer”")
![Members of the North Idaho High School Aerospace Program gathered at KSZT [Credit: North Idaho High School Aerospace Program]](https://www.kitplanes.com/wp-content/uploads/2026/02/IMG_3499.jpg?w=218&h=150&crop=1 "North Idaho High School Student ACES Fly the Aircraft They Built")


Nice job Jon…can’t wait to see that UL in action!
Comments are closed.