 While there are always exceptions, the bread and butter of Experimental aviation has always been sport aircraft. Like sports cars, sport aircraft tend to be small, fast, fun and a lot of times, aerobatic. Either that or minimalist and cheap. All are predominantly two seaters. Meanwhile, the certified side has focused primarily on serious traveling machines and/or highly utilitarian workhorses with usually four or more seats. For decades the two markets rarely crossed over or competed with each other.
Then roughly 20 years ago, sport aircraft dynasty Van’s Aircraft decided to blur the lines a bit by designing and producing a kitbuilt aircraft that could compete head to head with Wichita’s finest. The early design goals were to be able to comfortably carry four average-sized adults, a reasonable amount of baggage and enough fuel to match the far-side range of average human bladders. And to do it all at the top end of the general aviation speed scale, without forgetting the simplicity, cost effectiveness and ease of construction that had built the company thus far.
With modern CAD design and a new non-NACA airfoil, the end product, the RV-10, met or exceeded all of the design parameters and has truly been an amazing success. As of this writing, about 1000 RV-10s are flying and almost 2400 kits have been started. Kit sales of late are reported to be better than ever, and the market on nice used ones is hot.
The RV-10 not only bested its certified competition in several aspects, but also fundamentally changed the E/A-B market. Traditionally, a nice Experimental sport plane could be expected to hold a resale value at roughly the cost of the project, simply because that was what pilots looking for sport aircraft were willing to pay.
As RV-10s started hitting the used market, however, they brought in new buyers who wouldn’t normally be looking for an Experimental aircraft and certainly weren’t interested in building. These were buyers who had been kicking the tires of Bonanzas, Mooneys, Cirrus SR22s and so on, and were conditioned to the certified world’s Fort Knox level of pricing and maintenance costs. Before long, nicely built, smartly equipped RV-10s were commanding six figures or more in additional market value over the baseline cost to build. It helps goose the market when what you’re building is competing so well with certified iron costing two to three times as much for airplanes of equivalent performance and age.
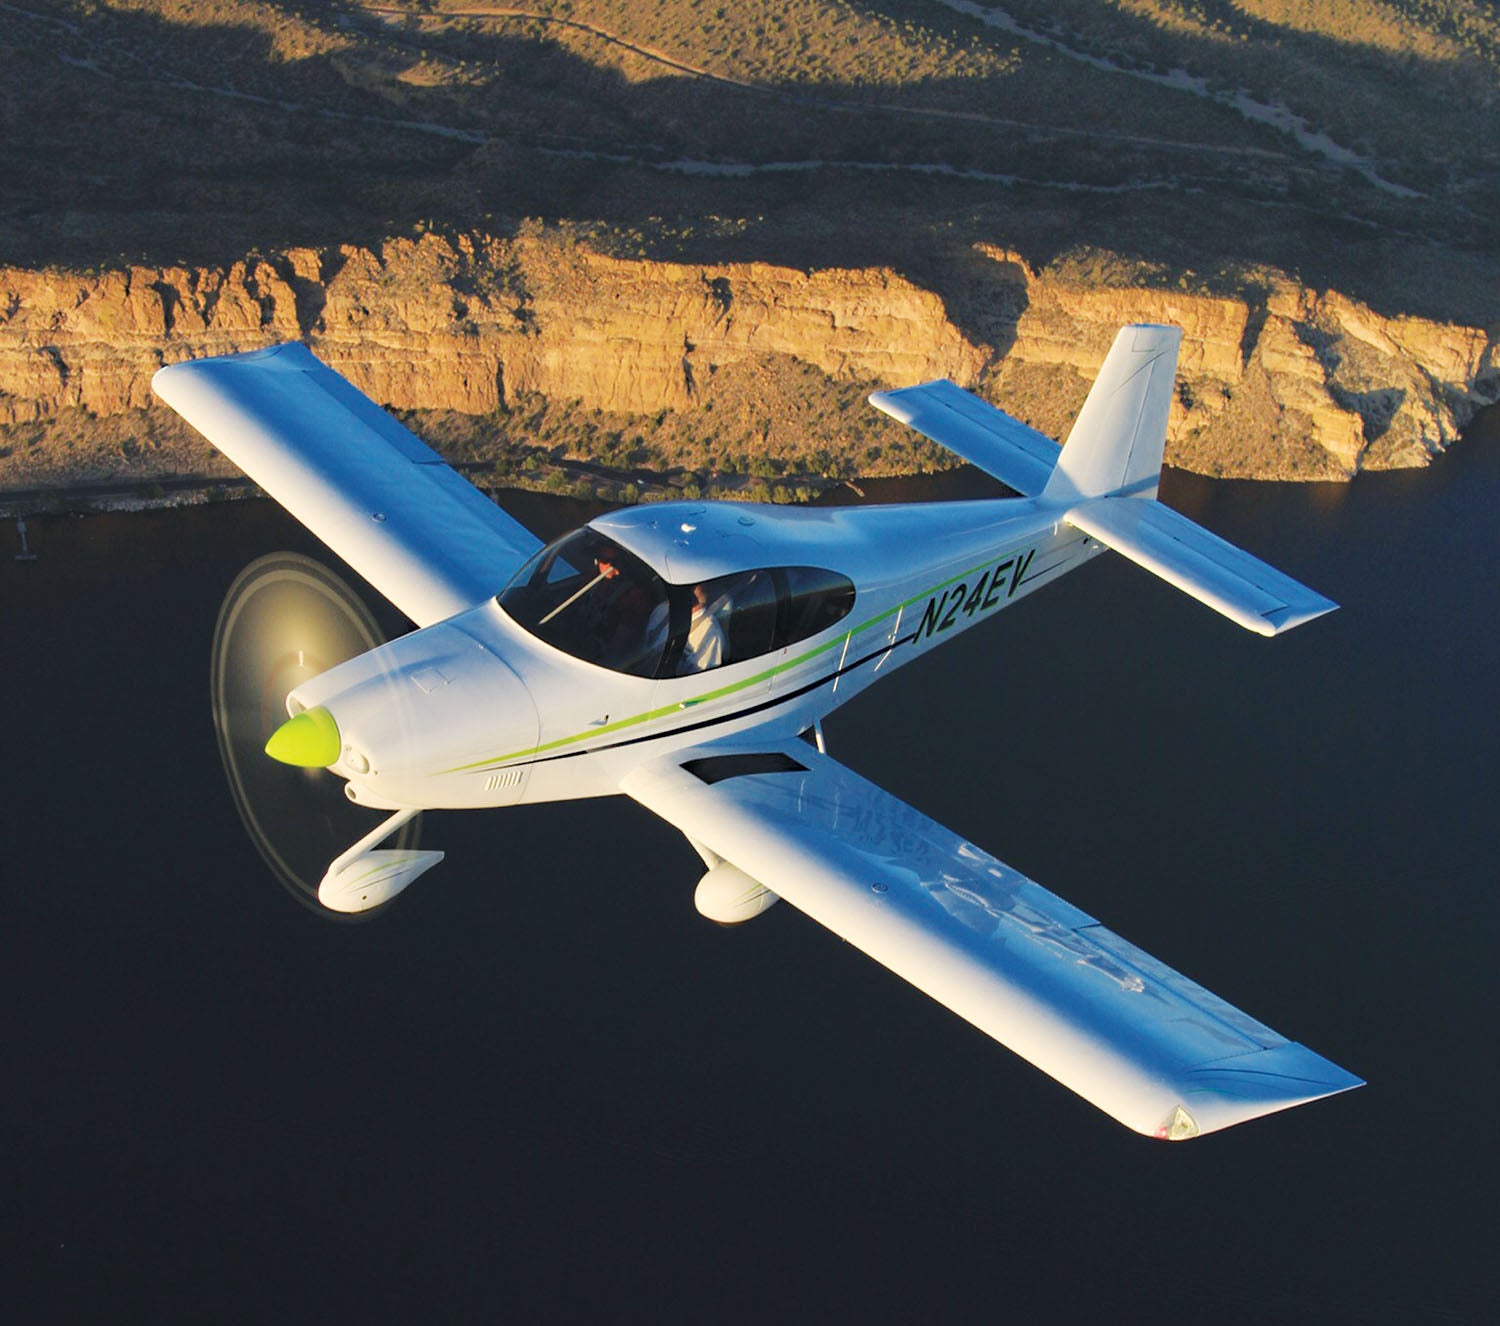
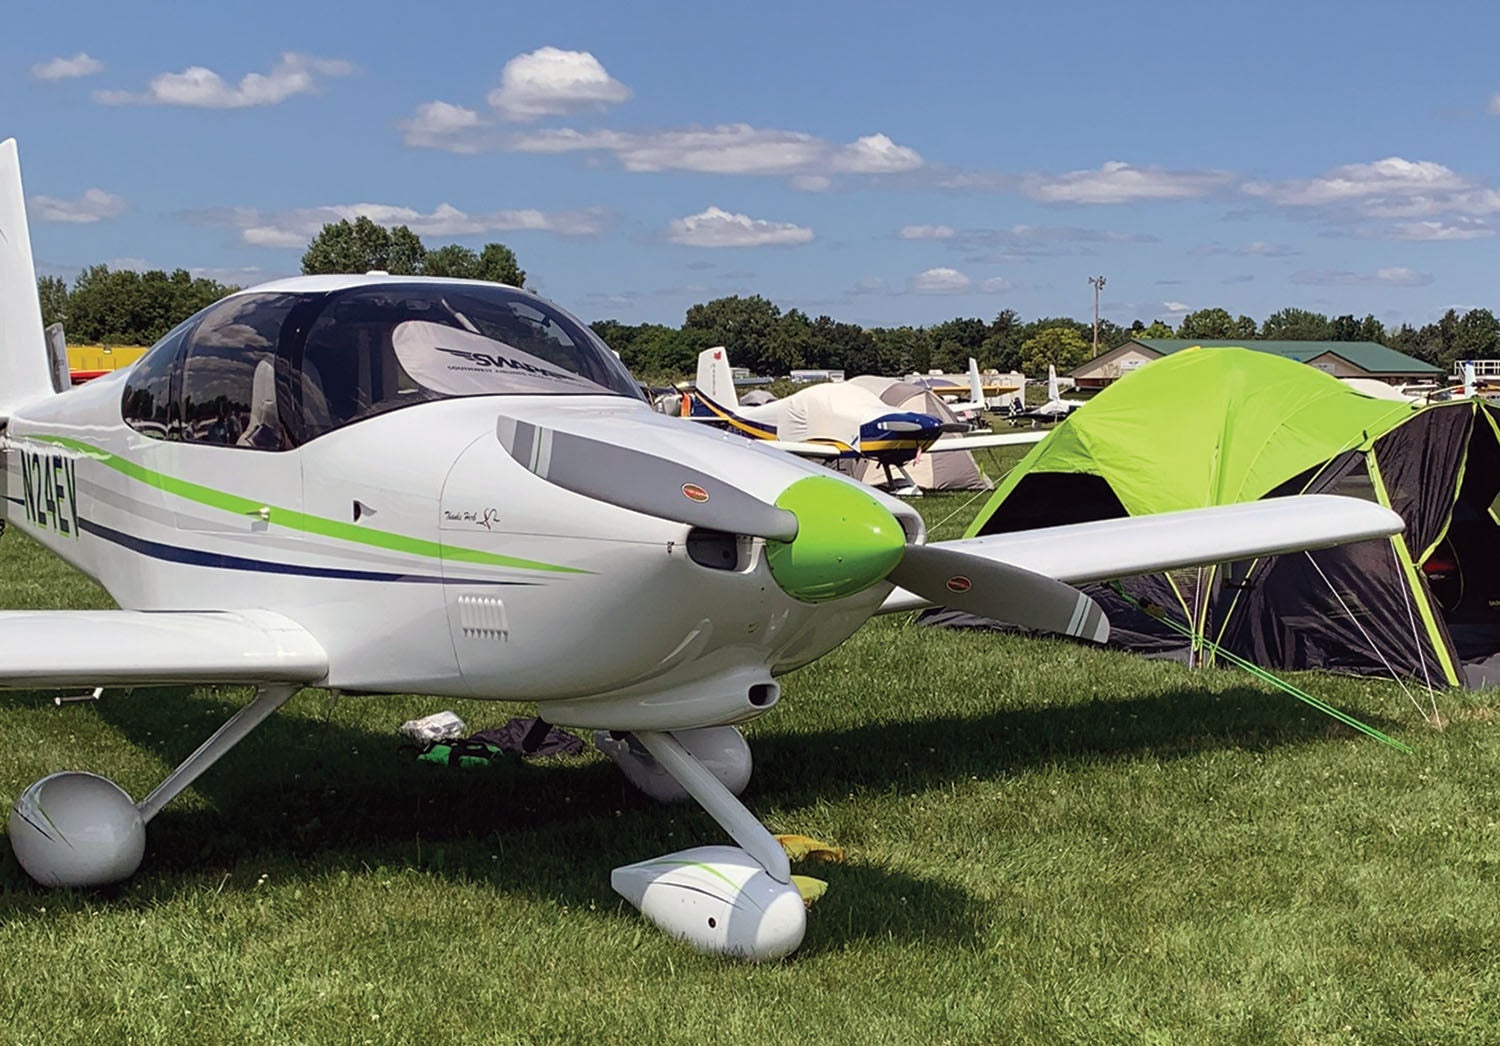
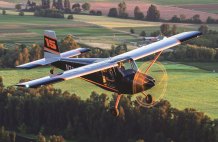
I built my RV-10 and have flown it for over 700 hours. I’ve also consumed thousands of builder/owner/shopper posts on multiple online forums for over 15 years. What follows is an overview of things to be aware of before buying (or building) an RV-10. This isn’t a complete prebuy inspection checklist, with items that apply to many different aircraft. Instead, my focus is on items specific to the RV-10. I have included several pictures of my airplane that show specific areas of attention. There has never been a perfect airplane, and my first effort with its warts and flaws is no exception.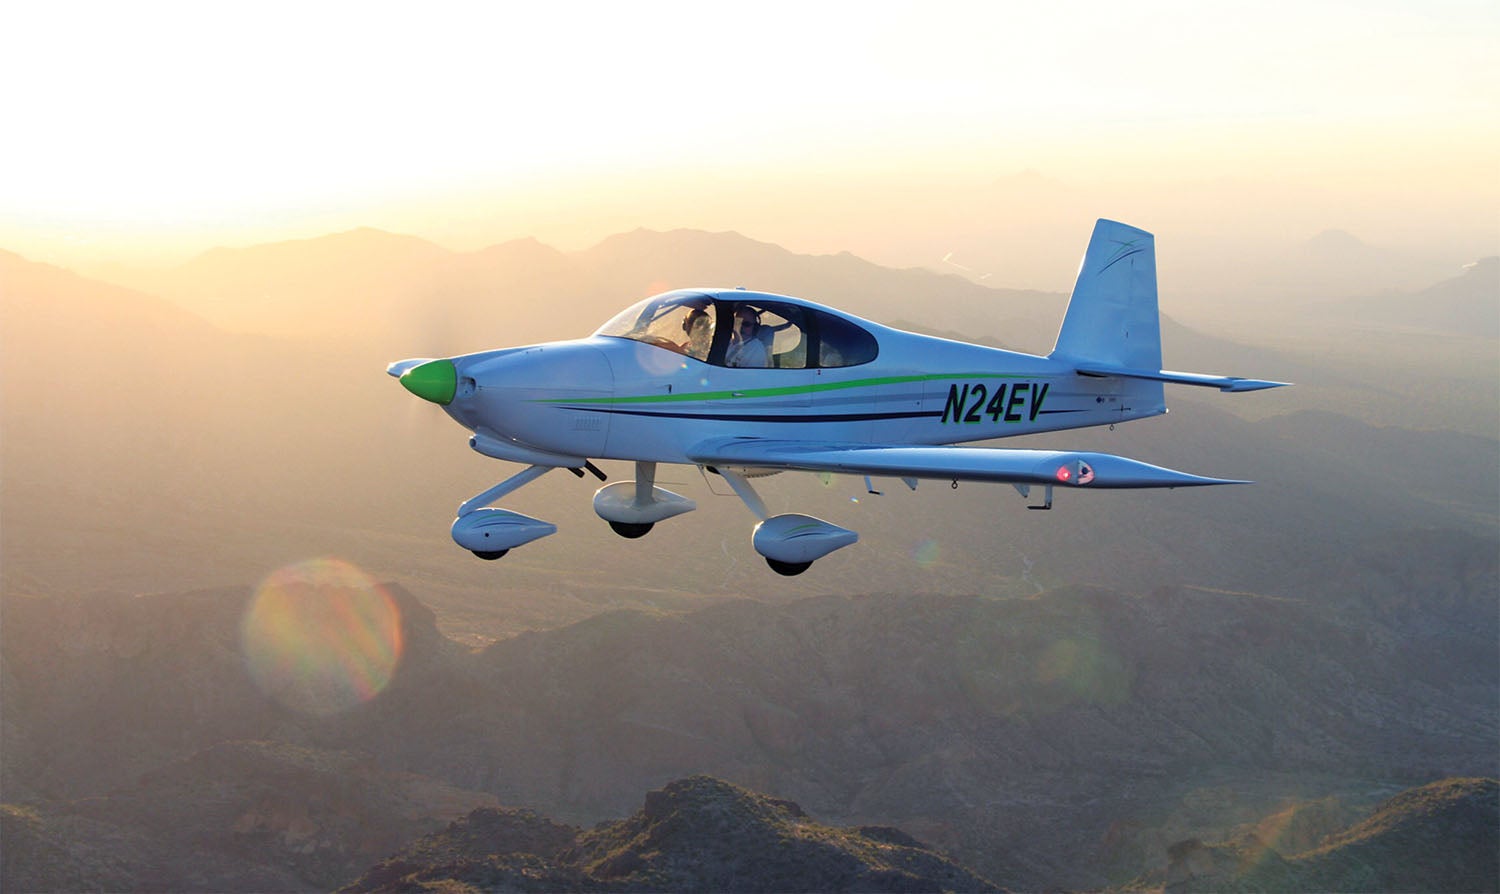
Service Bulletins
A first stop for any aircraft shopper is a review of pertinent service bulletins and airworthiness directives (if applicable). The good news is that Van’s keeps a nice library, and the RV-10 has relatively few. Most are quite simple, but there have been a couple of late that could potentially lead to significant cost and hassle. Both involve landing gear structure, both main and nose, but occurrences seem few and mostly involve high-hour, off-pavement challenged aircraft (think student landings and/or rough terrain). More on these later.
Engines
The venerable Lycoming IO-540, which Richard VanGrunsven and his engineers originally envisioned for the RV-10 airframe, has turned out to be a match made in heaven. They also built a demonstrator with a smaller Continental, which had amazing numbers in its own right, but the early buyers and survey respondents opted overwhelmingly for the big Lyc to the point that the smaller option was discontinued.
In the early days there were several non-Aurora-based alternative engine packages offered for the RV-10 touting attractive albeit mostly virtual performance numbers. There was a turbo Subaru option and a couple of automotive V-8 packages available for a short while, along with a diesel or two and at least one turboprop. I won’t go so far as to say that there aren’t successful applications of alternative engines in the RV-10 marketplace, but I can say with confidence that no alternative package to date has gained any significant market traction. In addition, early incident/accident history with alternative packages has left the insurance market such that underwriters extract a heavy penalty on anything not designed in Williamsport. I may get some flak for this, but I would suggest a value subtraction on any non-Lycoming RV-10 equal to the cost of installing a proper Lycoming or clone. Your wallet’s opinion may differ.
Lycomings can be sourced either new through Van’s excellent factory pricing program or custom rebuilt through one of the top shops like Barrett Precision Engines of Tulsa, Oklahoma, or Aero Sport Power of Kamloops, British Columbia. There are other quality shops as well, but these two seem to have the lion’s share of that side of the business. Since there are advantages to both new and a top-shop rebuilt, (a topic worthy of its own article), I would consider the value difference hour for hour to be a wash and not a reason to make or break a sale. Seeing what the success of the RV-10 did to the previously moribund 540 market, Lycoming subsequently opened its own custom shop called Thunderbolt. Those engines certainly deserve a modest value add.
When an engine has decades of proven performance, yet can still be easily modified with the latest technology like electronic ignition and/or electronic fuel injection if desired…plus the engine/aircraft combination can cruise in the yellow band in several atmospheric regimes, there really isn’t a market vacuum to justify something new and different when what exists is so good.
It’s worth noting that most Lycoming 540s have 8.5:1 piston compression ratios as standard. A common bump is to 9:1. (I upgraded mine to 9:1 and saw noticeable improvement). According to engine builders, 9:1 is the highest ratio that can safely burn avgas in which the lead has been removed should that day ever come. Ratios higher than 9:1 will require higher octane or some form of supplement.
Also be aware that early RV-10s had an exhaust system designed in-house with a single heater core and exhaust. Subsequently, Vetterman Exhaust designed a superior tuned system with two heater cores and two exhaust pipes. The Vetterman system was later incorporated into the kits. A few airplanes have the original design but it should be considered a demerit on value.
Here’s another thing to keep in mind when shopping for a used RV-10: Van’s special engine pricing and engine/propeller combo pricing are one-time deals that are linked to each airframe’s serial number. That suggests if the original builder did not use one or both of the benefits, subsequent buyers of the aircraft are entitled to take advantage of an unused offer at a future time.
Propellers
A variety of props are common on RV-10s. The two-blade Hartzell blended-airfoil (BA) prop that Van’s sells was specifically designed and tested for the RV-10/IO-540 combination, and it seems to be the most common. Lots of builder’s like three blades, and several are available in both metal and composite. Three versus two is one of those eternal debates with both having advantages. The blended-airfoil two-blade is generally considered fastest, lightest and cheapest. The threes are purported to have better climb performance and to be smoother and quieter. A lot of buyers just think a three-blade looks better on the ground, although the eyeball advantage ends upon engine start. To me the value difference is no more than the acquisition cost difference and shouldn’t be a deal-breaker either way, keeping in mind that converting a two-blade to a three-blade will require some modification to the cowl for removal and installation.
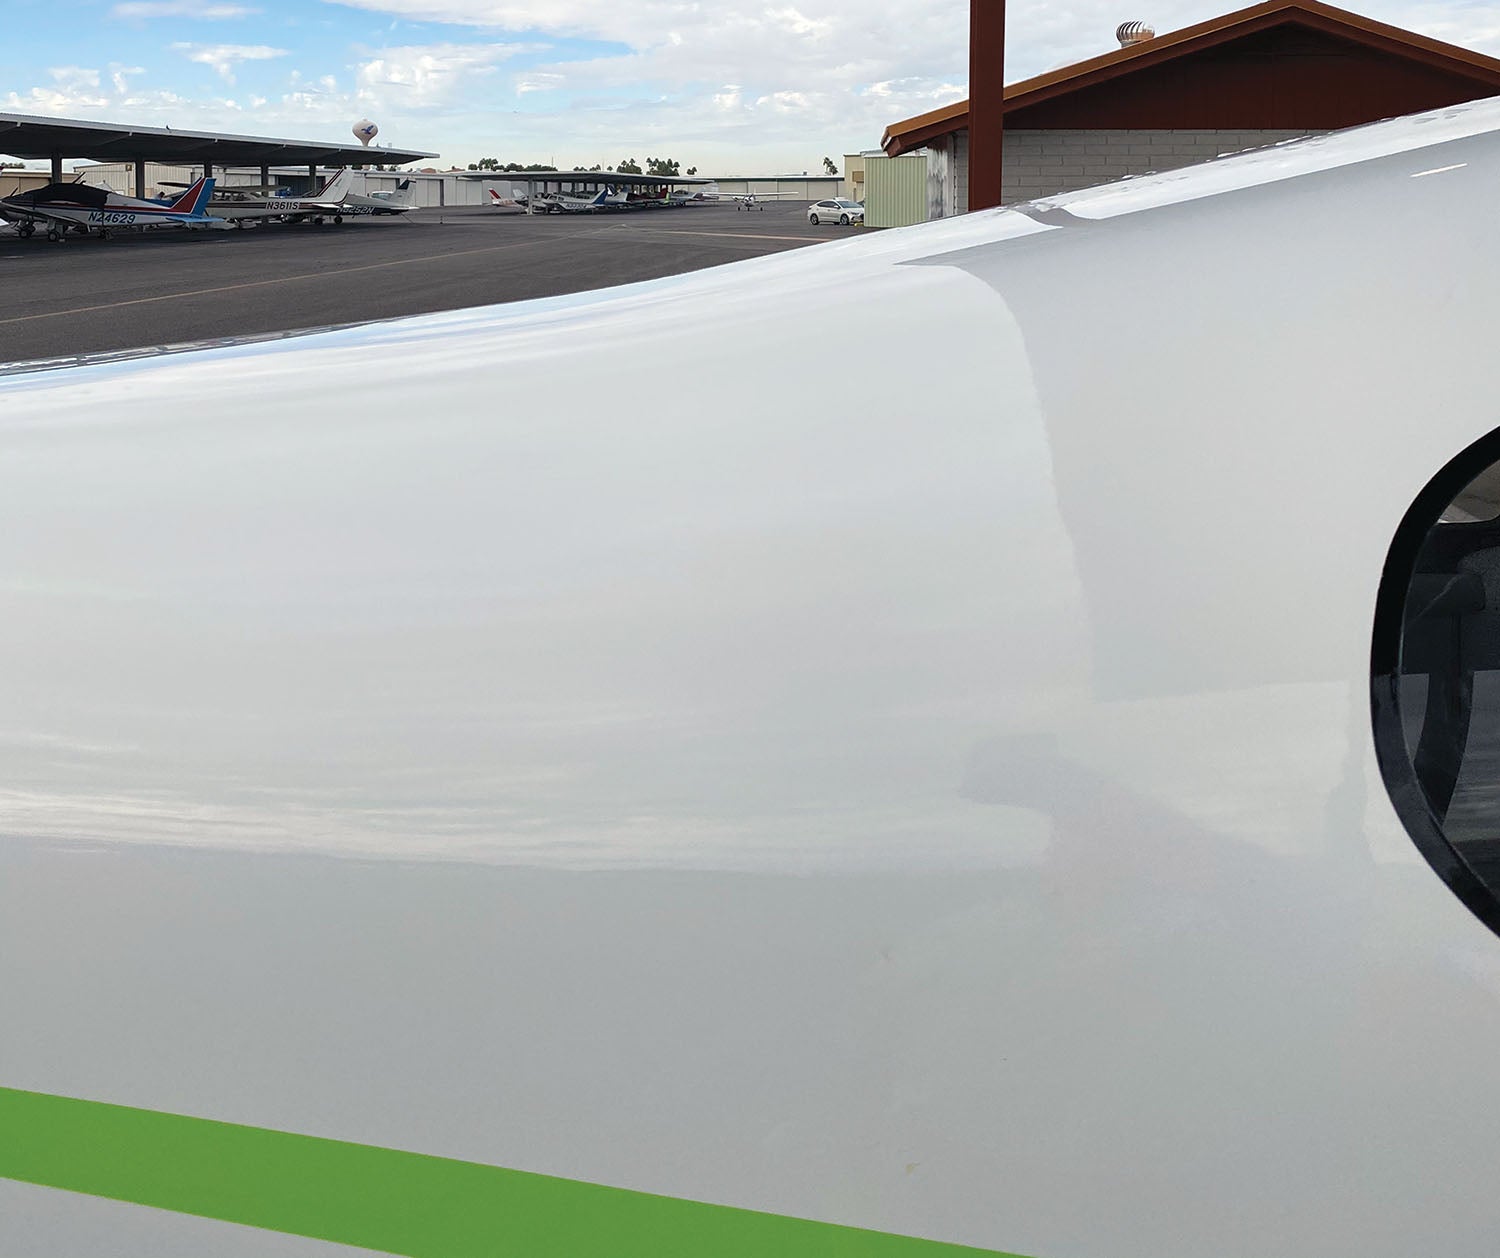
Cowling
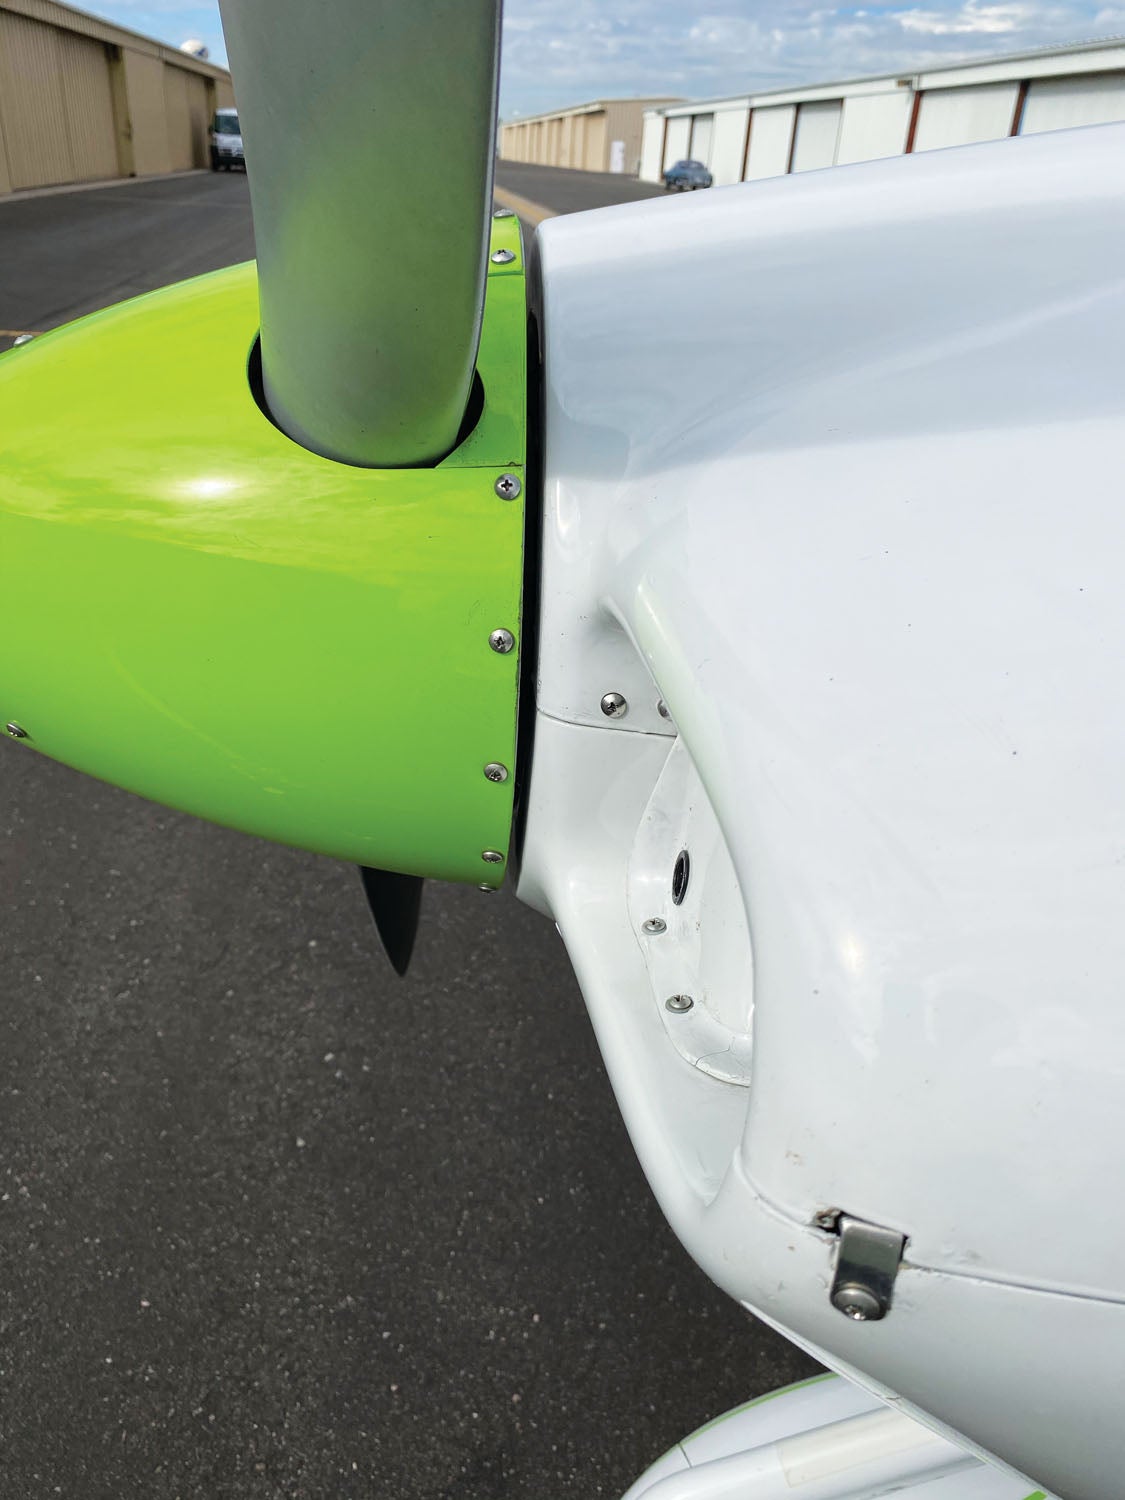
RV-10 cowls are composite and a chance to judge the craftsmanship of the builder of a prospective purchase. But first, a word about composite material, aka fiberglass. Builders get spoiled by the precision of Van’s CAD/CAM metal parts; it’s stunning how they fit together perfectly. “Plastic” parts are different. They are mostly outsourced and by the nature of chemical reaction are hard to replicate time after time with perfect geometric precision. Therefore, they are often designed and formed oversized to be shaped to fit. One good thing about composites is that they can be added to or subtracted from with much greater ease than metal. Van’s has had a few iterations of their composite pieces, hence builder jargon of greenies, pinkies, and grays when referring to the color of the parts.
Some builders opt for quarter-turn cowl fasteners like Camlocs or Skybolts, but Van’s signature piano hinge design is simple, effective and cheap when installed correctly. Properly fitted and trimmed cowls remain in alignment even when the hinge pins are removed. The hinge pins themselves should have enough friction to not be loose, but not so much friction as to be difficult to remove or insert. The front cowl halves should form a flat face parallel to the back of the spinner. While certainly easier with help, properly fitted cowl pieces should be able to be installed and removed without difficulty by a single (experienced) person. The need for extra hands or clamps to hold pieces together to get the pins inserted means there’s a misalignment somewhere.
In the early days, James Aircraft offered a Holy Cowl product for the RV-10 with trendy round air intakes and claimed lower drag. It was often used with a plenum. However, many early adopters struggled with heat-related issues and the product was discontinued. A few remain and they look great and should have the heat issues sorted out by now.
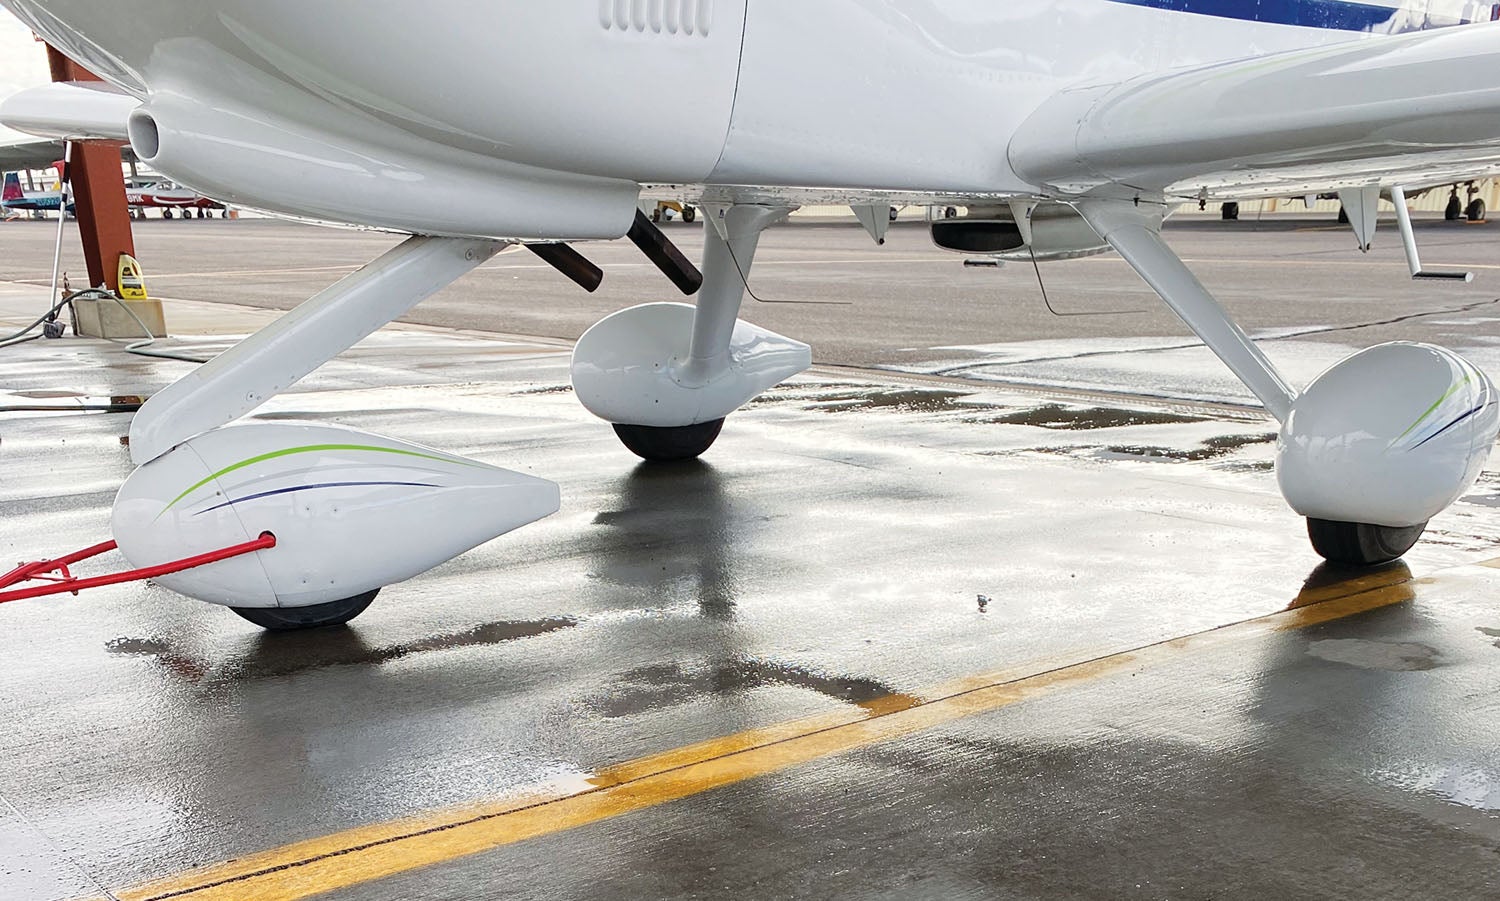
Landing Gear
The landing gear is blessedly simple, effective and maintenance friendly. The kit-supplied Cleveland wheels, bearings and brakes are general-aviation standard, but replacements/upgrades from Beringer Aero or MATCO are common. Upgrading the nosewheel axle assembly is very common. (Long story, just trust me or ask a builder.)
Having the engine cowl off is an opportunity to check the service bulletin on the nose gear assembly that has been upgraded in newer kits. The new design is available for retrofit but not required unless (rare) specified cracks are found. We’ll talk about the main gear service bulletin in the “Main Gear Weldments” section.
One last comment on the landing gear involves the wheel pants and gear leg fairings. The proper way to get the most aerodynamic alignment—and therefore the best performance—is a rather complex and laborious process comprising chalk lines, plumb bobs, lasers and elevating the aircraft off its feet to get the alignment correct for the gear as it would be unsprung in flight and not compressed by the aircraft’s weight on the ground. Most builders do it painstakingly by the plans, but a few have said “Forget that!” and just installed the fairings by the lazy TLAR (that looks about right) method. There’s no real certain way to determine what was done other than careful questioning of the builder, but a TLAR installation will cost some speed.
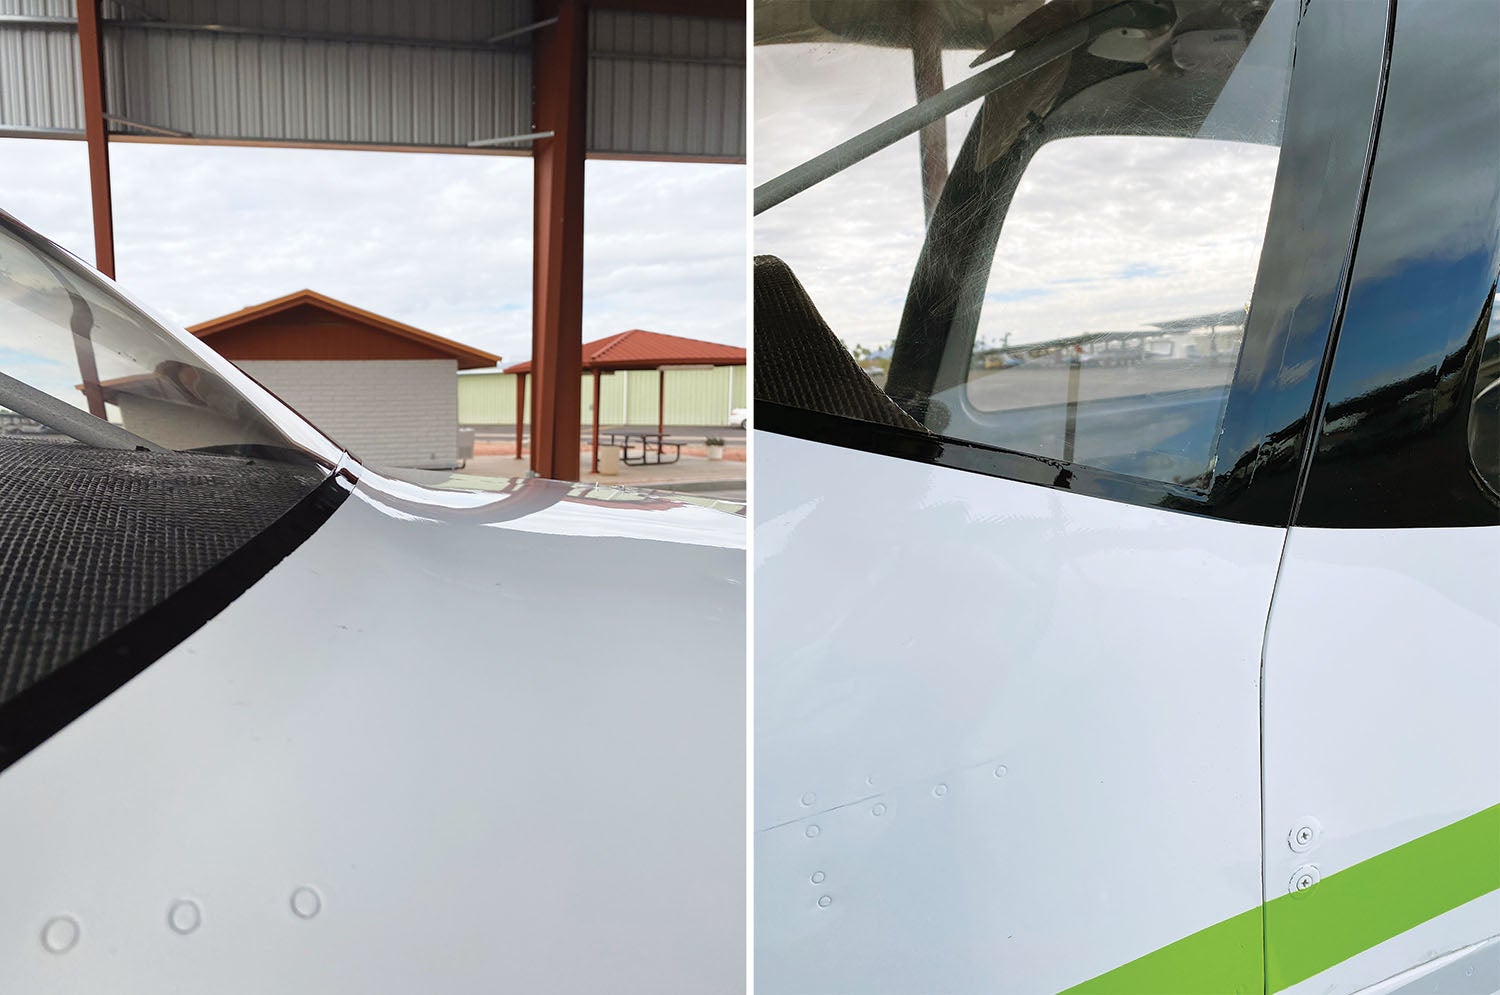
Windscreen
The windscreen is an area where careful prepurchase inspection is important because a bad example can be a significant time and money sink, especially when the job has to be hired out. The windscreen as delivered is oversized, usually outsprung, and must be carefully trimmed. To assure a proper fit along the top of the cabin and down the pillar sides, the windscreen must be compressed in at the bottom shoulder corners. The baked-in tendency of the windscreen to want to flare back out at the shoulders makes it critical to correctly prepare and fit the metal retaining clips and multi-layered fiberglass base fairing.
The fairing is not a place for sloppy work or shortcuts. The end result should have a smooth radius at all points and extend an inch or so up from the bottom of the Plexiglas so it is clearly visible from inside. The profile of the transition between the windscreen and fuselage should be smooth and not sharply angled. The key point for a prospective buyer to look for is evidence of cracking or bulging at the bottom shoulder point where the corner of the Plexiglas should rest snugly against the upper fuselage near the door seam. Several airplanes have experienced cracking and even separation in this area, and repair, while possible, is a lengthy and expensive process, often requiring complete removal and replacement of the windscreen. A couple of vendors produce metal windscreen base frames that can be glued or screwed into place much like several certified airplanes incorporate.
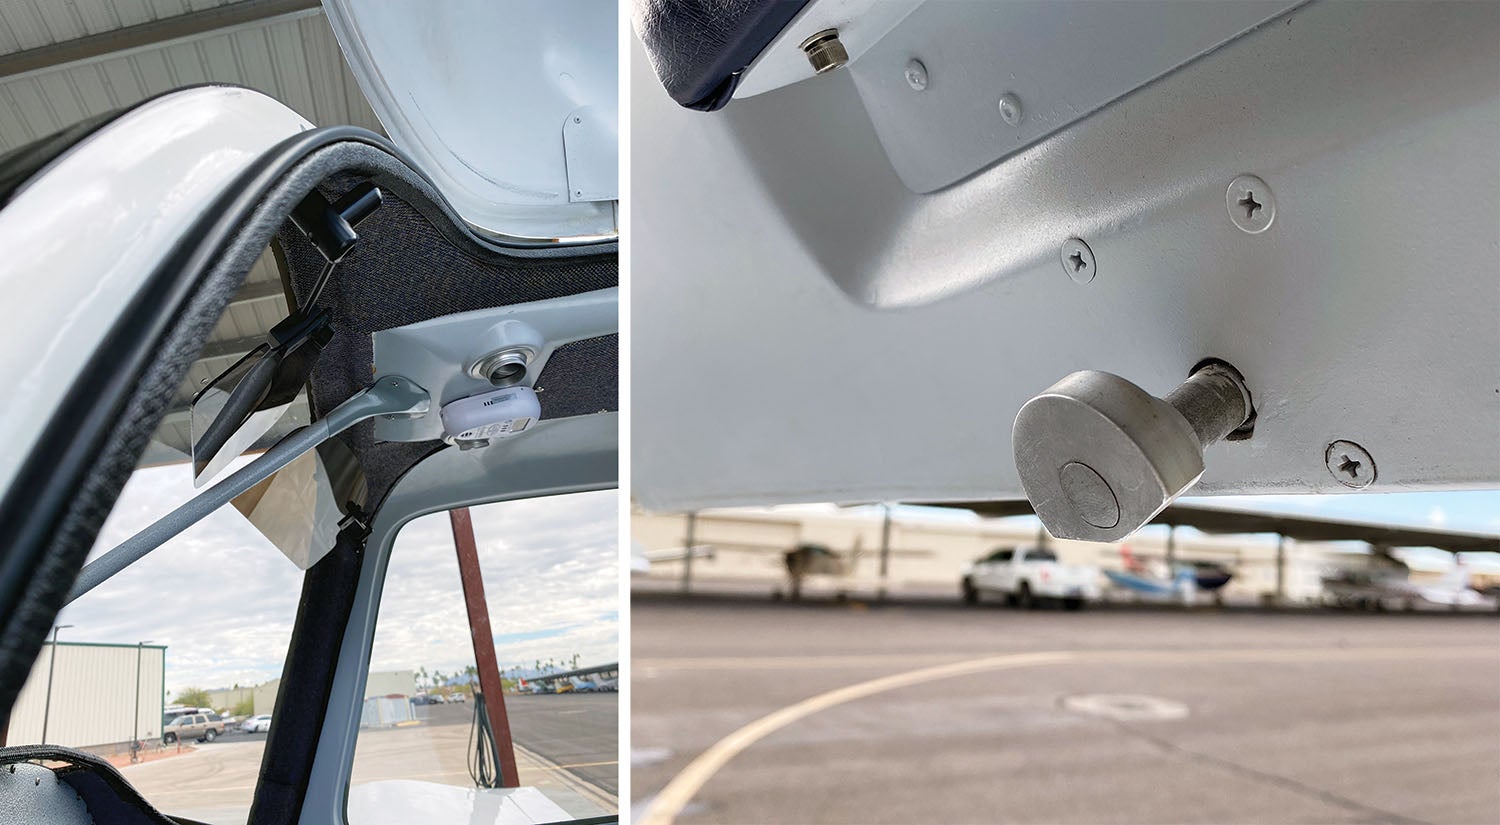
Cabin Doors
Ask any builder what their least favorite aspect of the entire project was, and they’ll usually say the doors, often with an accompanying expletive for emphasis. The finished doors should raise and lower without stress or binding. The original design called for a rather ineffective seal applied around the perimeter of the door. Most builders opt for a higher-quality door seal from McMaster Carr that attaches to a ridge around the fuselage doorframe. Whatever seal is used, the door should seal up nicely when closed, and the locking mechanism should operate smoothly with noticeable, but not heavy, friction.
In the first several years after RV-10s started flying, there were a few instances where doors popped open in flight and usually departed the aircraft. To my knowledge no aircraft or lives were lost, but expensive repairs and undergarment laundering were required. The problem stemmed from doors that were ill fitted and/or not closed properly, usually with the aft pin outside the fuselage structure.
The first factory fix was a magnet-based indication system that was supposed to alert the pilot when not all pins were in the correct position. When problems continued, the second factory solution was a simple spring clasp that secures the center part of the lower door to the doorsill and prevents it from bowing out in flight. It was simple and supplied free to retrofit but not well received by the marketplace, mostly for its aesthetics. In a rare besting by the aftermarket, a Utah shop called PlaneAround LLC developed a brilliant solution to the problem called the RV-10 Door Center Cam. It meshes (literally) an angled rotating cam into the original mechanism that grabs the doorsill and pulls the door in and holds it securely.
The mechanism is easy to add while building and fairly easy to retrofit. I think it should be incorporated into every RV-10 kit or aircraft. It is very simple and effective. As of the last several years, reports of in-flight door issues have sharply declined. However, there was a fairly recent incident in South Africa where a door that was secured with the Van’s spring clasp popped open. Fortunately again, nobody was hurt.
Instrument Panel
Instrument panels are one area where builder flexibility can be a blessing or a curse to a potential buyer. I’ve seen exactly one RV-10 with an old-school steam panel, and it actually looked great. But these airplanes are trans-continental machines and the vast majority have the latest in glass, with Dynon, Advanced Flight Systems and Garmin dominating the market. Fortunately, there is some standardization occurring. Major shops like SteinAir, Advanced Flight Systems and others are building essentially plug-and-play panels to corporate aircraft standards. I would definitely consider such a panel a significant value-add, even though many homebuilt panels are fabricated to equally high standards and quality.
An important consideration with any panel is future serviceability. Something like replacing a wiz-box on a subpanel can be a 20-minute job in one airplane and a full day’s labor in another.
Some guys build for sexy looks and think little about future access. Tearing apart the entire panel for one project is miserable but still better than being prostrate in the footwell, kidney wrapped around the stick, working bass-ackward with a mirror and headlamp. Sharp looks are great but so is modular accessibility by design.
Main Gear Weldments
The other recent service bulletin concerning the RV-10 landing gear requires inspecting the gear weldments bolted to the main wing spar under the main cabin seats. There have been a few reports, generally from heavily used aircraft, of cracks in the support structure and aft part of the footwell skins. The weldment design has been changed in new kits and retro kits are available. But changeout is neither required nor encouraged unless verified cracking is documented because both weldments must be changed together and significant redrilling is required. Just a heads-up.
Interior Fluid Hoses
Under the seats and through the center tunnel are various hoses and lines for fuel and brake fluid passage. These are shown in the plans to be fabricated from flexible poly tubing for some and rigid aluminum tubing for others. This is another area where the aftermarket has really stepped up in a good way. Complete kits of factory-made Teflon braided steel hoses can be purchased that are state-of-the-art in quality and performance. The key isn’t the original tubing as much as getting the connection flares correct, which no builder with hand tools can accomplish as proficiently as industrial machinery can.
Along with the interior hoses, a key element is the fuel selector that ties several of those hoses together. Forgive me, but the kit-supplied apparatus looks like something from a moonshine still that, while no doubt functional, is generally ridiculed by the market. Fortunately, a shop in England called Andair makes a valve assembly that is museum quality in its fit, finish and function. You want to rotate the handle just for how Jaguar sensuous it feels. As I recall, Van himself installed the Andair valve in his own personal RV-10.
Wings
The wings are pretty simple. The landing lights were originally Van’s inexpensive, bright, incandescent but amp-hungry light sets. HID lamps were popular for a while and very bright, but a primary supplier went out of business and replacement bulbs and power packs are hard to find. Most new builds use the beautiful but expensive LED light assemblies from various vendors.
Check the back of the airfoils for straightness, especially the flaps that can get bent if someone steps where they shouldn’t. The flaps should operate smoothly without odd noise or binding.
Fuel tanks should be carefully checked for leaks. There was a common problem with early quickbuild tanks that often had an improperly torqued B-nut on the inside of the tank vent, which led to seepage through the normal vent tube at moderate fuel levels. Check for evidence of blue acne on the hangar floor. What seemed initially as a complex fix was made rather simple when a sharp builder devised a clever tool to tighten the nut without having to open up the tank (see “Toolcraft,” March 2020).
Empennage
Since the tail feathers are usually a builder’s first experience, it’s good to examine the aft edge of the airfoils for straightness. The trim should operate smoothly, and yes it’s normal for the two trim tabs to function separately between full up and down.
If there is cargo in the hold of an RV-10 and passengers climb into the back without anyone sitting in the fronts seats, it is likely that the airplane will squat onto its tail, possibly damaging the bottom fairing of the rudder if the tail tie-down isn’t installed. Usually the tip is mild, but it can be heavy and, if repeated often, can damage other areas like the dog ears of the rudder hinge attach brackets, which should be dead perpendicular to the aft spar of the horizontal stabilizer.
A lot of ELTs are located under the forward fairing of the horizontal stabilizer. If a new 406 ELT has been installed (a plus), it should have a lead attached to carry the GPS feed from the avionics. It isn’t required, but the GPS signal feed really enhances the benefit of the new technology and would be an expensive retrofit to have an avionics shop accomplish.
Wrapping Up
Hopefully, prospective buyers now have a starting point for evaluating a used RV-10. No doubt other builders and operators can add further observations and suggestions. Most of the hundreds of RV-10s I’ve viewed on flight lines have been of very high quality, in part, no doubt, because the plans, kits and design are so high quality. The odd clunker is pretty easy to spot and avoid—just remember that a pretty paint job can hide a lot of ugly.
In summation, I agree with the accompanying owner reviews that the RV-10 is the most capable, comfortable and amazing general-purpose aircraft I have ever had the pleasure to fly. There have been attempts by other kit designers to create family/business certi-clones to compete head-to-head with Wichita, but nothing has been as successful as the RV-10…not even close.
The first rule of aviation is to never take financial advice from a pilot. Having said that, I’m comfortable saying that a cherry RV-10 kept in Bristol fashion can not only be a blue-ribbon personal aircraft, but a blue-chip investment as well. And that ain’t just outta the blue!
Photos: Sean Holzmuller, Myron Nelson and the other RV-10 owners.


")


Wonderfully done, Myron. A great article from beginning to end. I fly an RV-9A that I built and absolutely love, but I’ve coveted a 10 from the first time I flew in one. They are a truly extraordinary magic carpet, and you have expressed that in crystal clear terms.
Unfortunately, my coveting just got a whole lot worse. 🙂
Hi there , I’m pretty much at a cross point , where I’ m saying bye bye to an aging Mooney which I know will cost too much to repair and also I have an urge for a plane that has an auto pilot and get rid of all stem gages.. Also had worries about homebuilt but I see there is a community and even service bulletins for homebuilt. I had the chance to try out a perfectly maintained and built RV-10….Wow fits my mission exactly… lands and take off short, climbs very well.. Good hauler for the occasional 3 to 4 persons and has 2 doors…. I wish I could find one ….but The ones I see are generally the price. Of a used Columbia 350…and are much easier to load. What should I expect for an RV-10 price wise for a reasonably equipped RV-10? I don’t want to build one ….just want to fly it and do the maintenance …owner assist…
Hi Marc. Thanks for being a reader and for reaching out. There’s a reason some airplanes are hot on the market and others not so much. I’ve seen RV-10’s go from $150k-$400k but my guess as a casual observer is that one can get a nice one for 250-300, but they appear to move fast and appreciate, so buyers need to move fast as well.
Your inquiry prompted me to do a little research for my own curiosity.
A fuel sender on a Columbia 350 lists for $1760. (I think there are four). The fuel sender for an RV-10 lists for $35, (Two are standard). Multiply that delta over a range of parts and a picture starts to emerge. I don’t know what the installation on the Cessna would be, but on the -10 it would be a relatively quick and easy owner assist project.
Good luck in your search. I hope you find the ideal airplane for your needs.
Hello,
I too am interested In a RV 10. I’ve been flying an Sr 22 ( partnership) for 15 years but life has changed and I now find myself looking to purchase solo. Would you be available to help in a Pre buy or perhaps connect me with an RV guru like yourself if I find one?
Loved the thoroughness of the article!
Comments are closed.