In last month’s column, we talked about the procedures needed for installing flush rivets and screws in our kit aircraft projects. As builders we need to master dimpling (covered in the September 2023 issue) and countersinking. While both operations achieve the same result of allowing the rivet or screw head to sit flush with the surface of the metal, the processes are quite different in how they achieve this. A dimple is created by deforming the aluminum surface using pressure. This works great for aluminum that is 0.032-inch thick or less. Material greater in thickness than this needs to be countersunk.
Countersinking makes room for the rivet or screw head by removing the aluminum rather than deforming it. The easiest way to see how this works (if you don’t have the proper countersinking tools) is to grab your swivel deburring tool. Drill a hole (for example, into a piece of extruded aluminum angle) and then start to deburr it. But this time, keep rotating the deburring swivel with plenty of pressure. You will immediately see what is happening. By continually rotating the tool there will be chips of material removed from the hole until eventually a “crater” will be formed around the hole. The longer you turn, the larger this crater becomes. At some point a flush rivet or screw will fit comfortably into that recess for a nice, flush fit.
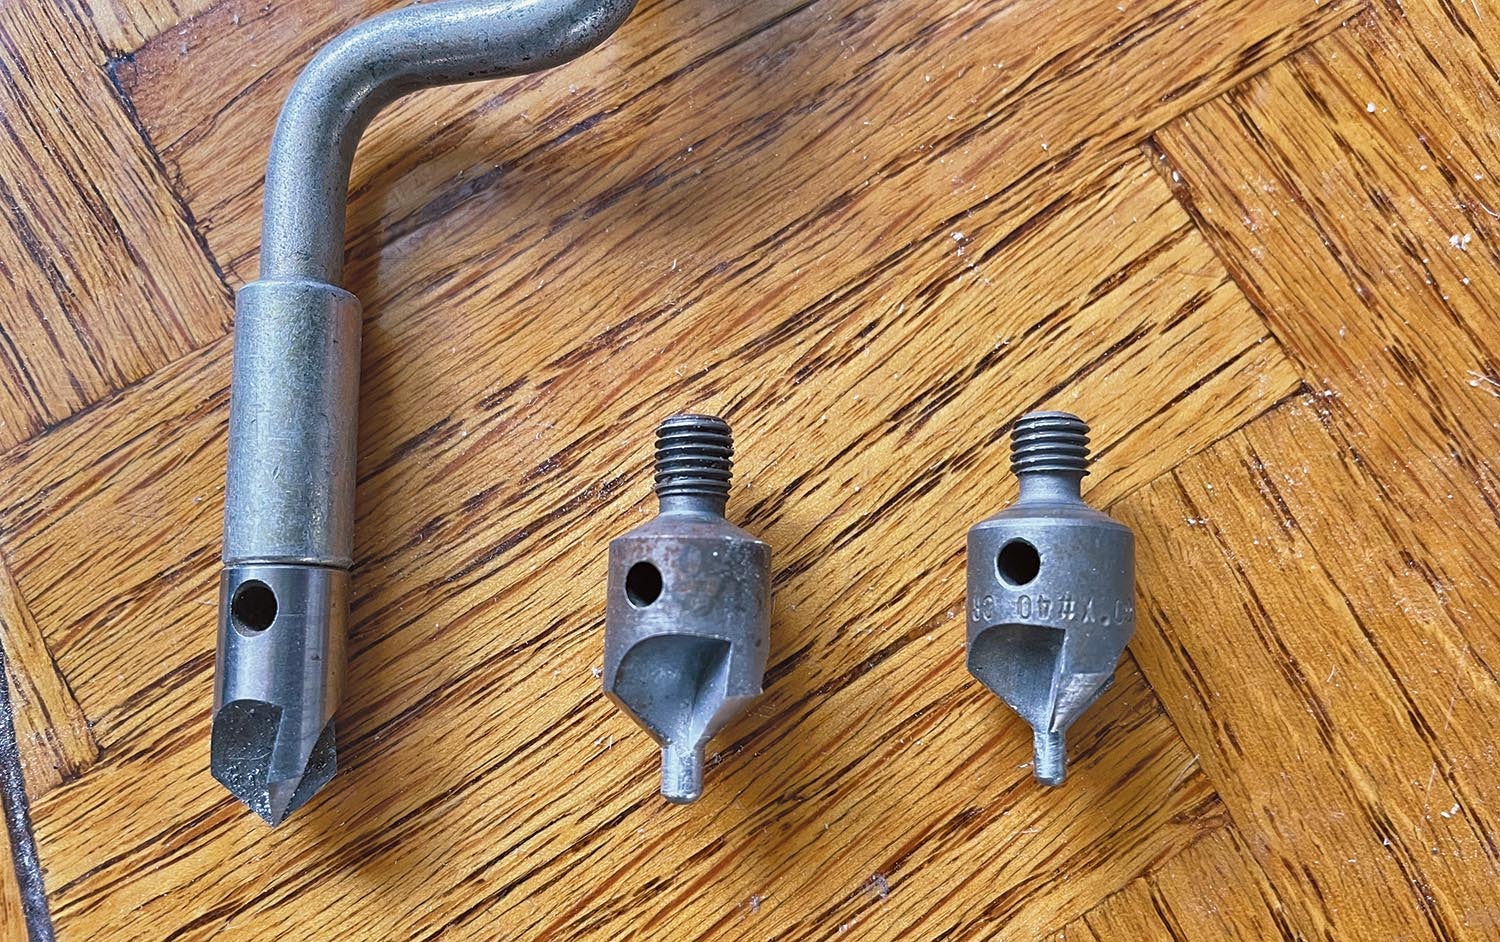
The cutting nose of a typical swivel deburring tool is actually a countersinking bit. We do not use this bit for countersinking as it is not precise enough for our needs, as you may have noticed when attempting to use it for such. If compared with the tips shown in the picture, you will notice that our deburring cutting tool does not have the pilot tip to keep the cutter precisely centered in the holes while cutting. A countersinking cutter must be matched in size to the hole size we need to countersink. But the principle is the same as the deburring tool: Cut too long or too deep and the rivet or screw will not have a proper fit. Therefore, we must install the countersinking cutter into a special cage that controls the depth of the cutting process.
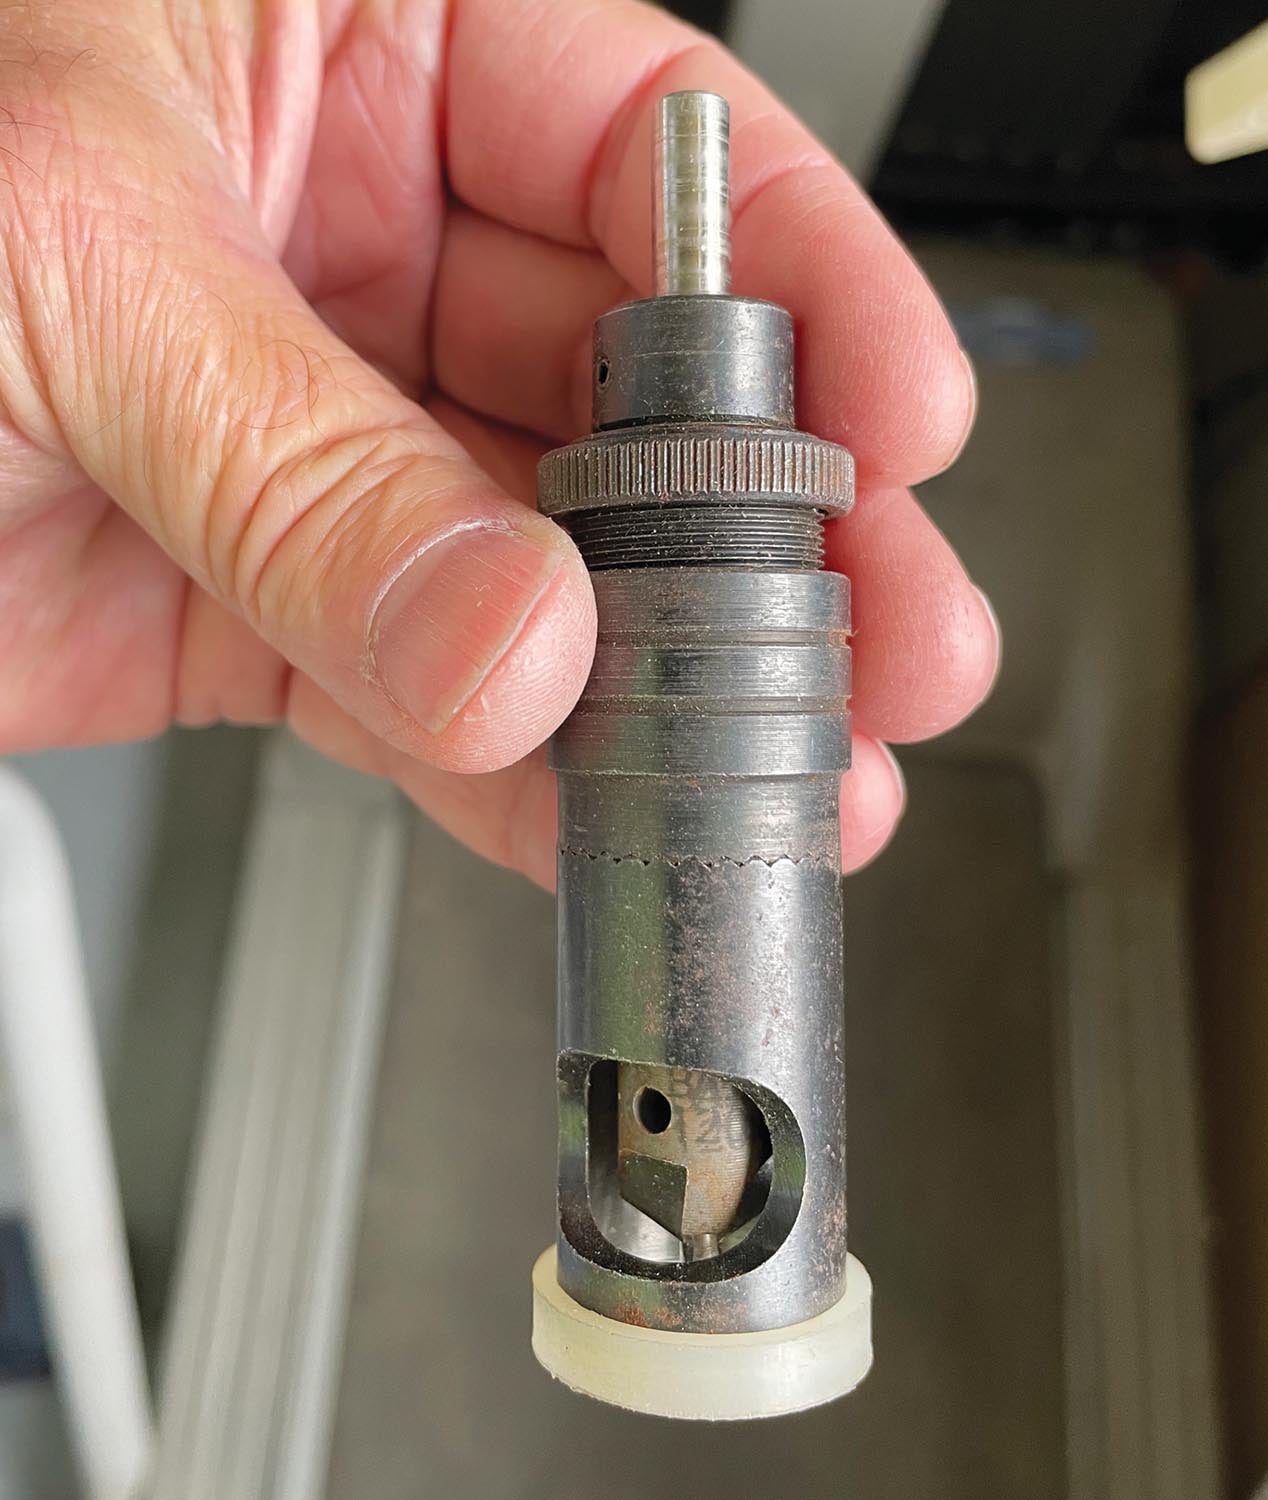
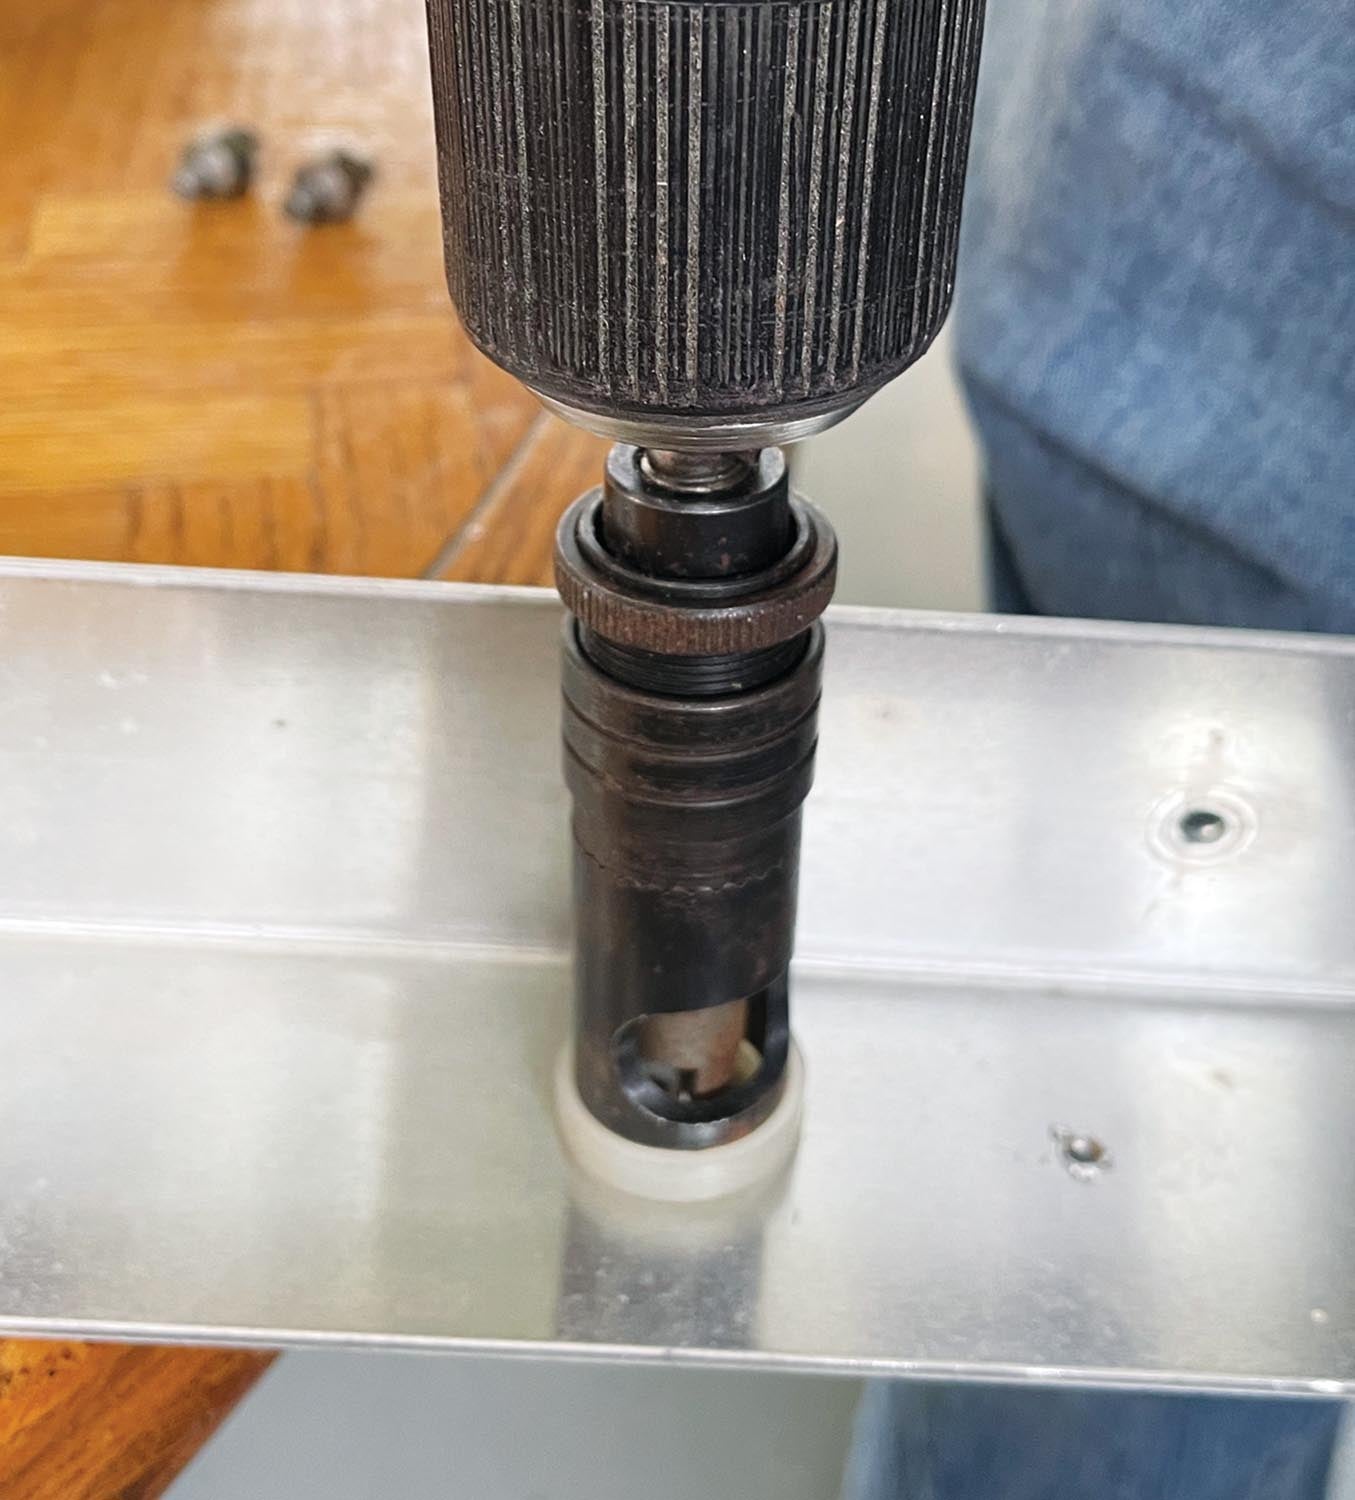
Looking at the cage in the picture, we can see that this device has a shaft at one end that fits into a hand drill. At the other end you can see the cutting bit (through the small opening) that gets screwed into the cage. What is hard to see is that the cage has a spring-loaded mechanism with an adjusting portion that determines how far the cutter can be pressed into the material. By rotating this adjustment on the cage, the cutter will countersink deeper or shallower for a perfect rivet/screw fit. You should experiment on scrap aluminum to make this adjustment. Once set, all subsequent countersinking operations will be consistent and precise.
Using these tools is an easy task to learn if you can watch someone else do it first. I highly recommend watching the KITPLANES® “Metal Magic” video on dimpling and countersinking. At last count, KITPLANES® has 25 “Metal Magic” videos that cover the basics of working with metal. You can find the entire series here.
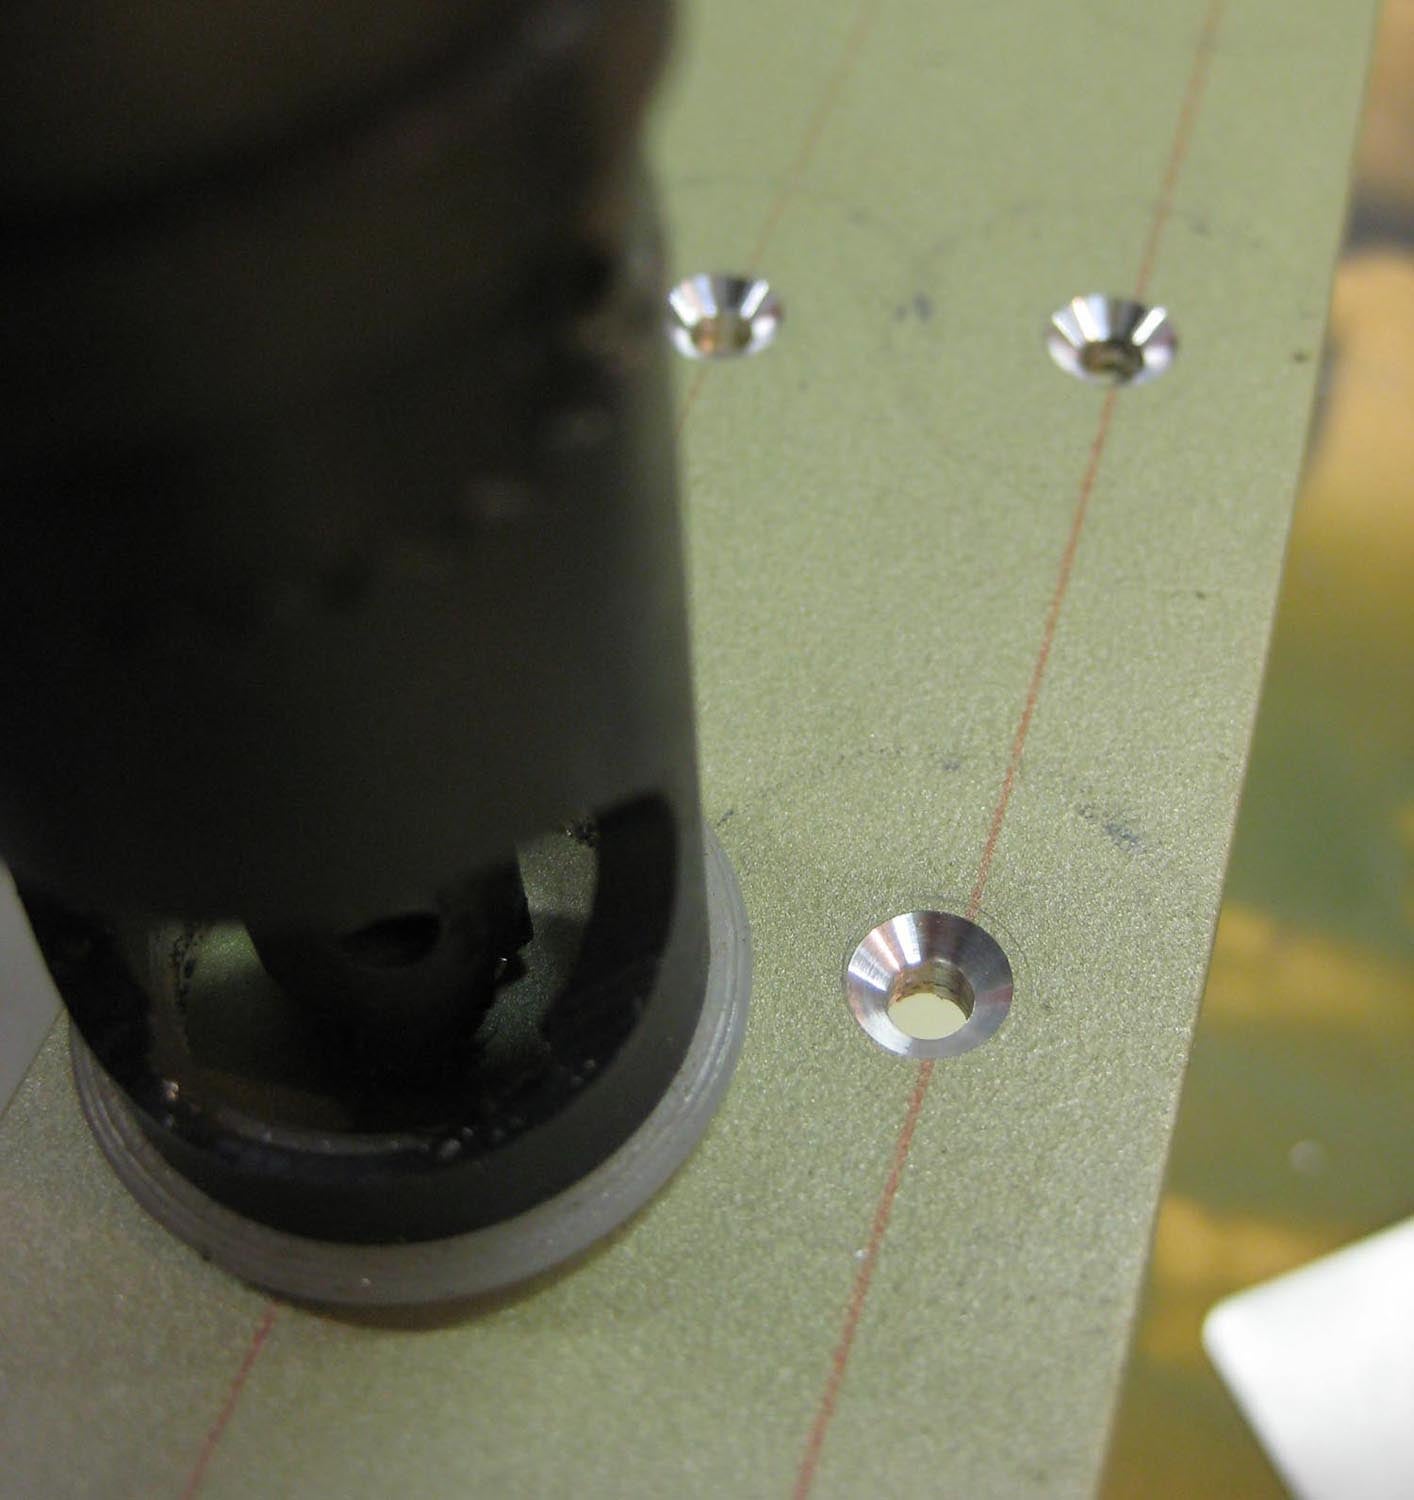
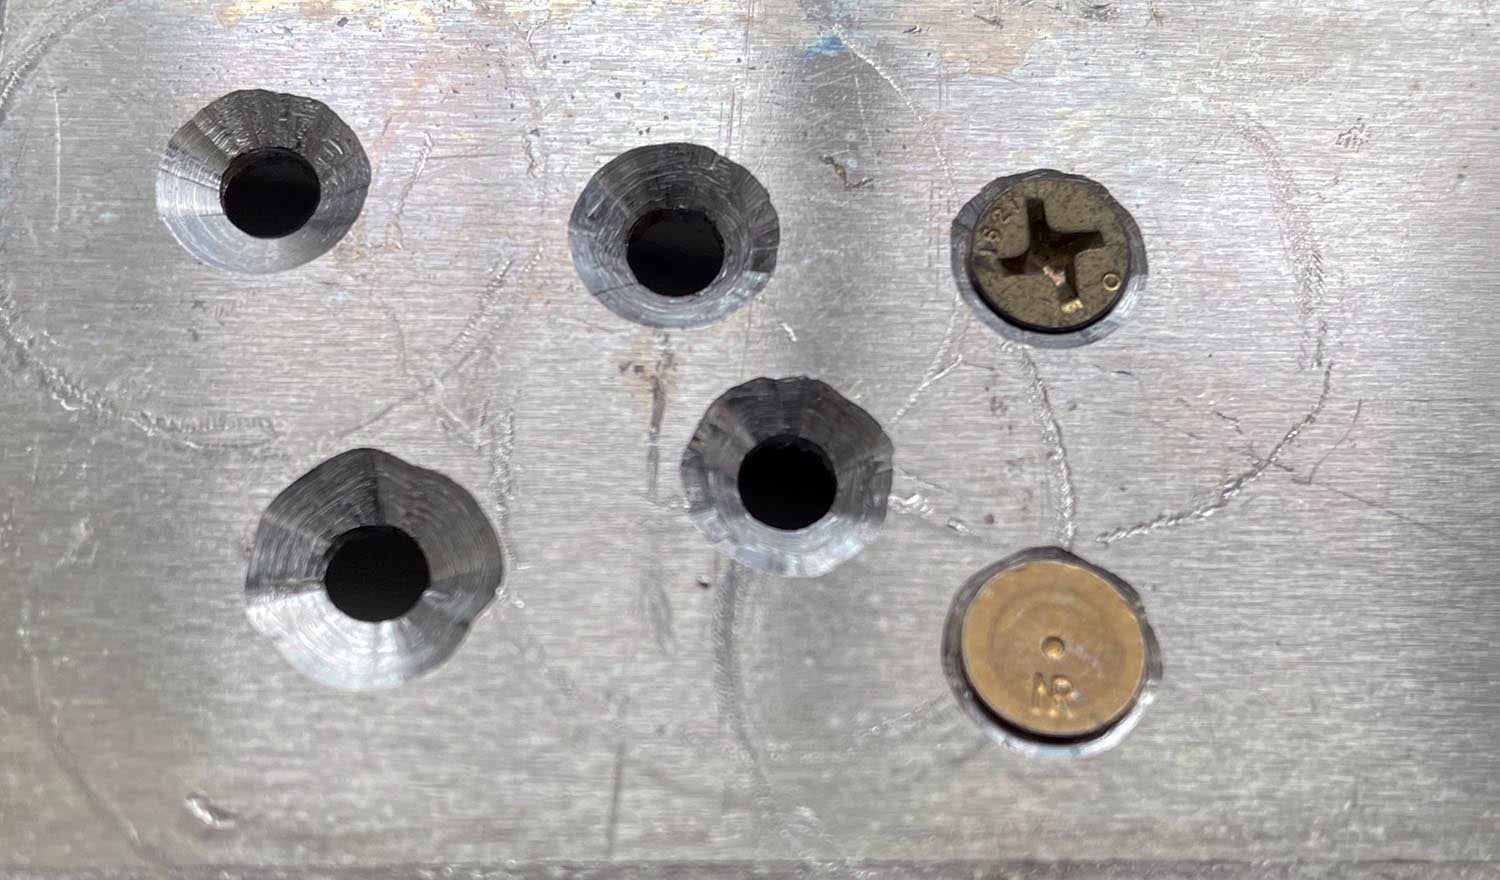
In summary, utilizing flush-fit rivets and screws in your aircraft project requires a couple of special procedures and tools. Dimpling, countersinking and their associated tools will allow your components to accept flush rivets and screws. The most challenging skill (but not difficult by any means!) is learning to countersink properly. Notice the picture of my results while practicing countersinking, and you can see what happens as you adjust the cage for the best fit. Since each rivet/screw hole size requires a matched cutter, it is common to consider having a separate cage for each cutter bit—so that you do not have to remove and disturb the adjustment setting when changing cutting bits.
Now you know how to get that flush look with your rivets and screws if so desired. Plane and Simple!


