As I write this column, I am on a Delta flight headed home from Oshkosh, where I participated in a number of meetings. I happen to be the current chair of the Homebuilt Council (which really needs a chairperson in name only as there is so much talent on it!), and I am a member of the Safety Council and the EAA Board of Directors. I am stilled awed at being allowed to participate in those meetings, as everyone in the rooms has careers and accomplishments that most of us have read about or have found to be a source of inspiration. Seriously, those of us in my age bracket grew up with Walter Cronkite keeping us on the edge of our seats while he updated us with the details on the latest space mission. Who didn’t want to grow up to be an astronaut? So here I am in one meeting with a real NASA flight director, and then I go to another meeting with a real live space shuttle commander! The majority of the remainder are aviation icons in their own right.
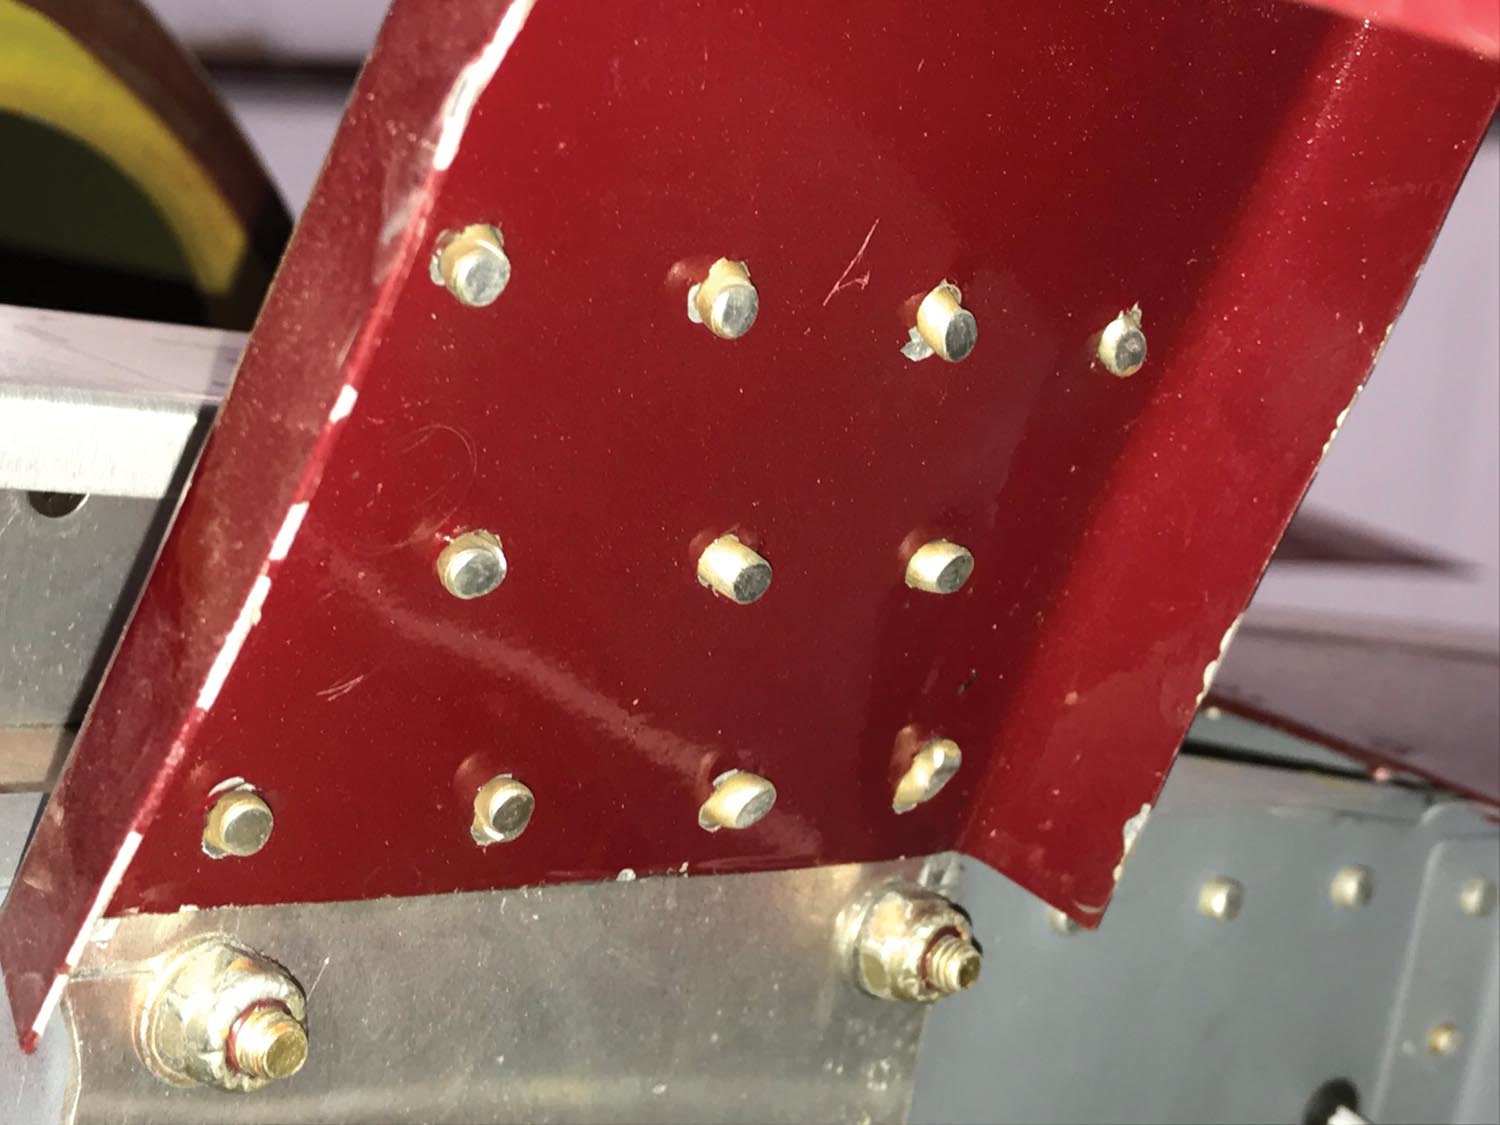
During the board meeting discussion on safety, a fellow member leaned over and told me how much he enjoyed my articles and that he routinely checked his own airplane after reading them. Wow! It’s working! My whole focus on writing these columns is not to point out all of the problems, but to help builders and owners understand potential problem areas. It’s all about increasing the safety factor, which makes the fun factor all that much better.
Speaking of safety, the latest numbers from the FAA show that the fatal accident rate for amateur-built aircraft has decreased over 50% in the last 10 years. That’s huge. It’s currently running at about 2.65 fatal accidents per 100,000 hours, which is still a little higher than the certified GA fleet. Of course, it would be nice to have zero accidents, but that’s probably not realistic. Even with the dramatic improvement, we still continue to focus on it, and I believe we will strive for a number closer to or less than 1. A neat thing is that loss of control is no longer the number-one contributor.
Last month I started writing about builder do’s and don’ts and focused quite a bit on systems, with the promise that I would cover airframes and engines. So this month, I intend to keep that promise.

Airframes
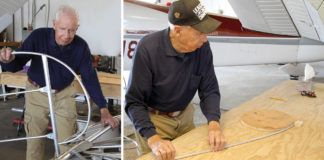
One of the thought processes you will go through when you decide to build an airplane will most likely pertain to the type of construction. This is a time to be really honest with yourself. When I was looking at building my first airplane, the budget was a pretty serious factor, so I spent a lot of time looking at low-cost options. At that time, the majority of the lower-priced kits were tube and fabric, which required a fair amount of welding. I realized I did not have the welding skills needed to build an airplane. (Truth be told, I still don’t. I’m convinced it’s a black-magic art!) I placed a call to Van’s and asked the man himself what kind of tools I would need to build an RV-4. The answer was “ordinary household tools.” Carol and I still laugh about that. Yep, all these years later, Clecoes, bucking bars, and other metalworking tools are certainly household tools now, but I didn’t have the foggiest idea what a Cleco or a bucking bar was when I started. I described a bucking bar to my neighborhood auto mechanic, and he informed me that they were called “dollies,” and he brought me home one the next day. I eventually learned that his dolly wasn’t the right tool, but the point is that there is a real learning curve on the front end of building an airplane.
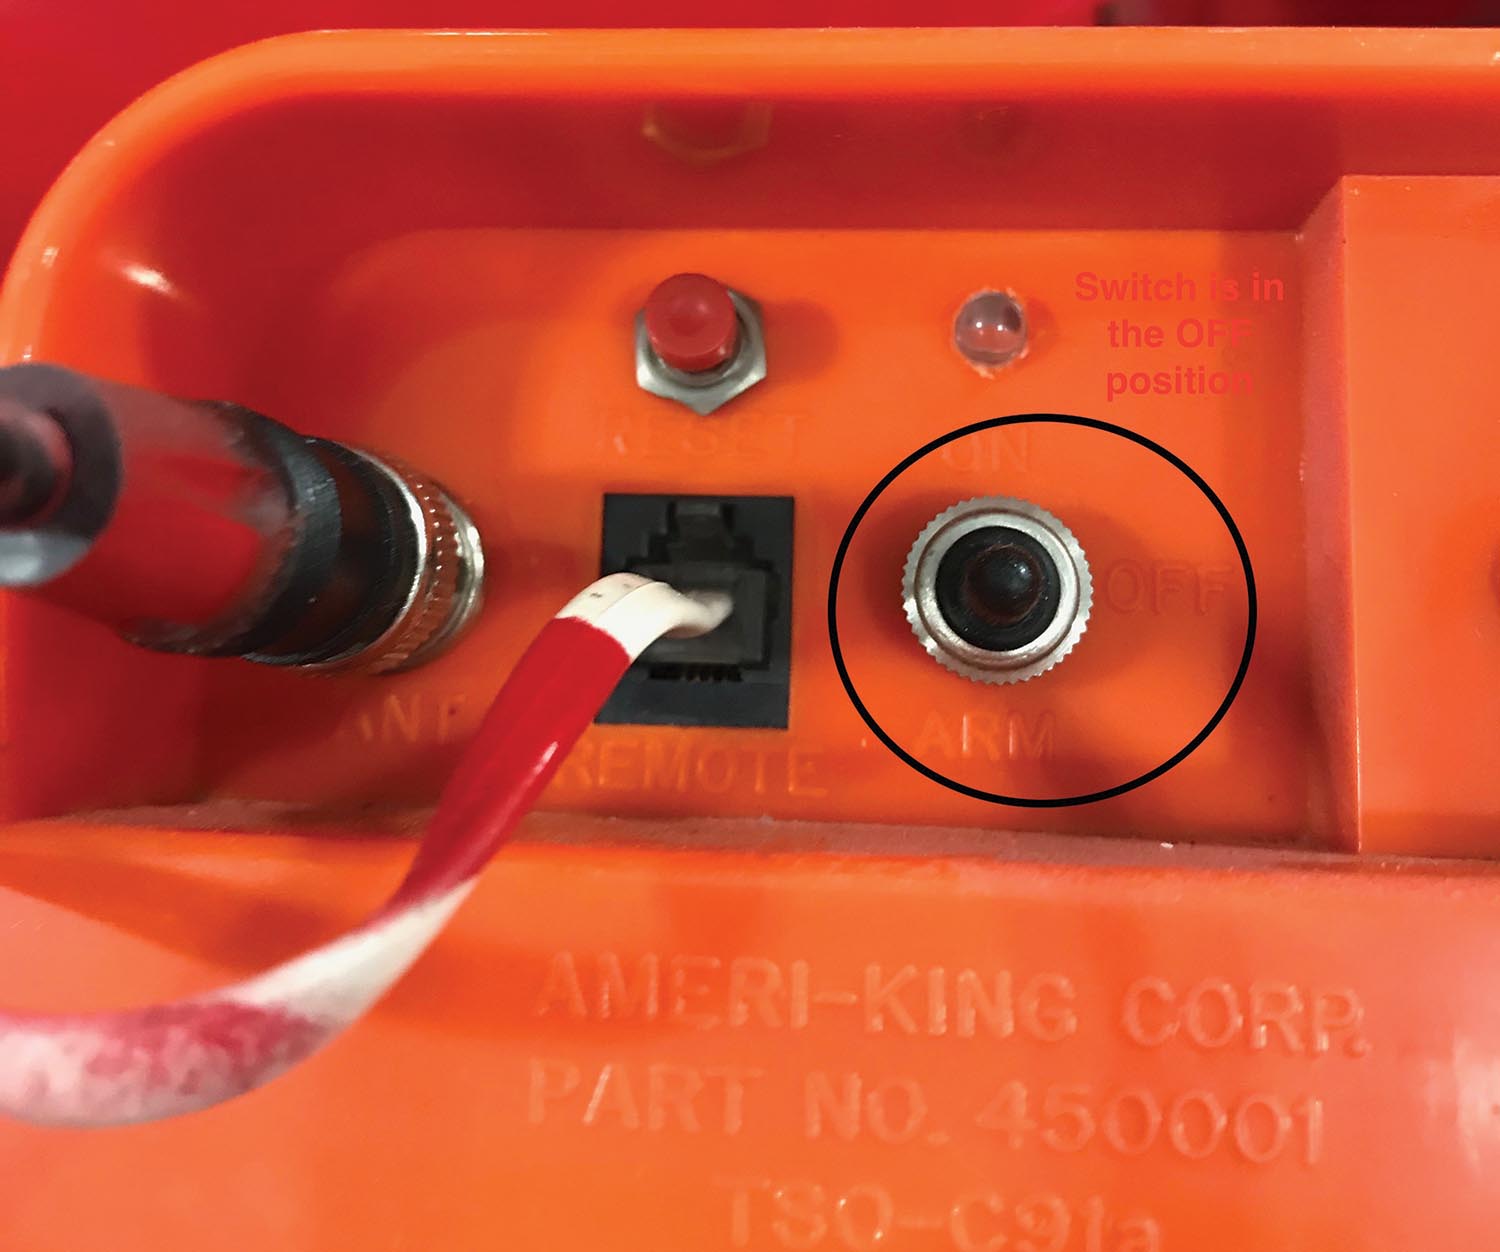
There are basically three types of choices when it comes to airplanes: metal, tube and fabric, and composite (fiberglass/carbon fiber), with some kits combining all three. Take the time to understand the skills required specific to the airplane you choose and then follow the manufacturer’s instructions. One of the first questions I ask when performing my DAR function is whether the builder has made any modifications. As an example, if a particular kit recommends a certain type of fabric covering process, I will want to know if the specified process was used throughout the project. Fabric bonding is a chemical reaction, and not all chemicals play nice with each other when mixed with other chemicals. A very tragic and fatal accident happened to Steve Wittman and his passenger when the fabric debonded from the wing due to intermixing different manufacturers’ covering processes. It was a simple mistake with horrible consequences made by a very experienced builder. It can happen to the best of us.
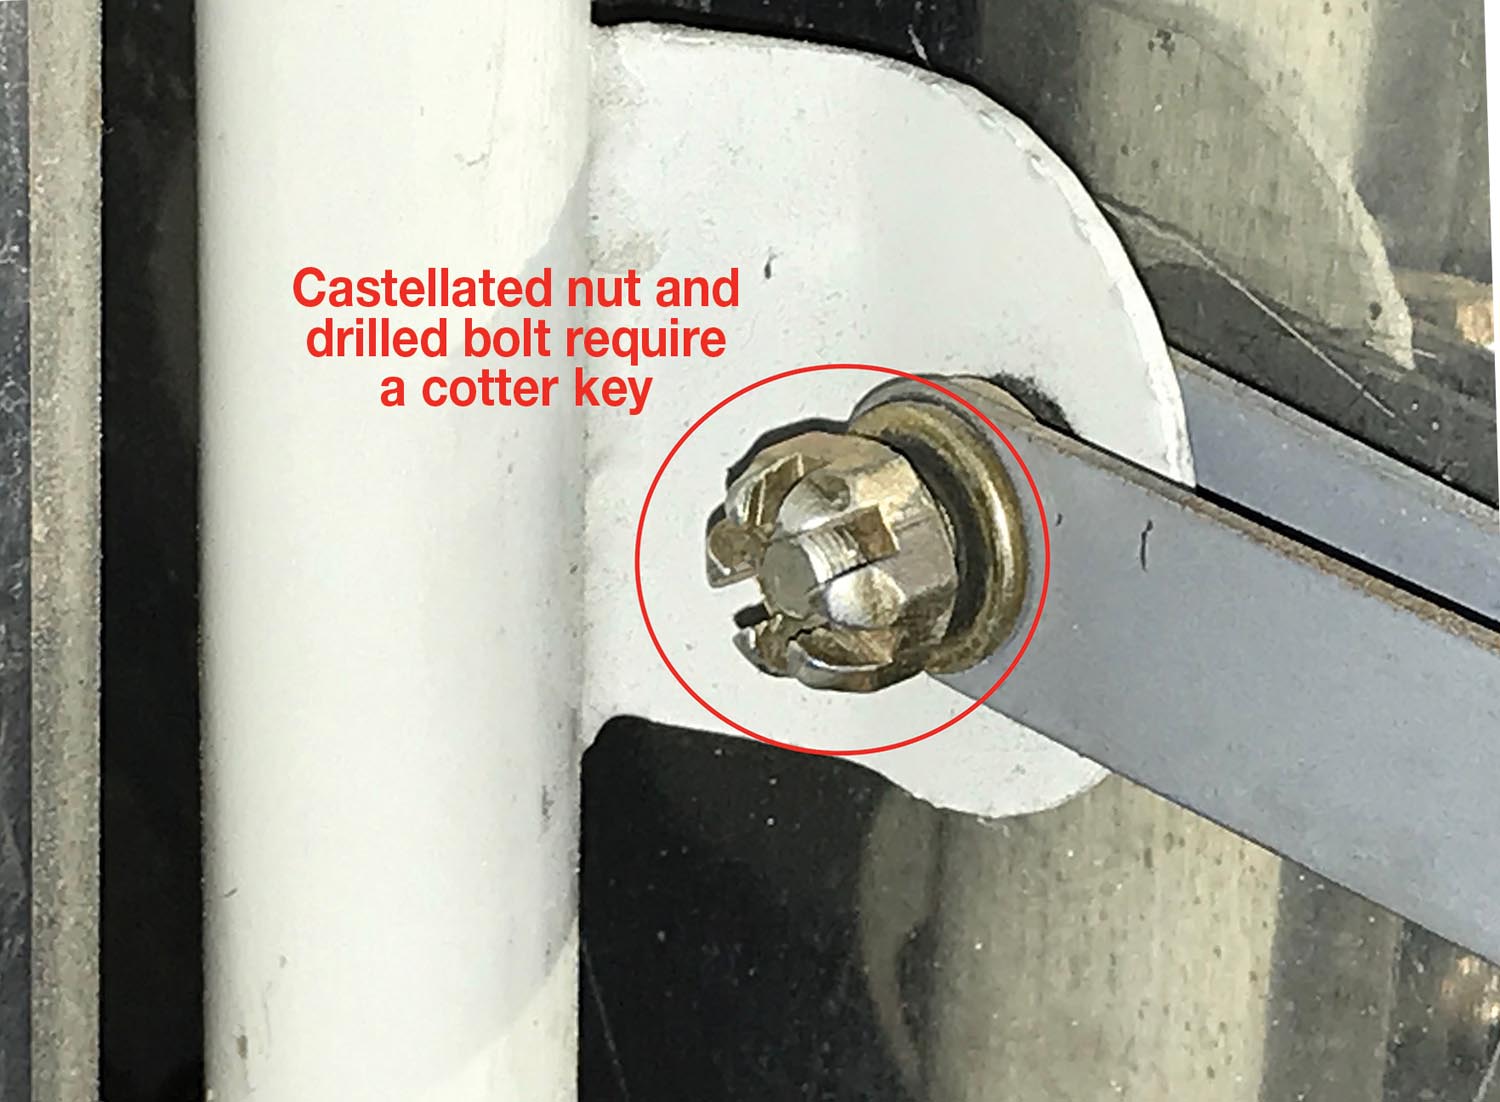
The same thing can happen when it comes to building composite airplanes. The simple mixing of glass beads into resin instead of cotton flox can adversely affect structural integrity. Yet, once it is painted, no one can tell the difference until tragedy strikes. Just as important are the number of layers of glass, the direction of the fabric weave, and the direction in which the glass is laid up. Running down to Walmart on Sunday afternoon to pick up some fiberglass repair kits in the automotive department is certainly not acceptable. Due to the extra complexities in building a composite airplane, and the inability to clearly inspect all areas, I do advise potential buyers to stay clear of partially finished kits unless the documentation and pictures are very detailed and clearly show compliance with the plans. The best builders I’ve seen of composite airplanes save a sample of every resin batch they mix up, labeling it with dates and times. Kudos to them!
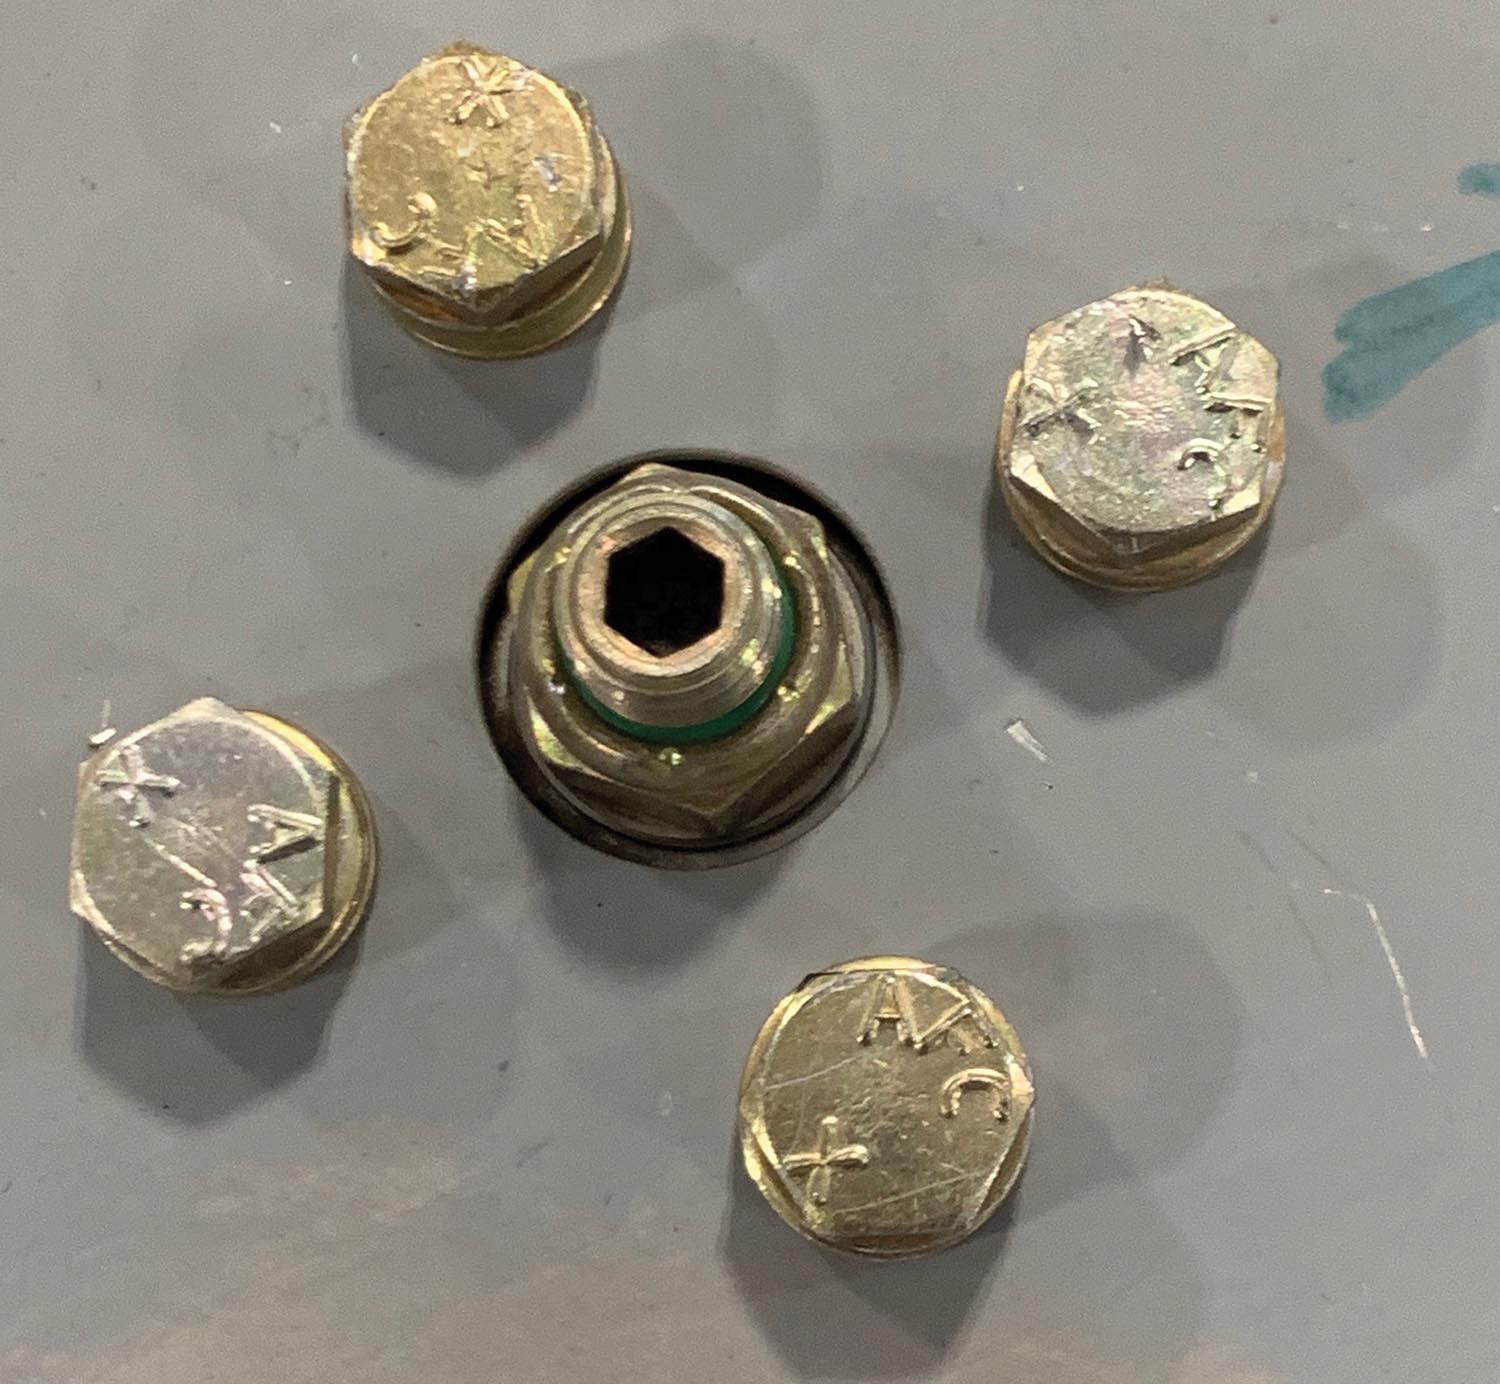
On metal airplanes, riveting is a technique that can be learned in a few minutes if someone shows you the right way to do it. If you learn by yourself, I guarantee you will most likely do it wrong. I know I did. But once learned, it is a skill that doesn’t really get rusty, unlike welding—at least for me. Actually, what I find in building metal airplanes is that the riveting is the easy part. It seems as though all of the prep work of drilling, disassembly, deburring, and then reassembly takes the most time. At least that was the case until the advent of the matched-hole kits, which now only take deburring, assembly and riveting.
There are still gotchas in the metal kits as some types of metal may require priming, such as 4130 steel or certain types of non-Alclad aluminum. Some of the kits now powder coat many of the steel parts for you, but then one has to remember to grind off the powder coat when trying to establish a good electrical ground. Yes, I’ve seen the ground wires attached right to the powder-coated engine mount.
Engines
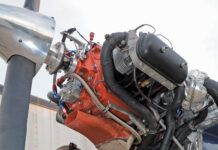
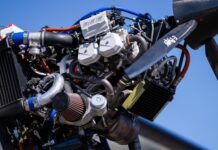
When it comes to engines, I know many of you are looking for some alternative other than our 50-year-old current technologies. While I’m sure there are probably some success stories out there, I personally haven’t witnessed it. The way I see it, the best alternative is to use the engine that the aircraft was designed for. You will most certainly be done quicker and have a more reliable airplane. My current Stearman has a 275-hp Jacobs engine on it with a constant-speed prop. The original Stearman had a 225-hp Continental with a fixed-pitch prop, of which I owned three prior to this one. With the Jacobs, I figure I am getting about 100 more hp at full power. Funny thing is that it’s the only Stearman I’ve flown in which you can feel the acceleration at takeoff. The others mostly just dribbled off over the horizon, especially on a hot summer day with a heavy passenger and full fuel. Now, when I fly in formation, I am not even using full power when in the number 4 slot on an echelon turn. You’d think I’d be happy with it…Nope. Not nearly as smooth as the Continental, and it burns more fuel, limiting the range.
I see more problems in engine compartments than I used to see, and it seems to be mostly since the advent of firewall-forward kits. My observation is that firewall-forward kits have made engine installation an assembly process, without the need to learn and understand the various functions and/or requirements of the various systems. I find way too many engines without adequate control travel on the throttle and mixture controls, both on new and on flying airplanes. Most of these same airplanes end up having cooling problems due to inadequate fuel flow at high power settings.
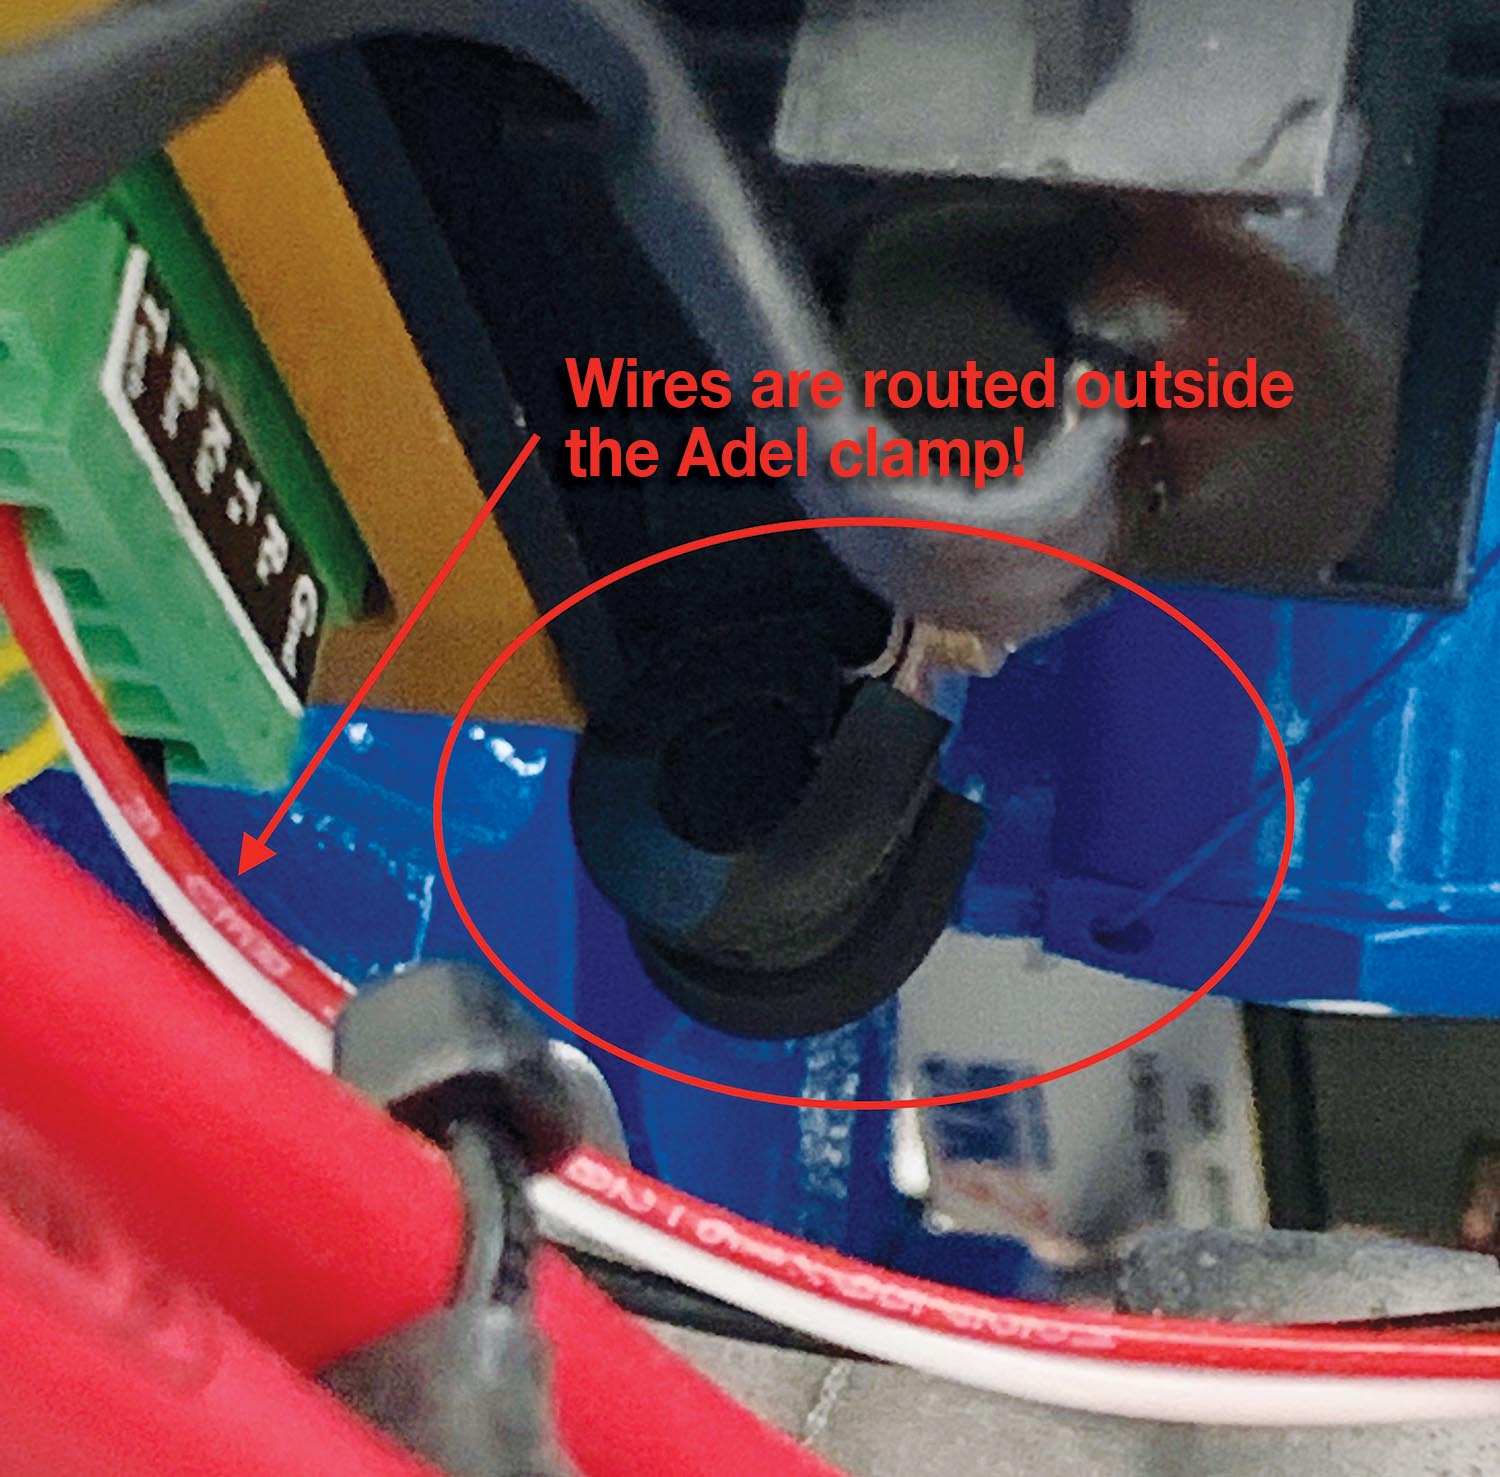
Of course, everyone loves electronic ignitions and the improved performance that comes with them. Plus we get rid of the old, clunky magneto, right? The difference I see is that the magneto had one wire that had to be attached to it, and if it happened to break, so what? It was a P-lead, whose function was to ground the magneto so as to check operation. Break it and the magneto just kept running. With electronic ignition, to achieve the same level of reliability, it is important to wire it in accordance with the manufacturer’s instructions and support the wires properly. I see way too many instances of unsupported wires, especially with P-MAGS, even though they include the necessary Adel clamps to provide the proper support.
The ongoing maintenance of the engine is a totally new area for most builders. I really wish there were engine courses that builders could take, even though they have a repairman certificate. I do recommend that for the first few years one should ask a local A&P for some guidance. He or she may not know your airplane, but there’s a really good chance that if you have a Lycoming or Continental engine, they will know a lot more about it than you. Service bulletins on engines and accessories are a prime example. Most recently I had an aircraft come through my shop with the Slick magneto 500-hour service bulletin overdue by 1000 hours. The new owners were also non-builders and had no idea.
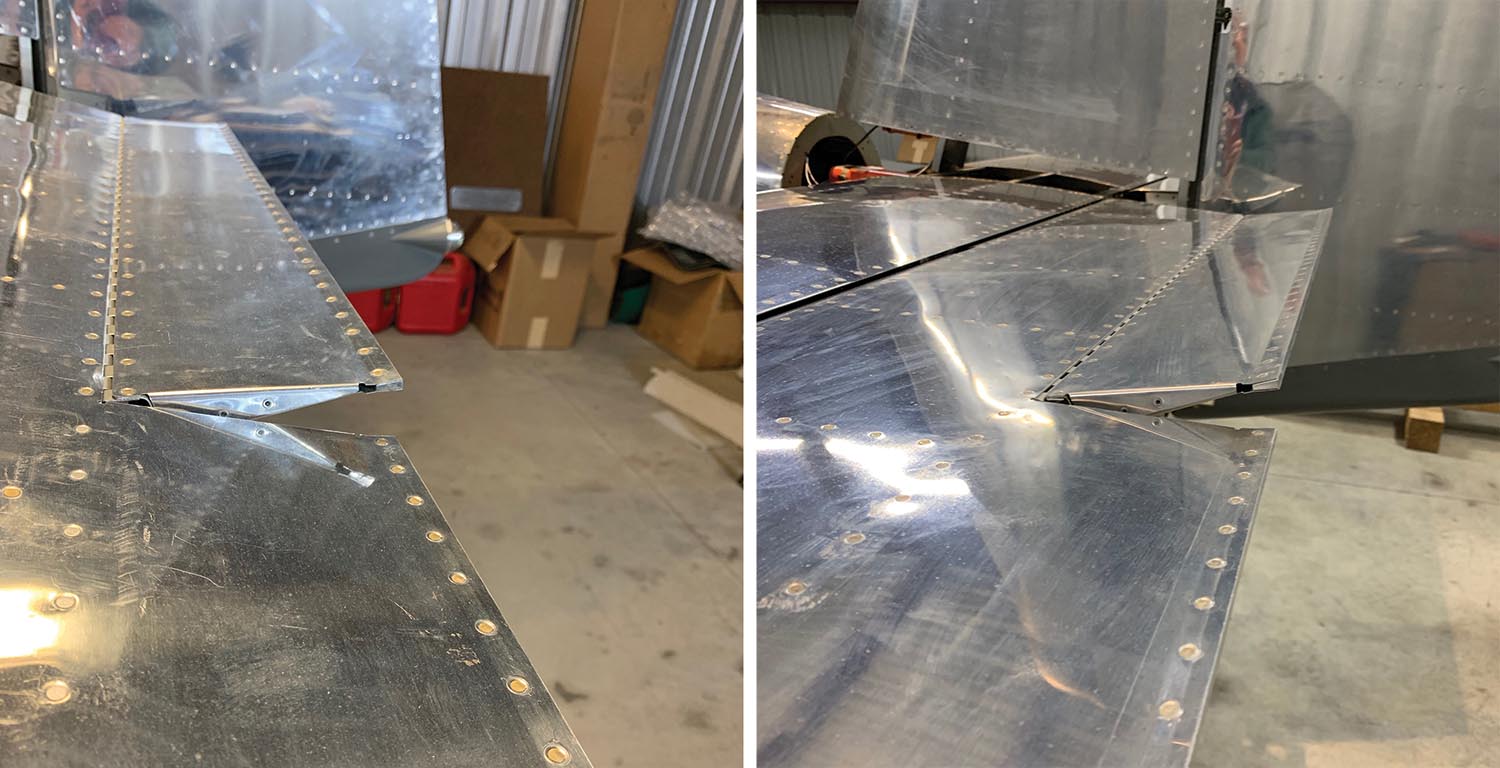
Luckily, today there are lots of resources available to help you learn what skills are needed, including EAA chapters and tech counselors. If your choice happens to be one of the more prolific kits, there’s also a good chance you can find someone close to you who might even have built one or has one under construction. However, don’t take everything as gospel. It’s OK to question. Sometimes the power of group mentality can still lead to a bad outcome. As an example, just last week I licensed two RV-14A’s at the same airport, one hangar apart from each other. Yep, they built them together. Guess what? Both elevator trim tabs traveled in the wrong direction when nose-up trim was selected in the cockpit. We all got a laugh out of it, but it was a good catch prior to first flights. Those were the 6th airplanes I’ve seen with reversed trim, so it’s more common than you think.
Building airplanes can be fun, and the acquaintances you will make along the way may end up being lifelong friends. It’s happened to me and every other builder I’ve known. So don’t hesitate to join the club!








Great article Vic! I’m always thankful for the “food for thought” that you provide.
You said, “There are basically three types of choices when it comes to airplanes: metal, tube and fabric, and composite (fiberglass/carbon fiber),” but you left out Wood! I know it’s not as popular in the U.S. as it used to be, but lots of wood airplanes are still being built. And in Europe it’s a significant portion of the homebuilts being built, mainly due to low cost. And it’s so nice to work in wood, not to mention it’s a skill most of us already have.
Where is part 1? Can’t seem to find it.
Part 1: https://www.kitplanes.com/checkpoints-wiring-mistakes/
Thanks, Omar.
Ted, you are right about wood. My apologies on leaving that one out. It used to be more popular when I first started building airplane, with the Falco crowd turning out some really fine pieces of art!
am in the process of starting my homebuilt aircraft…..actually i made lots of archieving info on the home built… i wish making a mokup with PVC 20 mm pipe just to have an idea of the look….am i on the wrong path… thank you for your advice..Regards VOVO.
I don’t think I understand exactly what you are asking? You want to make a mockup of the entire airplane?