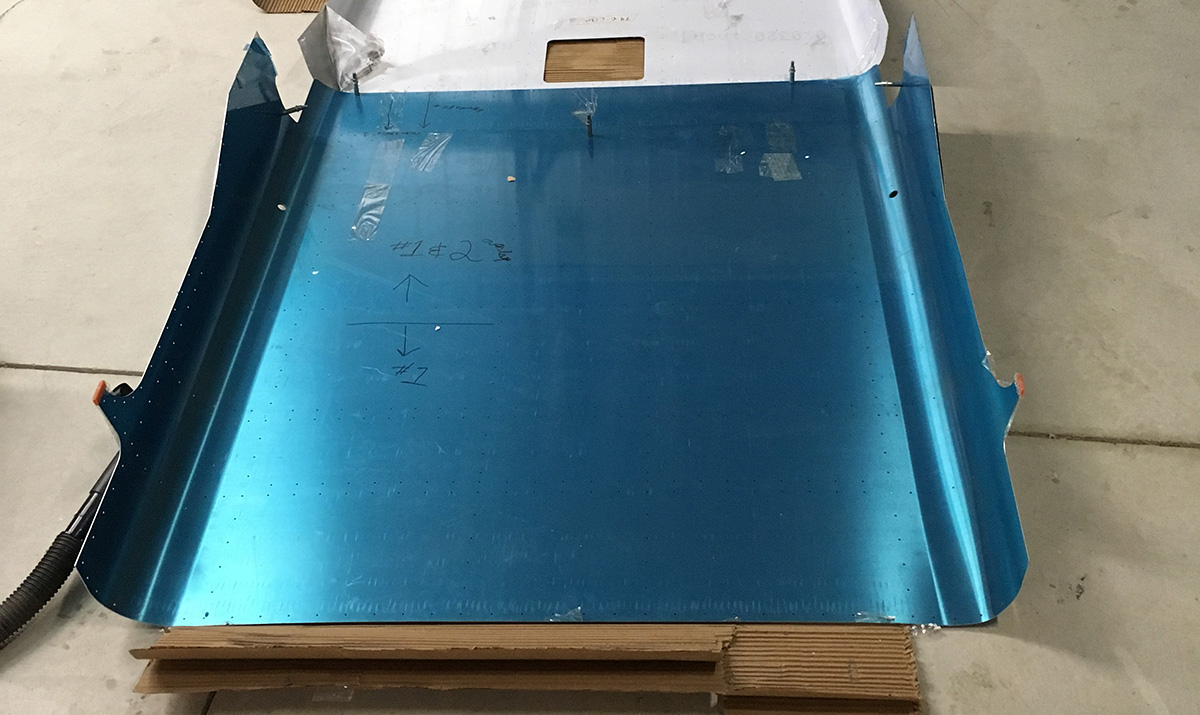
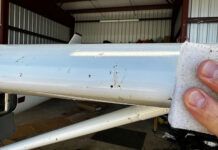
After several months of waiting on new pre-punched parts to be made and delivered by Dream Aircraft for our Tundra, we finally received a big box of belly skins and repairs are underway! If you remember, we (and other owners) discovered some buckling under the chin of the aircraft that were attributed to torque loads on a very thin (0.024”) skin section. The repair is to use much thicker material, and eliminate a couple of inspection panels that further weakened the area. While we could have made these parts (and indeed, we began fabricating them after the long delay – but stopped when informed that they wee ready for shipment), the pre-punched components fit perfectly into the existing holes in the framework, and require far less tweaking.
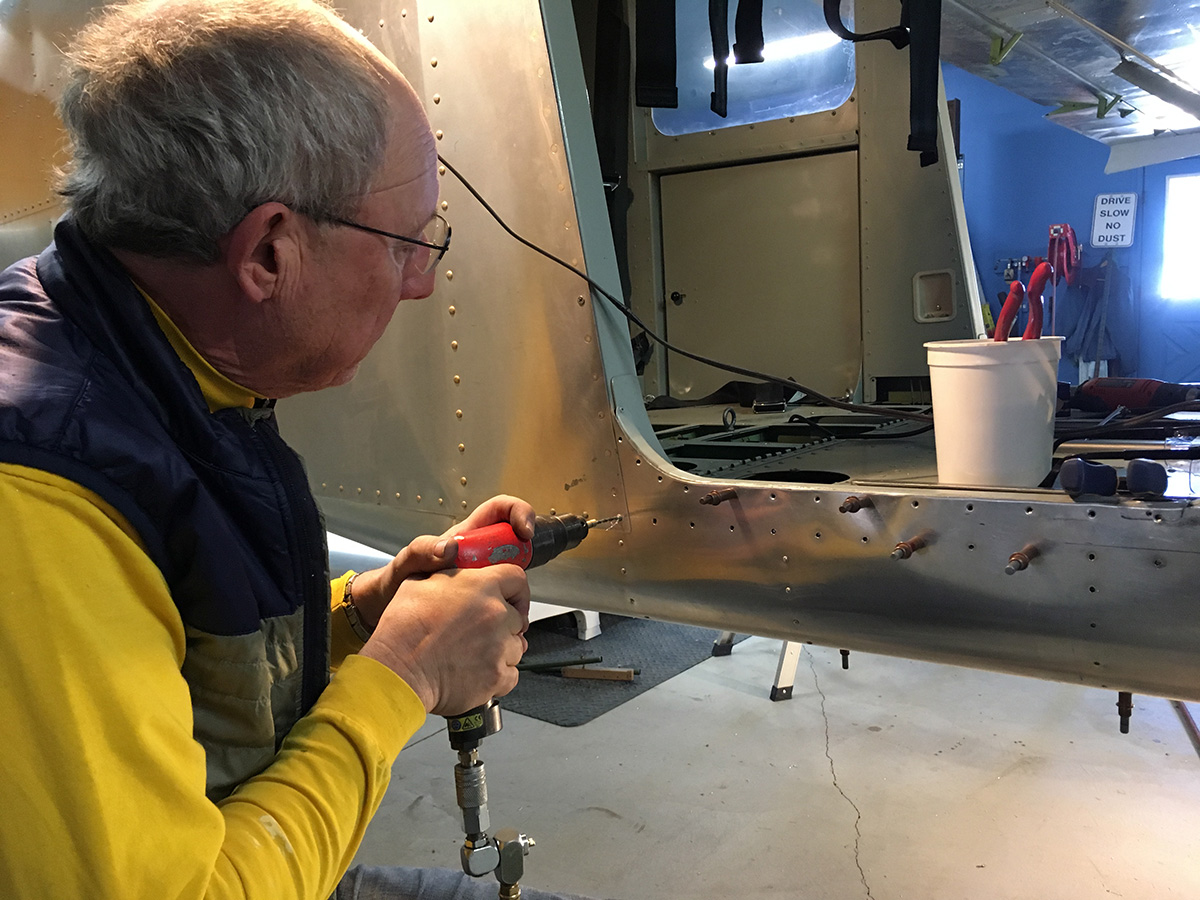
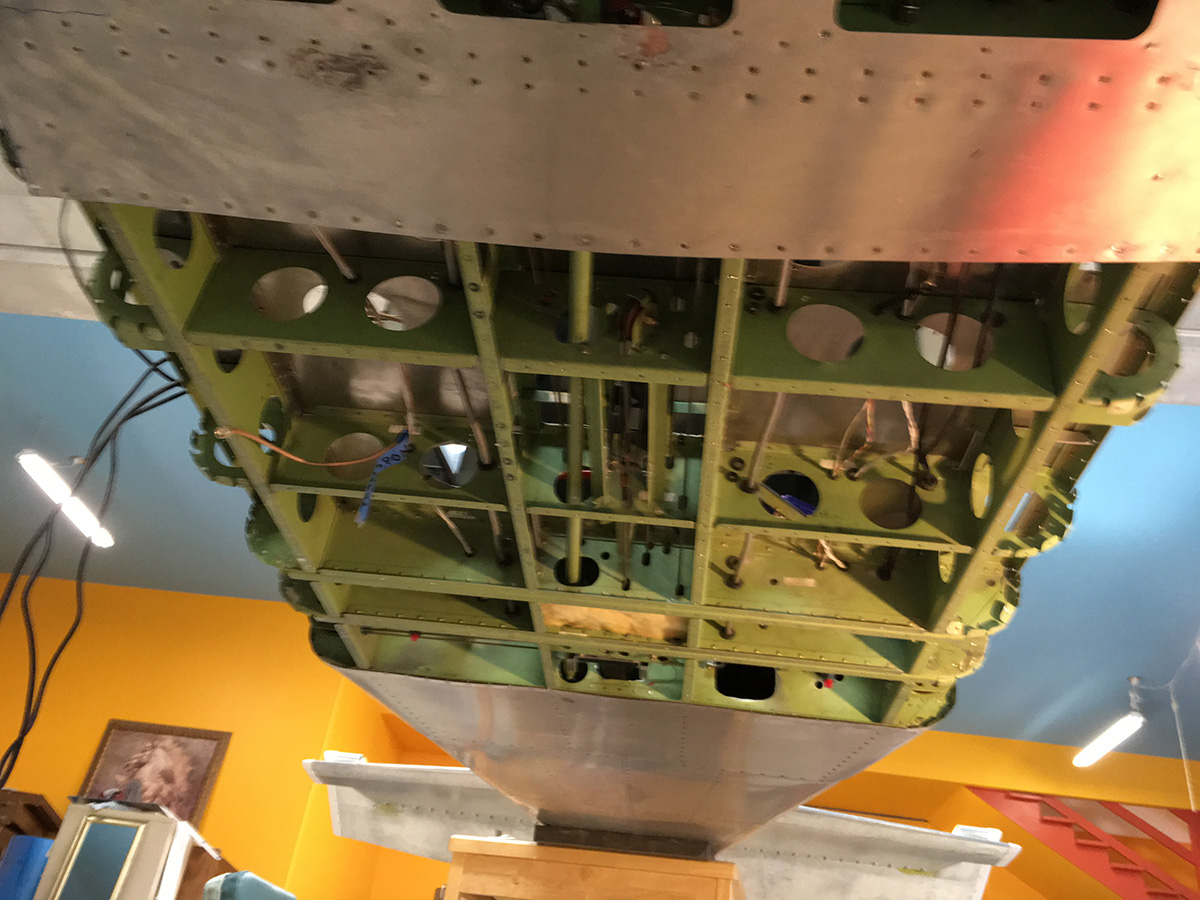
Yesterday we drilled out hundreds of rivets holding the cabin and nose belly skins in place, completing the removal process we had started a while back. Our arms are feeling it today, I’ll tell you! Lying on a creeper and holding even a lightweight air drill for a couple of hours is tiring. With all of the rivets removed, we were able to drop the skins and start cleaning up all of the rivet tails, aluminum shavings, and accumulated dirt that seems to creep into a structure over the years. The good news is that the fuselage framing is in great shape, and (most of) the holes aren’t enlarged from the rivet removal process. A few will need oversized rivets – but that’s the life of aircraft repair.
We had already made a smaller doubler plate ourselves using a Mylar pattern technique to match holes, but Dream supplied us with a new belly skin, doubler, and the thickened chin skin all of which fit perfectly, with only the need to up-drill the pre-punched pilot holes to final size. More drilling while lying on our backs – yippee! A good solid work day saw us to the point where all the holes are done on the bottom of the airplane, and we only have to work our way up around the sides – that will require some blocking and wrapping with cargo straps to bring the skins in tight.
Drill, deburr… repeat! That’s aircraft sheet metal repair. It takes the time it takes, but we can see some light at the end of the tunnel. Plus, we found those missing screwdriver bits and determined that there were no mice living under the floorboard of the airplane – so we’ve got that going for us!

