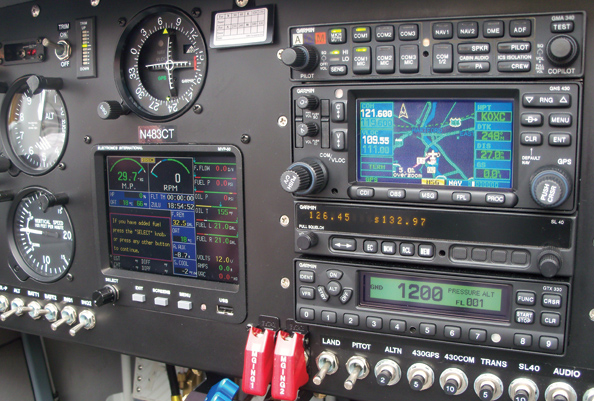
The problem with building an aircraft is that the cutting-edge avionics you buy and install now might be yesterday’s technology once your project takes to the skies. And so it goes with the hugely popular Garmin GNS 430 and 530 series navigators. After a long and successful run that’s dominated the market with 120,000-plus units, they’re being replaced with the next generation GTN 600 and 700 series navigators that sport a touchscreen feature set and larger, high-resolution displays.
For builders and owners who have dropped thousands on the older GNS boxes, thoughts turn toward upgrading to this much improved technology. Hopefully you remember where you stashed your wiring and panel-cutting tools, because to make the swap, you’ll need to rewire and maybe even rearrange the panel layout to make it all fit. Builders who were hoping for a pin- or even tray-compatible upgrade will be disappointed.
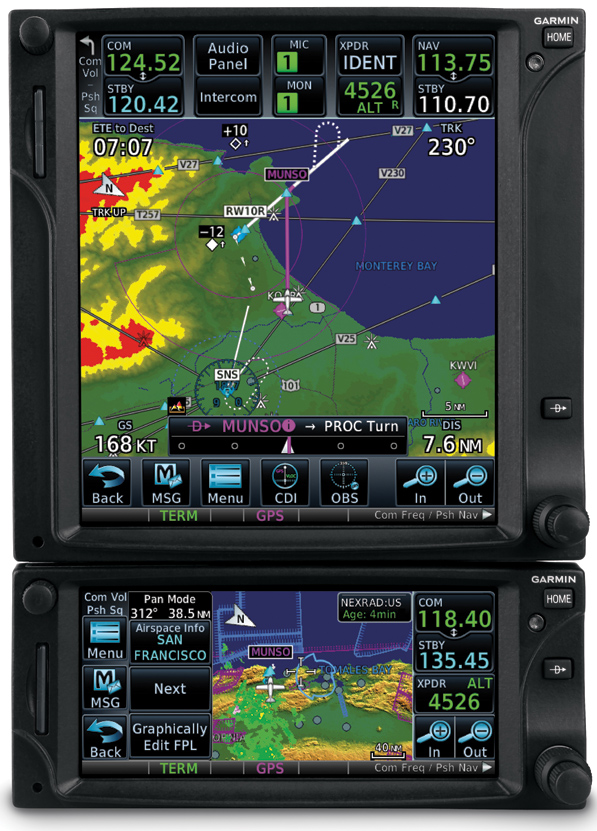
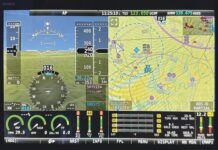
Improved high-resolution displays on the 750 and 650 navigators finally sharpen-up graphics for true MFD functionality.
Size Matters
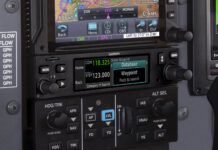
The GTN 650 is the replacement for the GNS 430. It’s essentially the same footprint as the 430, so fitting it in the stack where the 430 once lived should be easy. The same can’t be said for the 6-inch tall GTN 750, a box 2.5 inches larger than the GNS 530W it replaces. Both units are wired differently than their predecessors, so as we said direct, slide-in, connector-to-connector replacements are out of the question.
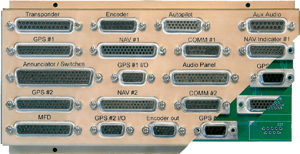
It’s not that there are more connections to be made, but the connector pin configurations are different. What may be Pin 11 on a GNS 430 might be Pin 21 on a GTN 650, for example. Prepare for teardown and repinning connectors when making the transition. You’ll also need to replace the mounting racks.
These units have larger screens, which is most noticeable if you have even limited amounts of time behind the older units. The mega display stands 6 inches high compared to 4 inches for the old GNS 530.
The GTN 750’s larger size doesn’t necessarily take up huge amounts space behind the panel. Instead, it’s a larger display assembly that takes up more space on the outside of the radio stack. Behind the scenes, Garmin offers a clever avionics shelf-or at least usable area on the mounting rack-that can be used for mounting the remote audio panel (an option we’ll get to in a bit). This is a space-saver when panel real estate is at a premium.
Clearly, kit aircraft with smaller panels and tight radio stacks won’t accommodate the big GTN 750 in addition to other equipment that might exist in the stack. But the smaller GTN 650 shouldn’t be an issue. If you can fit a GNS 430, then you’ll be able to fit a GTN 650.
The GPS engines in the GTN navigators use the same GA 35 WAAS antennas as the old boxes, so the dreaded chore of accessing and replacing GPS antennas when making an upgrade is saved.
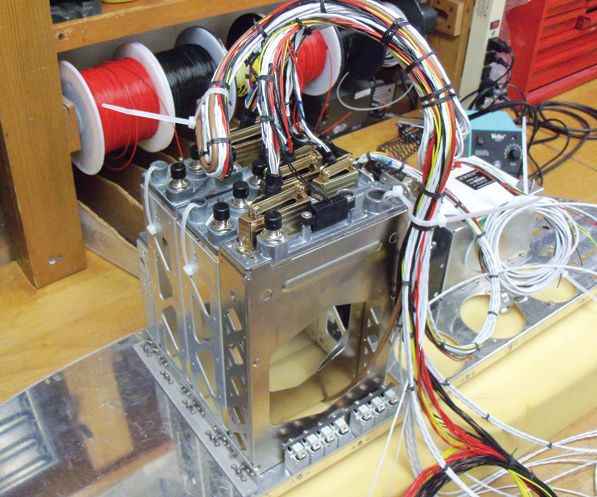
For those midway through the build process, now might be a good time to change the connectors for the new boxes.
Worthy New Features
If you’ve already slapped your money on the bench for a couple of GNS units for your project, it could take a lot of convincing to trade up and into the new GTN products. Of course, a live hands-on demo of these boxes will likely have you lusting for a new GTN 750, with its advanced flight-planning feature set and brilliant display. It’s easy to be smitten by the gee-whiz appeal. But it’s the display quality that seals the deal. The increase in screen color and resolution allows terrain and weather detail in VGA-like crispness.
Part of the reason there are so many GNS series units flying is Garmin’s knack for creating a logical feature set. The GTN units pick up where the old units left off with icon-style graphics for entering menus. You’ll recognize some of the icons and menu styling if you’ve used an aera portable. For pilots with minds that might easily fall a step behind their fingers, a dedicated home key-one of the few controls on the unit’s bezel-reassuringly steps you back to the unit’s desktop to try again.
Changed Integration
If you’re wondering how you might fit the colossal GTN 750 in your radio stack, you can always ditch your existing audio panel and transponder in favor of Garmin’s new digital processing GMA 35 remote audio panel with 3D audio and voice recognition. There’s also a choice of remote Mode C and Mode S transponders, the GTX 32 and GTX 33, respectively. On average, this could save upwards of 4 inches in the stack while adding well-thought-out integration to the GTN 750’s operation (the GTN 650 won’t channel the audio functions).
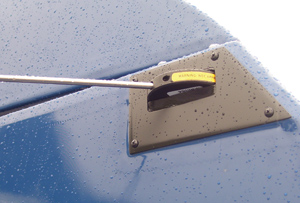
The GMA 35 stereo audio panel connects to the 750 via RS-232 serial interface and supports up to six-seat intercom functions as well as entertainment inputs and marker beacon. There’s an advanced on-screen control set for customizing audio configurations. Control of the panel and the remote transponders relies on the GTN 750, putting a lot of eggs in one basket.
When it comes to customized integration, the boxes are equipped with a healthy dose of both ARINC 429 and RS-232 serial outputs capable of streaming a wide variety of data labeling. They should play nicely with most displays you’ve chosen for your project with old-school analog nav composite outputs for driving mechanical course deviation indicators (CDIs). It’s worth noting that some high-speed data bus interfacing will require the use of aircraft grade Category Five Ethernet cabling, which you’ll see more of in the future.
Unlike the GNS units and just like the CNX 80/GNS 480 and SL30 nav, the new 650 and 750 units have a single nav antenna input, and depending on which nav antenna you’re using, you might need a special nav antenna signal combiner, available from Garmin. This kind of specialized technical savvy makes working with a radio shop very helpful.
Keep in mind that some interfaces will require the input of a heading source for proper display orientation of Stormscope sferics, traffic data and perhaps some digital roll steering command functionality. The heading can be fed from various ARINC 429, RS-232 and traditional analog synchro sources you might grab from a third-party EFIS.
Conclusion
Builders have the advantage because they can do the grunt work like mounting antennas, sheet metal and panel work, but Garmin says dealers must provide the project-tested wiring harnesses. That’s wise, and shop involvement in these projects is a plus given the complexity of most interfaces.
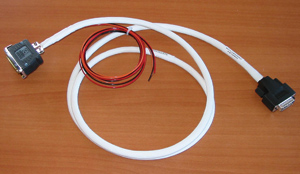
For builders wanting to step out of an old GNS and into a new GTN, Approach Fast Stack’s adapter is a viable solution. At a few hundred dollars, it’s a relatively inexpensive option. But this doesn’t solve the real economic head-scratch of scoring a modest return on an existing GNS 430 or 530. Wholesale values for these units are all over the board with legacy units fetching far less than WAAS units. Further, shops may be hesitant to make trades given a shaky market. And you can forget any factory trade-in programs. They don’t exist.
Garmin still offers the 430W and 530W units, but if you are starting from scratch, installing a new GTN 650 or 750 is a no-brainer; the technology is that much better. But does it make sense to ditch a perfectly capable GNS unit at a sizable loss for these new boxes? It’s tempting, and it’s a decision only the builder/owner can make.

![]()
Larry Anglisano is the avionics editor at the sister publication of KITPLANES, Aviation Consumer. He has accumulated more than 25 years of experience working with various avionics installations.

