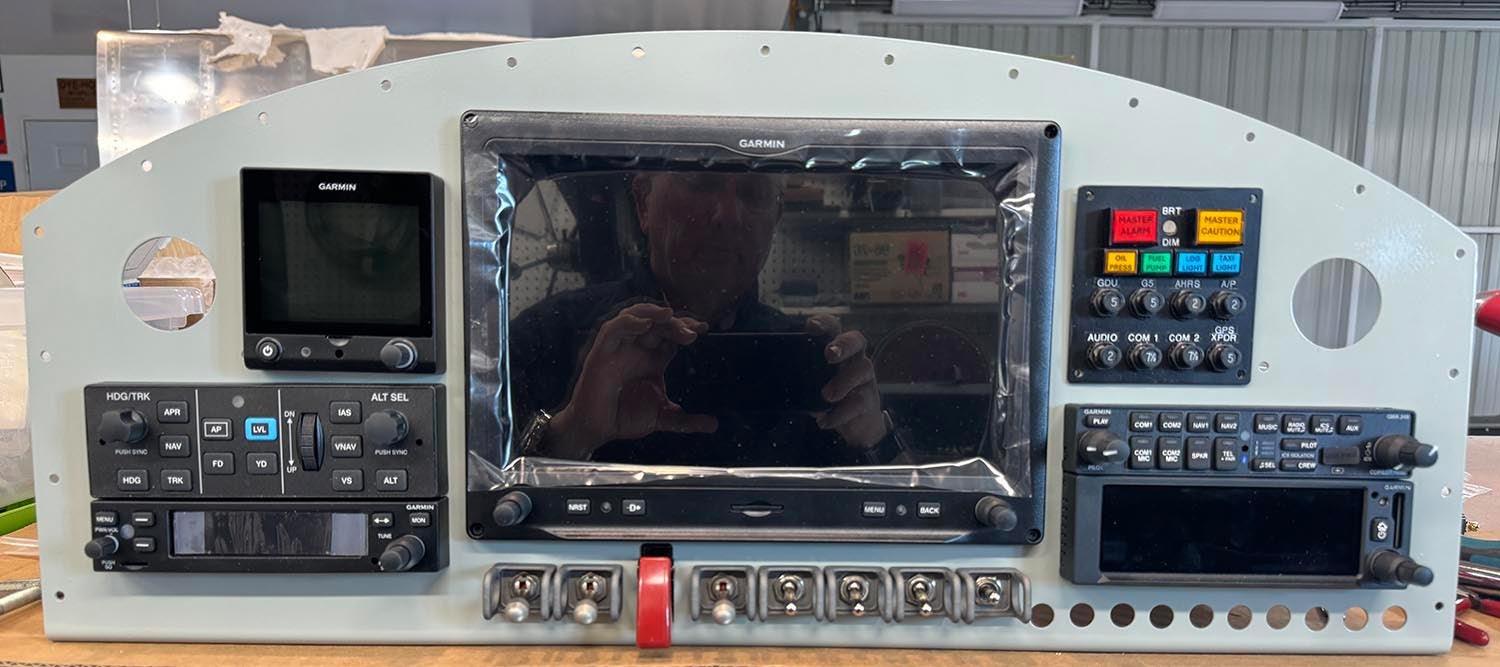
 Building up the panel for our F1 Rocket project has been fun – I enjoy doing panels and cockpits, because that’s where the pilot lives! I strive for simplicity, usability and maintainability… so I like panels that are removable. This can get complicated when you have pesky eyeball vents as part of the panel—you end up with the panel in your lap trying to disconnect SCAT tubing—it’s a bit of a pain.
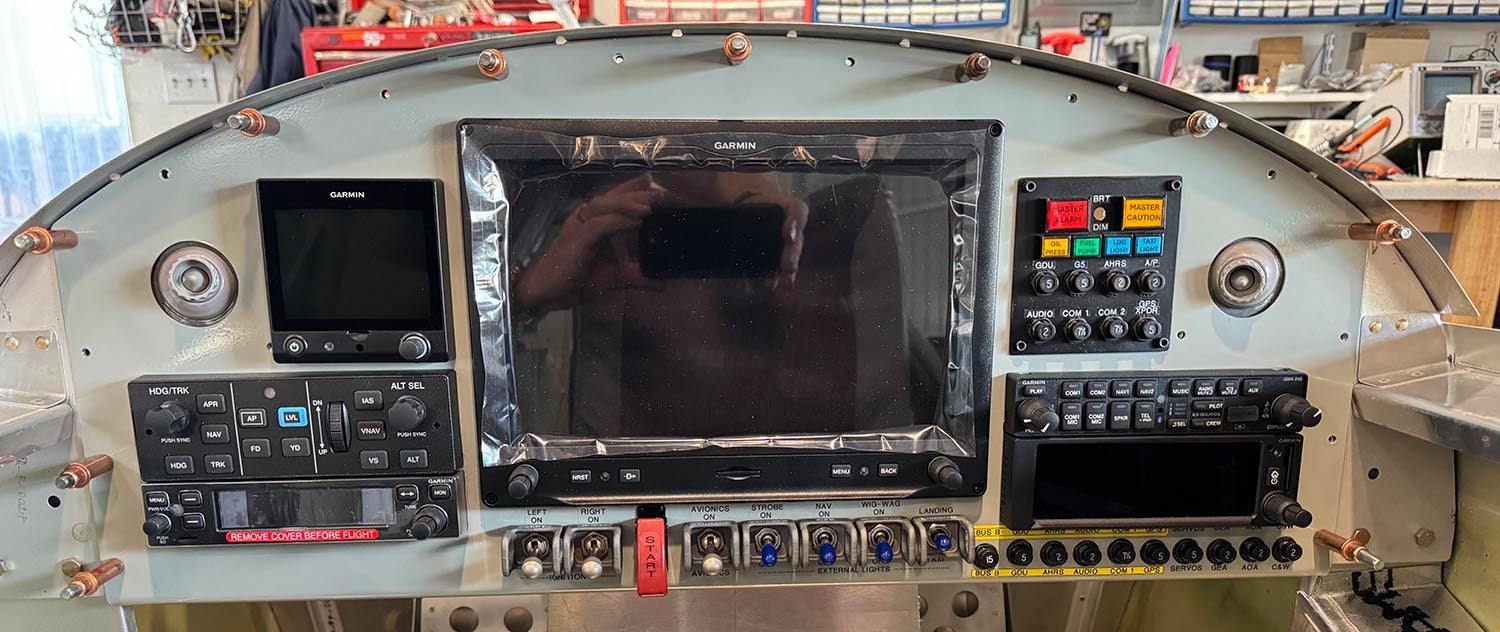
So this time I used a little trick—the eyeballs are mounted to sub-panels that are fixed to the airframe, and they poke through holes in the main panel when it is installed. But getting those round eyeballs perfectly centered is just about impossible due to simple measurement tolerance stack-up. Even if you’re only off a small fraction of an inch, the eye sees that it isn’t concentric in the hole.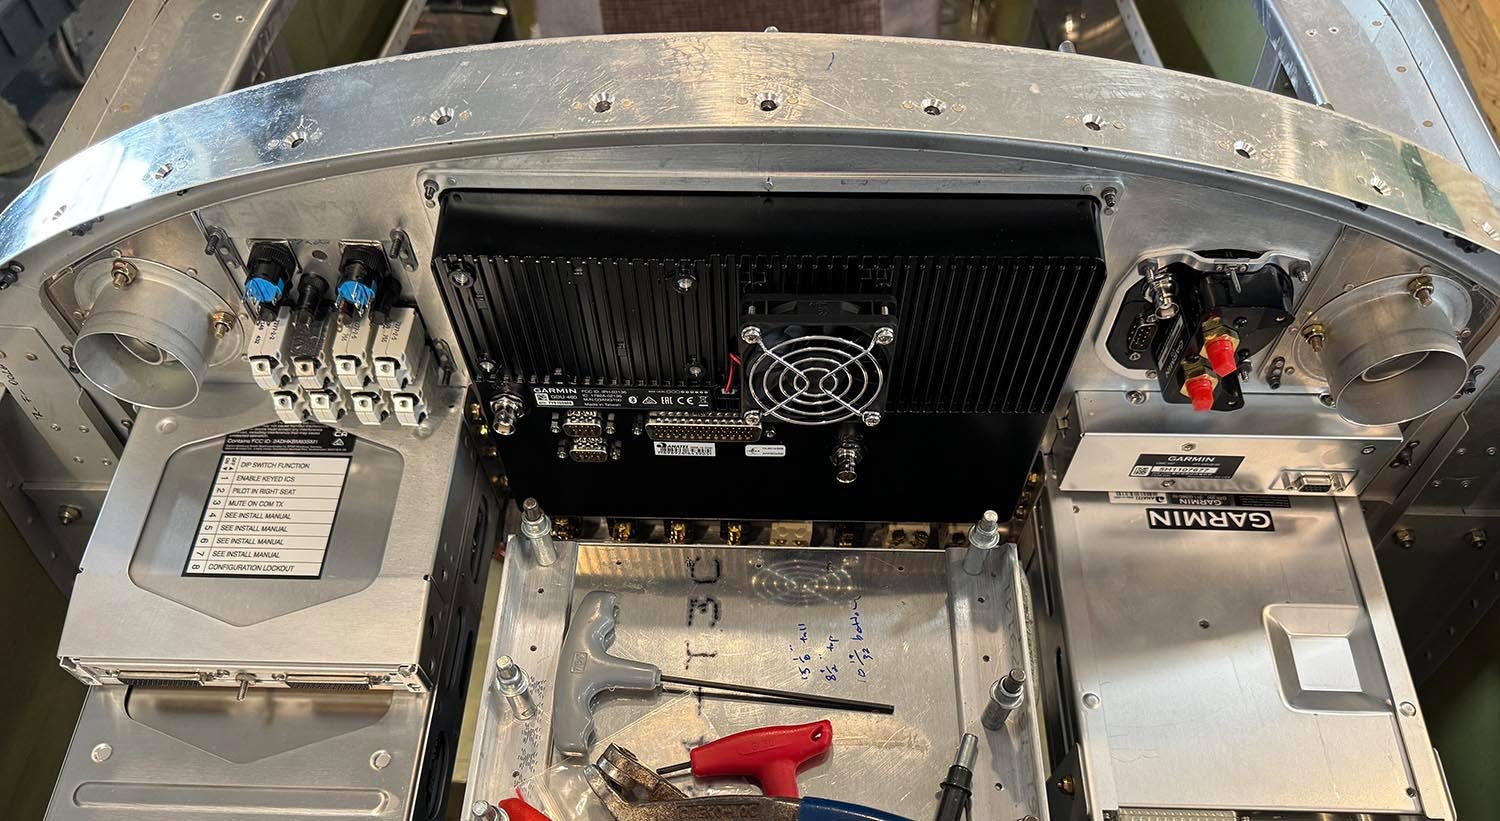
How to fix this? You cheat! I cut a large enough hole in the panel so that the eyeball would definitely be captured, then machined a couple of trim rings out of 1/8” aluminum scrap using the lathe. The inside diameter matched the actual diameter of the eyeball exactly, and the outside diameter was large enough to cover the hole in the panel. I then used 3M VHB tape (the stuff used to hold trim on cars, or GoPros to the wings of airplanes) to attach them perfectly centered on the the eyeball.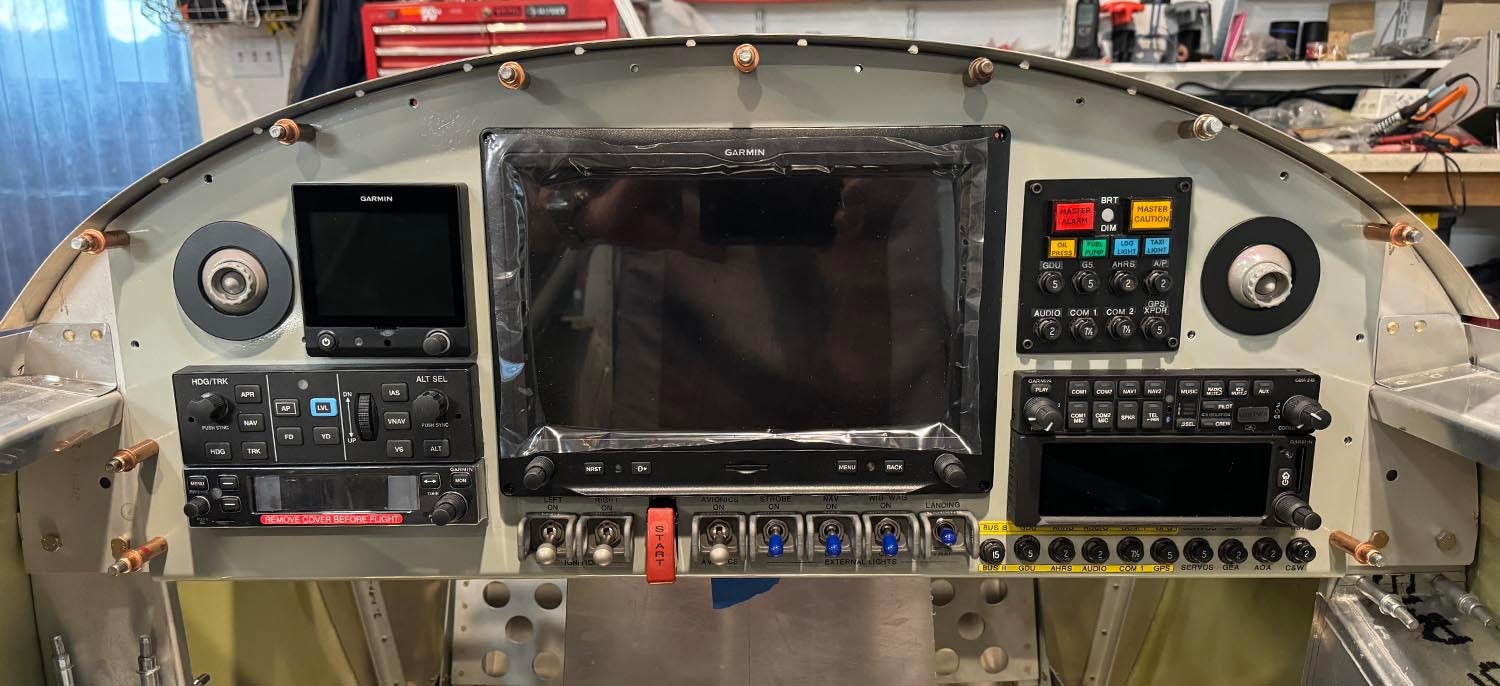
If aesthetics are important to you, it’s good to know you don’t have to make things perfect—you can always cheat later and no one will ever notice that the trim rings aren’t in exactly the same spot on both sides of the panel.
![[Credit: Radiant Technology]](https://www.kitplanes.com/wp-content/uploads/2026/04/550095_5165745cc27748a598699799d796fd94mv2.jpg?w=218&h=150&crop=1 "Radiant Technology Unveils SafeGyro")


Nice panel. What did you use to print the switch labels?
Thanks! For switch labeling, I am “old school” – Brother labeled using good tape, carefully applied and rubbed in so that the clear background pretty much disappears. I like this method because I can add/change labeling as the aircraft, avionics, or design matures – difficult to do with engraved panels.
Hello Paul, thanks for your response. I’ll be looking for a Brother to make some labels.
The Shuttle switch guards are very cool!! Planning to do that on my RV.
Paul, nice job on this! I like the layout. Simple yet effective. Question regarding the component containing the circuit breakers and warning lights, is this a commercial product? Or a home brewed idea? I like the compactness of its design.
Hello Scott – that is a custom panel I builtfor C&W and the critical EFIS circuit breakers. Honestly, it doesn’t need the circuit breakers there, but I was tryign to visually balance the G5 over on the other side of the GDU. The C&W is just some push-button LED switches to show and acknowledge alarms from the EFIS, a hardwired oil pressure warining that will work if the EFIS is completely dead, and some “hey dummy” lights to let you know when you left the fuel pump or landing lights on. Very easy stuff in a visually useful package.
Comments are closed.