I think we are all tired of hearing time and time again how ADS-B is going to be the savior of aviation, how it is going to make the skies safer for all concerned, and how it will switch on your coffeepot when you are on downwind. That may all be true (maybe not the coffeepot), but the virtues of ADS-B have been extolled often enough for my purposes. (If I hear “hockey puck” one more time, I’m going to take that hockey puck to the author and perform an anatomical impossibility with it on him or her.)
However, my 25-year-old transponder went to that avionics junk heap in the sky a few months ago, and the choice was fix it, replace it, or get an ADS-B unit in its place. Fixing it is feeding oats to a dead horse; replacing it is feeding oats to an elderly horse. Putting an ADS-B unit in kills two horses with a single replacement for about the same price as either of the other two options, along with a one-year warranty and ADS-B functionality.
Disclaimer: I am a dealer for one brand of ADS-B, and I chose that brand over half a dozen that I could have had because I felt it gave the best bang for the buck. I am not going to pimp my choice in this column, but tell you the pitfalls I found along the way of my installation so that you don’t fall into the same holes during your installation. You may, by a clever examination of the photographs, discern that brand, but it is only because it is the only way I have of conveying the information.
Having said that, let’s see what we have to do to make this installation process successful. Rather than give you a wire-by-wire description of the process I’m going to show you a few “gotchas” that I had to navigate to make the installation successful.
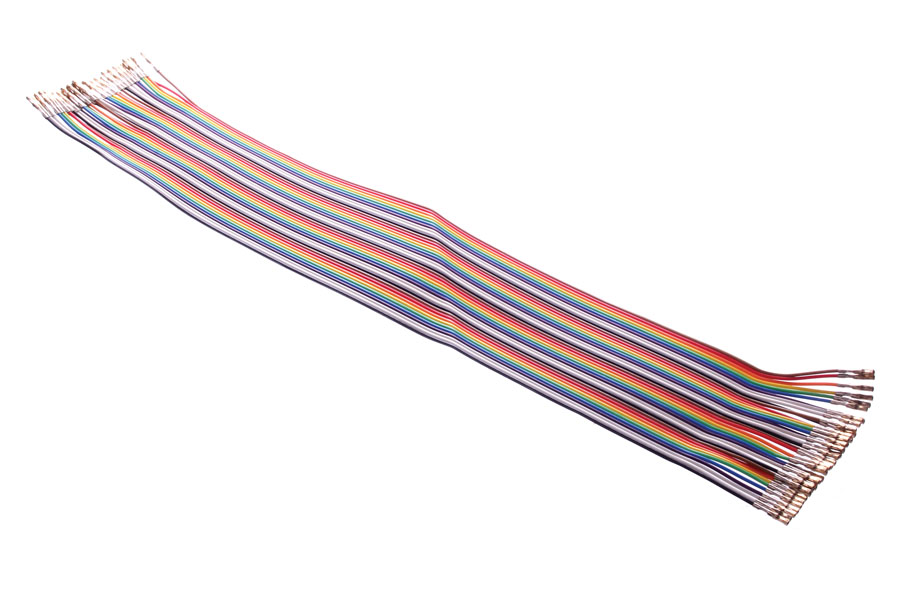
Flat ribbon cable can be separated into individual colored wires. (Photo: oomlout [CC BY-SA 2.0 (https://creativecommons.org/licenses/by-sa/2.0)], via Wikimedia Commons)
Wiring
First, let’s dispel the rumor that the installation requires ripping the electronics wiring apart and completely rewiring the airplane. Nothing could be further from the truth. However, I absolutely recommend that you do a complete wiring diagram before starting your job, or you will be overwhelmed with trying to remember whether or not you ran all the wires. I also recommend that when you permanently connect a wire you take a copy of that diagram and mark off each wire with a red pencil when you make the connection. Unconnected wires just jump off of the page when you look at the diagram.
The main unit requires two wires, both of which are already in the airplane: power and ground. That’s it. Nothing more. With a single “oh, darn.”
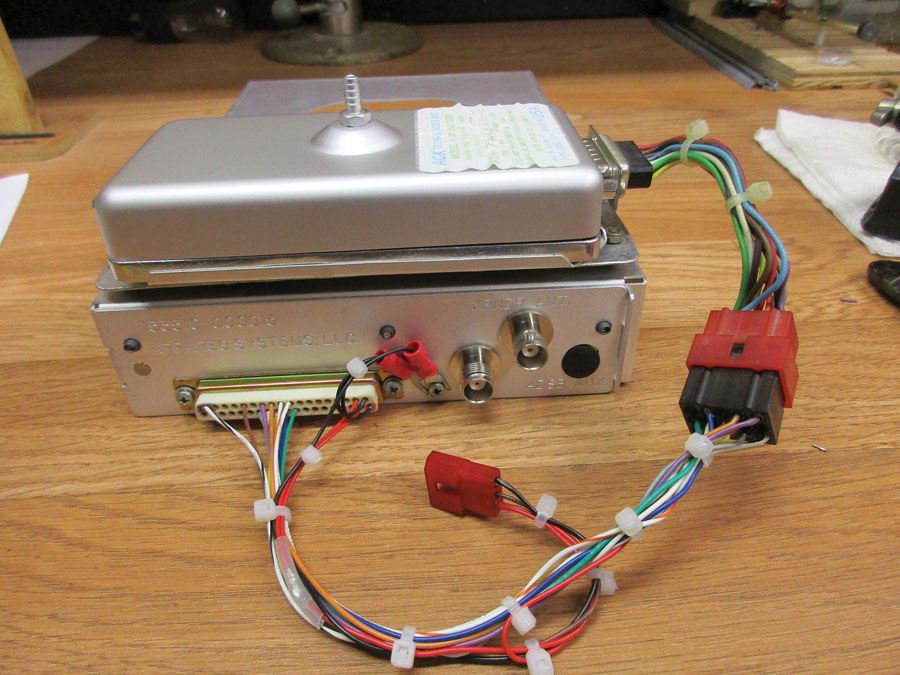
The “oh, darn” comes if your altitude encoder is located some distance from the old transponder installation. Then you get to run a handful (a dozen) of wires from the old transponder installation to the ADS-B. But wait—not if you are clever. Those dozen wires are already connected to the old transponder, and if you are careful removing them, you can reuse them. However, in my particular installation, the dummy who wired them 25 years ago used nothing but white wire, so I opted to do a full rewiring job using colored wire.
It is also true that I am a great fan of “intermediate connectors.” That is, if I am wiring (as in this case) from the old altitude encoder to the new ADS-B/transponder, I broke the harness between the encoder and the old transponder when I installed it years ago and installed an inexpensive connector pair. All I did was toss the wiring from the old transponder to the female half of the pair and wired the new ADS-B harness to a new (cheap) female connector. Plugged it in and it worked like a champ.
This time I used color-coded wires. Since the encoder/ADS-B wiring carries microamperes of current at most, I was pretty free to pick any wire size I wished. But big spools of wire are expensive, so I picked up a 20-foot length of “flat colored ribbon cable” for less than $10 and peeled off colors from that cable one by one. It is #28 stranded wire, and it comes in the standard “resistor color code” colors: black, brown, red, orange, yellow, green, blue, violet, gray, and white. The source was Jameco Electronics by mail order.
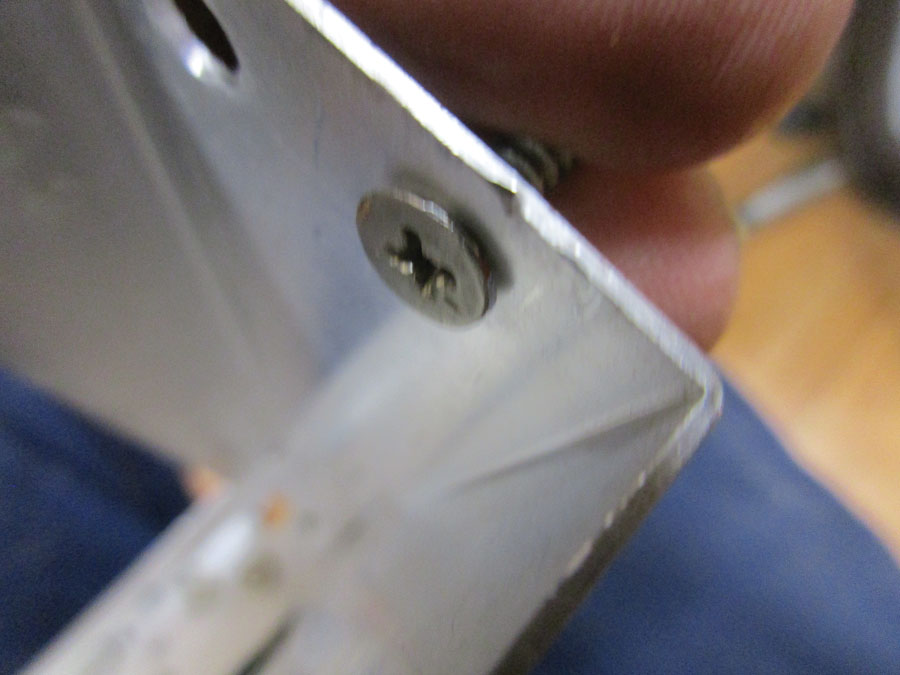
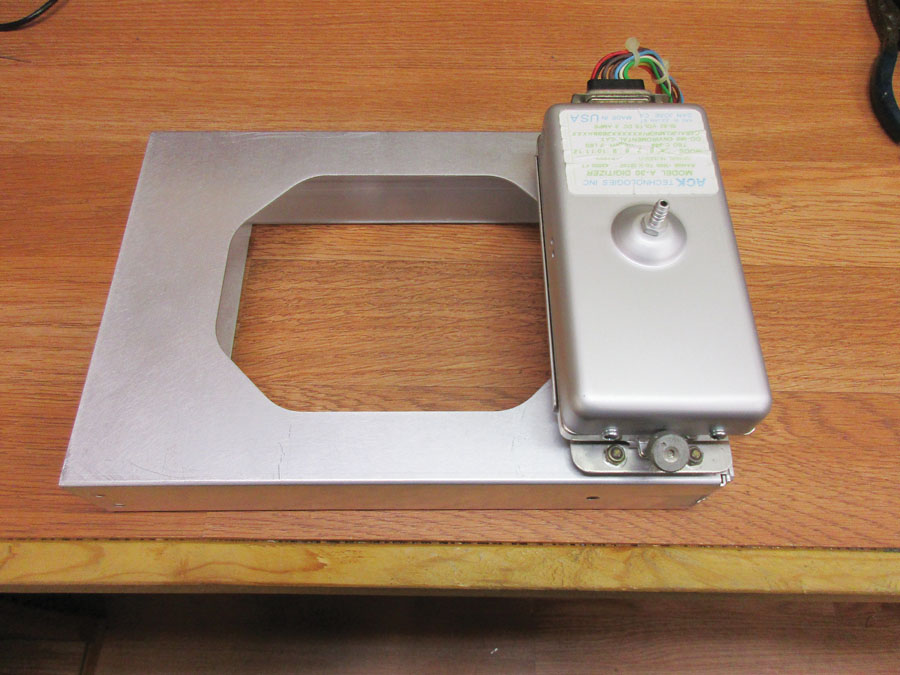
If the rack-to-airframe mounting screws stick out even this little bit, they will hang up the ADS-B chassis from being easily removed from the rack. The problem is that the rack metal thickness is such that there is a very thin line from being fully countersunk to punched through, even with 100-degree screws.
Mounting
Since the altitude encoder only goes to the ADS-B box, it seemed reasonable to put the encoder as close to the ADS-B as possible. In fact, it is about as close as you can get since I mounted the encoder on the top of the ADS-B mounting rack. Had I the opportunity to do it over, upon reflection, I probably would have mounted the encoder on the bottom of the rack, as it would have made getting to the static port hose connection easier to see and access. But hindsight is 20/20.
As to mounting that rack to the airframe, I’ve got a bone to pick with the folks who designed this ADS-B. It seems that the chassis designer didn’t talk to the mounting rack designer. You will find (no matter the brand) that the ADS-B chassis is nearly an interference fit with the ADS-B rack. Slide the chassis in and out of the rack a few times, and you will see what I mean—there will be scratch marks all along the inside of the rack where the chassis screws slip-fit inside the rack. And that’s OK, not a problem except for a few of the screws that fit along the line where the screws that hold the rack to the airframe are. If those rack screws aren’t well countersunk, it will be very difficult to get the chassis into the rack. Even worse, you might get the chassis in, but you just don’t have the leverage to get the chassis out without a lot of well-chosen swear words.
Even worse, there is no way to use anything but a flathead screw to mount the rack to the airframe. You would think that the manufacturer would note this and countersink the mounting holes before the rack got bent up. Nope. You wind up either buying one of those expensive offset-head drill adapters or do a real Mickey job of countersinking at an angle with an electric drill. Ask me how I know.
Coaxial Cable
I do commend the manufacturer for using BNC connectors for the transponder antenna and TNC for the GPS antenna so you don’t have the opportunity to blow a few hundred watts of transponder pulses into the very sensitive (expensive) GPS antenna. However (and I’ve heard this about other manufacturers also), there needs to be an excess length of coaxial cable between the antenna and the ADS-B GPS to lower the signal level from the over-amplified GPS antenna into the front end of the GPS receiver. That’s OK and a common way of approaching the problem…but the cable recommended is a very low-loss cable, so you need more feet of it coiled up in the airplane to get the correct loss. In my not-so-humble experience, it seems to be a bit more clever to use a high-loss cable and use fewer feet of it. Not only that, but my cable of choice (RG-174) is one-tenth the weight of the low-loss RG-400, so you aren’t giving up useful load for no good reason.
There you have it. Other than these few problems, there was very little wasted time installing this ADS-B. If it takes you more than two or three hours, I’d be very surprised.
A long time ago (October 1997 to be exact), I wrote an article for KITPLANES extolling the virtues of the intermediate connector and called it the Karmic (“KITPLANES ARINC”) connector standard. I truly believe in this concept, and I’d like to get this generation of airplane builders to consider the merits of the system. That’s next and a good jumping-off place to revisit and update a whole bunch of stuff that we considered many years ago. Until then…Stay tuned…

