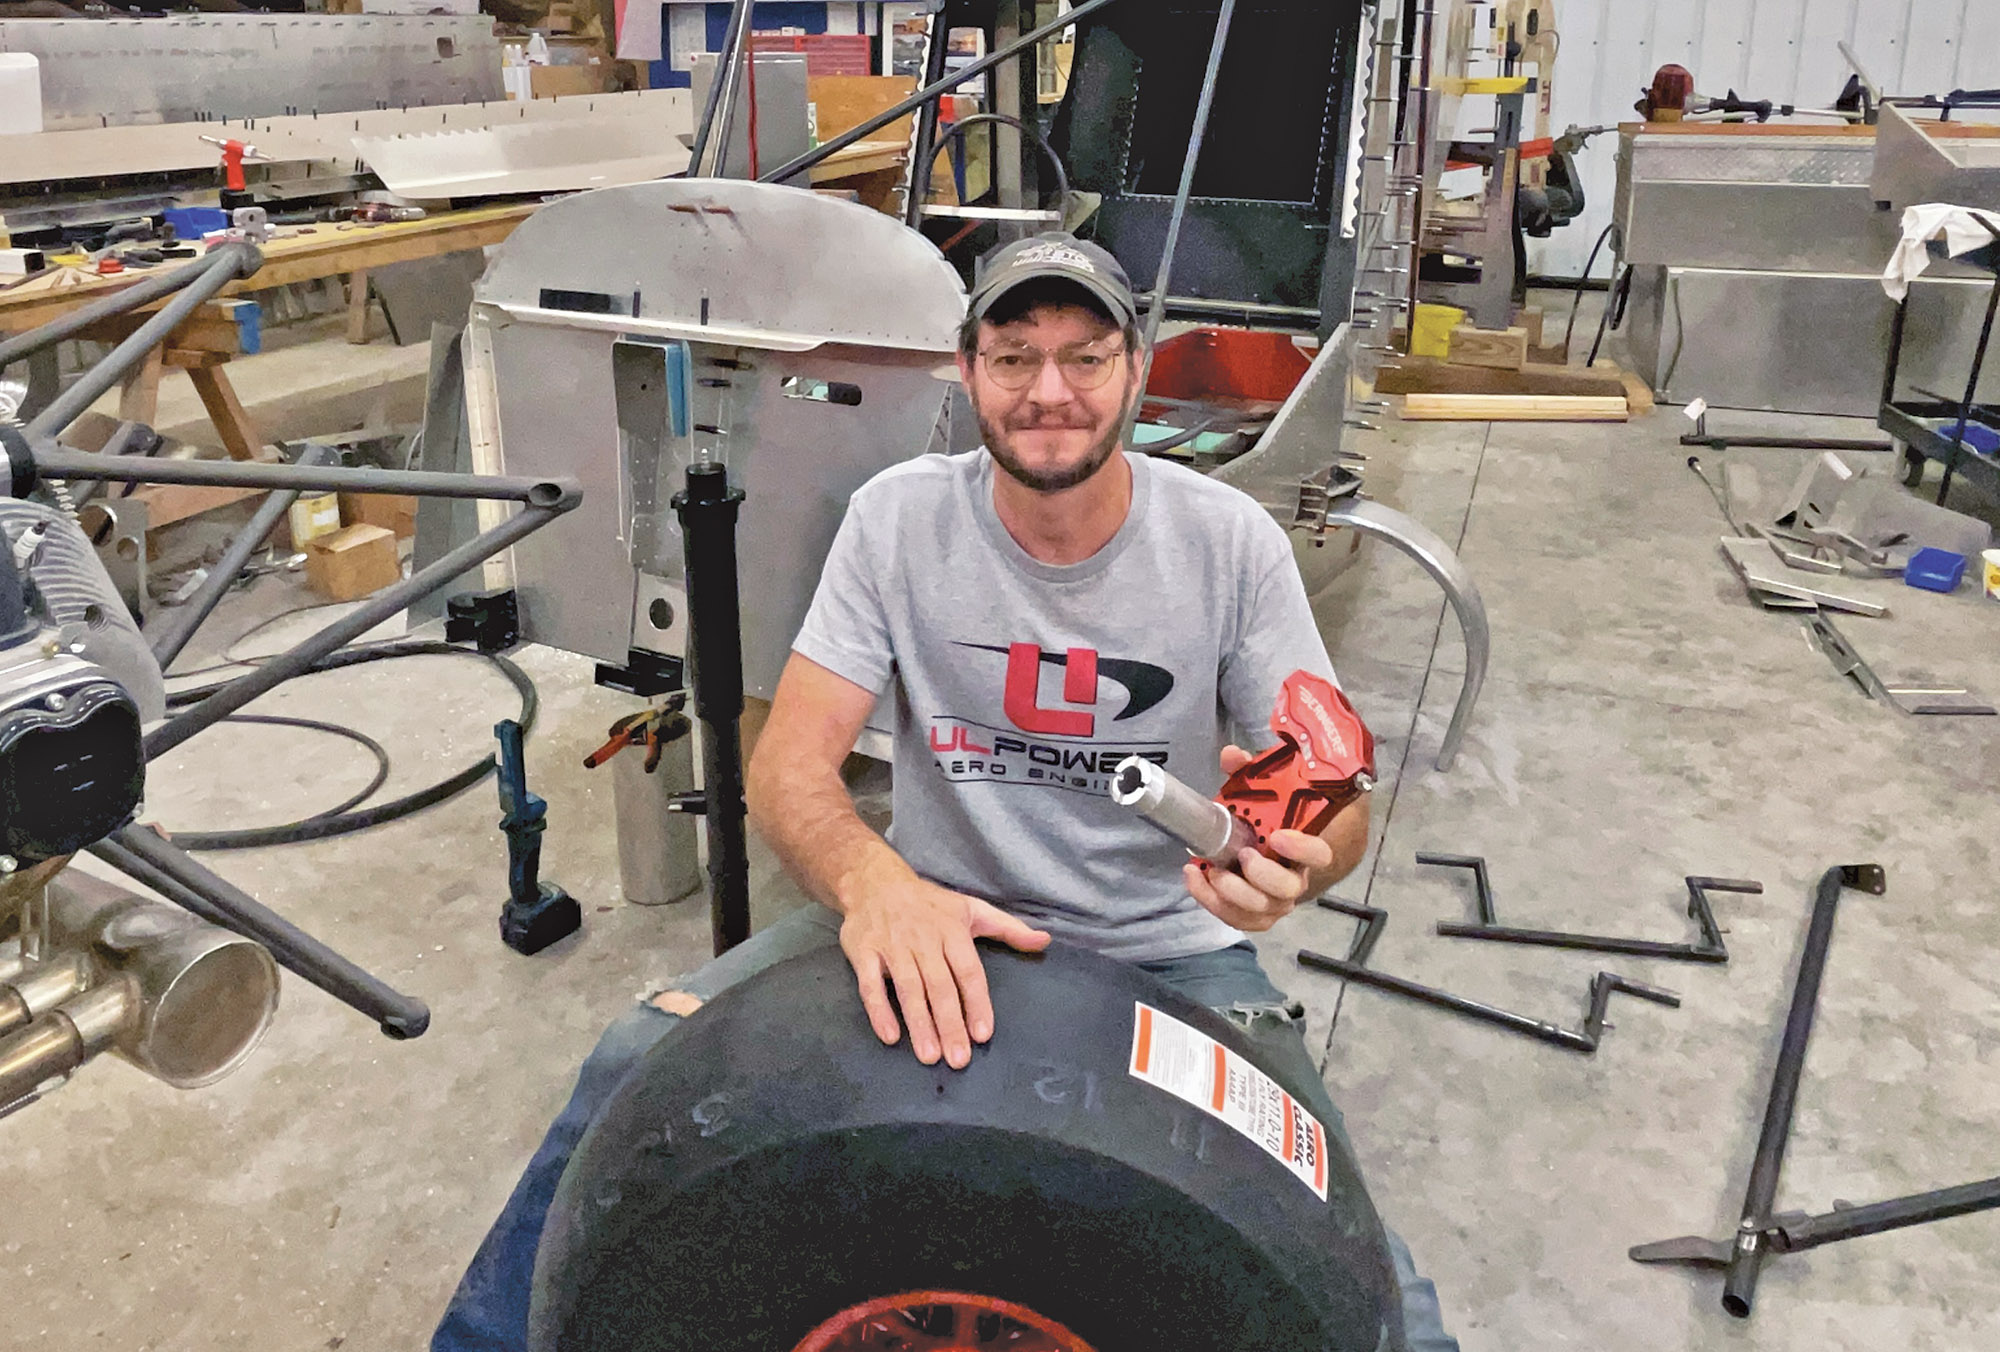
These gear changes are happening figuratively, literally, and even personally. Firstly and mainly, the 750 SDX’s main gear! At this point I have the airplane fuselage sitting on the standard 750 SD gear, but I also now have a new main gear that is not predrilled for the axles. This allows me to locate and drill the necessary axle fastener holes for the Beringer axles that use a slightly different bolt pattern than what is supplied with the 750 SD kit. Since this is an entirely unique and new custom setup for the SD, the axle spacers will also be different, both with the bolt pattern and with the spacer thickness, because of the different tire offset this system has from the axle mount point. Luckily, a local machine shop is very capable of programming and machining new custom axle spacers to match the axle profile and even lighten them to further match my mission.

Once I picked up the new axle spacers, I was able to use them as templates (or drilling guides) to drill the holes through the main gear. Since the main gear is so bulky and heavy, I decided it was just too cumbersome to fit into the drill press, and I opted to take on this task with a handheld air drill. Carefully drilling eight 10mm holes through the 1.08-inch-thick aluminum took quite a bit of time, but with meticulous measuring, clamping, and drilling, they were finally completed and ready to mock up with the entire axle/brake/wheel/tire assembly.
Now that this is temporarily put together and I am convinced it is going to be satisfactory, I am able to start cleaning up the actual main gear to meet my satisfaction. This task is also quite time-consuming because I am doing way more than just cleaning the surface. I am also cleaning it up by removing quite a bit of unnecessary material. The 750 Super Duty main gear is by far the single heaviest piece on the entire airplane, and since you all have witnessed me lightening so many other parts in previous articles, I couldn’t pass up the opportunity to make a strong attempt to significantly lighten this heavy main gear as well. The axle spacer footprint is slightly less than the factory setup, so I am taking the time to remove the excess aluminum around this area. As I am seeing plenty of the aluminum shavings and dust pile up on the floor, it makes me think about even more weight savings and this is sending me down a whole new rabbit hole with the main gear.

Another Rabbit Hole
After several days of pondering the best way to go about lightening it (while working on other parts in the meantime), I finally took the time to sit down and start doing some calculations. The 750 SD main gear is admittedly overkill and a bit too heavy, so now the question quickly becomes, how much can it be lightened and still maintain a good safety margin for reliability and robustness without risking being permanently sprung and deformed during a hard landing? This is a question I have been unable to get a direct answer on. After plenty of calculations and comparisons with what I know works well at gross weights of other planes such as the 701, I have finally decided to remove around 5 pounds of material from the middle of the main gear (between the mount points). I have never seen a 701 main gear that was tweaked in the middle; instead, they always seem to be deformed outside of the fuselage mount points at the top bends.

The outside part of the 750 SD main gear is unlike my 701’s gear because instead of the two sharper bends, it has one continuous curve until it reaches the axles. This continuous curve is stronger, but the shaping process leaves many shallow marks in the material that remain visible unless they are either cut down smooth or built up and filled in with paint, etc. Being the perfectionist I am, I decided to sand it all to a smooth finish, eliminating the machining marks.
Most people seem to paint, polish, or coat the main gear, but I decided to treat the 750 SDX gear exactly the way I did the aluminum gear and wing struts on the Super701, which is to sand them smooth and leave them as basically unfinished aluminum. I get them roughly sanded with powered hand tools and then do the last finishing work sanding them by hand with 220-grit wet sanding. A final thorough rubdown with a Scotch-Brite pad leaves them with a natural brushed aluminum look. I personally like the look and I think it is the simplest and most durable way to keep a decent look on these parts that will see plenty of abuse with the dirt, grime, manure, and all the other things I can throw at them on the farm. Cleanup and ongoing maintenance is as simple as it gets too. After I finish washing the rest of the plane, I just throw an old Scotch-Brite pad into the dirty and soapy wash bucket. I then use it to do a rubdown of the gear and struts with the last of the soapy water. This quickly and easily cleans and brings these components back to their original “brushed” look. I haven’t completed the final stages of this sanding yet because the main gear is currently at my local machine shop, where it will undergo the mentioned lightening in their CNC milling machine. So, until I can get it back in hand, we will switch gears again…

Why Not Go Xtreme?

Moving on to the nosegear! I am happy to report that the second prototype full-suspension front strut has finally arrived and it is nearly ready to assemble into a usable prototype. There are just a couple more minor tweaks to finalize this new setup so we can all see it installed and put into action. It is getting very close, although I’ve heard the term “close” should only be used when playing horseshoes. The goal of this new nosegear is to allow users an “upgrade option” that is an easy/direct swap without any major disassembly or modifications to these airplanes, while also greatly improving the “pogo stick” functionality of the stock design. I say this because the standard front strut assembly does not have any form of rebound damping, and the bouncing effect can be pretty extreme during use on unimproved off-airport strips (or rough landings). This upgrade project has been in the works for well over two years, and I am definitely excited about what it can potentially offer for the fleet of flying Zeniths. However, two years of anxiously looking at the front of my 750 SDX has given me a lot of time to think about every aspect of the entire nosegear design, and that kind of time is not good for someone who strives to continually improve and modify things. So, here we go with the next changing of gears and a whole new modification.
In the pursuit of making things simpler, better, and definitely lighter, why not go Xtreme and completely redesign the whole pedal/brakes/steering assembly and also redesign the entire front strut again as a one-off setup for this 750 SDXtreme build? Well, here we go! Honestly, countless hours have added up with me just sitting in my shop chair looking at the firewall with the front gear design. While the stock Zenith setup is both robust and usable, I see several things I want to do differently, and I have unique ideas that I want to fabricate and make work. This is going to require me to build an all-new pedal system completely from scratch, for two reasons. The first is that I am going to change how/where the steering rods attach to the pedals and also to the front strut. The second reason is purely for cleaning up the cabin even more and lightening the whole system. I have decided to eliminate the pedals on the right/passenger side of the cabin. This will significantly open up the right floorboard and should bring a little relief to non-pilot passengers who are usually worried about accidentally touching or moving the controls (that could “cause the airplane to crash”). I have never worried about this as a pilot, but it will just be one less thing for nervous passengers to worry about, and with my 1000+ hours of flying I can’t say that I have ever needed pedals or brakes for the passenger side of a plane.

Ridiculously Expensive, Ridiculously Cool
Now back to being lighter. You may remember from the March 2025 KITPLANES issue that I slightly moved into the realm of titanium for my first time with the simple fabrication of new titanium steering rods. I enjoyed working with the titanium and have been intrigued enough to outfit my welding setup with a simple argon purge system so I could move toward also welding titanium tubing. Titanium is both ridiculously expensive and cool at the same time. My venture into the titanium world is really not justified at all, but I am so deep into this build with my own uniqueness and modifications (and money) that I have to think, “Why not?”

Part of this is just because of my stubborn, particular, and innovative ways. I have to give my Dad some credit for this part of the way I think. Dad never had much interest in airplanes, but I have always said that he is a mechanical genius and I still stand by that to this day. One of the main reasons the Humberd Farm has been so successful and is notably one of the best-run farms around is because of my Dad’s brilliant mind and his drive to make things work better. I once heard an engineering college professor say that he really liked my Dad because he “wasn’t afraid of a cutting torch,” meaning that Dad wasn’t afraid to cut expensive machinery apart in the pursuit of making it work better than originally designed. I do utilize my Dad’s mastermind occasionally for aviation by bouncing ideas off him. It is always good to have someone with that much experience and knowledge to sometimes look over your shoulder at your work. My Dad is an invaluable asset to many aspects of my life and he is turning 81 years old as I am writing this article, so Happy Birthday Dad!

Anyway, now that I have the titanium tubing in hand, it is time to actually lay out the design I have in my head. Then comes the cutting, coping ends, fitting, clamping, and welding all the new pieces together. Doing all this by hand is time-consuming work but is also very rewarding. For the smaller ¾-inch tubing where I am making a bunch of one-off pieces, I have found that it is easier and quicker to finely shape and cope the ends by hand with belt sanders than it is to set up and use a specific notching tool. Each tube is individually fitted up with tight tolerances to make the welding process both easier and more structurally sound. Once fitted nicely, ensuring the angle is set correctly for each matching joint, I clamp two tubes at a time into a corner vise. Then I attach the argon purge setup and tack weld in three places around the tube. After I feel it is securely tack welded, I can begin the full titanium TIG welding process. I’m not going to share too many details of these actual design changes until the next article, when I will have more of this setup together and can verify that my design can become a reality. However, I will say that I am finding titanium to be a fun and unique material to work with and as a total titanium newbie, I am pretty pleased with the results so far. With all this titanium being put into new pedals, steering rods, and even several titanium bolts, the weight savings is now adding up with pounds instead of ounces, so at least that is a real feel-good bonus. The end goal is to have professionally constructed components that will be both visually pleasing and robustly usable. I’m not going to say perfect, because “perfect” is a very strong word, and it is extremely rare for anything to be built as a prototype and come out perfect. There is nearly always room for improvement, and I will continue to pursue that perfection.

![Coming in for a landing at Humberd’s Farm [All Images Credited to Jon Humberd]](https://www.kitplanes.com/wp-content/uploads/2026/07/9-1.jpg?w=218&h=150&crop=1 "Overcoming Setbacks on the Zenith 750SD Xtreme")
![[Credit: Zenith Aircraft Company]](https://www.kitplanes.com/wp-content/uploads/2026/06/31142685469.jpg?w=218&h=150&crop=1 "Zenith Throws Open Its Doors for “Fly-In to Summer”")
![Members of the North Idaho High School Aerospace Program gathered at KSZT [Credit: North Idaho High School Aerospace Program]](https://www.kitplanes.com/wp-content/uploads/2026/02/IMG_3499.jpg?w=218&h=150&crop=1 "North Idaho High School Student ACES Fly the Aircraft They Built")


 Nav or Nav Not")

