I’ve addressed some apparently controversial topics the last few months: AN washers, AN bolts and lock nuts. Regardless of your personal preferences in deploying said hardware, I think we can agree they are nothing but workbench clutter without a hole to put them in. This month, I plunge into drilling accurate holes for fasteners in mating parts. But first, let me define my terms.
Pilot holes are the initial holes drilled in a part to establish the position of a fastener. They are smaller in diameter than the fastener that will occupy the hole. These days, many kit parts include predrilled pilot holes.
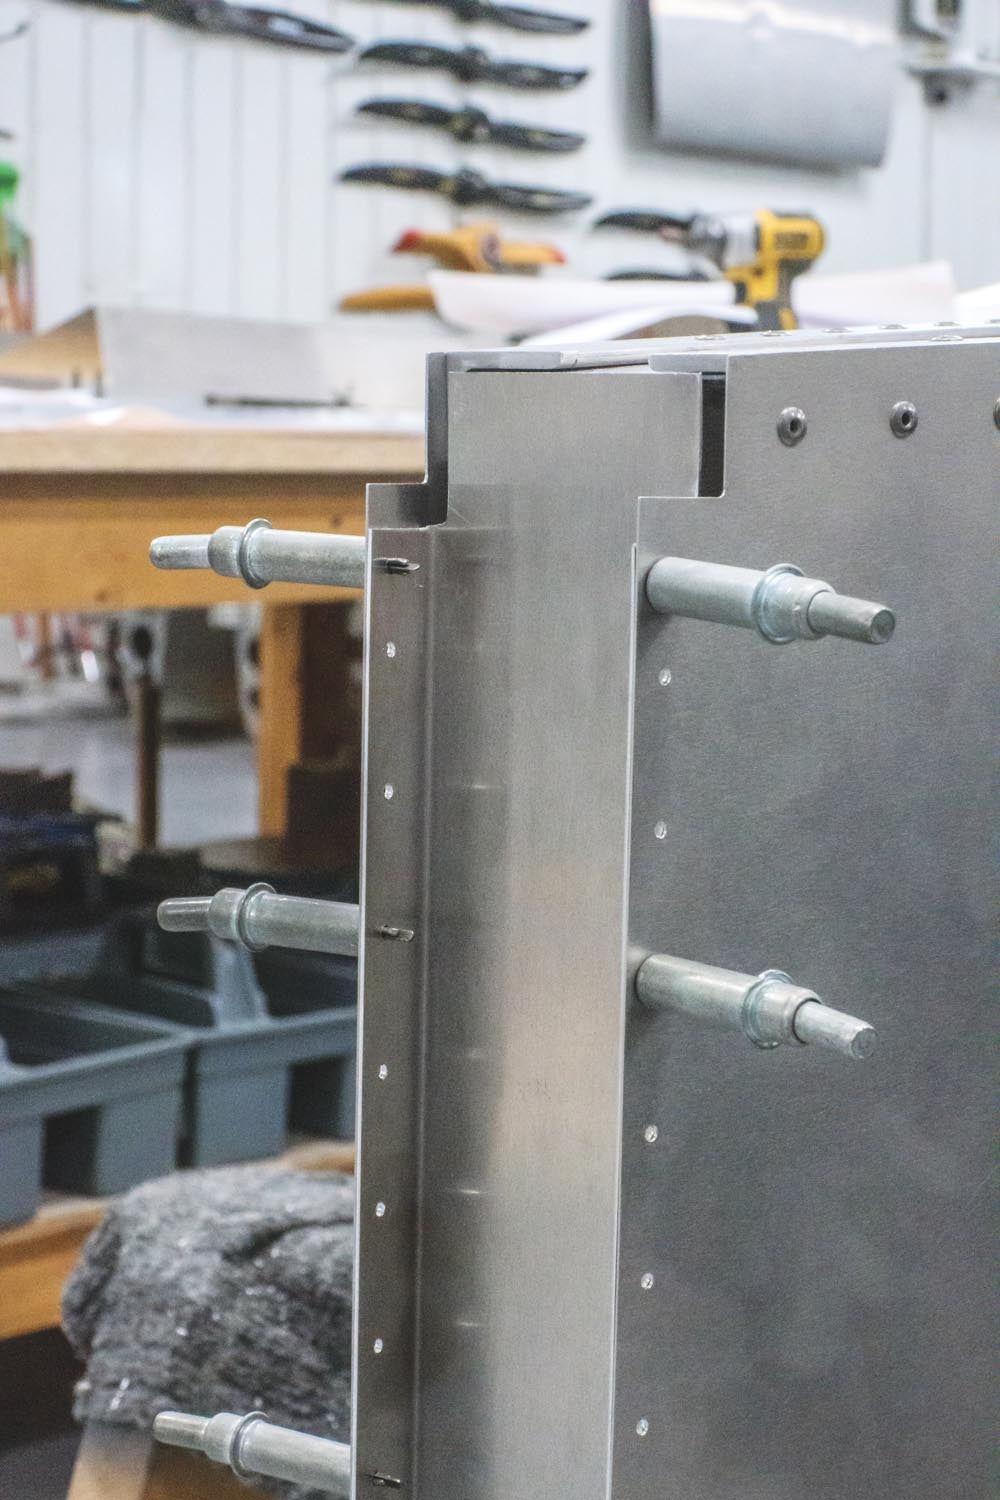
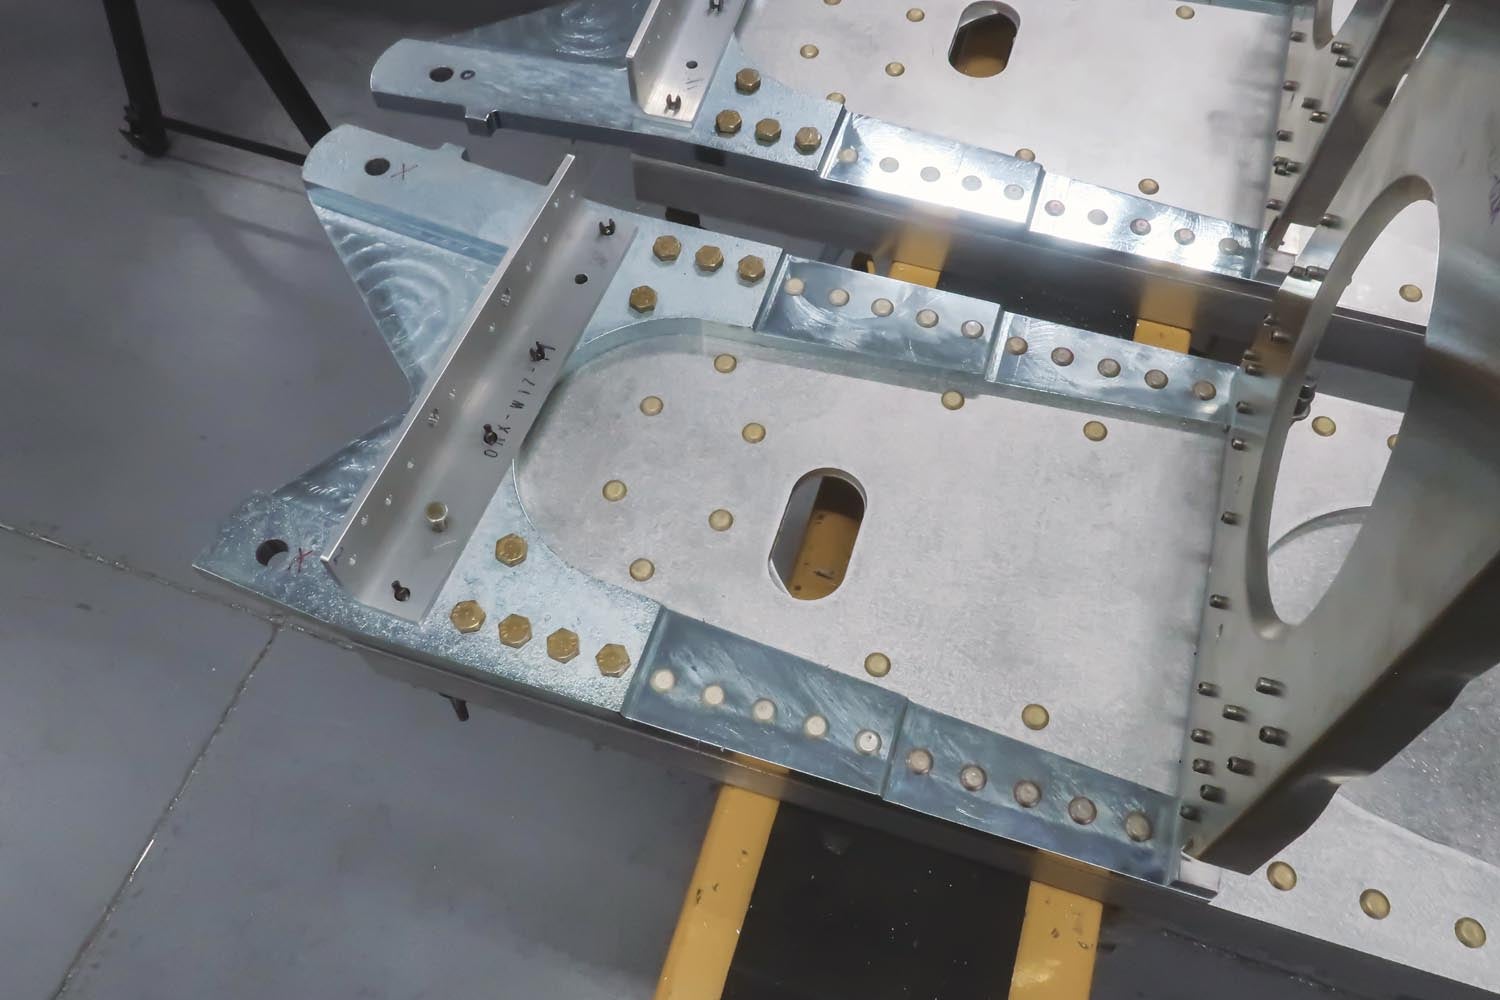
Matched holes are corresponding holes in mating parts—for instance, the holes in a fuselage side skin and the longerons to which it attaches. When a manufacturer says their kit has matched holes it means many parts (seldom all) are ready to Cleco together right out of the box.
Match drilling pairs parts that don’t have pilot holes to parts that do. In match drilling, a part with pilot holes is clamped to its mating part and the pilot holes guide the accurate transfer of the pilot holes to the undrilled part so they match.
Step drilling is the process of incrementally enlarging a hole to its final size. Also called up-drilling or final drilling.
My well-used copy of the Standard Aircraft Handbook (5th Edition) addresses step drilling and fastener hole sizes. I recommend you give both Chapter 3, “Drilling and Countersinking,” and Chapter 4, “Riveting,” a look-see. Advisory Circular 43.13-1B, Acceptable Methods, Techniques and Practices—Aircraft Inspection and Repair, seems mute on the topics of pilot holes, step drilling and match drilling.
Drilling Pilot Holes
In the absence of kit-provided pilot holes, a kit’s construction documentation will define the location and, often, size of the pilot holes that need to be drilled in each part. Some parts are intentionally bereft of pilot holes. Those parts will get their holes during match drilling, which we’ll get to shortly. As an important aside, you may see large pilot holes (for instance, 3/16-inch diameter) called for in some parts. Though defined as a pilot hole, for accuracy you’ll step drill to that size rather than drill to that size from the first. More on step drilling in a bit.
Drilling pilot holes begins by getting them properly positioned. Measure carefully, mark accurately with a fine-point marking device (an ultra-fine Sharpie on aluminum or steel, a pencil on wood) and then remeasure after double-checking the plans. There’s no point in placing a perfect hole in the wrong place.
Should you center punch? I’ve seen aluminum parts under 0.062-inch thick distorted and damaged by aggressive center punching. Therefore, I recommend drilling pilot holes in material thinner than 0.062 inch without center punching. It’s not difficult if you use a sharp drill bit, guide the point into position with your thumb and keep the drill perpendicular to the part. If you can’t make that work, center punch thin parts as lightly as possible on a hard surface to minimize distortion.
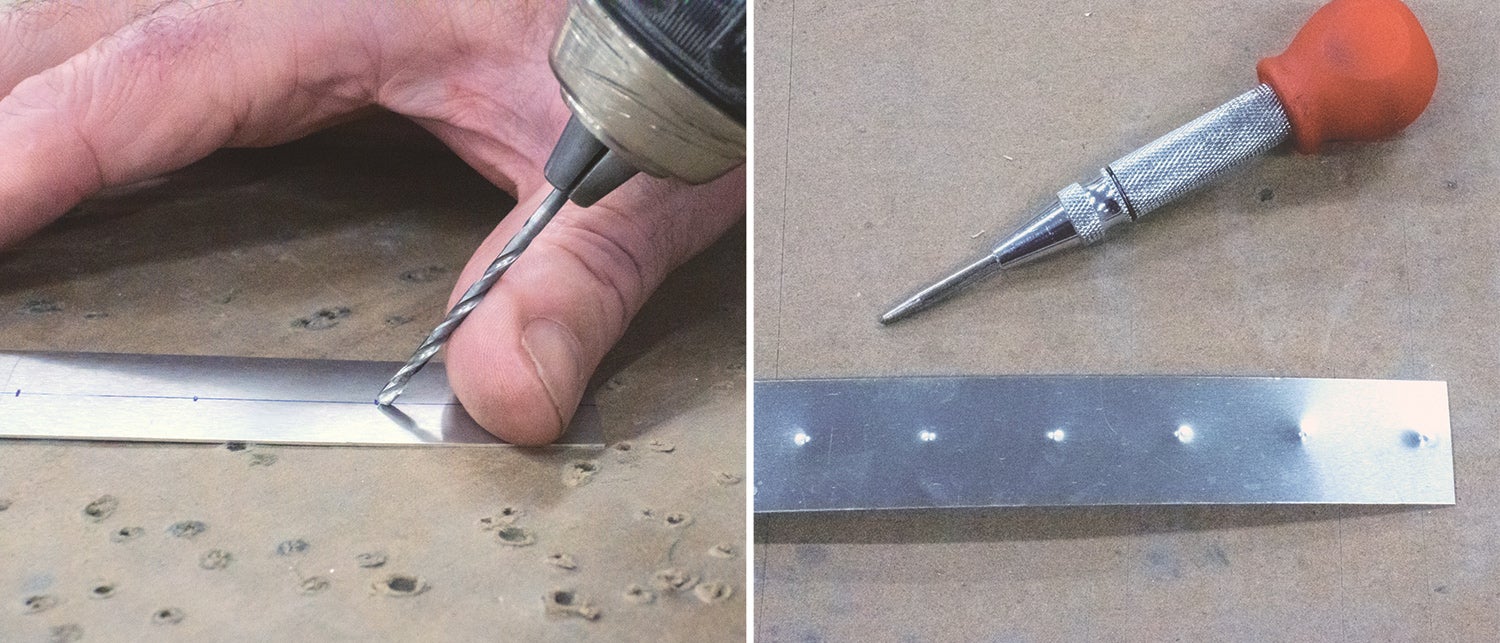
Drill pilot holes with a sharp drill bit of the proper size. What is the proper size? Like everything, that can be debated ad nauseam. Here are my experienced thoughts. For finished holes and fasteners larger than 3/32-inch diameter, a #40 bit is a good start. For 3/32-inch diameter fasteners, a #41 bit works well. An undamaged silver Cleco will pass through a #41 hole, yet enough material will remain for match drilling.
In general, I drill pilot holes in material up to 1/8-inch thick by hand. For thicker material I use a drill press. You’ll develop your own standard based on your ability to hold a drill perpendicular to the material being drilled. Hand-drilled holes are best done on a wood-topped workbench to keep the part from flexing and minimize the burr that forms as the bit exits.
Match Drilling Holes
Match drilling begins by aligning and clamping mating parts together and double-checking their positions against the construction documentation. Double-checking a part’s position against the plans is worth every moment it takes. Drill through each pilot hole to transfer the hole to its mating part. If you’re working in metal, install Clecos as you go. I strive to have a Cleco or clamp next to each hole I’m drilling, and a Cleco in every other hole as I go…depending.
Another area of debate is what size drill bit should be used to drill the matched hole. I use the same size drill bit as the existing pilot hole, but there are some who favor drilling the match hole to the next size; for example, drilling a #30 match hole through a #40 pilot hole. You’ll come to your own method through experience. Paramount is that each hole is round, properly sized and drilled perpendicular to the surface of the parts.
Step Drilling Holes
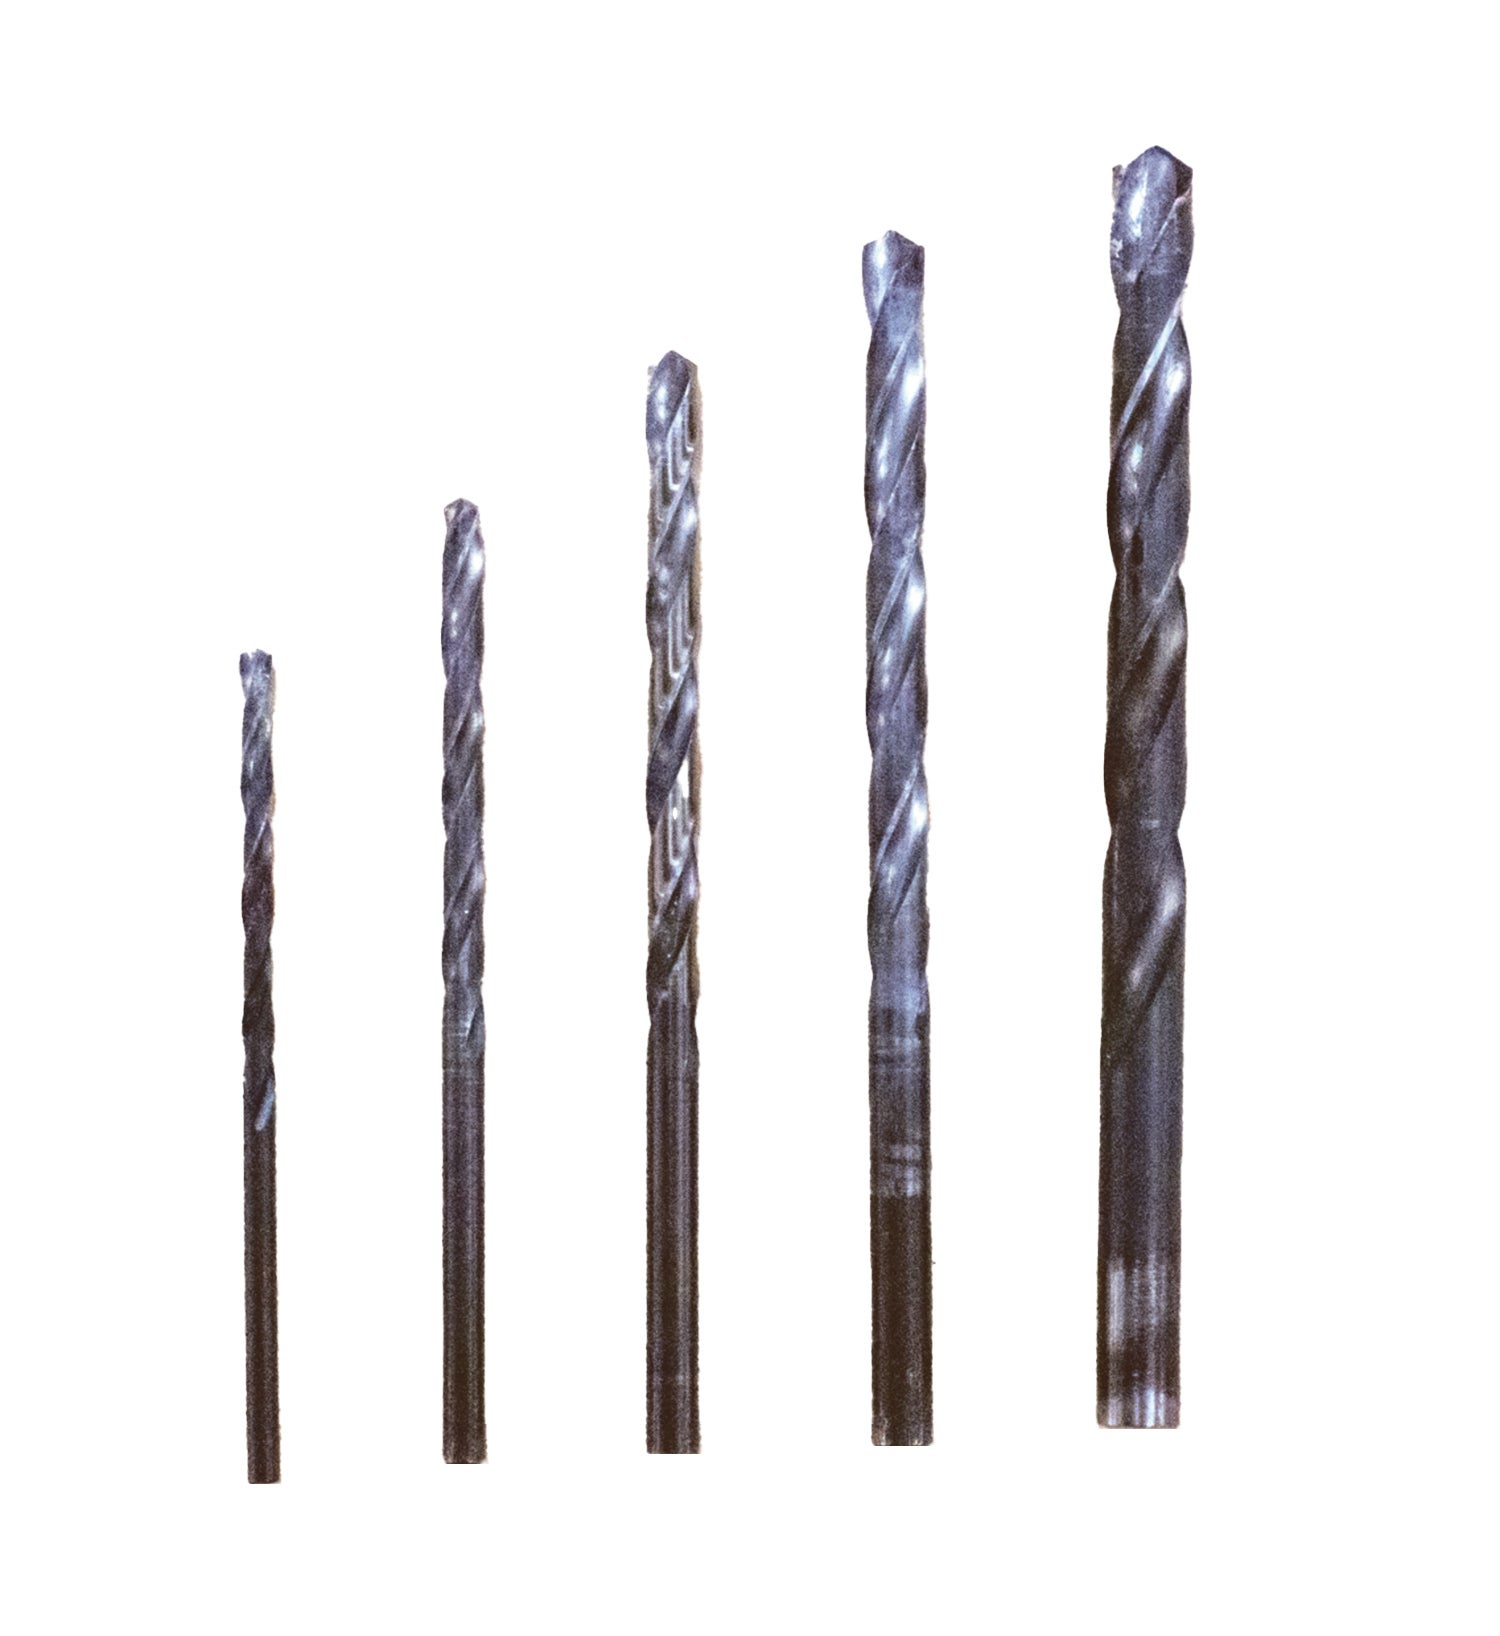
Step drilling improves the odds the final holes are round and in perfect register. Pilot holes are incrementally enlarged—step drilled—to their final size with mating parts clamped or Clecoed together. It’s important to note that pilot holes can’t be counted on to guide a drill bit through an existing hole in a thick stack-up of parts (more than 3/16-inch, depending on how careful you are), especially in wood, aluminum and other soft materials; therefore, just as while drilling pilot holes, care must be taken to keep the drill perpendicular to the material and centered on the existing hole. If you get lazy you may have a round entrance hole and an elongated exit hole. A typical progression for step drilling looks like this:
#40 bit (the final size for 3/32-inch rivets)
#31 bit (for 1/8-inch flush rivets as dimpling enlarges the holes)
#30 bit (for 1/8-inch protruding head rivets)
#21 bit (for 5/32-inch rivets)
#11 bit (for AN3 Bolts and 3/16-inch rivets)
1/4-inch bit (6.4mm for 1/4-inch rivets)
5/16-inch bit
If you’re looking for a pattern, each step is 20% to 25% larger than the existing hole.
The final drill sizes I provided are referenced in the Standard Aircraft Handbook and are well-proven for both rivets and bolts. I was surprised to find AC 43.13-1B, Section 7-39, “Bolt Fit,” states: “Generally, it is permissible to use the first lettered drill size larger than the nominal bolt diameter, except when the AN hexagon bolts are used in light-drive fit (reamed) applications and where NAS close-tolerance bolts or AN clevis bolts are used.” Note the inclusion of the qualifier “generally” and the reference to lettered drill bits, not numbered bits.
Finishing Up
After the holes in mating parts are drilled to their final size the parts can be divorced from each other, deburred, cleaned and Clecoed back together. Fasteners are installed when directed by the construction documentation.
My high school drafting teacher opened his self-guided classes with these words: “The only rule in drafting is there are no rules in drafting”—before he disappeared into the wood shop to build furniture for himself. There are rules, of course, but his point, obvious even to a high school freshman, was that when the existing rules don’t work, do what makes sense within the scope of accepted practice. And so it is with aircraft construction. As always, your kit’s manufacturer should be consulted when you have specific building questions. Now, let’s recess for an online Question and Argue session. Wear layers, in case it gets hot.


