The other day I heard about a guy at my local airport lamenting the cost of overhauling the prop on his $4 million SOCATA TBM. To remove and service the prop alone was something north of $20,000.
Ouch!
When I heard that, it made me appreciate the low cost and relative simplicity of the humble, fixed-pitch wood prop on my Jabiru. My guess is about 90% of the airplanes featured in KITPLANES® have either fixed-pitch or ground-adjustable props.
Fixed-pitch props, especially wood props, are definitely low maintenance, but not no maintenance.
Cleaning bug splatter and inspecting for cracks, pits and other defects are no doubt part of every preflight checklist. In addition, most prop makers require checking the bolts for proper torque every three months to account for seasonal humidity changes.
Anytime you remove your prop to repair dings or to refinish it, it must be static balanced before being reinstalled. Some prop manufacturers recommend checking static balance on a regular basis—such as every 100 hours or during the annual condition inspection. (For additional information, refer to FAA Advisory Circular AC20-37E—Aircraft Propeller Maintenance.)
There are two methods used for static balancing, and both are low tech: a string balancer and a shaft balancer.
A string balancer suspends the prop from a cable or string through the hub center. The advantage of a string balancer is that it provides a two-axis observation of any imbalance. In other words, not only can you tell which side of the prop is heavier, it will also indicate how much the imbalance of the blades is off line, if any. This is useful for pinpointing the ideal location if you need to add a counterweight to correct the imbalance. The Buzz Master ($30) is an example of a commercially available string balancer.
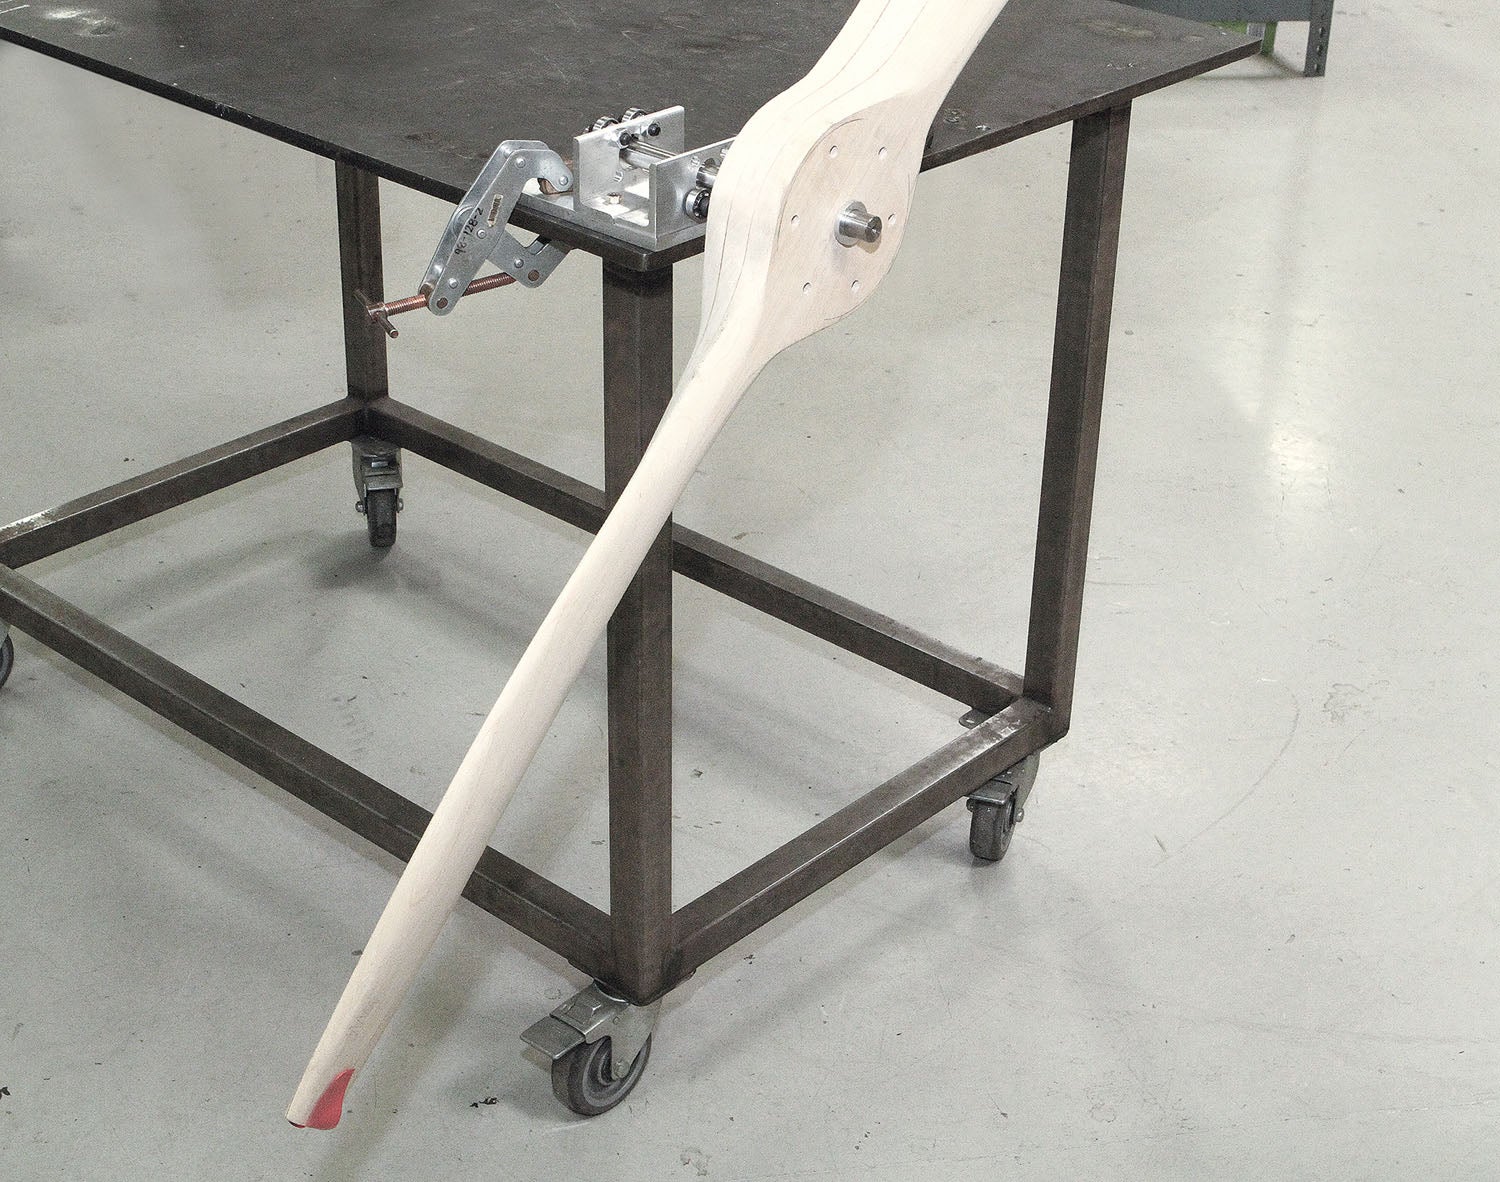
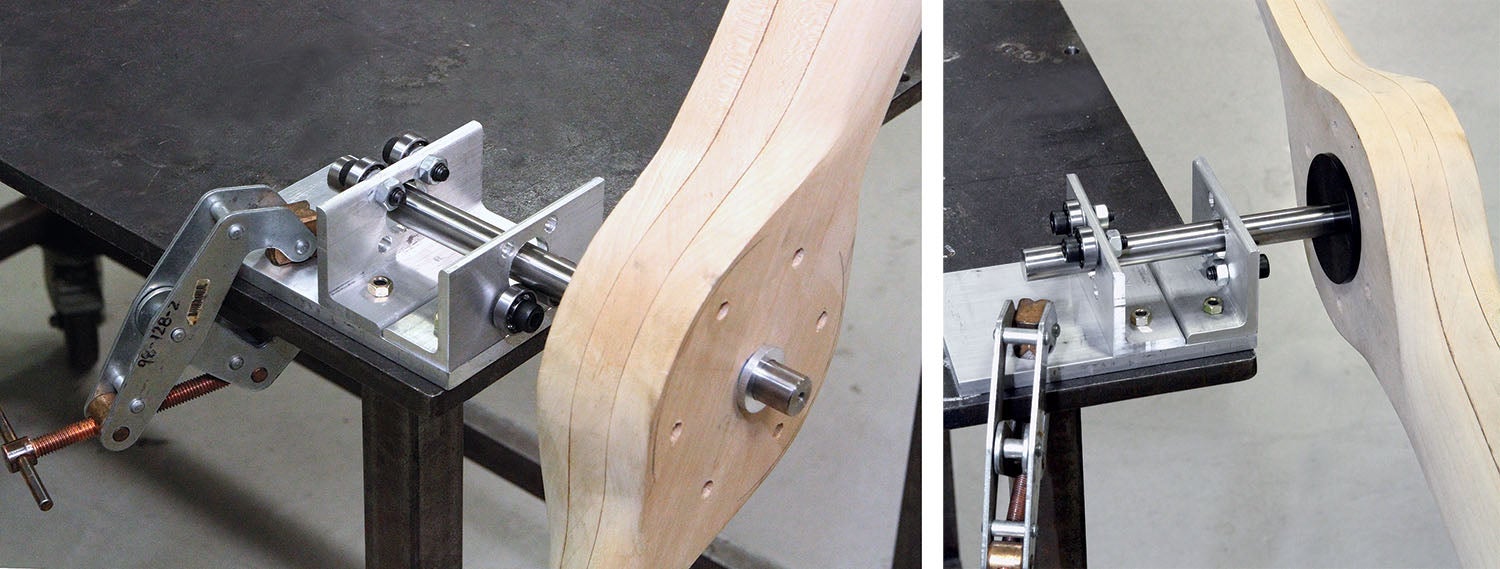
With a shaft balancer, a precision-ground shaft is centered in the prop, either with self-centering cones or by close-fitting arbors. The shaft is then set on a stand with either parallels or ball bearings to allow the prop/shaft combo to rotate freely. Although shaft balancing detects imbalance on only one axis, it is much more sensitive than string balancing. In fact, you must be in a completely draft-free room when shaft balancing a prop because virtually any air movement will cause the prop to windmill on the test stand.
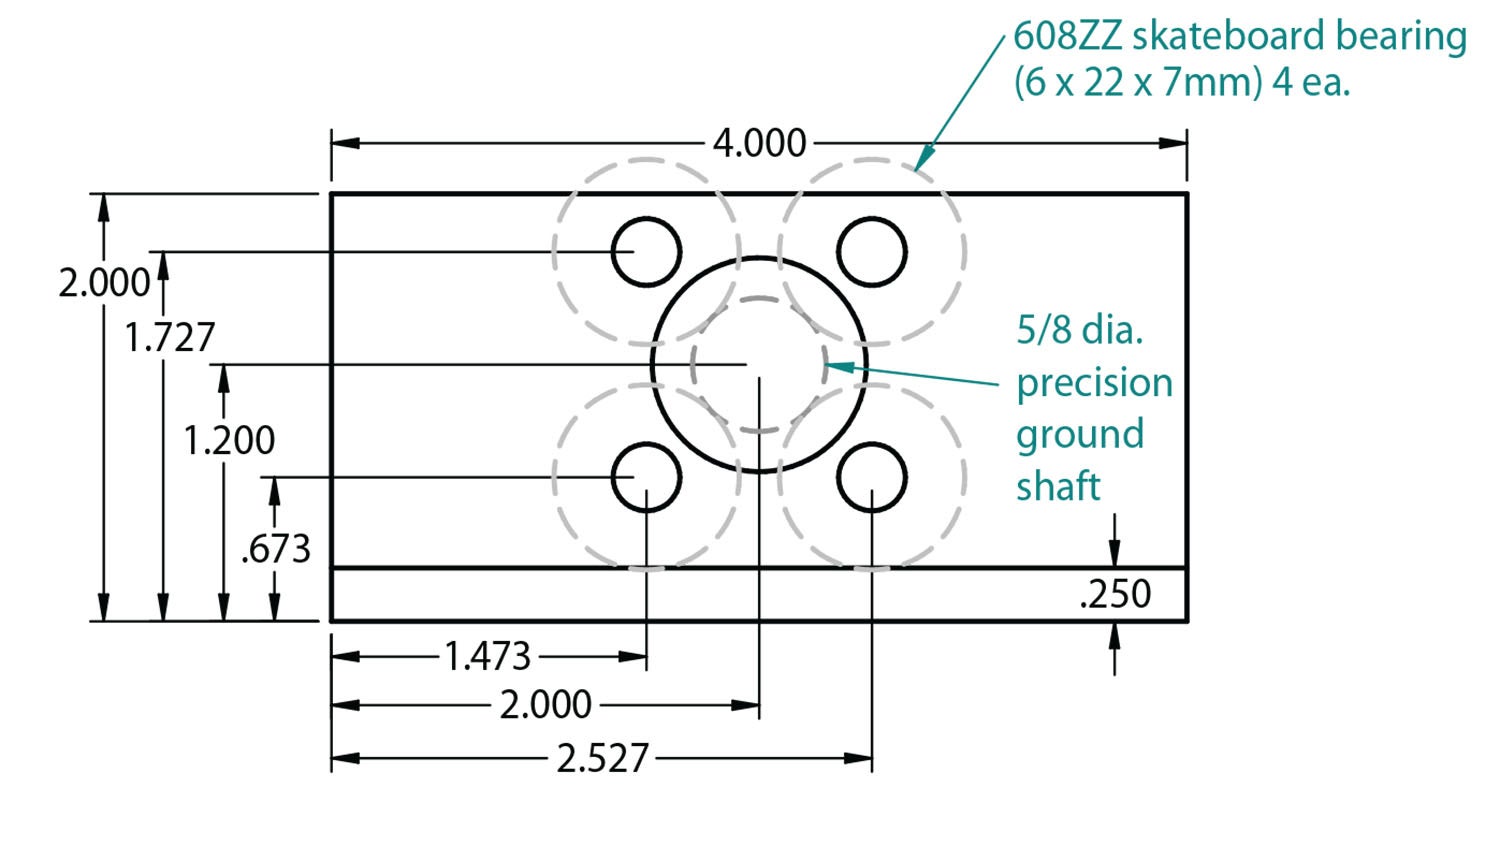
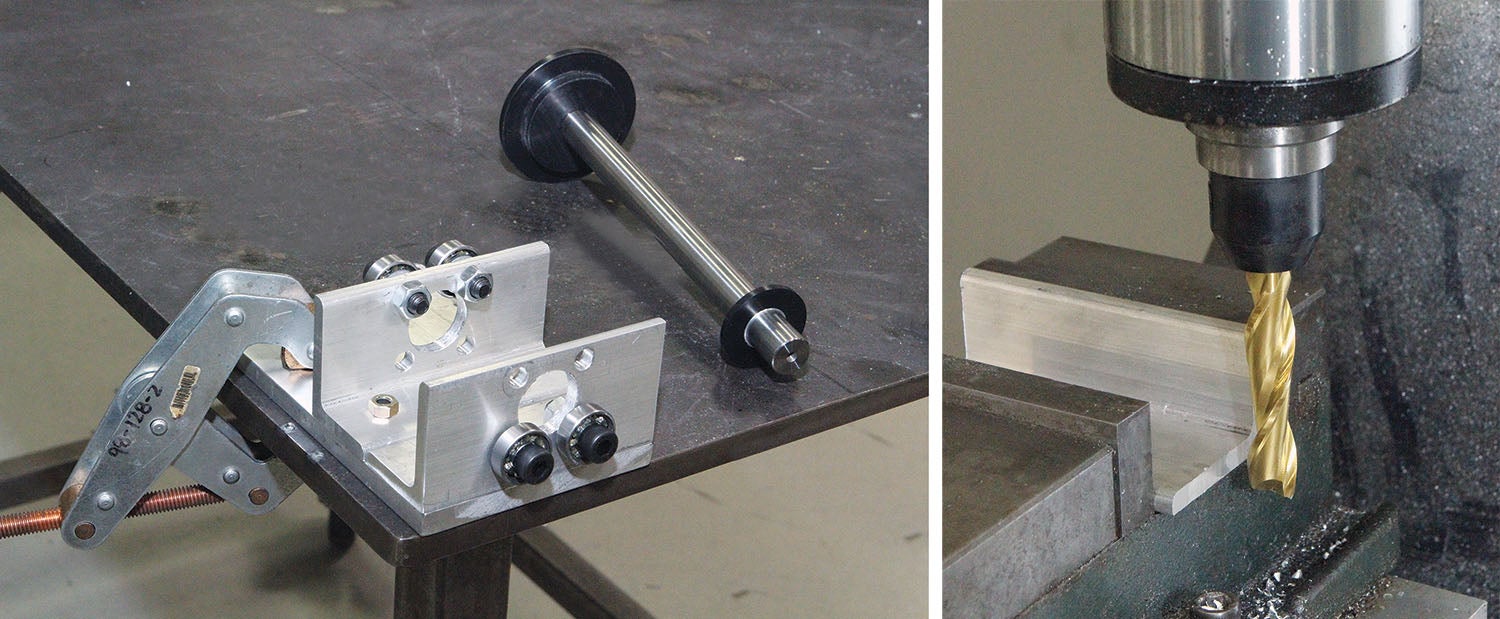
inch-thick aluminum bar.
In most cases, a shaft balancer should be all that is needed for regular inspections and minor adjustments on factory-made propellers. That is because factory props are usually very accurately balanced. Even after a season of use, unless they’re dinged up and need serious patching, most will be perfectly balanced or at least close enough so the only thing needed to bring one into perfect balance is a mere spritz or two of a UV-resistant clear coat on the high-side (lighter side) blade.
What about computerized dynamic balancing? True, recent improvements in the affordability of dynamic balancing have made it a hot topic. But not every maintenance shop has the equipment to dynamically balance a prop, let alone the average homebuilder. In any case, props are always static balanced before being installed, even if they will be dynamically balanced later.
Keep in mind that even the most perfectly balanced prop, static or dynamic, only stays in that condition until you go flying. This is easily demonstrated with a shaft balancer. I guarantee the first time you use one will be an eye-opening experience. A good shaft-balancer (including this month’s project balancer) will show how the smallest thing, such as nick or a minute amount of bug splat can visibly affect the prop balance. So, while a dynamic balancing may achieve near-perfect results, it’s only near-perfect for that instant, or at least until the first bug splat.
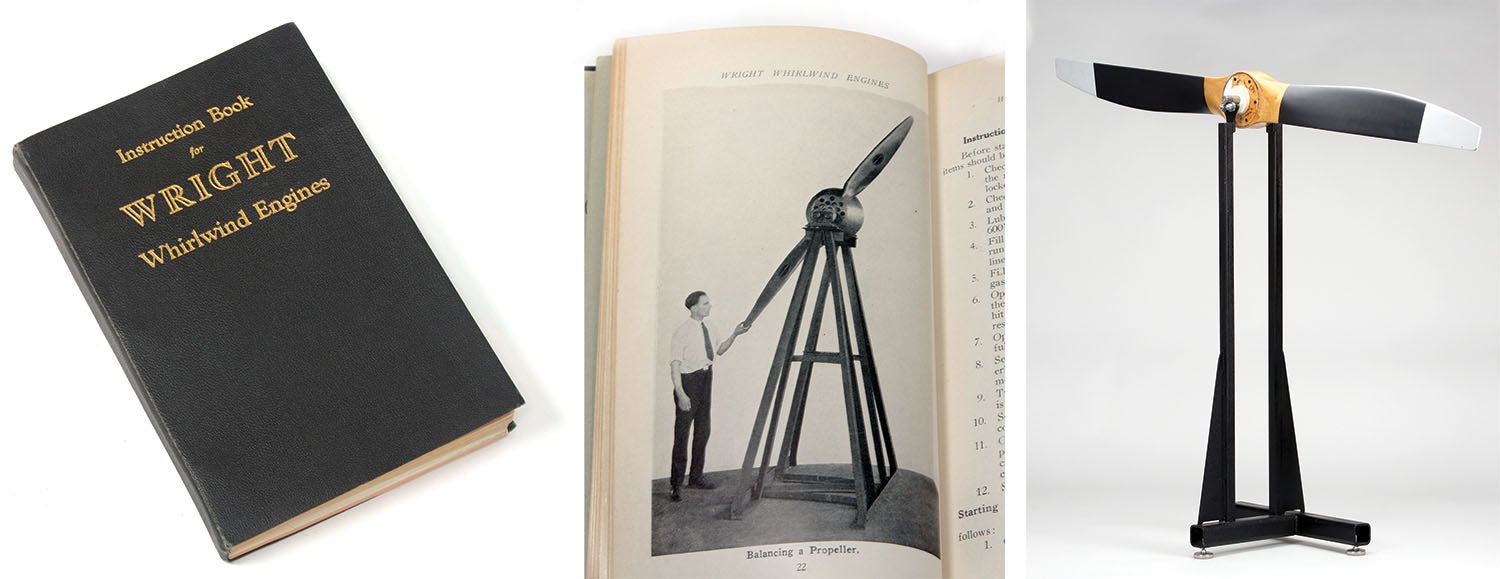
When I first started checking the balance of the various wood props I own (see sidebar below), I couldn’t find any commercially available shaft balancers, so I made one based on the balancer in the 1927 Wright Whirlwind instruction book. Subsequently, I came up with a more compact version that can be stored in a drawer and clamped to a bench when needed. That design is the basis for this month’s home shop project.
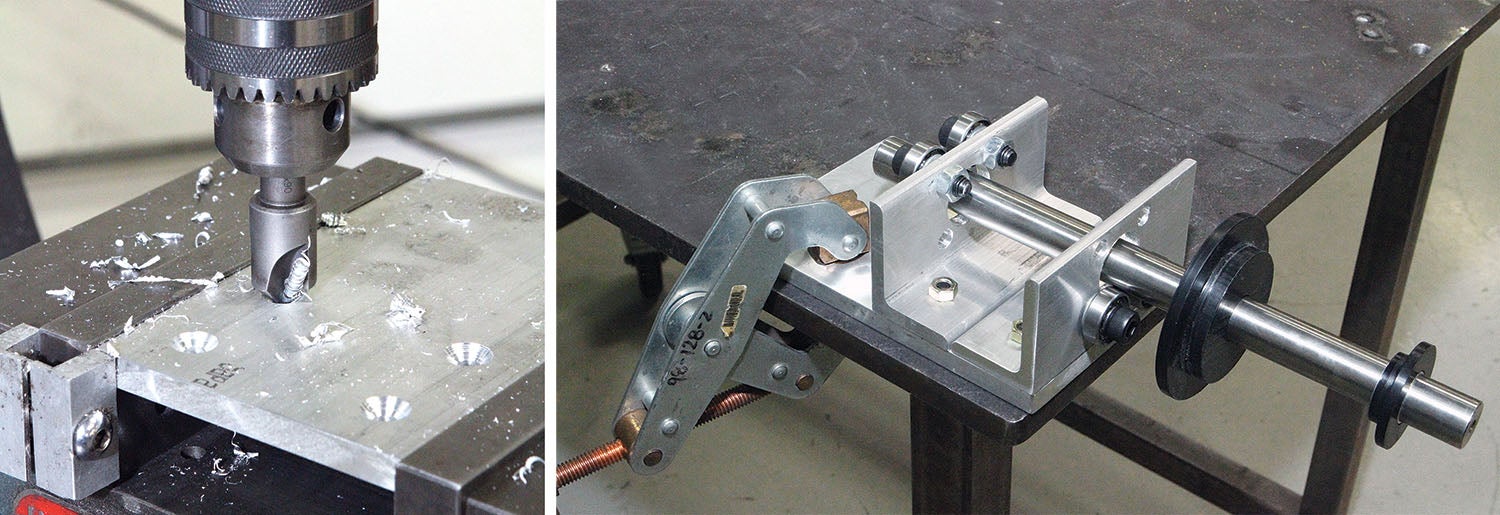
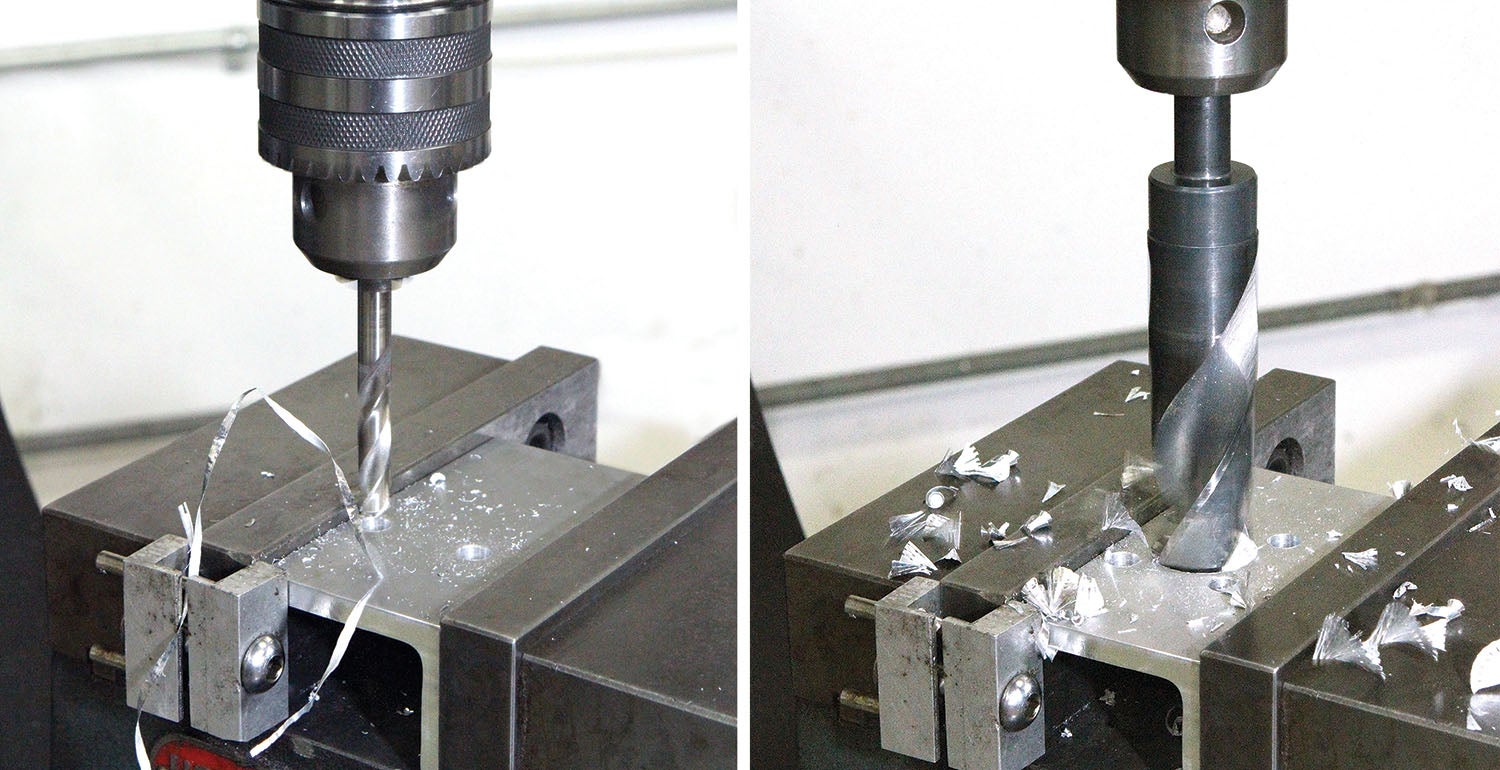
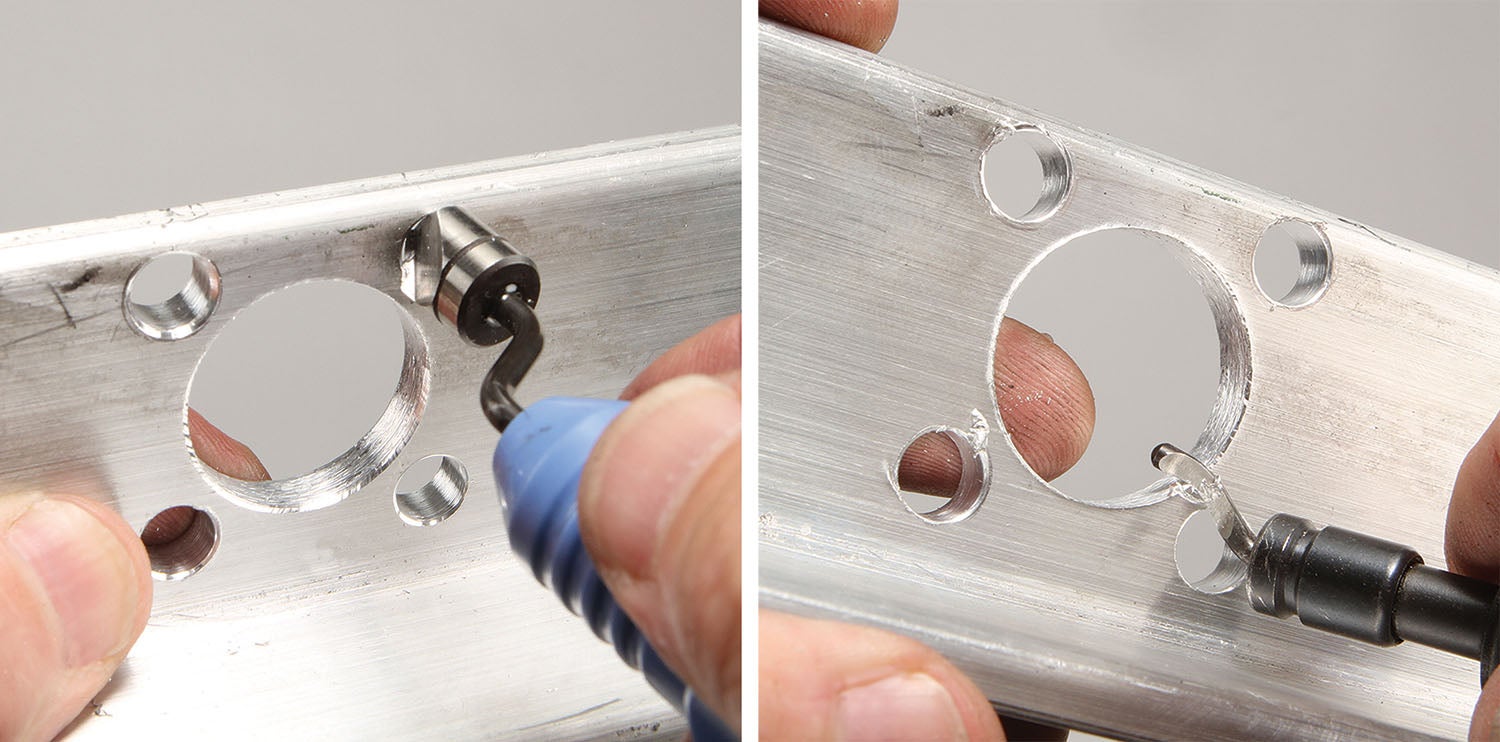
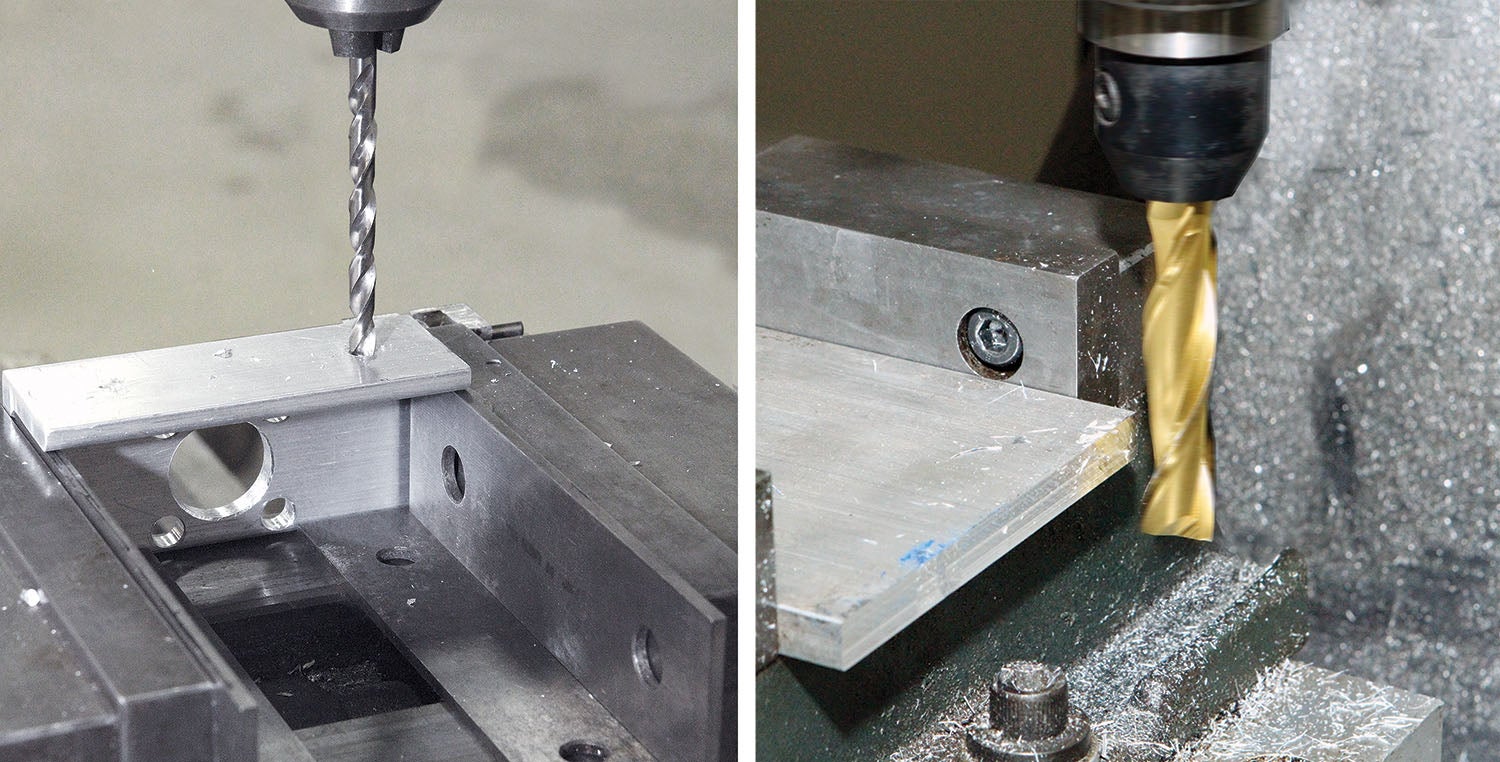
The construction consists mainly of precision drilling, but some lathe work is necessary to make the appropriate adapters for your propeller. If you have the materials on hand, it should be an “I made it in one afternoon” project. So there’s no excuse to not get out in the shop and start making chips!