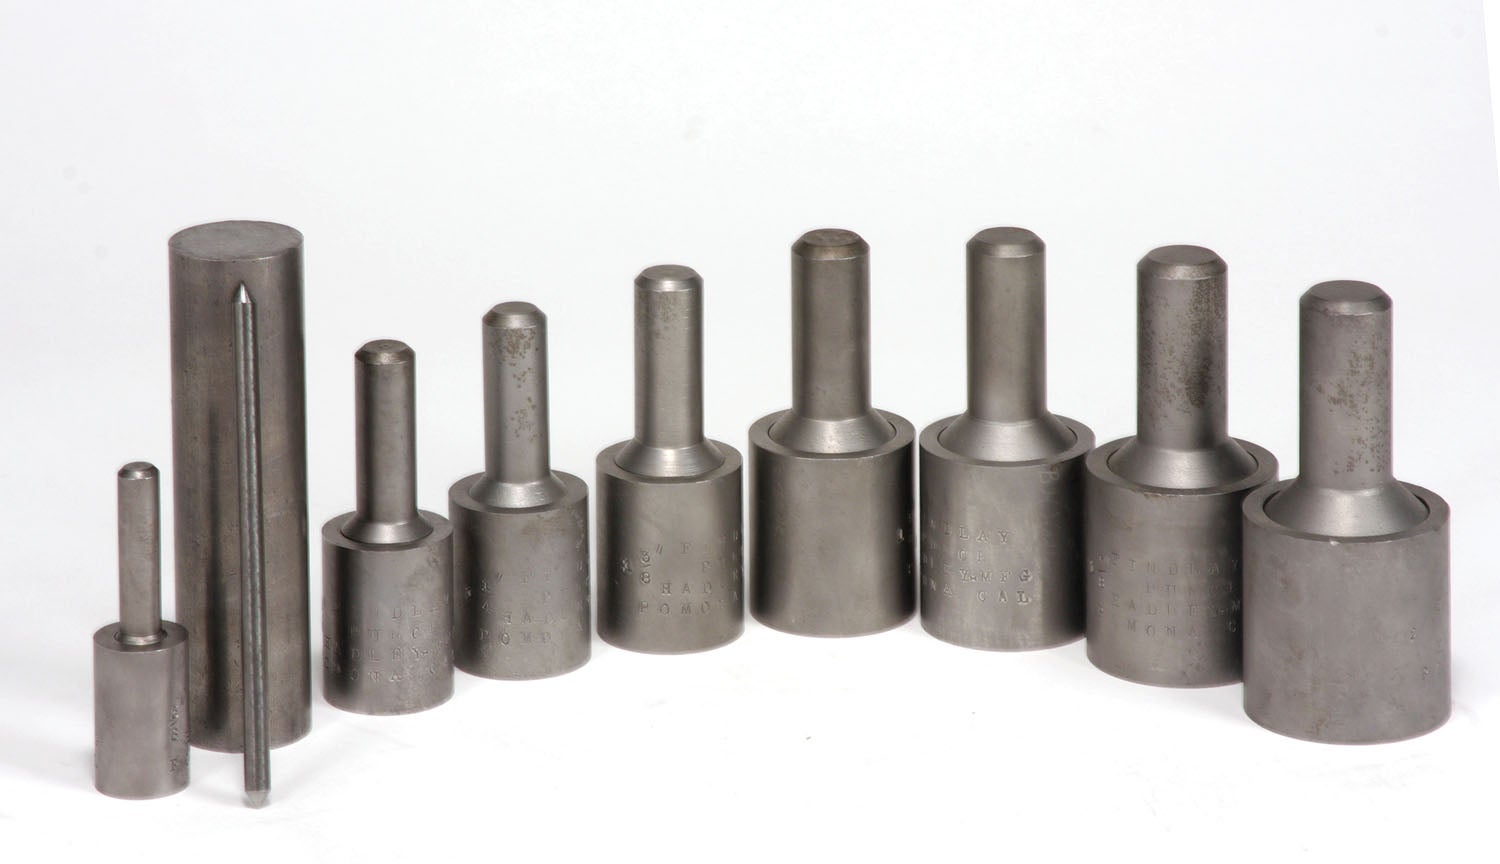
Hole-making punches, also known as knockout punches, are a quick and easy way to make accurate holes in aluminum sheet. Punching works by shearing the material between a male and female die. Provided the dies are sharp, the material is not too thick, and the force is adequate, punched-out holes are nearly perfect and require only minimal deburring.
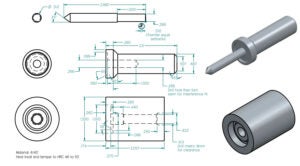
All of the usual aircraft supply houses sell commercial knock-out punches; the only downside is they can be a bit pricey. Unless you have a lot of holes to make, it might be hard to justify the cost, which brings us to this month’s project: making a “Findlay” punch. Patented in the late 1930s by one E. H. Findlay of Pomona, California (ref: U.S. Patent number US2069231A), the Findlay design has a number of attributes that make it unique (uniqueness being a critical necessity for the granting of a utility patent).
The following description is an excerpt from Findlay’s patent:
- “My invention has for an object the provision of an improved tool by means of which holes may be punched accurately and expeditiously in sheet materials without appreciable deformation of the material surrounding the punched hole.
- “Another object of my invention is to provide a tool for punching holes in sheet material whereby the shearing edges of the tool are accurately aligned during the punching operation.
- “Another object of my invention is to provide a punch from which the blank can readily be extracted.
- “Another object of my invention is to provide a punch and die from which the material in which the hole has been punched can be readily removed after the punching operation is completed.”
I was recently given a set of Findlay punches from my brother, Jim. The punches were marked as having been made by our dad’s company, B.H. Hadley Mfg., which would date them to the late 1940s. If you’ve never heard of Findlay punches, don’t feel bad. Virtually no one knows about them. There are no records of how many sets were made or sold. For all we know, only two sets may exist. (If you have heard of Findlay punches, I’d like to hear about it! Post your comments below the article ↓.)
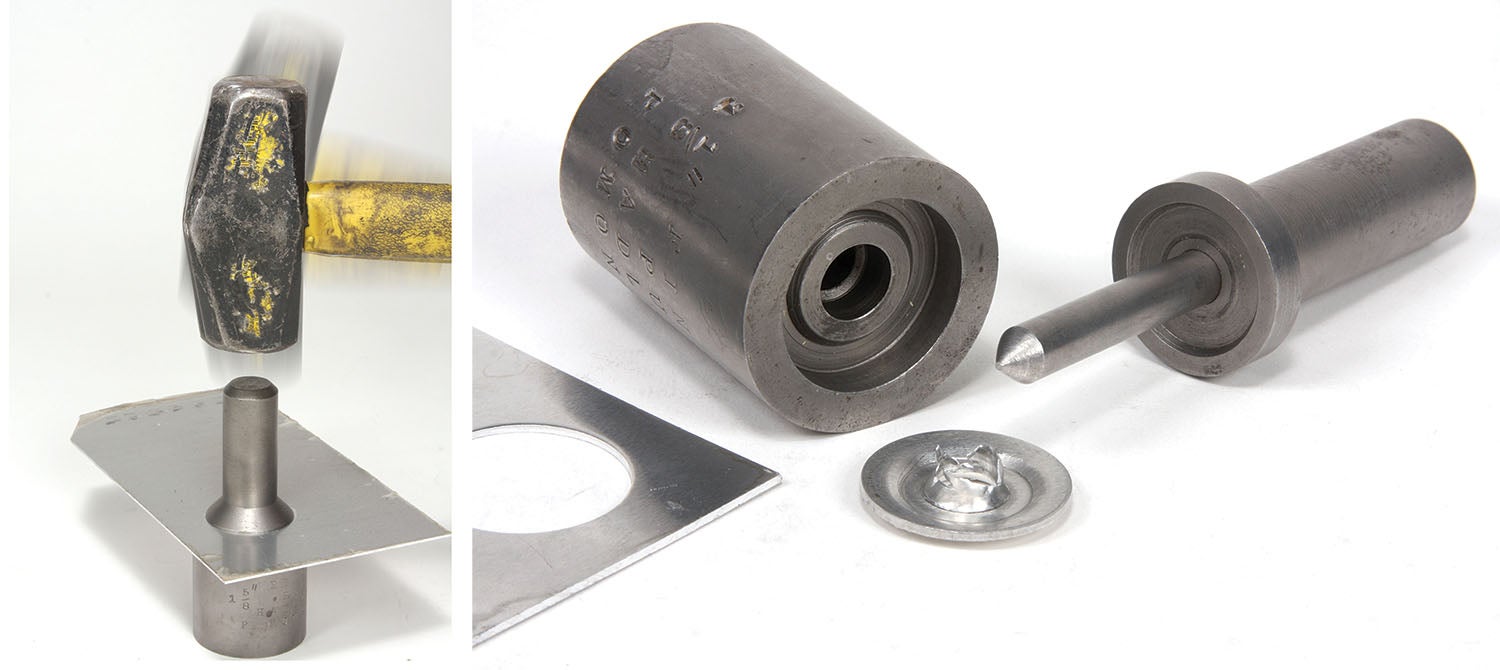
What is amazing about these punches is how good they work. They make perfectly clean holes, the dies don’t bind, and the punched-out slug doesn’t get stuck in the female die.
Findlay punches are designed to be used with a heavy engineer’s hammer or sledgehammer. When punching holes in thin aluminum (0.035 inch and thinner), the pointed guide pin has no trouble piercing through, but on thicker stock I found that drilling a pilot hole to match the guide pin diameter made it easier to line up and get a clean hole. Either way, when punching material thicker than 0.050 inch, it takes a good whack with a big hammer… a really big hammer.

If you have an arbor press, it makes the process a bit easier. Holes larger than 1 inch and/or in sheet 0.050-inch or thicker will still require a solid blow with a sledgehammer to the top of the ram.
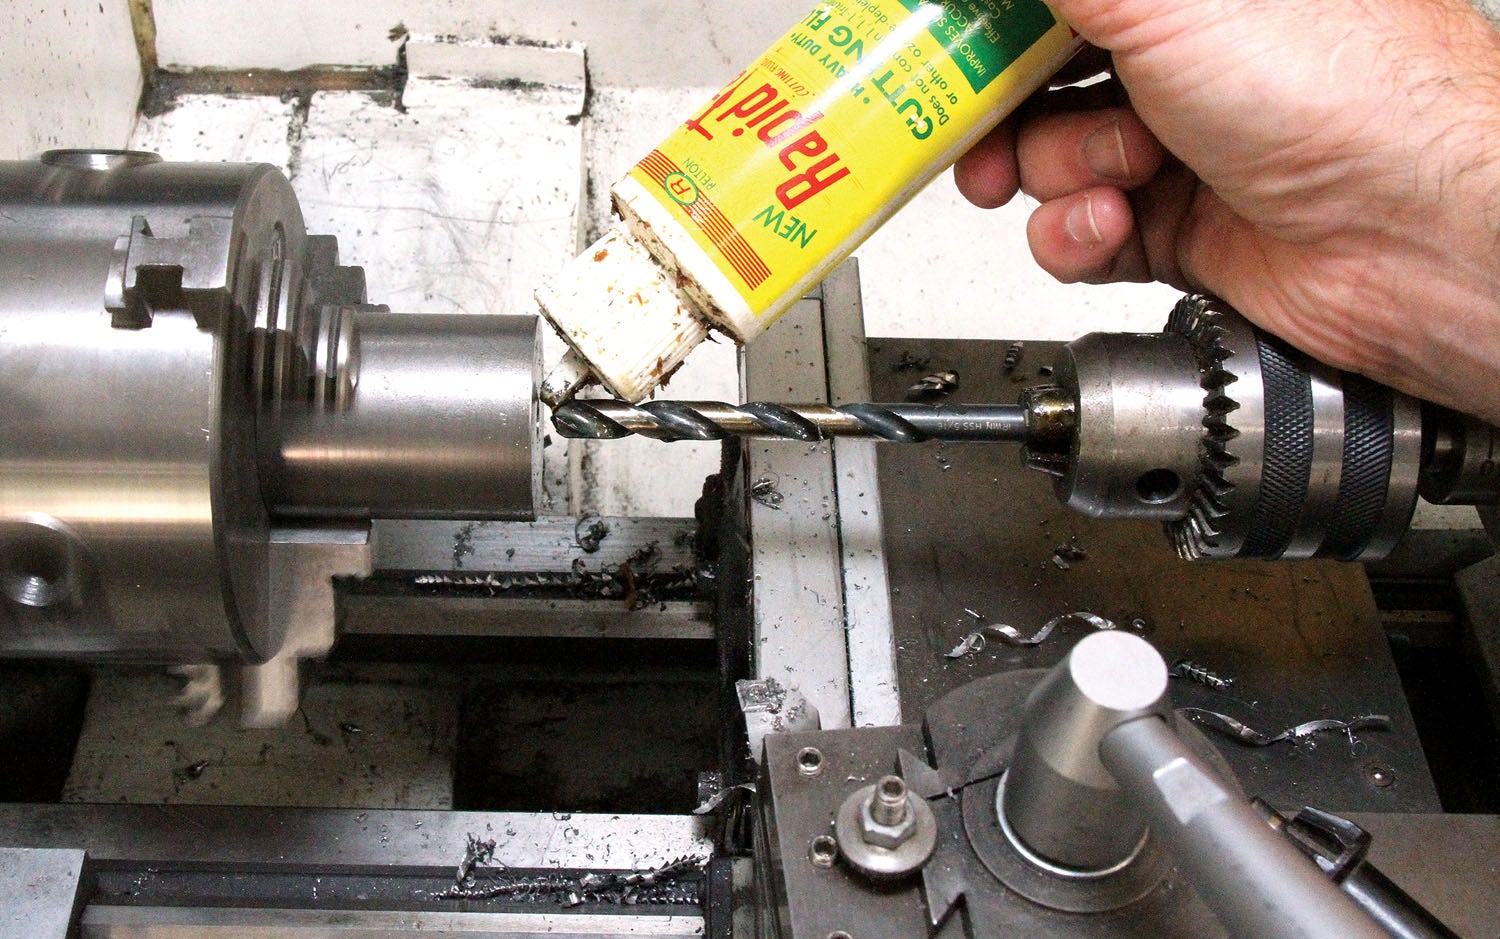
The set I got from Jim was missing the 7/8- and 1-inch punches, so replicating the AWOL sizes seemed like a great project for the home shop. All of the work was done on my 8×14-inch bench lathe. While most of the project was straightforward lathe work (O.D. turning, boring, and drilling), special operations included chamfering (see “Chamfers and Tapers,” January 2020), making an interference fit (“Interference,” August 2018), and grinding a custom cutter (“Daily Grind,” September 2017).


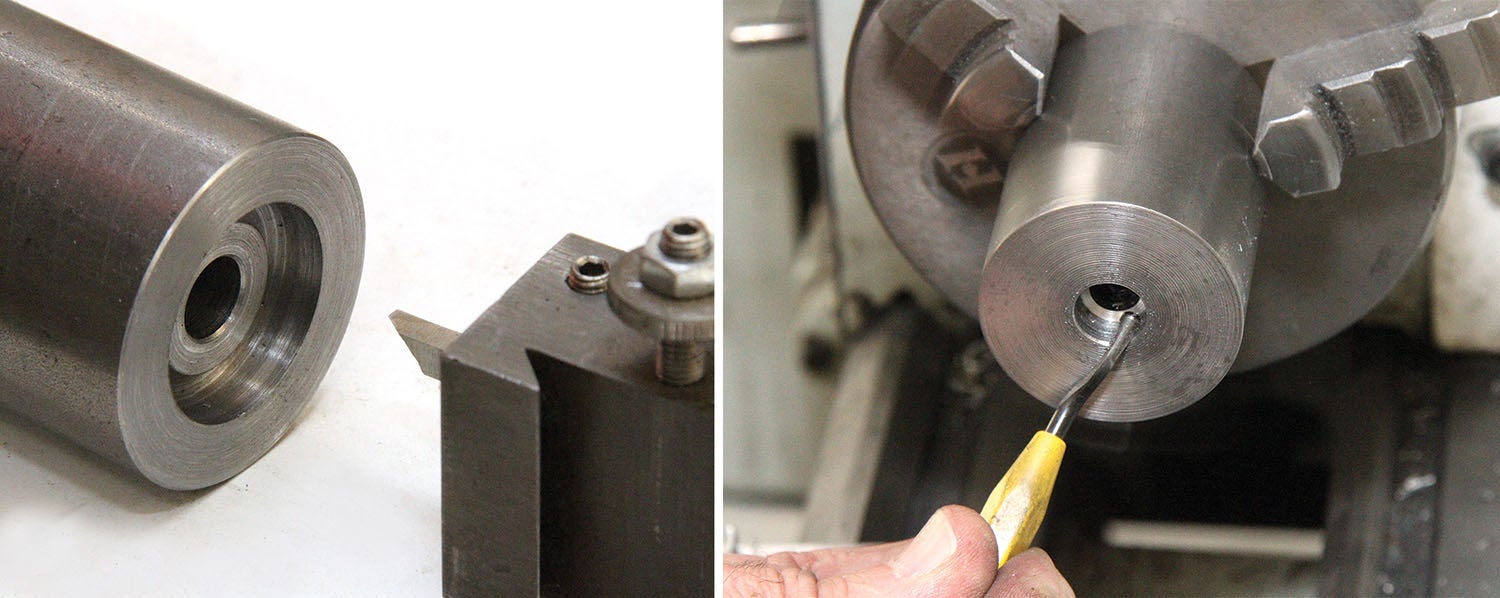
The material used was 4140 alloy steel. The punch can be put to work immediately, but if you plan to knock out a lot of holes, plan on getting both male and female dies professionally heat-treated to Rockwell C 46–50 (the same as the original Findlay punches).


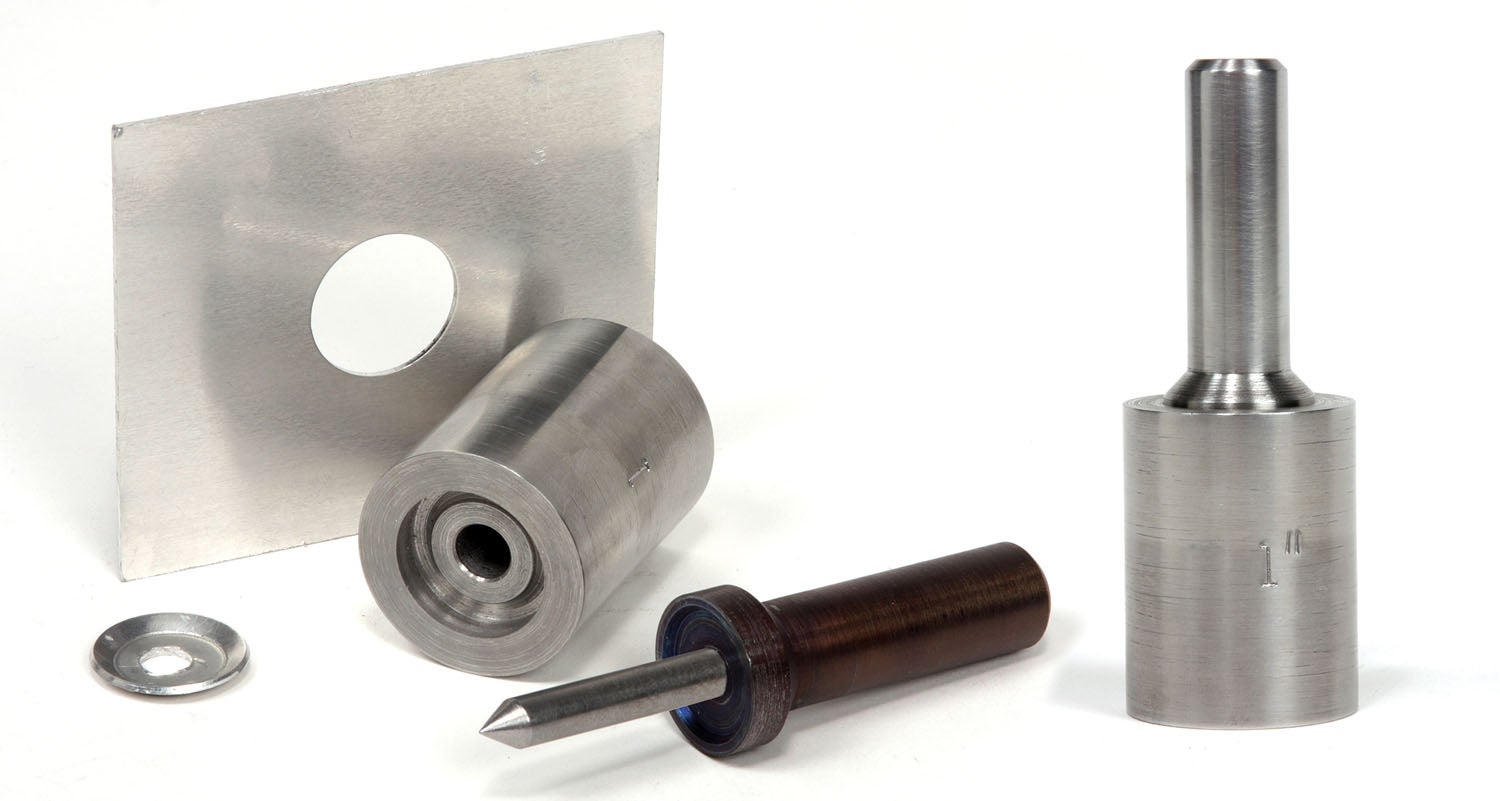
It occurred to me after making the 1-inch Findlay punch that the design might be adapted to work like modern knockout punches by using a threaded drawbar to pull the two dies together. That’s a project for another day. But if it works, you’ll be reading about it here. In the meantime, get out in the shop and make some chips!




I very much enjoyed Bob Hadley’s piece on the Findlay punch. It solves the problem of clearing slugs from dies that I have fought for years.
However, there is one dimension not given, the diameter of the punch.
This is another problem altogether.
Machinery’s Handbook says the best clearance between the punch and die depends on the thickness of the material being punched. The clearance based on radii of the punch and die is usually about .05 to .06 the thickness of the metal being punched. Thus the a punch for .060″ sheet would have a clearance of about .003″ per side, or the punch would be .006″smaller in diameter than the die. Depending on the class of work the clearance may be as much as half or twice this figure.
You put out a great magazine. Thank you.
The web edition has both the male and female punch dimensions for all the sizes, Please click on the thumbnail view of the drawing and the dimensions will be below the drawing. This was one of those times where the online version has “bonus content” that was not able to be included in the print version due to space limitations.
Guy is correct. The numbers provided by Machinery’s Handbook are the preferred dimension for making a punch/die set, especially one for a production-specific job. As such, the Findlay punches are “general purpose” tools, so the clearances have to be somewhat of a compromise to accommodate both thin and thick (within reason!).
Thanks for the comments!
Bob Hadley