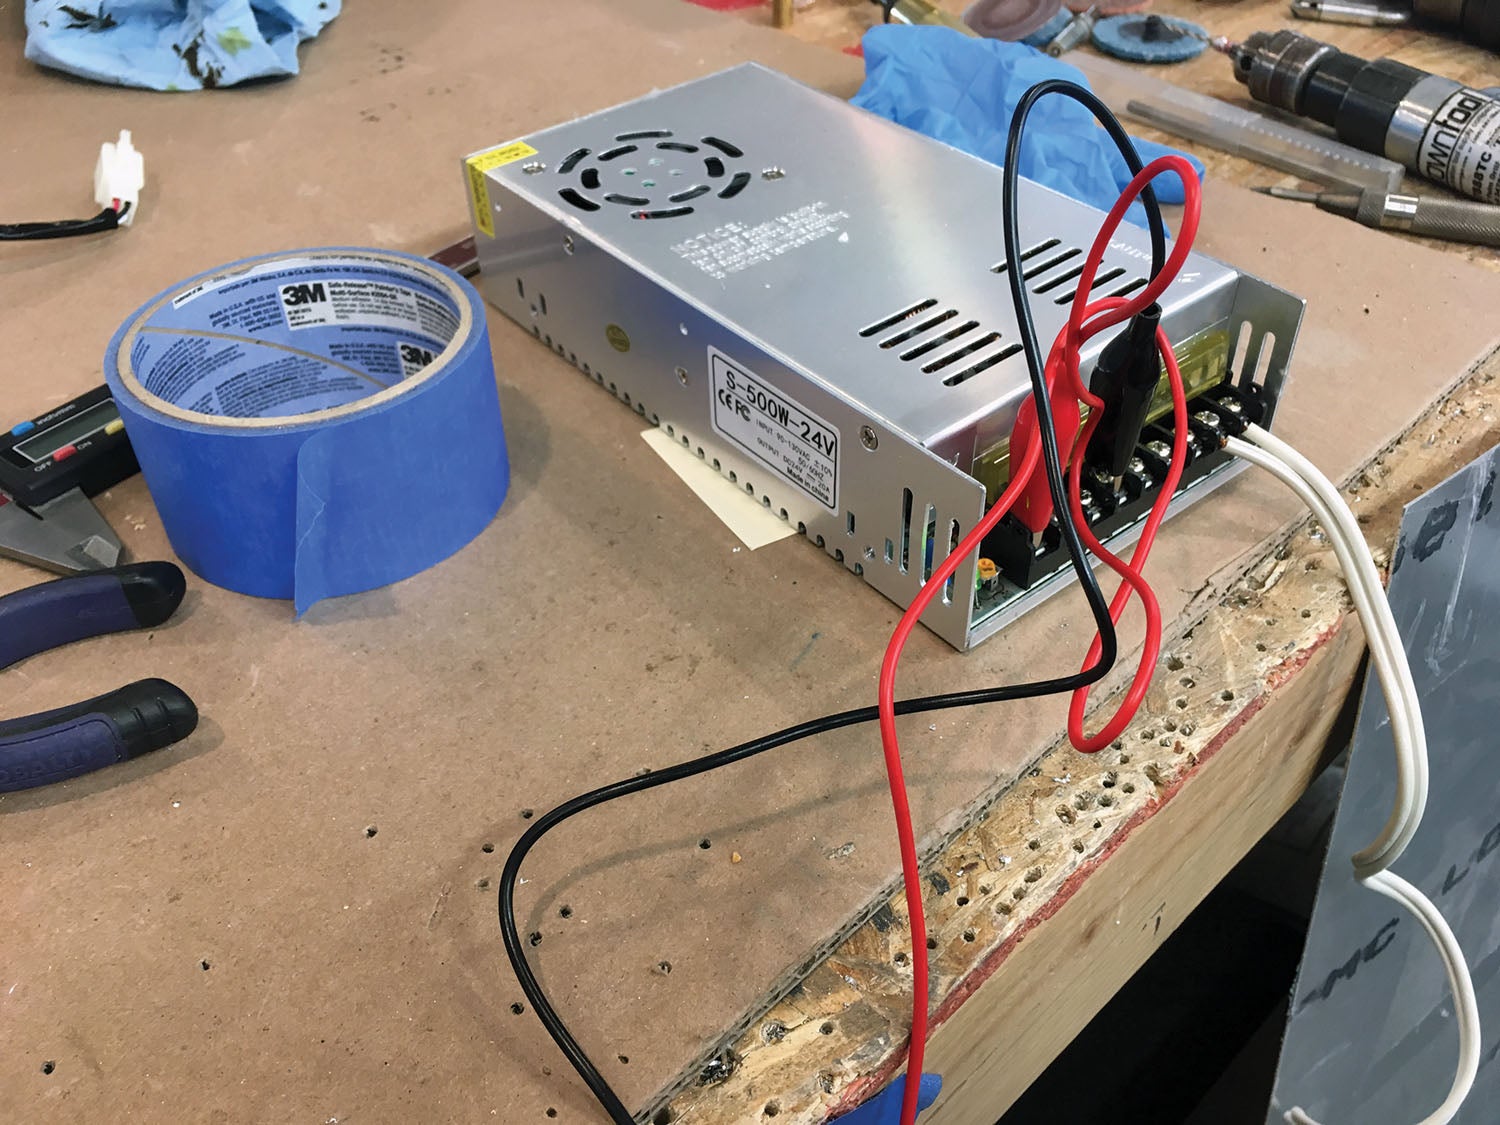
 The SubSonex JSX-2 prototype was designed around the MGL Explorer EFIS—a full-featured system with systems monitoring, navigation, and flight instrument capabilities. One of the features of the MGL system is its very compact remote-mounted boxes—an advantage that is important in an airframe as small as the little jet. About the only spot for electronic boxes in the airplane is on the shelf designed for this purpose ahead of the instrument panel, and underneath the glareshield. Not only does this space need to hold the avionics, it also mounts the battery and engine contactors, power distribution wiring, and DC/DC converters used to turn the aircraft’s 24 volts into 12 for accessories that need the lower voltage.
 Choices, Choices…
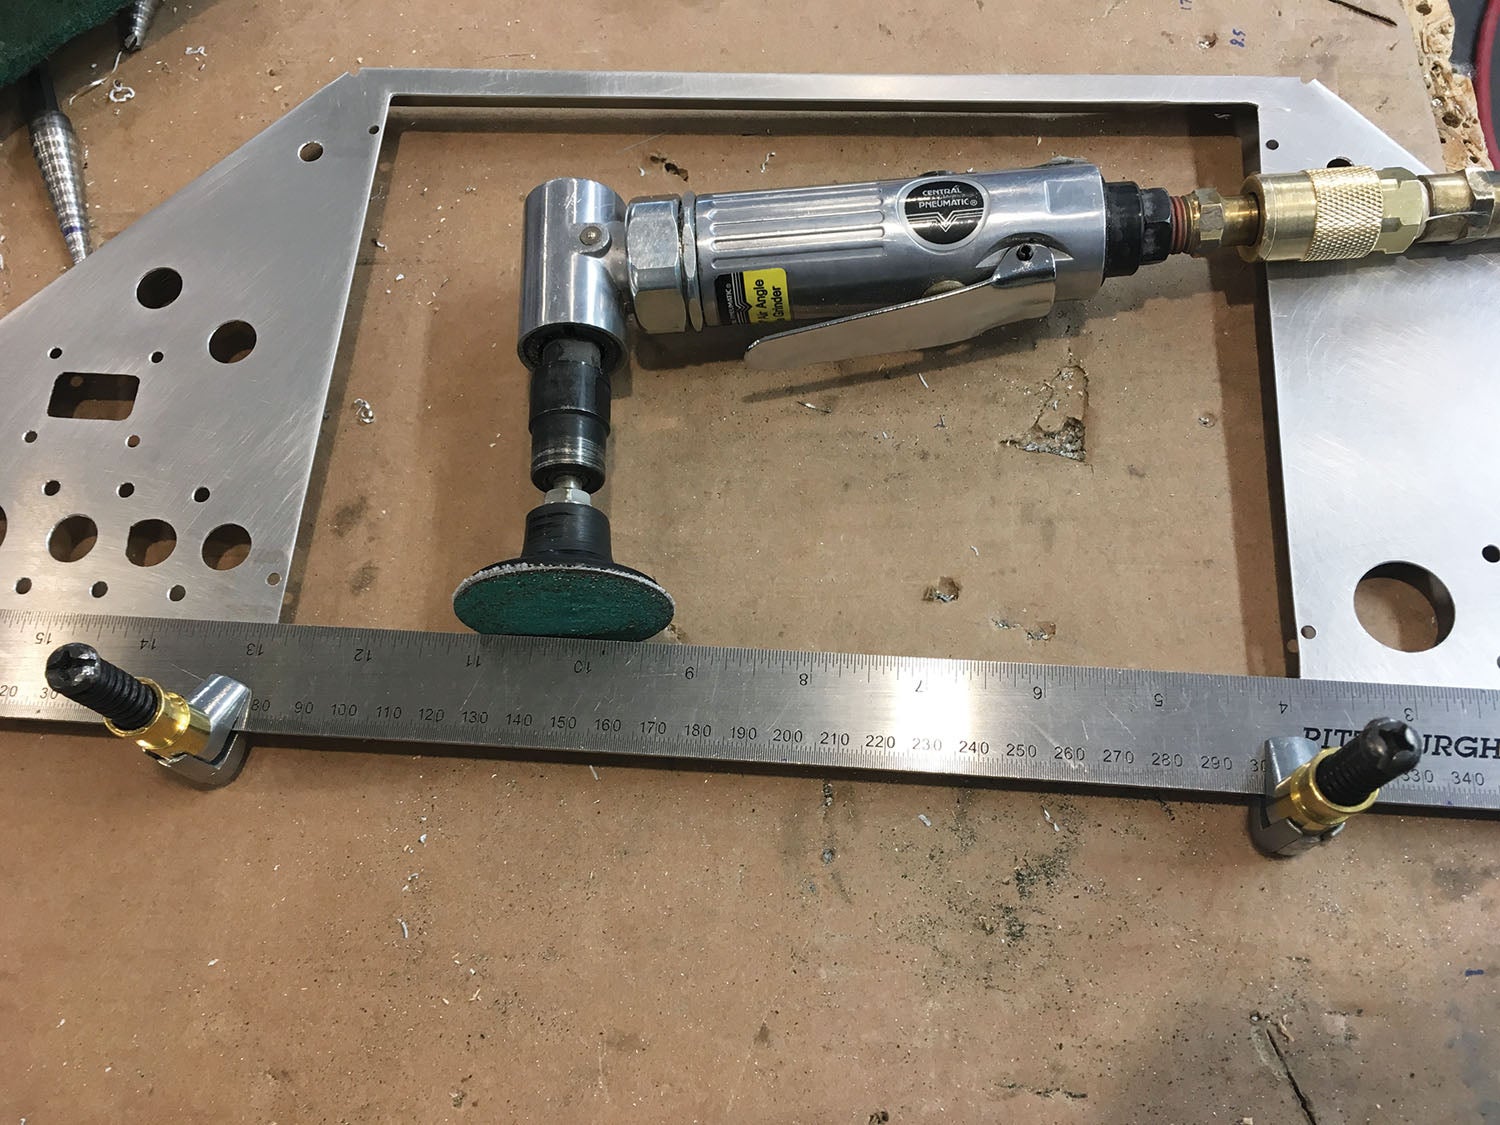
So far, there have been several jets completed with different avionics packages—Garmin, GRT and Dynon are reportedly all represented. Because the panel was originally designed around the MGL, some modifications are required of course—nothing out of the realm of ordinary work for a typical homebuilder, but as those typical homebuilders know, one mod leads to another, which leads to another—and so on and so forth. What you originally expected to be a quick and easy change trickles down through numerous levels, and before you know it, hundreds of hours extra have gone in to the project.
Complicating these modifications in the SubSonex is the fact that the avionics shelf and center console are complete when the quickbuild kit is delivered—if you are going to change the panel depth, then you have to cut into this structure—again, not prohibitive, but something that has to be considered. If you cut down space in the center console, then something else has to give—the factory uses that space for the engine panel, radio head, com outlets and oxygen system. All of these can be moved—it just takes time.

Along with space limitations, one has to consider weight and power requirements as well. The engine puts out a limited number of amps—30 is the quoted number. The engine itself requires 9 of those amps to run, leaving 21 for everything else. But, you never want to load to full capacity, so if you shave that to about 80% (good industry practice), you have about 15 amps to use for avionics, lights, and instruments. This is one of the main reasons that IFR is challenging in the jet—none of the popular IFR navigation boxes operate comfortably within this limitation (and none of them really fit in the available space). Remember that the landing gear compressors draw 10 amps all by themselves, so low-power, efficient avionics are important. Yes, you can rely on the batteries for peak loads—but not forever!

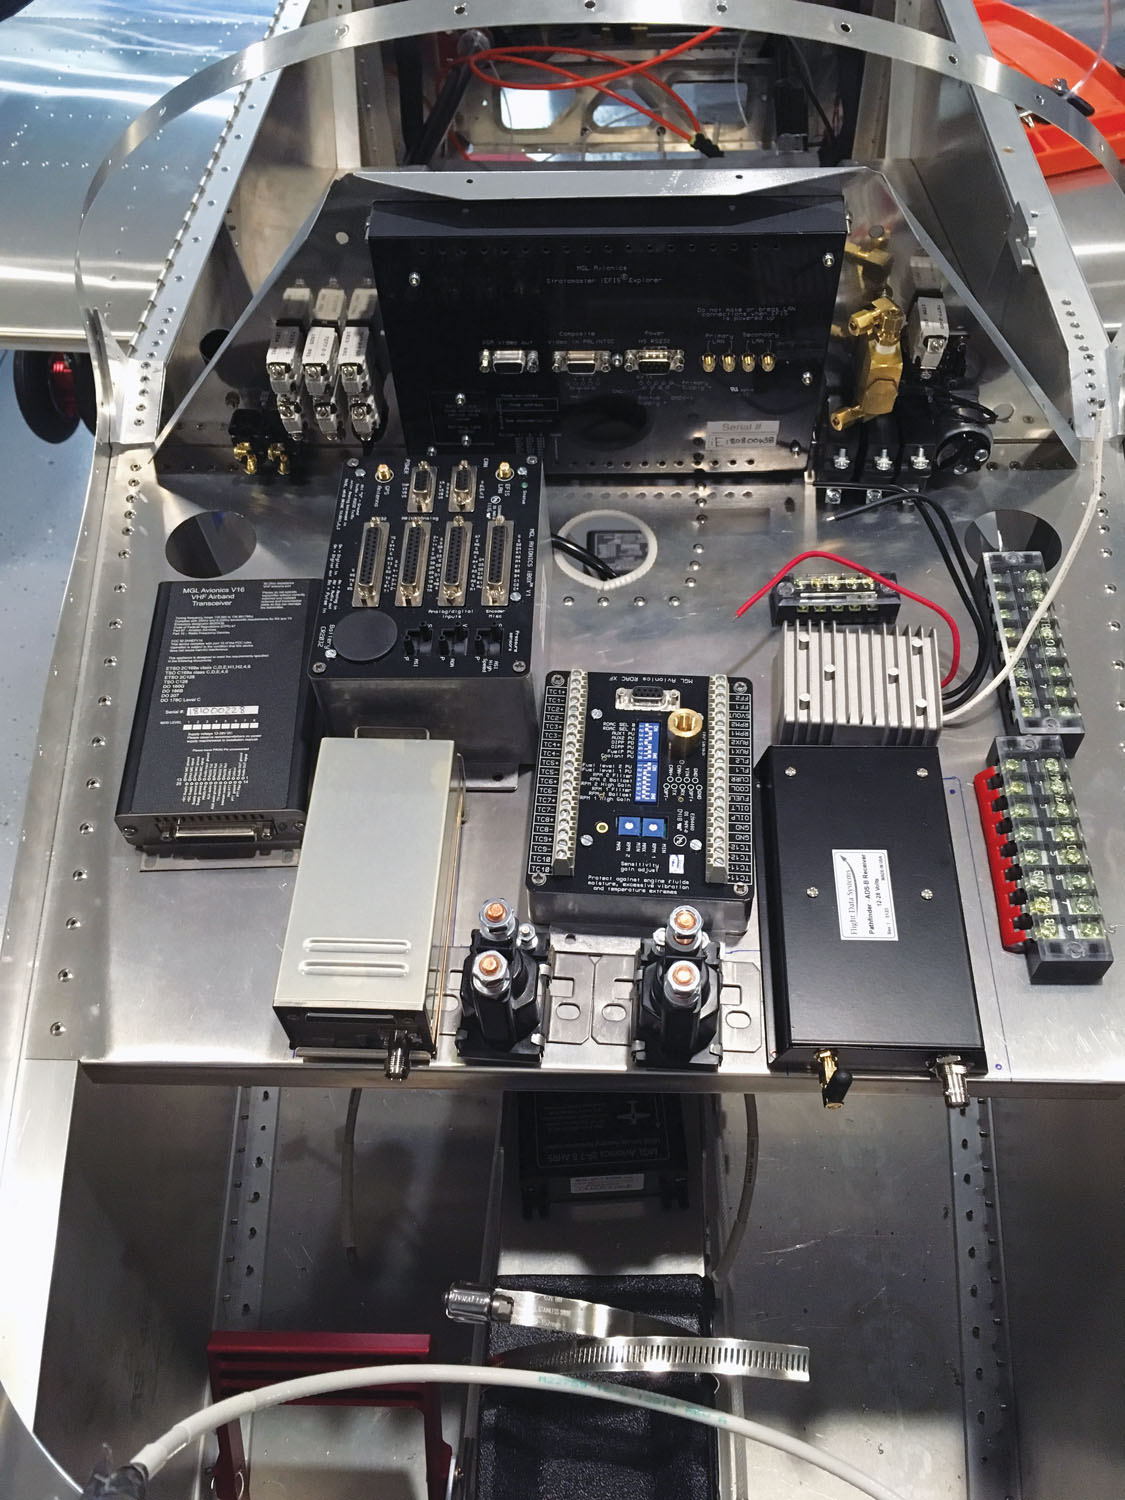
I chose to go with the standard MGL package for these reasons and found that everything fit—but just barely. Adding ADS-B In and Out require additional boxes, and ADS-B Out will be required just about everywhere by the time any project started in 2019 is going to fly—so keep that in mind. I fit most of the avionics on the shelf provided, but the ADAHRS sits on top of the nosewheel well, and the magnetometer is on the floor under the crotch strap attachment point. I also mounted the ADS-B In box on the forward bulkhead—a convenient spot that gave me good Wi-Fi capability to the iPad on my knee.
The kit comes with a complete wiring harness that matches the drawings and includes the necessary contactors, junction boxes, and DC/DC converters. Each part of the harness is labeled and very nicely built. However, there are many short segments of wire that are used to interconnect parts of the system, and while these could have been very handy to use, the fact that Sonex doesn’t give you a physical layout for the relays and boxes for which the short jumper wires were built means that most of them simply won’t work. It’s like building a jigsaw puzzle out of random puzzle pieces and no picture of what it is supposed to look like.
Fortunately, the wiring system is extremely simple, and the major wires for the engine and other critical elements are more than adequately sized for the job. You’ll have to rebuild short jumpers, but all that takes is some crimp-on ends and a couple of rolls of 20-, 18- and 16-gauge wire. The kit comes with circuit breaker switches for the critical airframe functions (fuel pumps, air system, etc.), but you’ll have to add circuit breakers and switches for things like lights and radios. I pretty much filled up the blank right side of the panel with these additions and just barely had room to add a flap switch over on the far left side of the panel. I didn’t add much—and there wasn’t much more room to play with.
Chasing Wires
Most wiring in the ship is either confined to the space ahead of the panel (the avionics tray) or runs all the way back into the aft fuselage. The path for those wires running aft is down through the center console, then out to either the left or right lower longerons, underneath the seat pan. Since this is completed when you get the jet, you’ll be fishing wires for a while, building up bundles as you go. The easiest thing to do is know all the wires that you want to run down each side up front, build a bundle, and run them all at once. This sounds like a great plan, but there will always be something else you didn’t think about beforehand that you have to add. Remember also that the pneumatic lines for the gear, the sensor wires for the landing gear up and down indicators, and antenna wires have to be run in this space as well. It fills up fast!

Antenna mounting is also a mild challenge, due to the jet’s size and low belly clearance. In my case, I needed three antennas—one for the com radio, one for the transponder, and one for ADS-B In, in addition to the two GPS receivers—one for the EFIS and one for the 2020-compliant GPS for ADS-B Out. The GPS pucks were simple—they went on the generous glareshield real estate. Using blades for the transponder and ADS-B In was also simple, but placement has to be carefully thought out so that you have appropriate separation—the necessary ground planes—and you have to leave room to insert a jack to lift the plane and places for supports for maintenance.
For the com antenna, the factory uses a bent whip installed inside the nose cone—a clever solution, but one that is probably blanked out to the rear. I wanted a belly antenna, but none of the common ones fit in the available 12 inches between the belly and the ground, I had Delta Pop, maker of antennas for homebuilt aircraft, make me one that was bent to fit in 9 inches of ground clearance and tuned to provide as good of an SWR as possible. You’ll want to get all of the antennas in place before finalizing your wire bundles, of course, so plan ahead!
Building up the avionics on the SubSonex was physically one of the easiest wiring jobs I have done on an airplane because with the windshield removed and the jet on sawhorse stands, you could sit on a stool and work at desktop height right on the avionics shelf. The prewired harnesses for the MAGL CAN buses made signal wiring a matter of plugging things together, and all that had to be routed were power and ground, plus a few serial data lines. There was some fiddly work hooking up all of the landing gear sensors to light the custom LED panel provided by Sonex for gear up and down indications, but if you’re handy with crimps and solder, it is nothing special. Sonex also provides terminal blocks for the ground, plus 12- and 24-volt buses, which makes hooking up the various power wires very neat.
Batteries and Breathing
The batteries for the jet are mounted in the nose cone, hung in boxes off the forward bulkhead. Two standard AGM batteries are wired in series to provide 24-volt power for the jet’s systems, and fortunately, most avionics these days are comfortable with anything between 10 and 30 volts. Battery cables are supplied in the kit, and it is fairly obvious where they connect at the battery end. There are plenty of options on mounting contactors at the other end, but do some planning and try different ideas before settling on locations for these. You have to take into consideration how the glareshield sits on the longerons before poking holes in that forward bulkhead, so plan ahead.
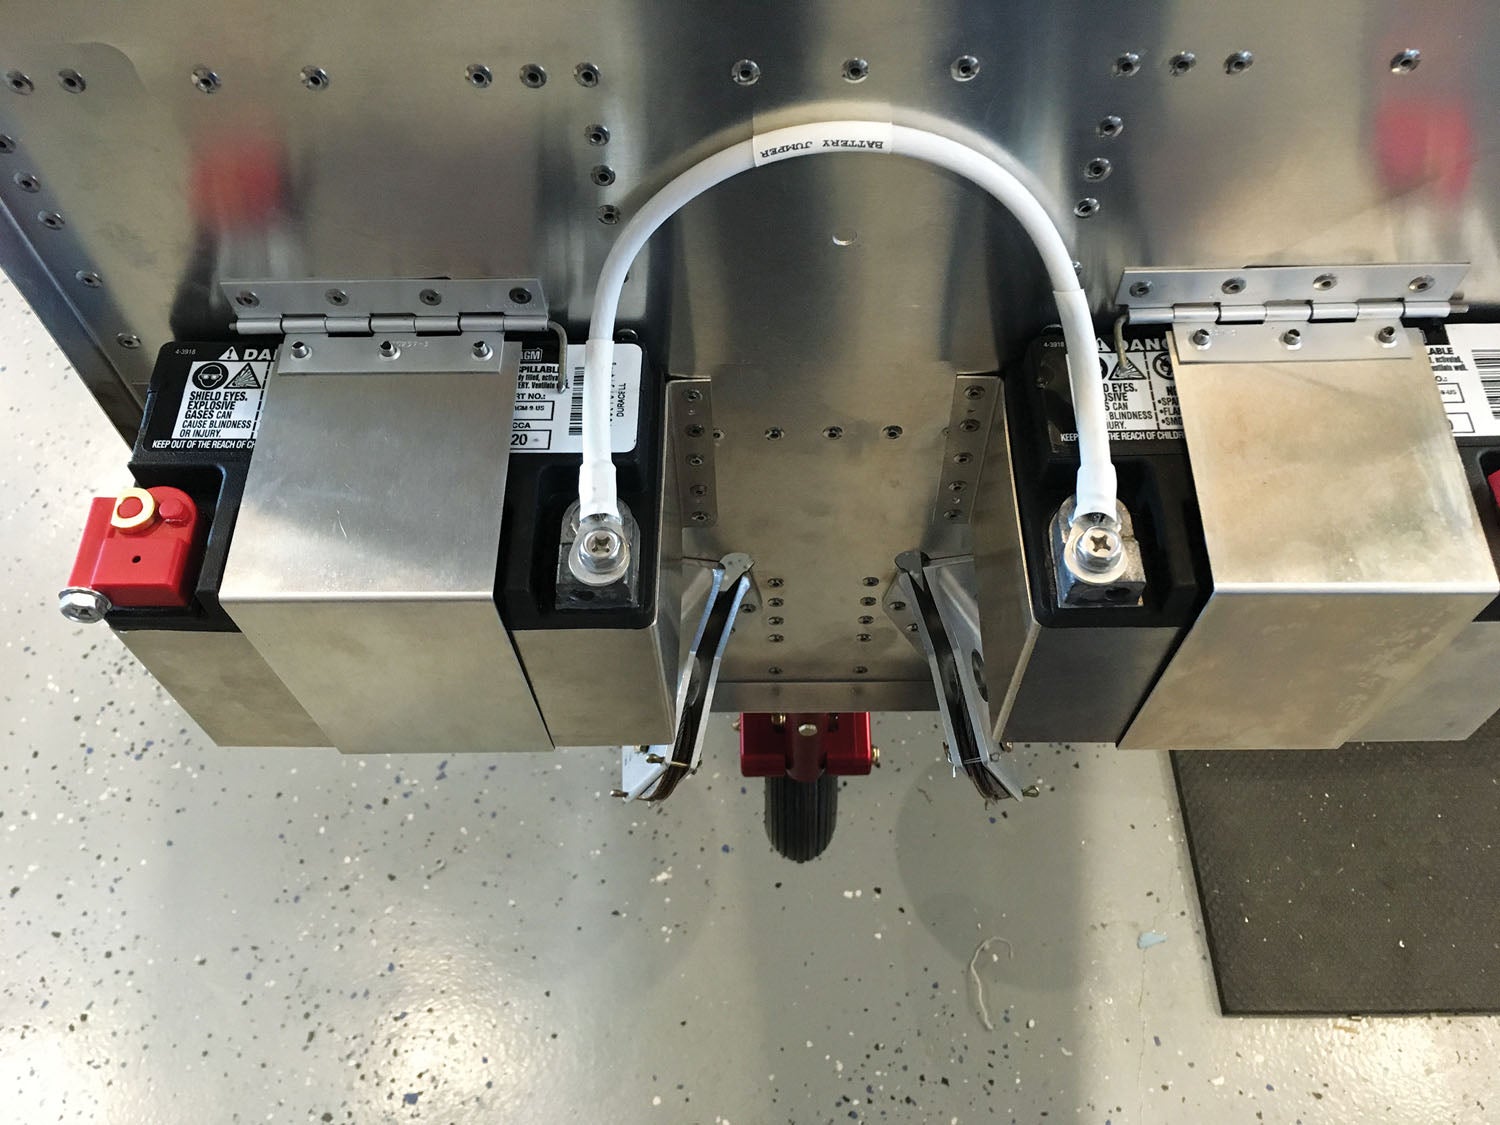
I considered using EarthX batteries to save weight, but any time I see heavy batteries that far out from the CG, I figure they are there for a reason, and a significant weight change might very well screw up the weight and balance. Sure enough, the CG range of the jet is very small, and with the AGM batteries, it works out perfectly. I didn’t do the math to figure out how LiFePO’s would affect it, but it would probably drive one out the back end of the CG box—not a good place to be.
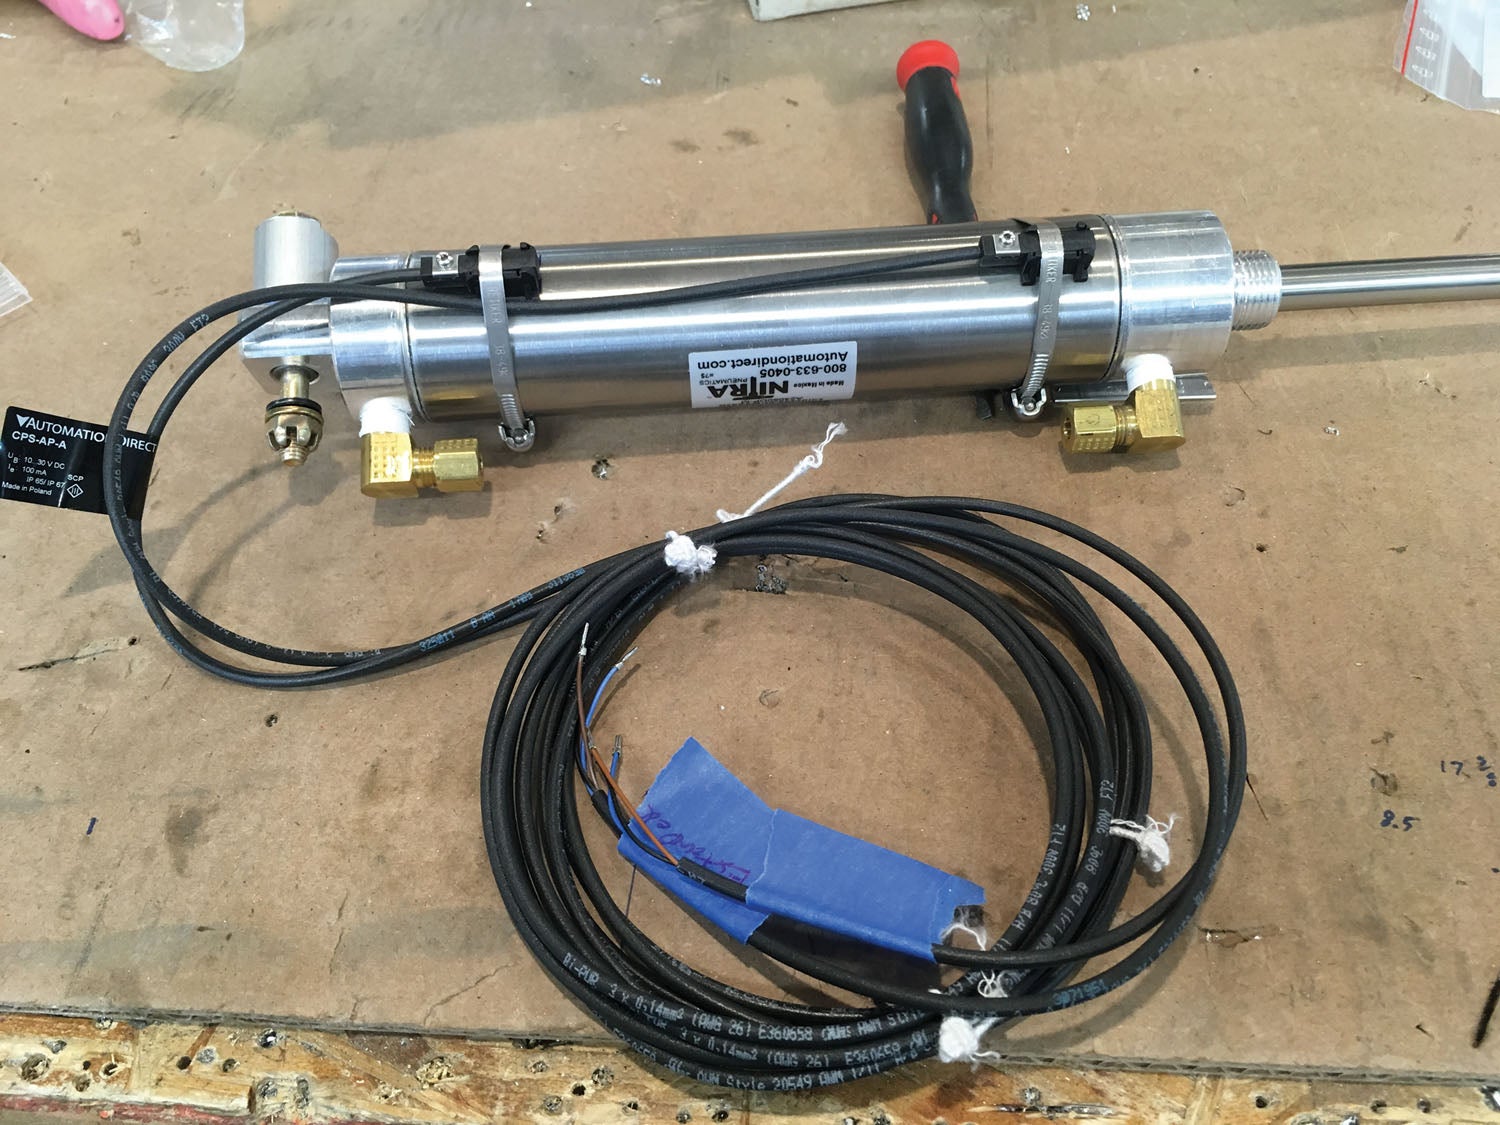
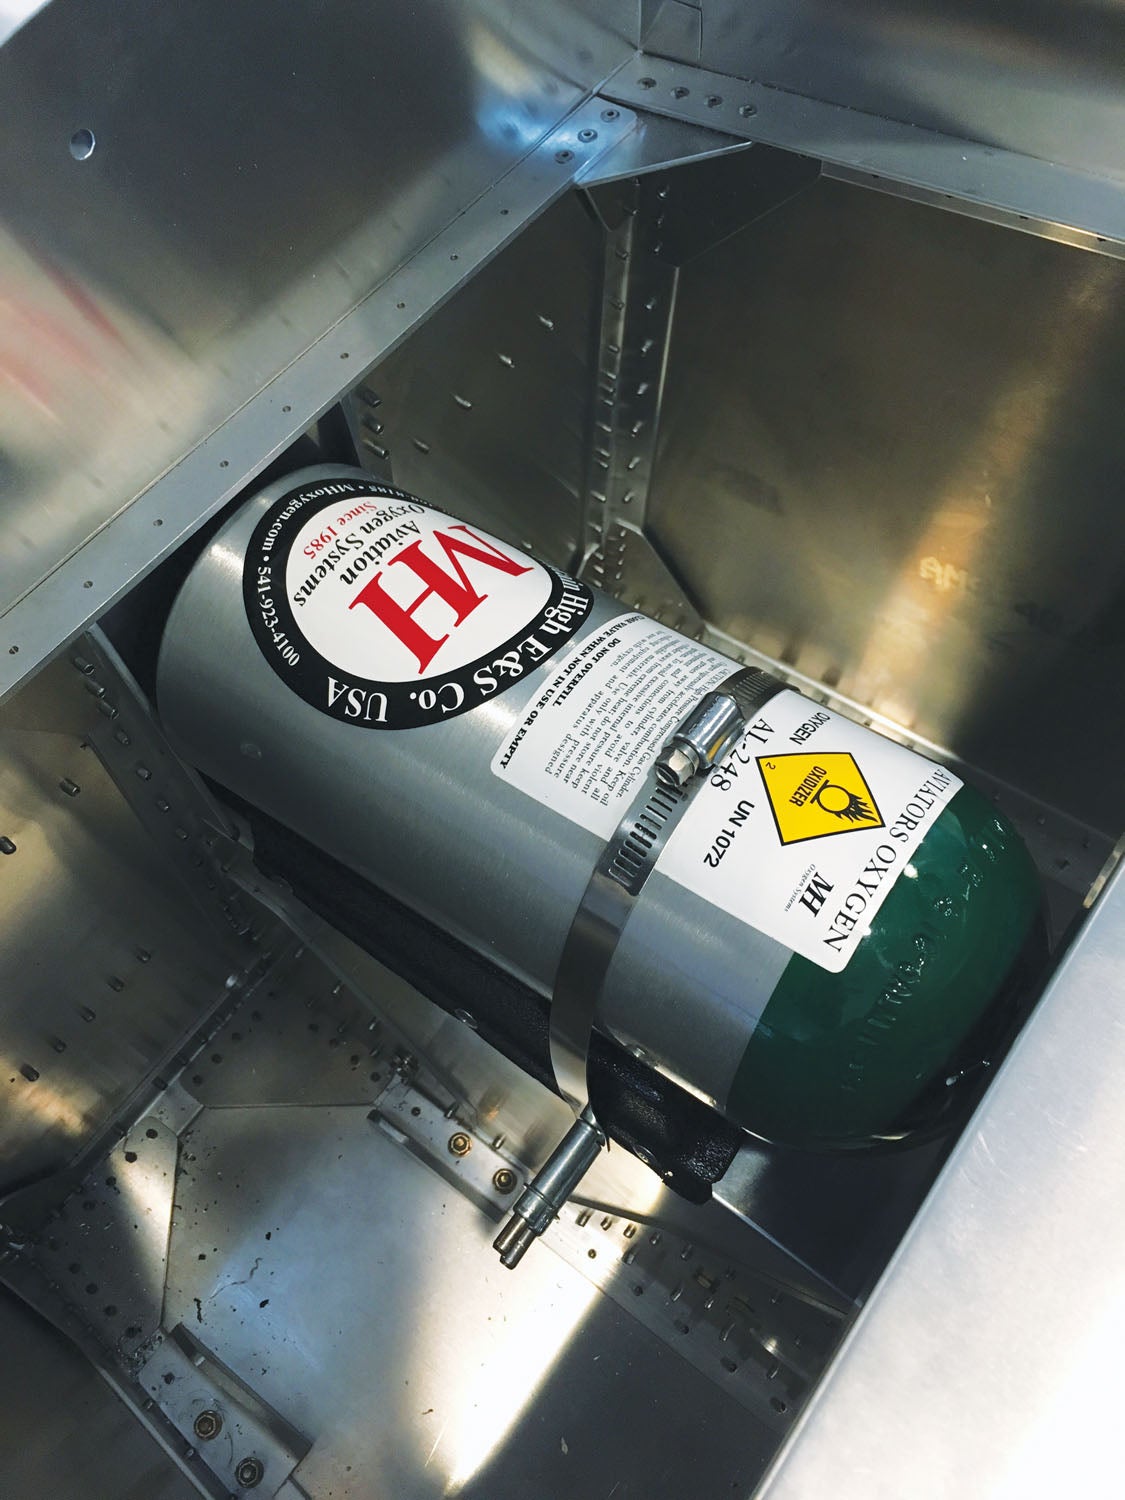
While not part of the avionics, the oxygen system is part of this installation work because the bottle (assuming you went with the option for an oxygen system) installs on top of the nose gear well, just forward of the avionics. Plumbing has to work back to the panel along with avionics wiring, and coming up with a sequence for final installation takes a little ingenuity. It all fits—but much in the way of cramming all of the gears into a Swiss watch. You also have to route the brake lines up through the center console and over to the single brake master cylinder that sits under the pilot’s left knee—another bit of tubing to contend with. At least the lines are small—1/8 inch—and don’t take much room.

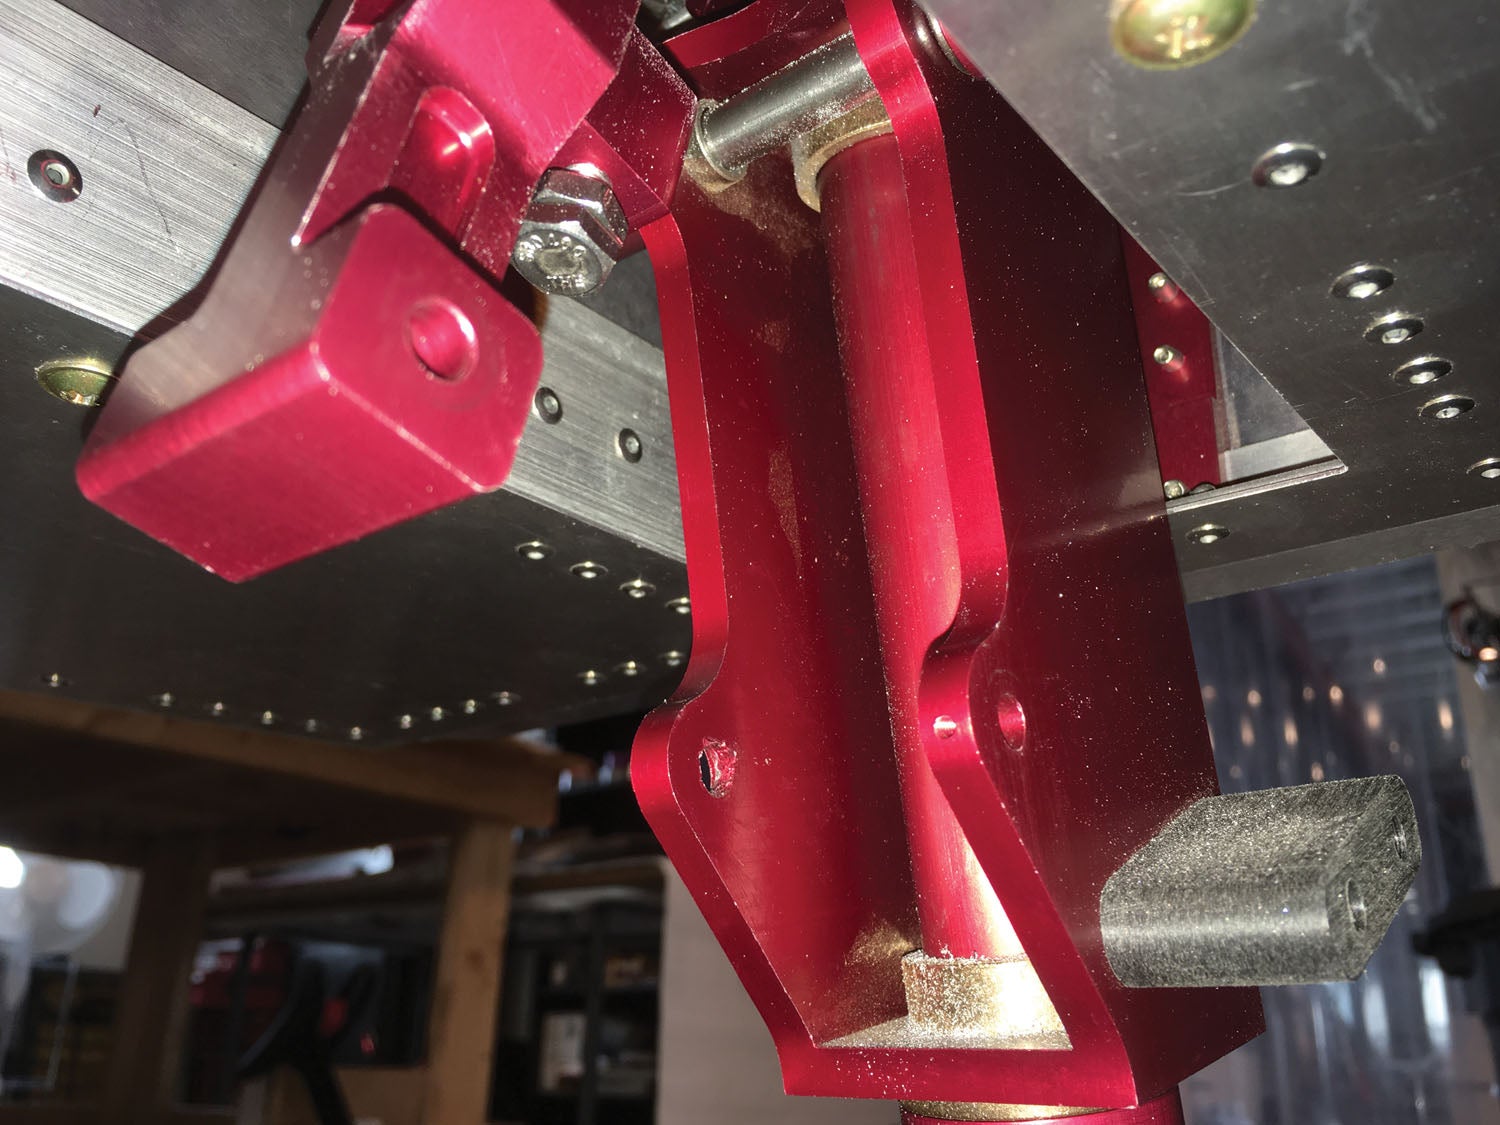
BRS—Just in Case
I have never owned a flying machine with a whole plane parachute before and am somewhat ambivalent about them. I wear parachutes when I feel it is appropriate and when doing so adds significantly to my risk mitigation. I have also flown airplanes that had a BRS installed and was very comfortable having it. Part of the consideration of a BRS installation in a homebuilt aircraft comes with the amount of engineering that has gone into the installation. Considerable work is done when a certified machine is designed for a ’chute, but oftentimes they are added to homebuilts with no engineering at all. In that case, you really don’t know how it is going to deploy or if the load paths work so that you have a decent chance of surviving a landing.
The SubSonex was designed with the BRS as a “standard option,” which means it was engineered for the ’chute from the start. That removes a significant amount of uncertainty and adds significant value. I was still undecided on accepting the weight and space penalty—it sure would be nice to be able to take a spare shirt and a toothbrush in the space behind the pilot’s head if I want to take the jet on an overnight—so I called on Bob Carlton’s expertise. I figured a seasoned airshow veteran would have a realistic view of the risk with and without, and he did. “I can’t see any reason not to put it in there Paul,” he said. “It gives you an instant parachute if you need it. You don’t have to try and open the canopy, unbuckle, climb out and then use your personal ’chute…which, by the way, you don’t have because there isn’t room for one!”
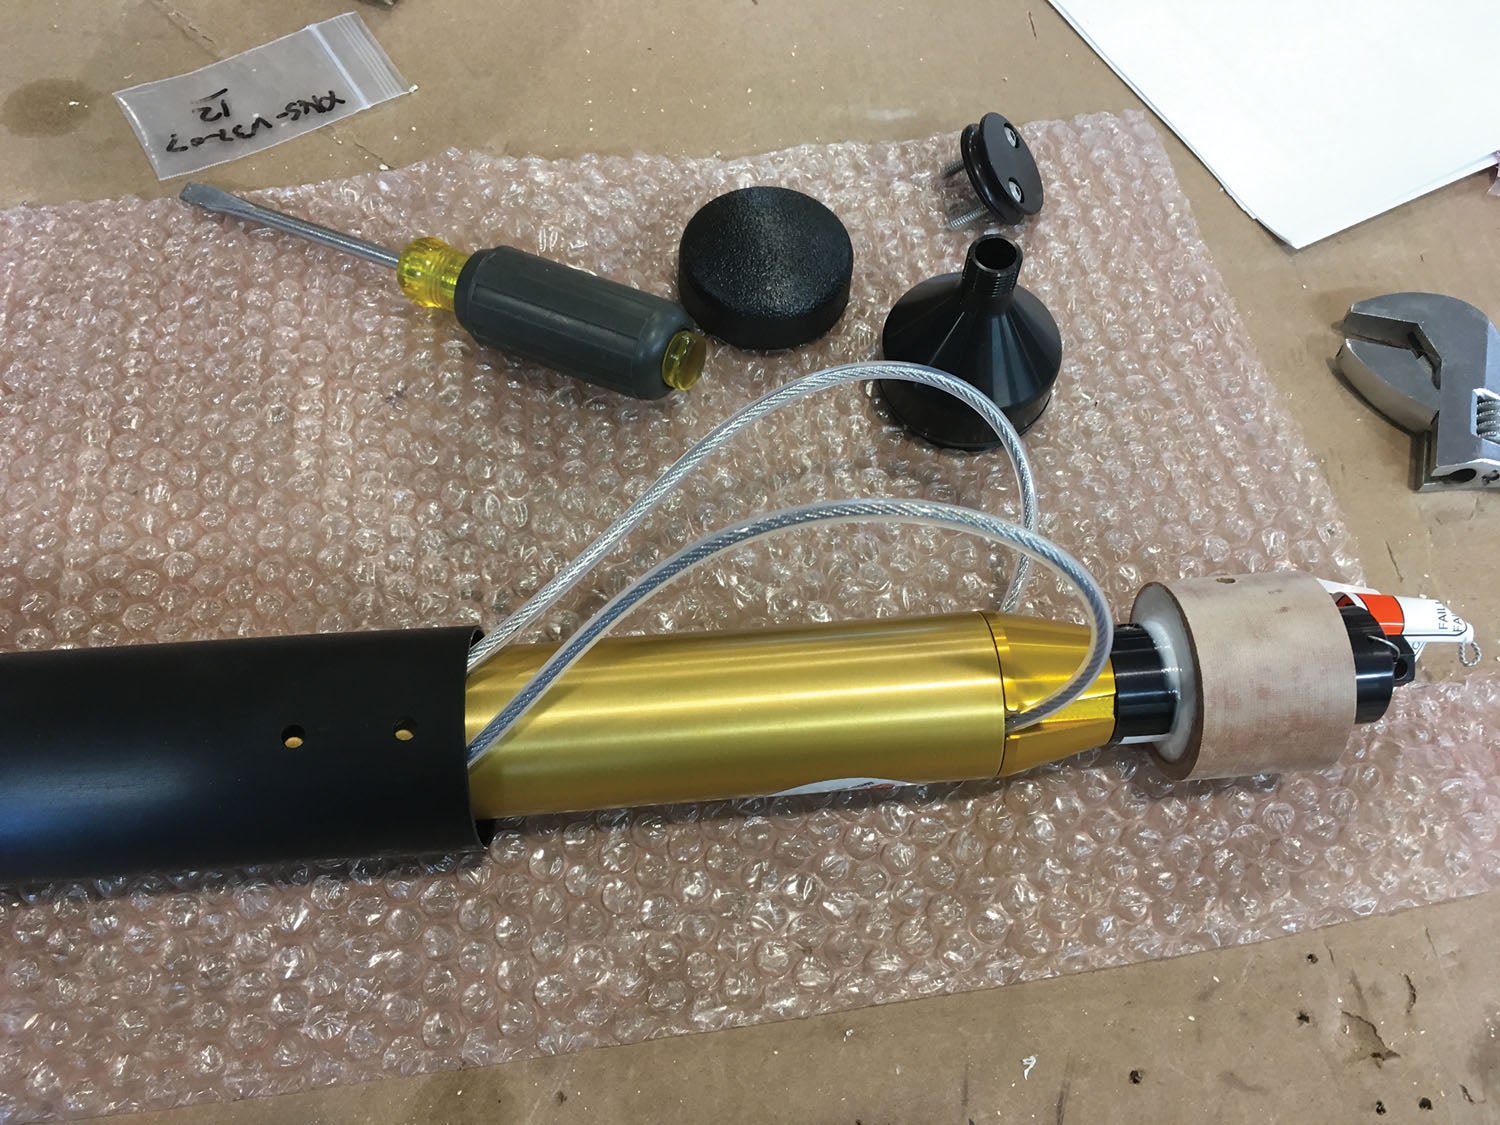

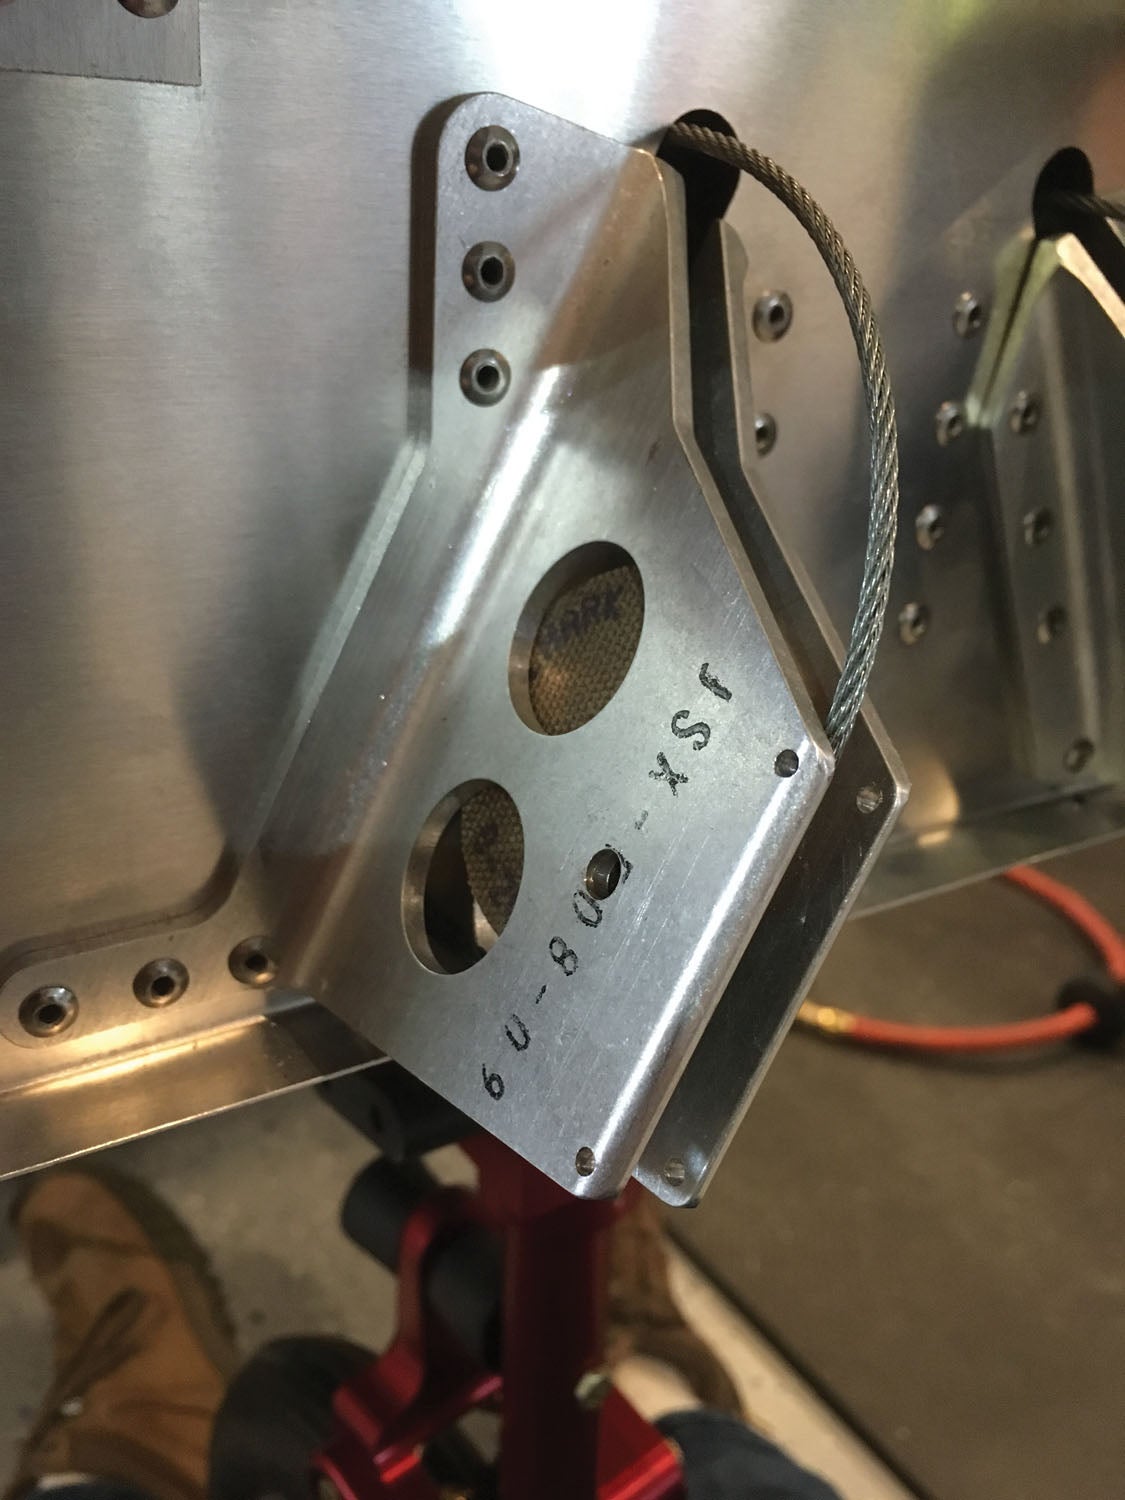
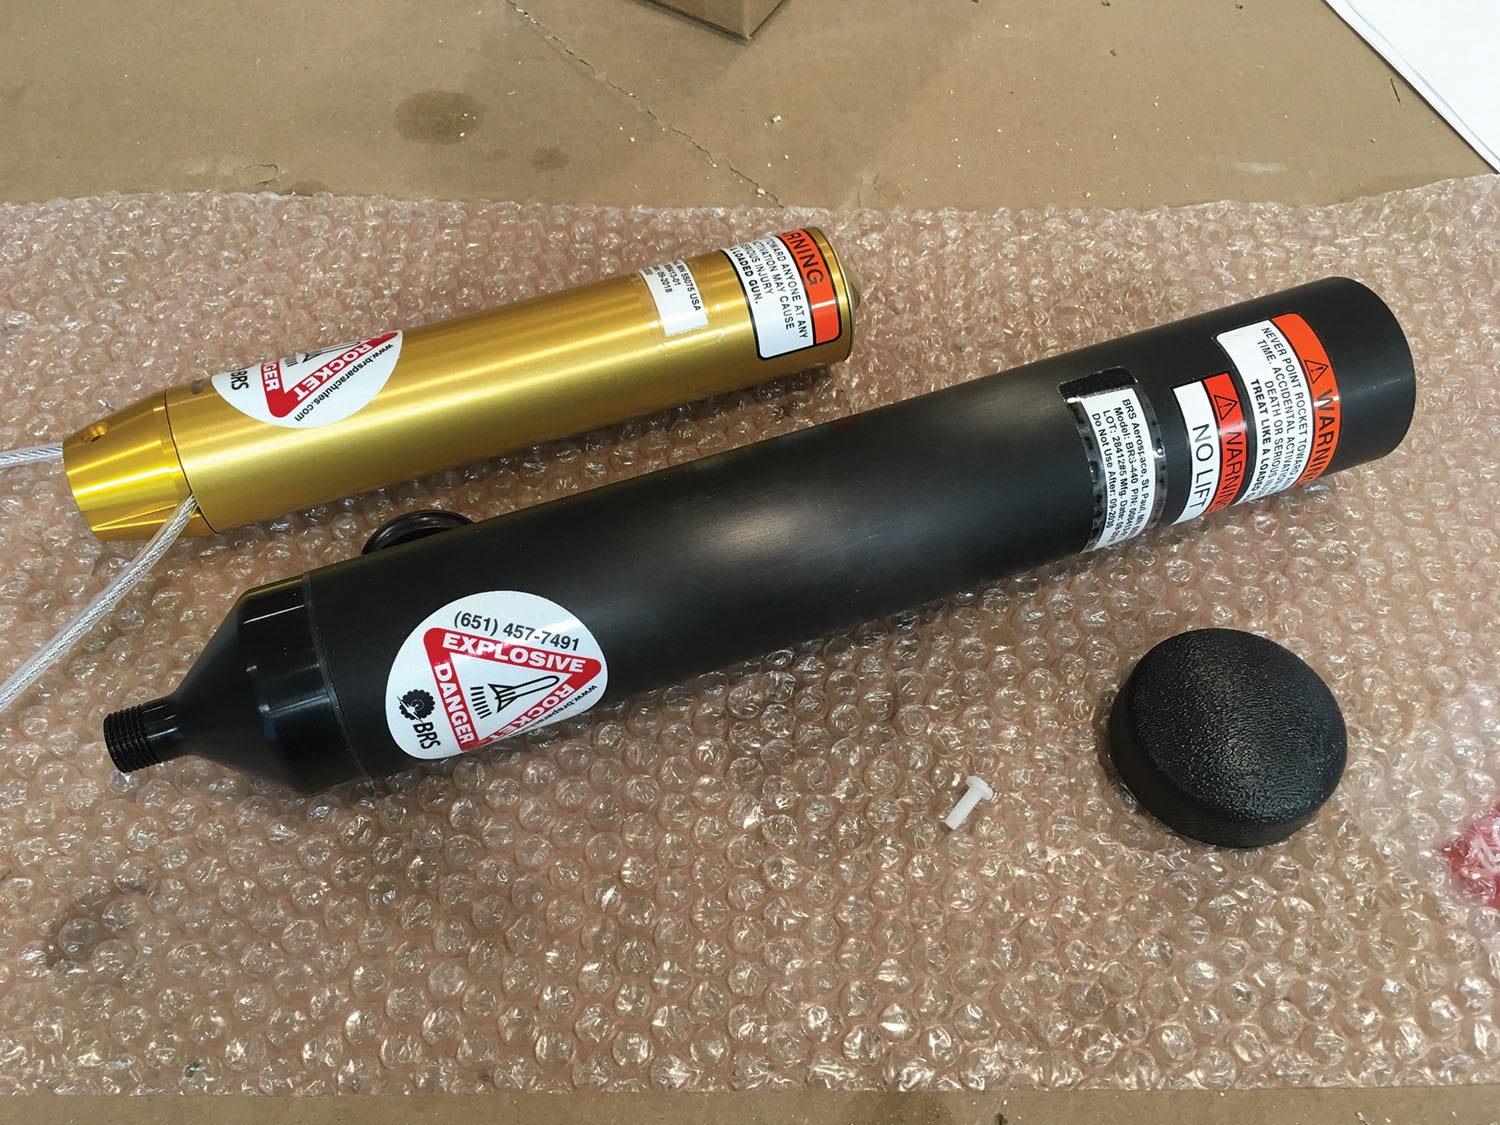
Fair enough, I decided, and I was soon the proud owner of a whole airplane parachute of my own. Installation was fairly straightforward, so long as you have someone with small hands. It’s easiest to work on if you remove the skin panel that covers the ’chute. It is held on with nylon screws and nuts so that if you fire the rocket, it blows the panel off. You have to mark and drill the shelf for the ’chute pack, run the risers around the front and rear spars, and route all of the riser lines to the shelf. It’s not hard, but plan on using some cable ties to make it all neat. Installing the rocket is similarly easy and it all fits—but it pays not to think too hard about the fact that you’re handling a live rocket significantly more powerful than those Estes D engines we used to fool around with as kids. I didn’t connect the firing cable to the rocket until I had no choice, and then I safety wired the safety pin in place in the cockpit through the rest of the build—belt and suspenders. I didn’t want a rocket bouncing around the shop if I snagged the wrong thing getting in or out.

The trickiest part about the BRS installation is bolting the skin panel back in place once you have the ’chute pack in there. It helps to have the aforementioned assistant with small hands crawl in there to get all the screws and nuts back in place. And you definitely have to do it before the fuel tank goes back in!
Fuel—the Final System
Probably the last thing you install in the jet is the fuel tank since once you do that, you can’t reach any of the other systems to do anything. You’ll have the fuel feed and return lines to attach, and that takes a little tinkering. I thought I had a perfect solution until I installed the canopy, and the canopy brace hit my return line. A little rearranging, and manufacturing the shortest possible solid fuel line I could make with my tools, solved that.

One part of the fuel system that is not very well defined is the tank vent, and I almost came to the point where I was going to have to remove the tank to run that line down the side and out the bottom. Pulling the tank at that point was not an attractive option, so I put some thought into it and eventually solved the problem with a four-foot long piece of braided jacket, nylon-lined fuel hose with -4 ends from a noted auto racing supplier. It’s just a vent line after all! I slid it past the tank and then fished it out the back, making a fitting for the floor of the jet behind the aft wing spar. It was far easier than fabricating a solid line for the same space!
With the tank and lines in place, you can install the final component of the fuel system—the 212 foam cubes that serve as anti-slosh baffles in the tank. They are 2-inch cubes, and there are a lot of them. You stuff a few in, then use a stick to push them into the corners of the tank. Then stuff in more, push them around, etc. Walk away for a while, come back and stuff some more in, and eventually they all fit. It is hard to imagine that there is any room for fuel when you’re done—but believe me, all 40 gallons of Jet A still find room.


A Small, Compact Package
Overall, the SubSonex systems are pretty simple—considering that most people associate jets with complexity. Sonex has designed the simplest package they could come up with to make jet flight affordable and attainable by the average homebuilder. Putting the systems in the jet was less complex than putting together a fully IFR two- or four-place homebuilt, and it was almost entirely doable by a single person. It was rare when I had to ask for help. But even though the systems are simple, the jet is compact, so a lot has to go into a tiny space—and that presents just a little bit of challenge. Continue to work from the inside out, and plan ahead on all of the installations so that you don’t have to remove things to install something that you hadn’t thought of.

Before you install anything big, turn the shop lights off for the night and go think about it, just to make sure you’re ready. Test as you go to preclude having to go back in later, and before you know it, the jet will be ready to go!
![[Credit: JetStream Rider]](https://www.kitplanes.com/wp-content/uploads/2026/04/AdobeStock_345999332.jpg?w=218&h=150&crop=1 "2026 Avionics and Lights Buyer’s Guide")
![[Credit: Dynon]](https://www.kitplanes.com/wp-content/uploads/2026/04/EMS-stand-alone_HDX.png?w=218&h=150&crop=1 "Dynon Unveils Scalable Engine Monitoring for Kitbuilders")


