Back in the February 2019 issue of KITPLANES®, I promised a column about polishing on the lathe. I’m finally able to make good on that promise thanks to this month’s project: a dimple die tool that I made as a companion to last month’s project, the Findlay punch.
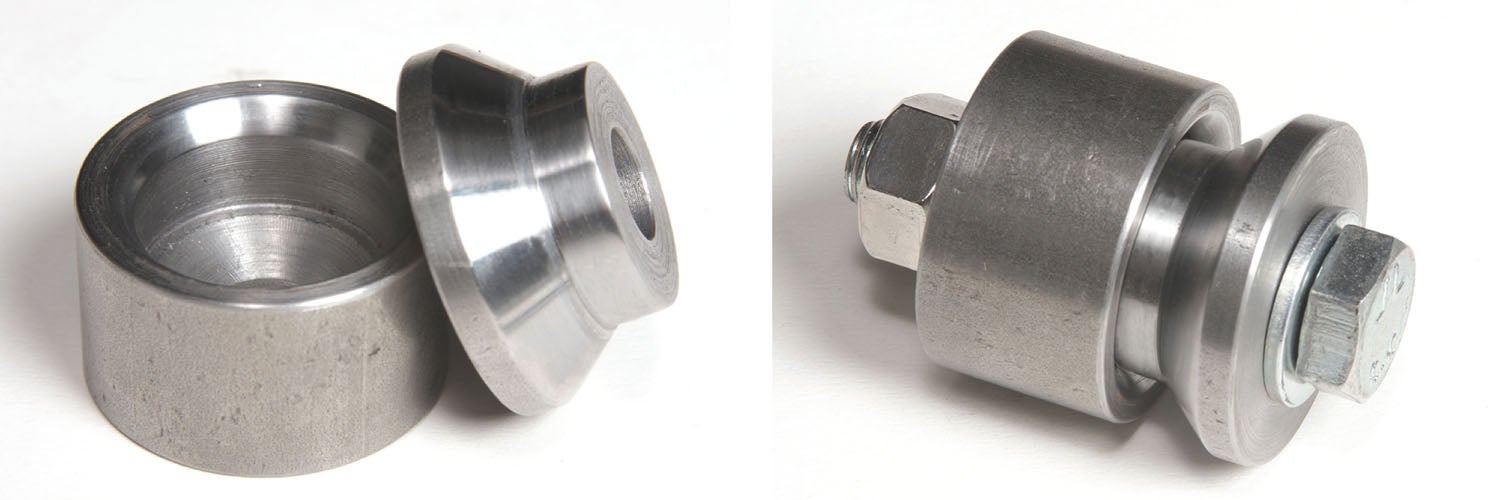
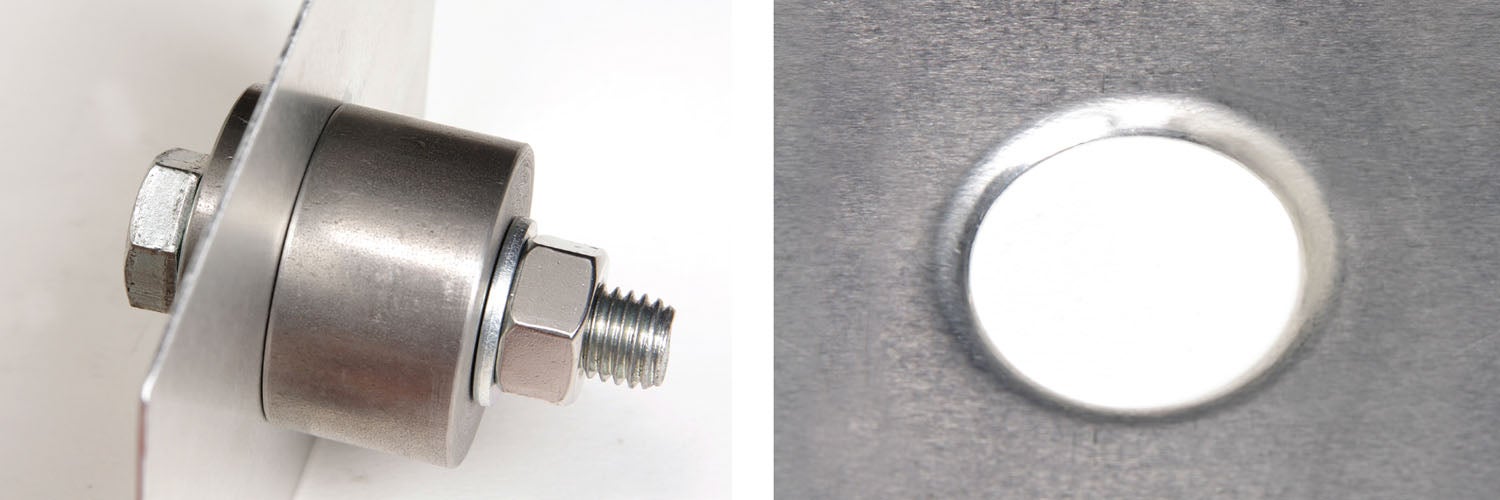
A dimple die (also known as a flange tool) is used to flare, or flange, holes in sheet metal. Flanging a hole greatly enhances the rigidity of the sheet and is standard practice on any airplane made of metal.
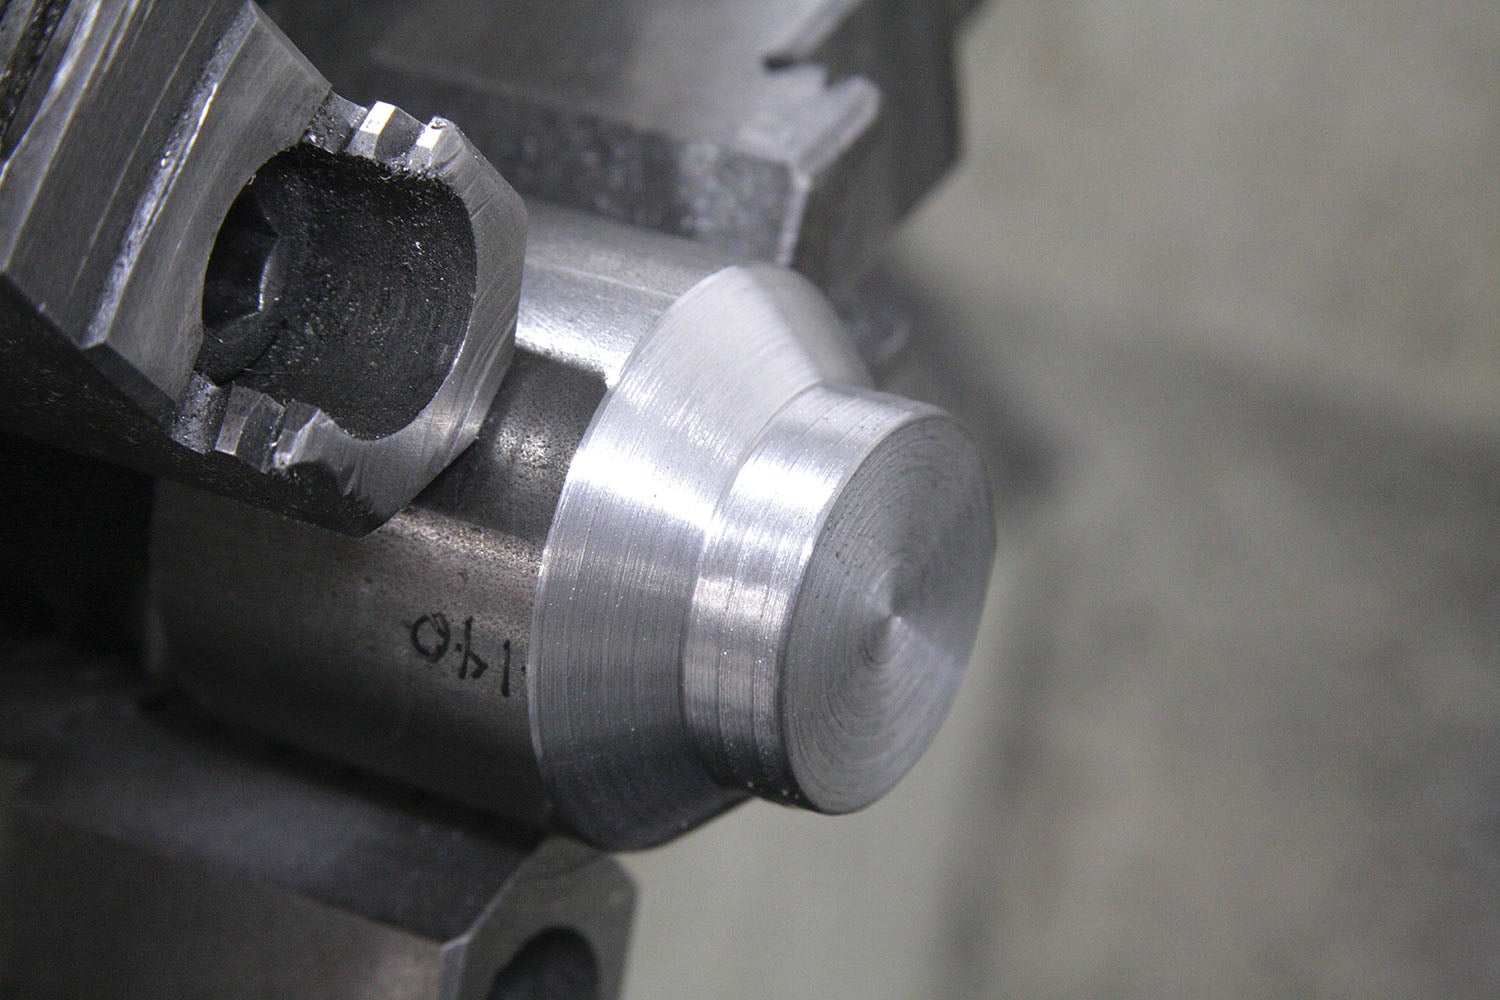
Dimple dies are simple. The machining techniques are essentially the same as making the Findlay punch: facing, drilling, boring and chamfering. But in die-making, we add polishing. Why? Because scratches, gouges and notches are how cracks in sheet metal structures get started. Any tool that’s used for pressing, stamping or stretching will transfer its imperfections onto the workpiece. To minimize such damage to the workpiece, the working surfaces need to be polished—as close as possible—to a “mirror-like” finish.
Polishing starts with sandpaper and you will need a full selection of grits.
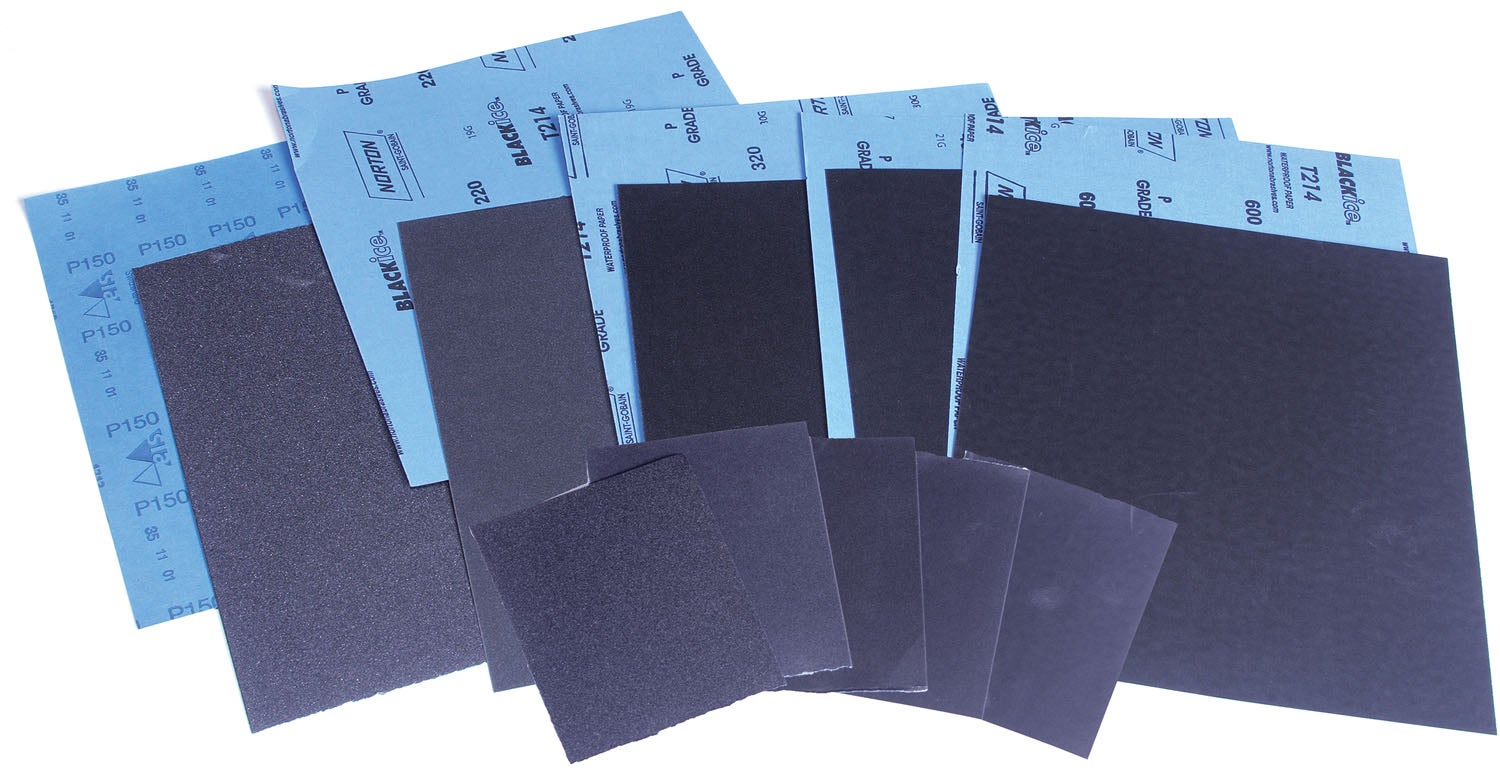
The trick to getting a “mirror-like” finish is no trick at all. It starts with getting a good finish before you start sanding. If the off-tool finish is good (see “A Fine Finish,” February 2019), you can save a lot of sanding by starting with 150 or even 220 grit instead of 120 grit.
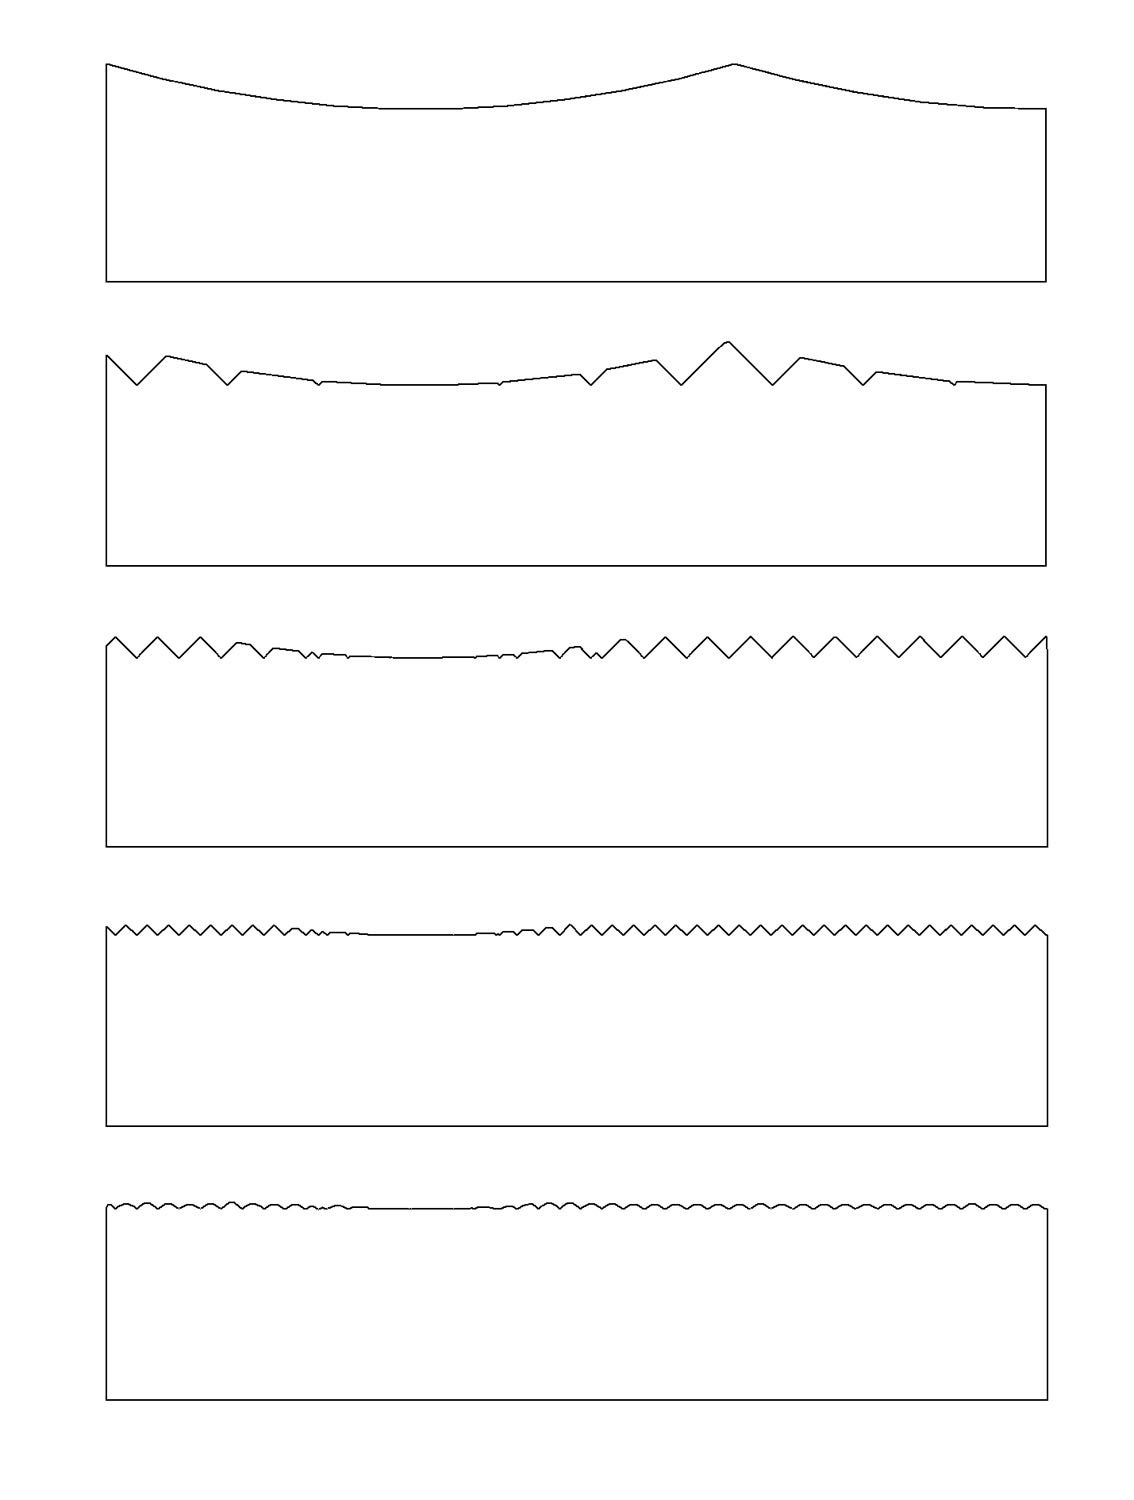
Whatever the initial grit (120, 150 or 180, depending), its purpose is to replace the tool marks with sanding marks. Once that is accomplished, each subsequent grit is used to replace the scratches of the previous grit. For the project dies, I used 150-, 220-, 360-, 400- and 600-grit papers. The final step was to use a compound to polish the finish left by the 600 grit to a mirror-like finish.
Even when working small areas, you should try to oscillate the sanding action as much as possible. Holding the paper static (in one spot) could cause uneven material removal across the work surface. I spritz the sandpaper with just enough water to rinse the slurry away as I sand. This helps the cutting action and makes it easier to see the results. How long do you spend on each grit? However long it takes to replace the scratches from the previous grit. On a small part like these dies, it took about 10 minutes to remove the tool marks with 150 grit, then only about 3 to 5 minutes with each subsequent grit. Use light to moderate pressure when sanding and let the sandpaper do the work. Wet sandpaper can be slippery, and if you get too aggressive, your fingers could easily blunder off the part into the spinning chuck.
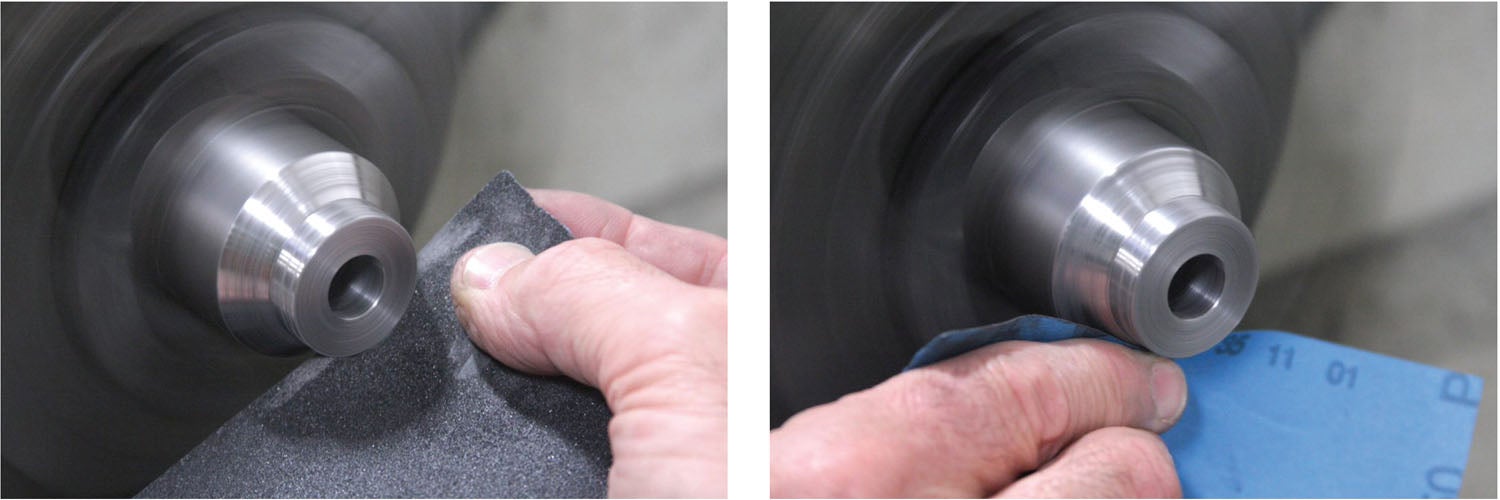
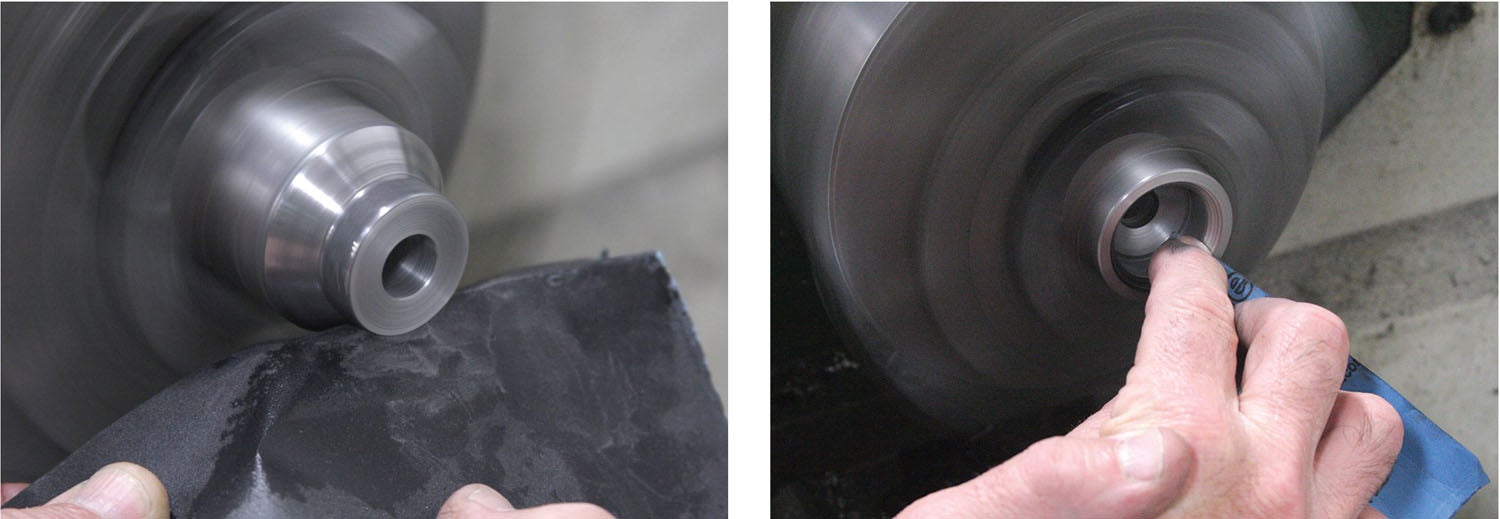
I usually don’t bring up safety because everyone should already know Norm Abram’s creed, “Be sure to read, follow and understand all the safety instructions that came with your tool, and be sure to wear safety glasses.” (These immortal words were spoken about a million times by Norm on The New Yankee Workshop TV show.) But with power polishing on the lathe, a few additional precautions are worth mentioning. Assuming the lathe is spinning normally, which is counter-clockwise, the “safe zone” is 6 o’clock. Any contact with the part should occur only in this area because an inadvertent catch will tend to throw your hand, finger, sandpaper or polishing cloth away from the work. Never wrap sandpaper, paper towels or anything else around a spinning part. At 600 rpm the lathe can wind up a towel like a fishing reel and suck it—and your hand—into the chuck in a split second.
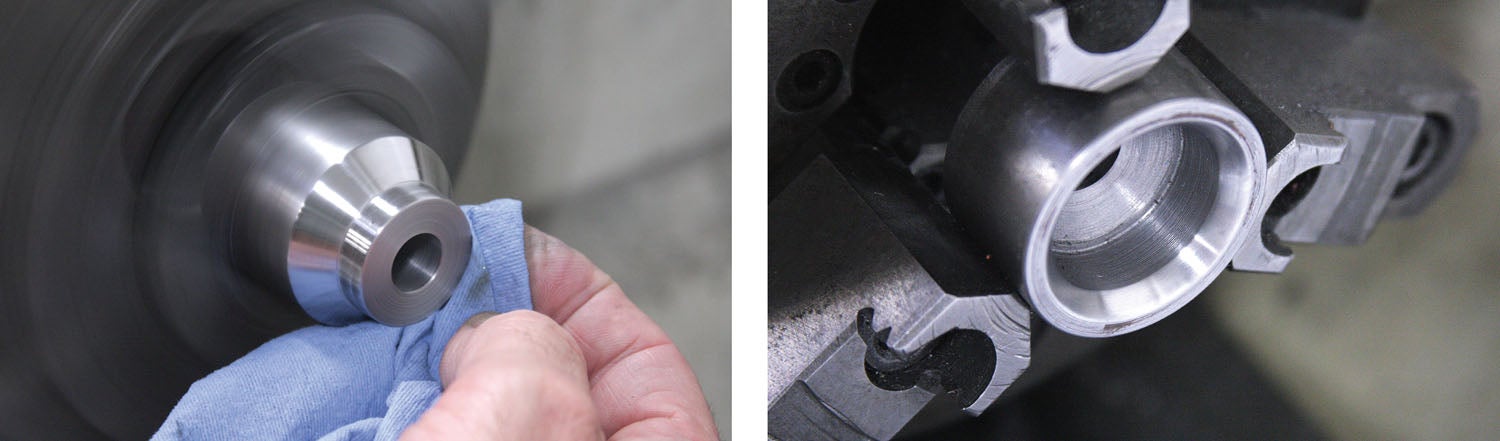
Any number of products will work to bring out the final shine. I used Tormek PA70 honing paste, but jewelers rouge, semi-chrome paste or even an auto polish like Flitz will do the same. Just dab a small amount on a paper towel and work it back and forth until the surface starts to shine.
Like the Findlay punch, this dimple die set was machined from 4140 alloy steel and will require heat-treating to HRC 46–50 in order to hold up under frequent use. Download a detailed drawing of the die set here. That’s all for now. Until next month, get back in the shop and make some chips!


