I spent some time this weekend testing a new Heads Up Display product from Grand Rapids Technologies, and I think that folks who have been lusting after a real, functional HUD are going to be wanting one! GRT has taken a very simple, commonly available product intended for automotive use (the Hudly, priced at about $300) and adapted it to the experimental market by providing an Android App that runs on a stick PC ($50) or an Android phone which talks to the GRT EFIS via Bluetooth. Buy the Hudly, get a stick PC or your Android Phone, buy the App from GRT, and you’re essentially there. I haven’t talked total App price with GRT, but this is a HUD capability for just a few hundred bucks.
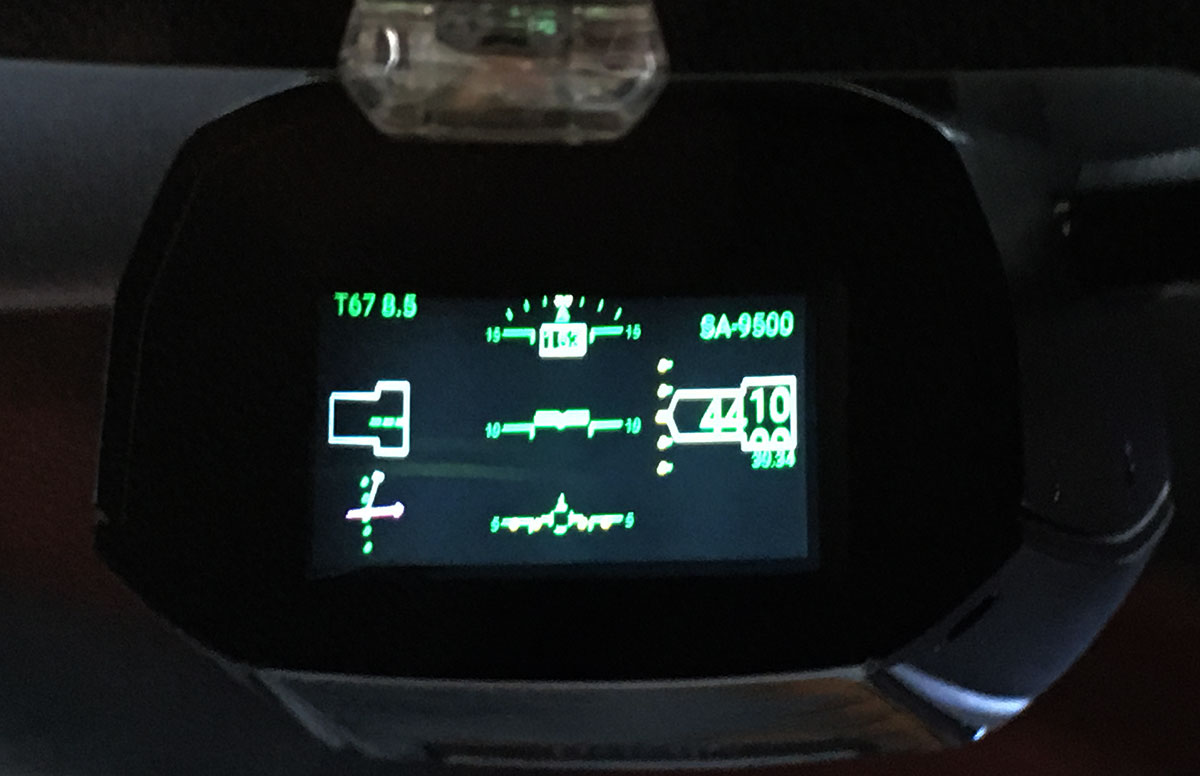
It’s not just a simple display of airspeed or altitude – this is a full-featured HUD! Yes, the ASI and ALT tapes are there where you’d expect them, along with a pitch ladder and horizon line. There is of course, a velocity vector which shows where you’re actually going, and a Guidance circle that acts as a flight director – put the VV on the guidance circle, and you are following whatever navigation source you have set up. Down in the left corner, you have a simple HIS-like display that points at your waypoint and shows deviation from course. It also has ILS guidance displays. Basically, I flew a whole test flight and never looked down at my actual EFIS.
In addition to being a full HUD, there are some innovative features that show runway remaining, runway used, and an estimate of whether you are going to have enough braking to get stopped, or if you should go around. I have only done two landings with this, but its intriguing, and we’ll look at it in detail.
The HUD is very visible in sunlight – it almost appeared to get brighter as I turned into the sun, in fact. The display is NOT focused at infinity, which is unfortunate, but not much of a problem, as you can easily and quickly refocus your eyes on the line you are looking, and don’t have to go head-down to search the panel for information.
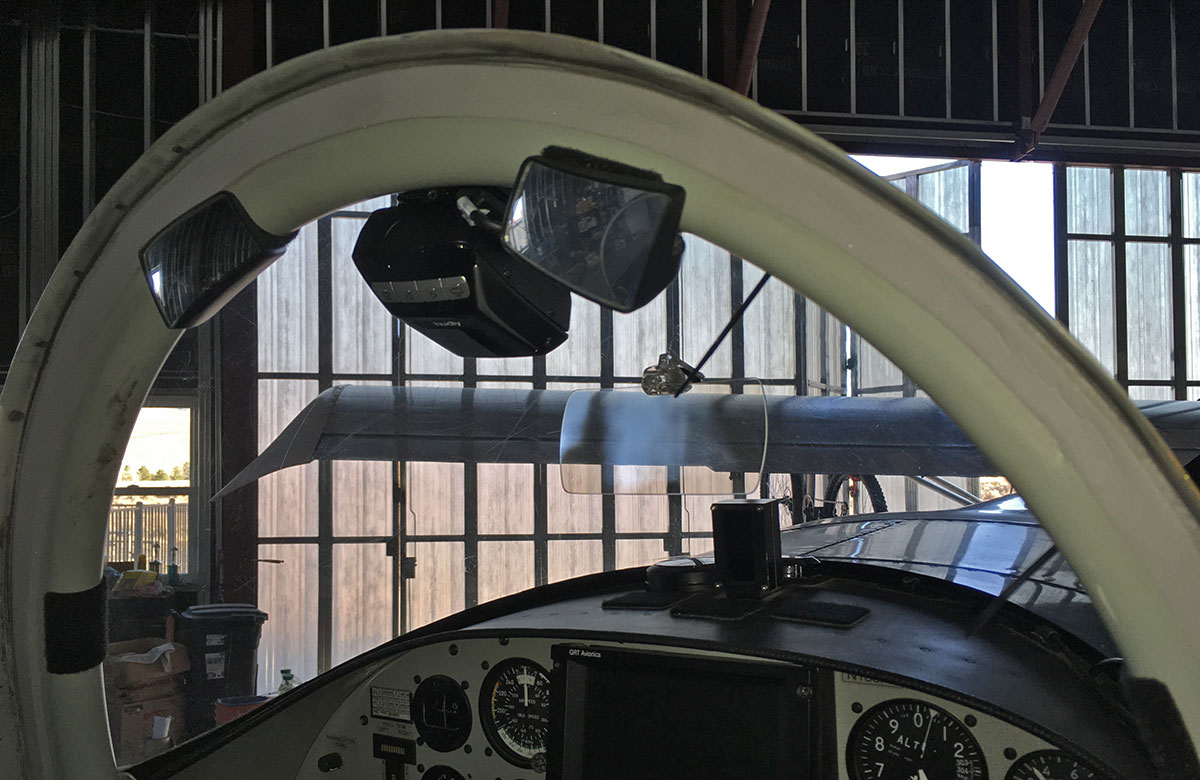
Installation took just a few minutes using double-stick tape and an included template to get the distances right, and in an RV-8… it just looks cool!
Look for a complete write-up in a print article in the future – meanwhile, I’m going flying with it again!

