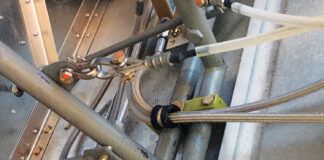
With the airframe coming together nicely (see part 1), I started installing systems. The control tubes for the ailerons ended up being rather complicated due to the fuselage changes. They’re all mounted in ball bearings. The ailerons also have an idler doubler on the firewall to ensure the ability to achieve full aileron deflection. Works well.
Discovering Electricity
Electrons get my attention, especially when they are charged. I’m one of those guys who can accidentally arc weld with two 12-volt batteries. It’s cool…after you can see because of the flash that you weren’t expecting happens, the smoke clears away from the battery post, you can hear again because of the loud pop, and you quit shaking like a dog trying to pass a Georgia peach seed. Yeah, I won’t do that again! I may be electronic stupid, but I’m smart enough to know I be stupid.
So, my arm is in a cast from surgery, and I want some snarky stuff for the electrical system. I know what I want the system to do, but I don’t know how to make it happen. Part of my premise was to make the jet simple, at least from the pilot’s seat.
I queried five engineers in aircraft electronics. Ya know, even though I was going to pay them, not one came through. Can’t work, can’t really work on the jet…grrr…whatever.
Did you know Digi-Key has an outstanding education section on their website? Once again, learn the information, solve the problem. I called Digi-Key, too. Then I built a complete electrical system on my bench to test the theory.
The electrical system in the jet is kinda what I had on the table. But the theory and information learned during the process eventually came through, especially when I had to almost completely rewire the whole system after it was flying. But I figured it out.
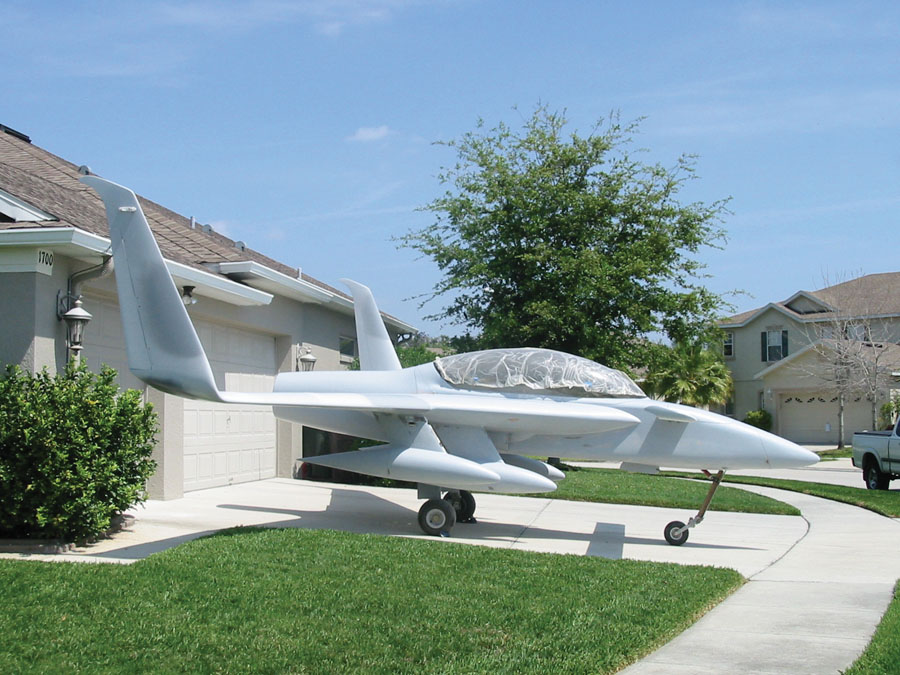
“Is that an RC?” “Is it really a jet?” “No way you built it in the garage!” Those are the types of comments you get from people driving by when they see a jet in your driveway.
Gluing Metal Parts
Throughout the airframe I needed special parts—one of a kind stuff. I needed to glue metal parts together. It’s called welding. Everybody knows how to weld, right? Mike Yancey and Robert Harris got tired of me asking them to weld this, and this, so they took it upon themselves to teach me to weld—not using batteries, but an actual welder. Whenever a welding project came up on non-important stuff in the shop, I got instruction. Yep, I created some junk, which ended up in the trash, but I did some pretty good stuff in the end. Since then, I have bought my own welder, and yes, I glue metal parts together regularly. Well, what do you know, I learned a new skill. As Robert says, “Just something manly about welding.” He’s right.
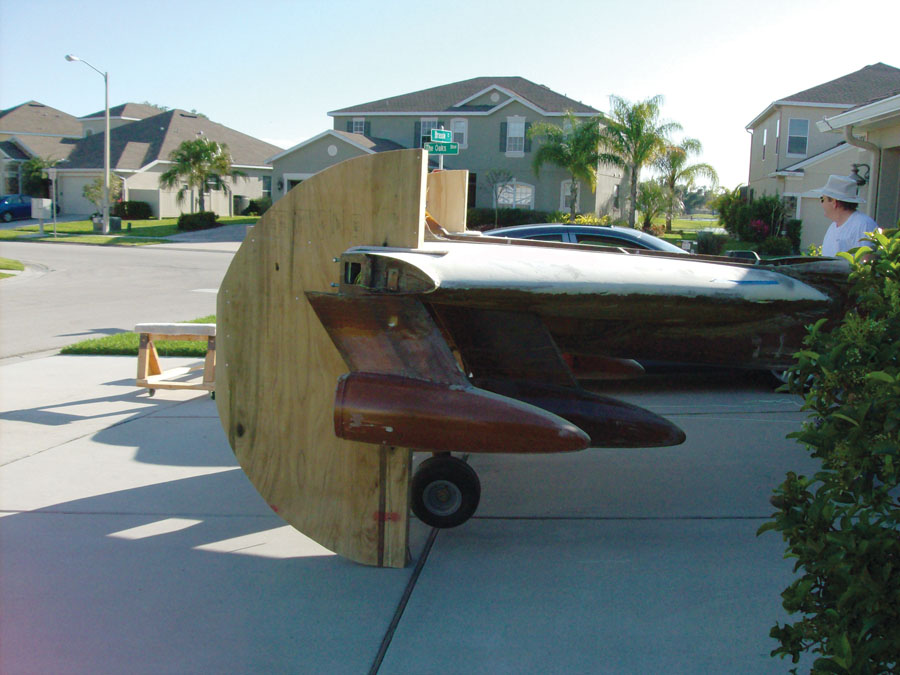
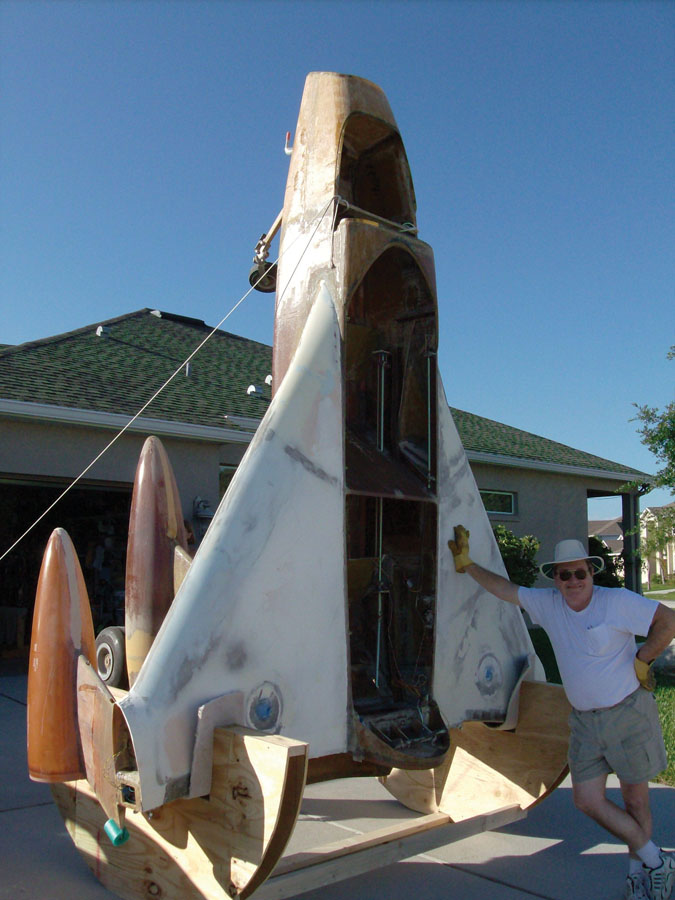
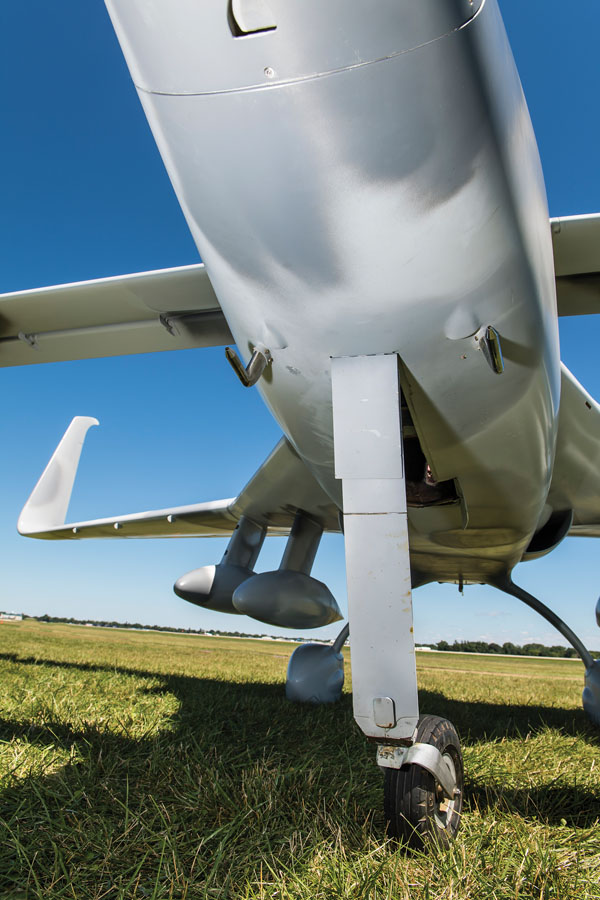
This rollover structure was used to flip the Jet Eze over, not an easy task considering there were four pods on it. The center is offset on the half wheel, making it balance really well.
Finish Work
Doing the finish work on this animal…well…it’s fiberglass. You can get as carried away with the finish as you desire. There is a point, though, where if you do more fill and sand, you are not gaining any performance, just appearance. I admit, I put way too much time into the finish. It cost me time. Probably could have shaved a year off the project by not going so overboard with the finish. But it’s what I wanted. I had the airframe upside down in my garage and the finish work complete on the bottom, what we call the dead bug stage. You know, the gear is sticking up, and it looks like a dead bug.
Robert showed up to help me flip it over, not an easy task considering there were four pods on it. I came up with a rollover structure, which balanced the airframe nicely, and it ended up being an easy, but nerve-racking experience. While it was in the driveway, we decided to put the canopy back on, and the wings and canard on. While I was in the back seat putting bolts in the canopy, a guy pulled up and yelled out through his window, “How much is that thing?” Robert responded, “‘Bout 200 grand, most of it in chrome though.” There’s no chrome on it.
The next car asked if it was an RC airplane. Robert responded, “Yep, it’s half scale though,” and I’m still sitting in the back seat!
Next one asked if it’s a jet. Robert said, “Yep, it’s OK though; Lance’s wife use to be a Playboy Bunny flight attendant on their DC-9. She still has the tail!” That one got around the neighborhood. That’s my neighbors y’all.
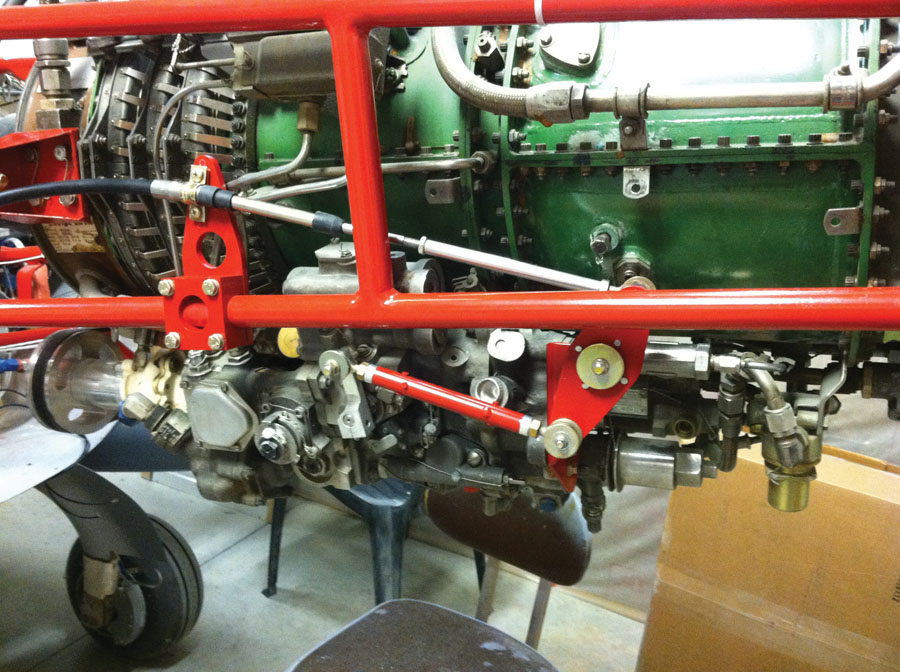
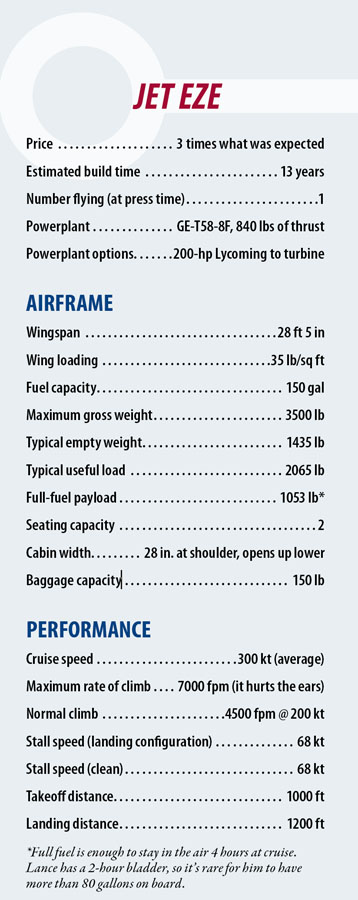
GE-T58 and custom engine mount. It produces about 840 pounds of thrust, which is in the ballpark of 800 hp.
Airbrushing
People think the jet is painted camo gray, like some Navy stuff. Nope. Originally I wanted the winglets to appear as though they had flown through an American flag and were pulling it along. So I went to three different airbrush artists in Orlando to get quotes on how much to do this. Learning how to airbrush was not on my agenda, since with my artistic ability, I can’t draw stick men. After talking with these guys and seeing them, I figured how hard can this be? The $23,000 price tag just to do the winglets kinda pushed me also. More learning in my future.
Did you know you can go to airbrushing classes in Orlando? I went for six days and learned the basics. At first, I wondered if I could fade primer onto itself. Yep. Then, if the primer is high build, I wondered if I could make it feel smoother making letters. Yep. Run your hand across the letters on the pods; you can’t feel ’em. It was my intention to paint the jet later after all the bugs and tweaking were completed. Now, darn near everybody says leave it. So, on to the next thing…
Do you know how to sand and buff clear coat? I airbrushed some license plates for EZ Jets using water-based and acrylic paints, then clear coated them with House of Kolor Show Klear, just so I could learn sanding and buffing clear coat. Man, it’s easy. All of it. Still can’t draw stick men though. This winter, I’ll break the jet down and clear coat it, as is. So the color is actually tintable PPG K36 primer. The oil tank is made of aluminum, so I used a 1.5-inch Scotch-Brite sanding disk and swirl patterned it. Then I used KK11 red candy transparent paint and clear coated it…nice effect…thanks to airbrushing.
Keep It Simple
The engine hookup is really simple. It’s a GE-T58-8F, a helicopter engine modified to pure jet. Call it 840 pounds of thrust or somewhere around 800 hp. A separate oil tank is required. The oil system only holds about seven quarts, but the engine will cycle six gallons a minute. One wire for ignition to get it started, starter cable, fuel control cables times 2, and a fuel line. Done. No mags, spark plug wires, cylinder baffles, spinny thing on the back. It does have a snarky tail cone for the exhaust. The shape, length, size, and internal construction are critical. Yeah, it’s expensive; it’s made out of Hastelloy or some weird metal. By the way, it gets hot. Ask me how I know.
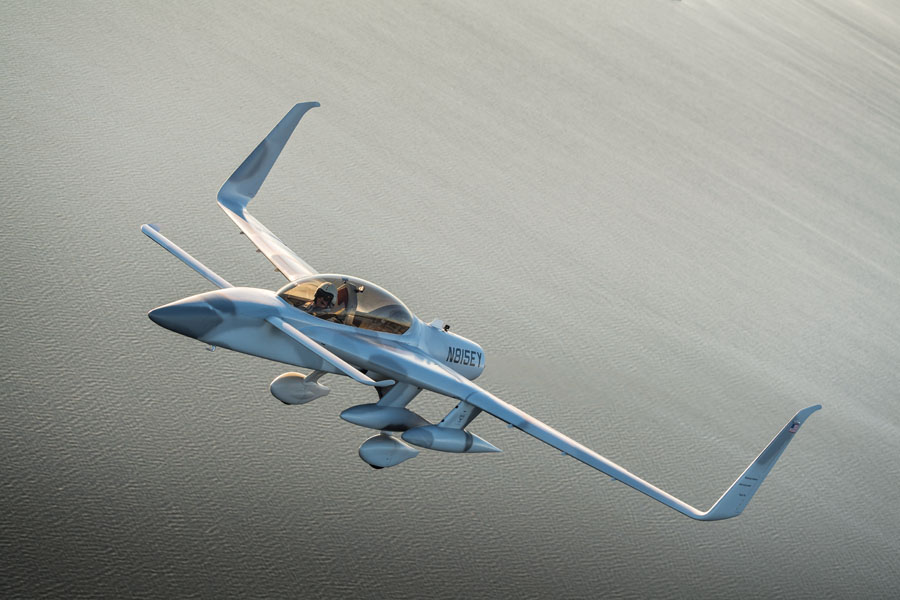
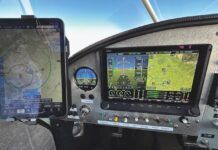
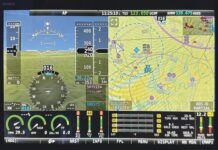
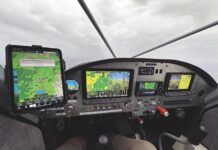
Like I said, from the front seat it’s a simple jet. Blue Mountain EFIS, Garmin SL30, SL40, GTX 327, and an audio panel. No autopilot. I fly for a living, and the bus I fly is on autopilot most of the time. I built this for me to hand fly. The winglets are canted out a little—I won’t give out the degrees—it’s kinda critical. Go too far and the airplane would be uncontrollable. Where they are makes the airplane very stable. Yeah, you can yank and bank and have ridiculous climb rates at hair-on-fire speeds, or just putt around at 150 knots. You have pod pumps, main engine fuel pump, lights…standard stuff.
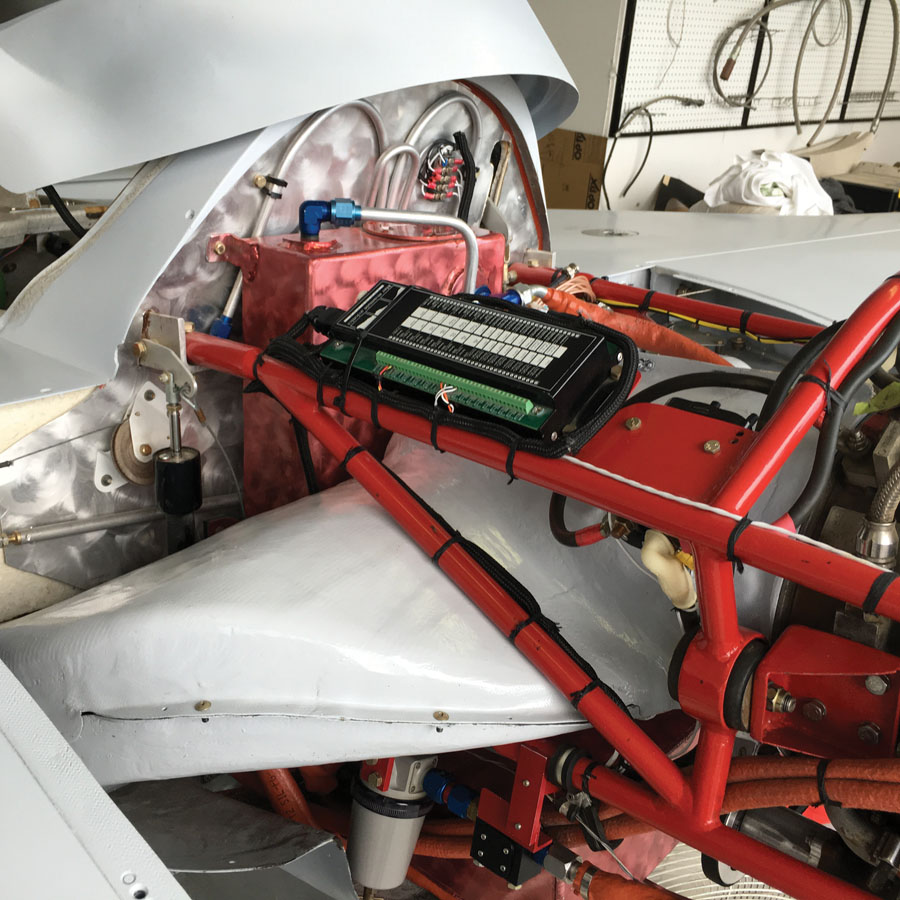
The large red tank on the firewall is the oil tank. The plenum extends from the intake scoops and bends to get air into the engine.
But a couple of things are not standard. I wanted fire detection and extinguishing ability. Because of weight and balance, I put a 10-pound halon bottle in the nose and ran the lines for the engine. How, you ask? I went to Fire Fight Products (www.firefightproducts.com) and they custom built a system for me…no, not expensive. It’s a bottle and outlet made for where it sits in the nose. Detection is just low-temp melting insulation wire wrapped with rudder cable wire. The rudder cable is grounded, and the low-temp wire is connected to 24 volts. The insulation melting completes the circuit and turns on red lights on the panel. I’ll put one in every airplane I build from here on—maybe not 10 pounds’ worth, but it will be there.

The panel includes a Blue Mountain EFIS, Garmin SL30 and SL40 radios, GTX 327 transponder, audio panel, but no autopilot.
Engine Start-Up
We had problems starting the engine. In the past, this same problem was solved by changing the fuel flow divider. I didn’t know anything about being a jet engine guy, and changing the flow divider is scary stuff. It took me 3 hours to do it, but same problem: It wouldn’t start. However, I can change one now in 15 minutes.
OK, change the fuel controller. Wait, do what? It weighs 35 pounds and is two feet long, but you need to pull the oil pump first. Wait, what? To take this stuff off and put it back on takes 8 hours for one person.
We finally got the engine running, and I was doing taxi tests. We had covered some bleed air holes not being used, and this was a catastrophic mistake. While taxiing—bang, unspool, followed by screeching!
Those holes being covered caused the back-pressure air to find a way out. It went out by the number 2 bearing, which blew the oil off the bearing. Know how to tear down a jet engine? Nope…gonna learn. So it happened. Robert, Mike, and I rebuilt that sucker—figured it out and learned how to do it.

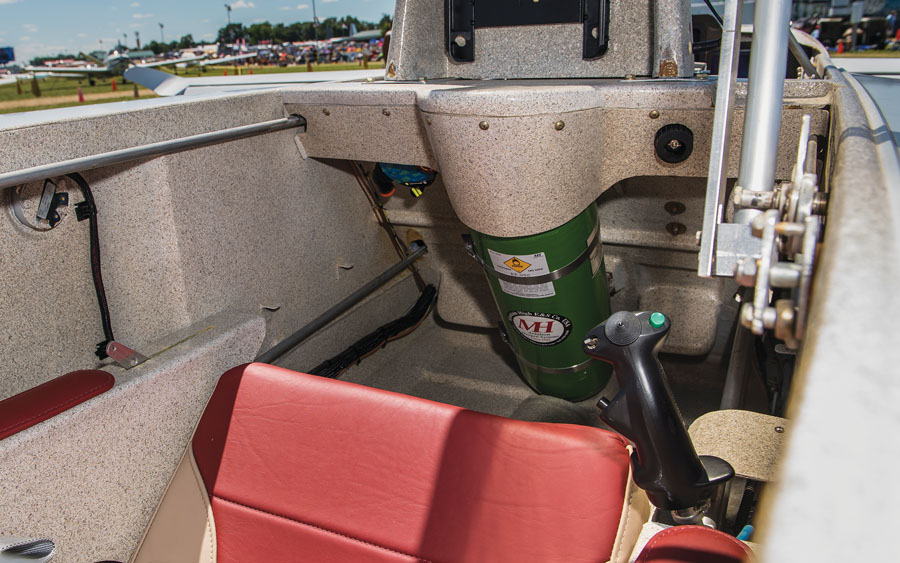
Mounted in the forward cockpit in front of the rudder pedals, the fire bottle holds 10 pounds of halon for the engine compartment and is segregated into two sections. The power board includes 12- and 24-volt circuit breakers.
Since it’s a jet, higher is better for fuel burn and speed. It’s also why I have an F-16 O2 system in it, front and rear seat, diluter demand and all. It’s one reason why I wear a helmet; another is for bird protection, should one try to join me in the cockpit through the canopy. The system has a Kevlar bottle behind the front seat, good for two people sucking on it for 8 hours. I did not know diddly about O2 system installation when I started, especially using a real mask and not the canola type. Fluid Power, Inc. educated me and set me up with all the required components such as the flow blinker (lets you know O2 is actually moving), diluter demand unit (mixes ambient or draws straight O2), connectors for the helmet, and the hose from high pressure to mask. I got all the little plumbing for the fill and supply lines from Mountain High. Great people to work with.
First Flight
Are you up to the first flight of the airplane you built? Really? I’m fortunate to own a Long-EZ and be current in it. Plus I fly for a living, big stuff, but they all work the same. Most people who are building are not flying…I understand.
Flight test is very different than just going flying. Stuff will happen. Plus I’m kinda out there. My design airplane, canted blended winglets, jet engine, new trim system, huge canopy, four pods; a lot can go wrong—usually quickly. This was not my first…or second…or third first flight, so I knew.
I’m not very smart…poor time to admit this. But I’m smart enough to know I’m not very smart. Fortunately for me, we were doing the test flights in Covington, Tennessee, under the supervision of some really smart people. Since Robert has a repair shop there, he has done a lot of test flying. But first flights are a little different. I had an inner circle of guys who we all agreed had the authority to say “Stop! I don’t like this.” Since I was the pilot, I agreed we would stop until everybody was happy.
Robert Harris, Mike Yancey, and Terry Sweat were in charge of ground operations…read rescue if it went bad. Ryszard Zadow and I were flight. Ryszard did me the honor of flying chase. Ryszard was a Top Gun pilot, is the boss of the Rutan Aircraft Flying Experience, and is a race pilot. His frank input was appreciated. A word of advice: Don’t let him get near you if he has guns on his airplane; no matter what I did in flight, he was all over me.
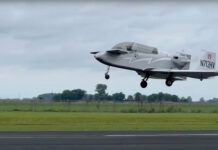
We had a first flight test card we all agreed on—take off, level off, turn left and right, breathe, and land. I’m not kidding. Exciting? Not for me. I was busy—really busy. It was a little out of trim, nothing bad, just out. It did not help that I hit some turbulence at 100 feet while I was sorting out trim. Mike and Robert were chasing me in Robert’s truck; it must have been scary from the ground. Mike was videoing the takeoff, and all they could hear as I climbed away was the blinkers in the truck; nobody said a word. You can see the YouTube video under JetGuys. There was a lot at stake on this flight. We weren’t paranoid, and there was no melodrama. We were prepared and just being realistic about it.
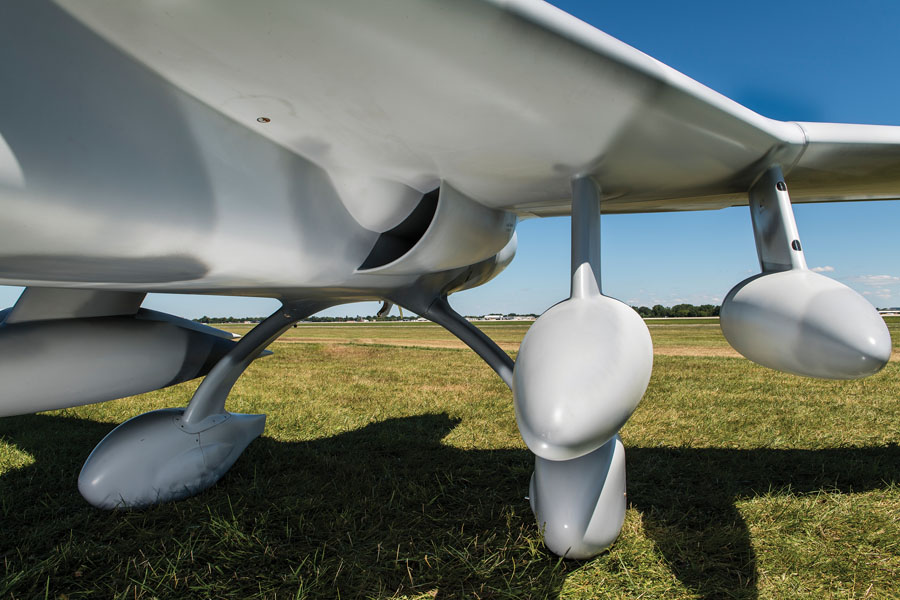
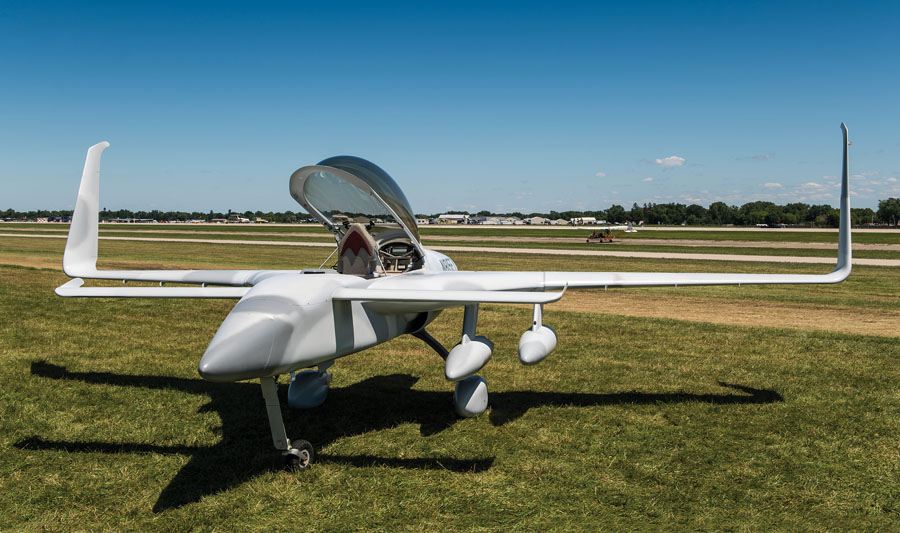
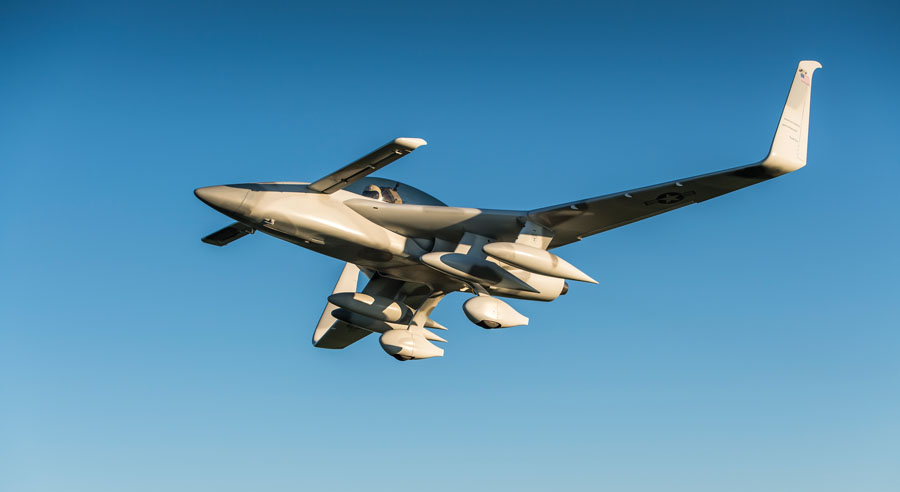
The inboard pods are for fuel, and the outboards are for baggage. Each one is 5 feet long and 1 foot in diameter. The intake scoop provides air to the engine.
Up until the 10th flight we followed the same program. Steve Bailey, our jet engine guy, joined the group beginning with the second flight. We all would sit and discuss what we were going to do, agree, and then go fly the program. I put the wheel pants on for the third flight and tape on the wing joints, standard for EZs. Wow! I gained 27 knots at the same power setting. OK, they’re big tires, 15-6.00×6, with Grove heavy-duty double-puck brakes. But still, we were not expecting this large a gain. It really made the third landing…sporty.
Here’s an interesting side note: I put two Nflight cams, one facing forward and one out to the left wing, plus a GoPro facing aft on the cowling. Robert was not for this…waste of time and money. I was after a poor man’s cockpit voice recorder. The Nflight cams were on the audio system, and the GoPro was on its own. Wow, have they been invaluable for flight analysis. We use the heck out of them, and yes, Robert is the first to admit we are better off with them. We’ll probably use them on all test flights.
By the way, notice the tips on the canard and winglets? Everybody told me I would have buzz from them. The guys in Covington actually had a bet pool on how long it would be until I took a Sawzall to them. They are still there and no buzz. I win. Pay up guys!
Know why I put them on? Because I can. No, really, there’s no other reason. They do nothing—but I think they look cool. Cool factor counts.
What’s It Like to Fly?
The Jet Eze has been out there on speed. Way out there. You can cover five miles a minute. The faster we go, the more stuff we see that we want to change…but you know, we’ll figure it out. We always have.
For the most part it flies like a Long-EZ—very stable. When heavy, it comes off the ground in 1500 feet at about 80 knots. By the time you get to the end of a 5000-foot runway, you are doing 135 knots and climbing at 2500 feet a minute. Accelerate out to 180 knots, and the climb rate goes to 3000 feet per minute; it’s easier to see over the nose, too.
Landing is a little different. On final approach, the goal is to be at 80 knots with a 700 fpm rate of descent with at least 78% rpm. Why? Good question. Jet engines produce 85% of their thrust in the last 15% of rpm. So the closer you are to 85% rpm, the less lag to real power. Conversely, if you are at idle and slam in full power, it will be 4-6 seconds before you get any appreciable power. It’s a drawback to turbojet engines and the only bugaboo in flying the Jet Eze. But you learn to plan for it. When I come in with greater then 78% power, there is almost no lag, yet I can easily get it stopped in 2000 feet down the runway, after touching in the touchdown zone.
It’s Not Easy
Have you seen the trend? I build for the challenge. If anybody could do it, everybody would. I personally think the reason they can’t is because they don’t try. I did not have near all the knowledge, answers, or skills on how to build my jet when I started. But I was willing to ask questions, research, and go find answers.
Was it a long road to build it? Extremely. There were days I worked for 10 hours straight, stepped away from it, and couldn’t see a thing I did. The light at the end of the tunnel was a candle—or maybe a train. I kept listening, just to make sure. But put one foot in front of the other and keep walking. So many people get lost in the walk and just stop. I see it all the time. Try to remember, you may think you’re alone in the build process, but you’re not. It may take a village to raise a child; let me tell you, having built several planes, it takes a village to build an airplane.
OK, how long have I been working on this one? Thirteen years. Now I admit I had life happen and did not touch it for two of those years. So call it 11 years of active building. Would I do it again? I already have a Long-EZ in the garage that I’m modifying to full dual controls. It will be used to train new EZ drivers. Would I build another jet? Yep. Only better.
A friend of mine said, “More people have climbed Mt. Everest than have built their own jet.” Humbling.
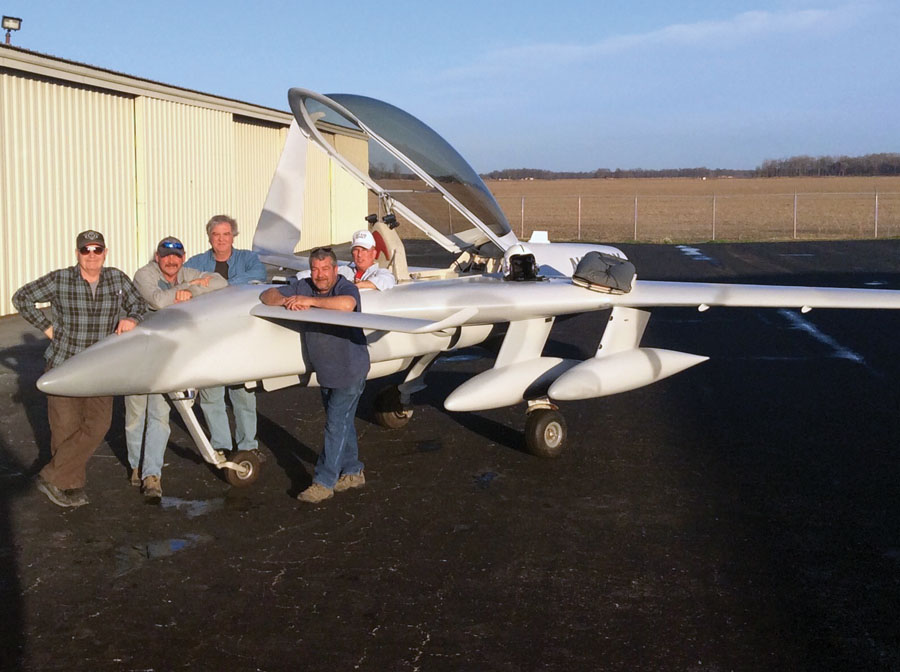
The team at JetGuys were all instrumental in the first flight ever happening. From left: Robert Harris, Ryzard Zadow, Terry Sweat, Mike Yancey, and me.
www.jetguys.co

