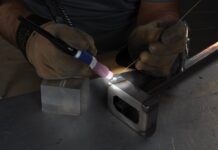
Recall from the last exciting episode that the author was, ever so slowly, learning to TIG weld. He had the advantage of access to a well-equipped shop and a patient (or at least, permanently amused) teacher for an hour or so a week.
Eventually, after I acquired the basic skills, the arrangement faded. My teacher, professional welder Donovan McMartin, and I had a harder time getting together. Our lives are busy, and I had my own new airplane project, so getting together just seemed to become more difficult. We could have overcome that, but a more fundamental problem was that, apart from the fun of learning something new, I had no immediate need for TIG skills. The RV-12 I was building required no welding, though Donnie’s lessons certainly increased my admiration and appreciation for the lovely welding I found on the kit components. It was time to try another kind of welding.
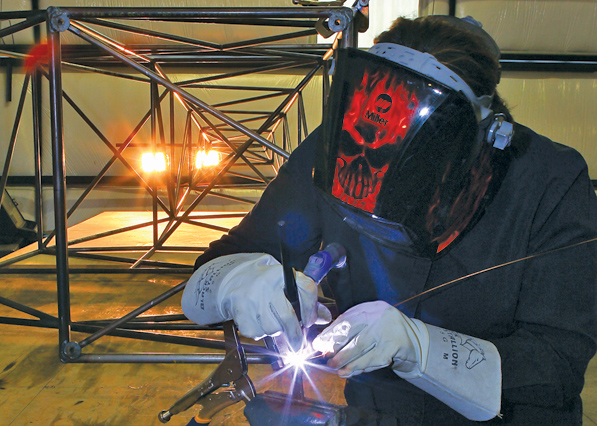
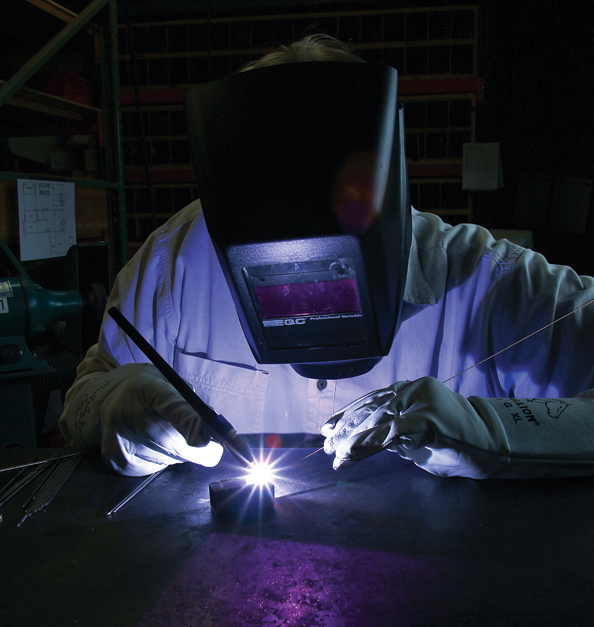
An auto-darkening helmet makes welding far simpler for the novice. Being able to see your work and still protect your eyes is a critical advantage when you’re learning.
Econo Welding
I’d recently purchased a small wire-feed welder from a neighbor for $100. It was very simple-a box about the size of a case of beer, a ground cable and a trigger-operated welding head. Instead of a tungsten rod as an electrode, a spool of wire in the box automatically feeds through the cable to the welding head. The electric arc forms between the tip of the wire and the work in progress, melting the wire and surrounding metal, and forming the weld. Unlike the electrode in TIG welding, the wire spool must be replaced whenever the wire has been used up. The whole unit can easily be carried in one hand and runs on 110-volt household current.
The operation, at least as described by my neighbor, was simplicity itself. Just hold the electrode near the piece you want welded, pull the trigger and move the arc along. “No harder than drawing a line with a piece of chalk,” he said. But the few times I’d tried it had been, shall we say, not terribly successful. I put the welder in the corner and left it.
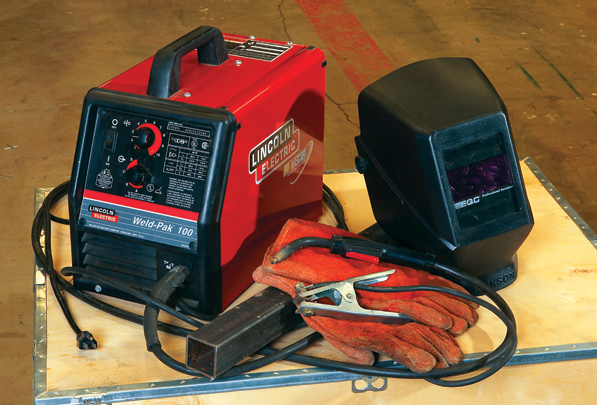
The setup includes the welder box, which contains the electrics and the reel of welding wire that extrudes through the hand piece. Big gloves and a helmet provide protection from hot spatter.
Back on the Horse
My lessons in TIG welding and the experience I gained restored my confidence. So with my spanky new auto-darkening helmet, I gave the wire-feed welder another go. Pull the trigger, get the puddle going as the arc formed, and focus on the puddle-but not so hard that you lose the bigger picture. The scale and feel were different from TIG, but the concepts were the same.
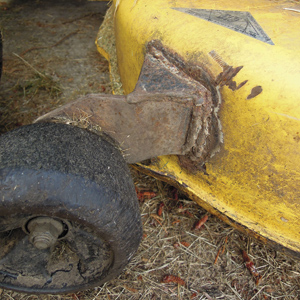
The author’s first real-world welded repair-a source of satisfaction out of all proportion to its size.
Within a few minutes, I really could make an acceptable bead on 1⁄8-inch-thick square steel tubing. Well, I found it acceptable. A real welder would have had trouble even recognizing it as a bead at all.
No matter. It was good enough, and I had a real, live, useful welding project at hand. Two of them, in fact. The first was pretty simple. The small height-setting caster on my lawn tractor had “become detached” when I ran it into a small stump. I removed the deck, put it on my workbench, and hooked up the welder. After a couple of practice runs on scrap, I welded the caster support back to the mower deck, and for good measure, welded on a steel gusset that made the installation much stronger than the original. My first real-world useful weld. It’s hard to describe just how satisfying that was.
Necessity, a Mother
Project two came as the fall storms arrived. The six wood sliding panel doors on my hangar were rotting from the bottom up, and rain was sweeping in underneath them. Rather than rebuild them with wood, I opted for steel-framed replacements, sided in sheet metal. Not only would they be far stronger and more durable, but I’d have a chance to gain more experience with the wire-feed welder.
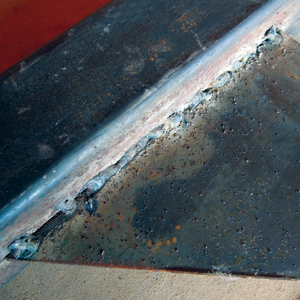
It’s true. Things aren’t always pretty when you start out. Don’t panic. Your first welds will have a certain simian quality, but with practice comes skill. Eventually.
The new doors would be framed in 2×2-inch steel tubing, 1⁄8-inch thick. Six rectangles about 15×6 feet would be needed to span the face of the hangar, cross-braced with 2×2 steel angle. The frames would slide back and forth on V-groove rollers mounted at the bottom of the frame, running on inverted angle-iron tracks fastened to the concrete ramp. Blade-like projections at the top ran in the old barn-door rails that had held the rollers mounted on the top of the wood doors. Thin sheet steel would cover the frames.
It was a big job, made of big iron-at least compared to the small bench-top projects I had attempted so far. When the steel company driver delivered the stock, he threw in a bunch of small ends of tubing, perfect for practice. And practice would be necessary. Even though there was no need for the welds to be pretty, the frames had to be fairly straight and accurate so that the doors could track between the tracks and rails without binding.
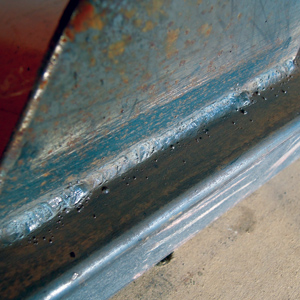
See? Practice does a lot to improve the product.
To my pleasant surprise, the little wire-feed welder had enough power, even at 110 volts, to weld the 1⁄8-inch-thick walls. I built several small squares from the scrap, butt-jointing the corners and welding across the “seam.” I quickly found that the quality of the joint had a large effect on the quality of the weld. If the stock fit well, with an even gap along the joint, making an acceptable weld was much easier. There was no point in trying to fill a gap with weld-the edges of the metal tended to burn away and the result was an ugly, and probably weak, joint. Or no joint at all.
The welding itself was very different from the TIG experience. The arc formed by the wire made a loud guttering noise and threw a foot or two of hot spatter out from the arc-not at all like the quiet whisper of the TIG torch. It seemed cruder, but it was somewhat easier to do. Kinda fun, actually.
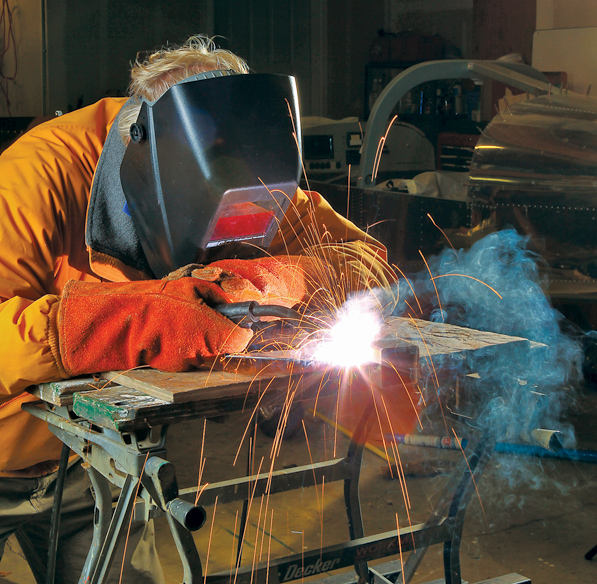
Practicing with the small “beer case” welder. A partially finished RV-12 waits patiently in the background.
Tips and Tricks
Crawling around on a concrete floor, dragging large steel structures into position and off to storage took its toll on my body, so I was glad to accept help from another source-millwright Bill Bobbitt. Handling heavy materials and welding thick steel was no mystery to him, and he quickly showed me a few simple tricks that improved and accelerated construction.
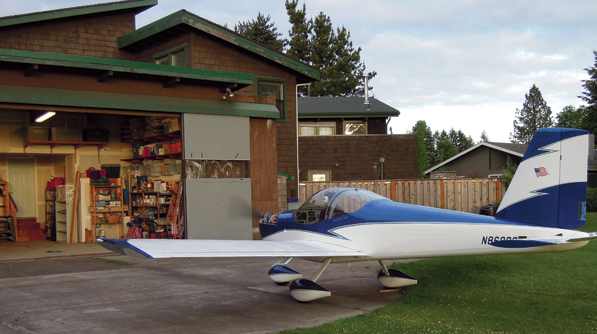
What you can do with a simple welder. The hangar doors close out the weather, and the taxiway is even mowed. Remember that RV-12 project in the background? It’s finished and flying!
Wielding a hand-held disk grinder, Bobbitt sanded the rust and scale off of the area to be welded. A couple of quick passes with a carbide disk were sufficient to get bright metal, and the improvement was immediate. The weld was easier to see and make, and the spatter was greatly reduced.
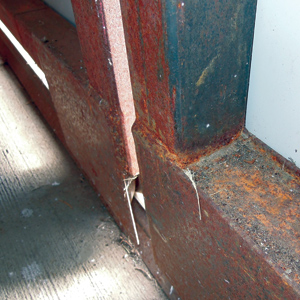
Details of the welds around the bottom door rollers. Welding the corner angles on two surfaces dramatically increases the strength of the joint.
He also taught me the value of tack-welding. My temptation, once a bead was started on a joint, was to keep going. Soon enough, it became apparent this wasn’t the way to build accurate rectangles of tubing. If I made a full bead on one side of the tube, the metal pulled toward the weld, opening an unbridgeable gap on the far side. If I somehow managed to completely weld up both sides of one corner, the frame would almost always end up out of square. The solution was to tack-weld all four corners-making two or three pea-sized welds that held the frame together-on both sides. The tack-welded frame was still flexible enough to be adjusted for square, and once it was trued up, full-length welds on opposite corners could be made in sequence without distorting it too much. This technique was much easier than clamping (getting bar clamps on a frame this size was a slow proposition working by myself) and faster as well.
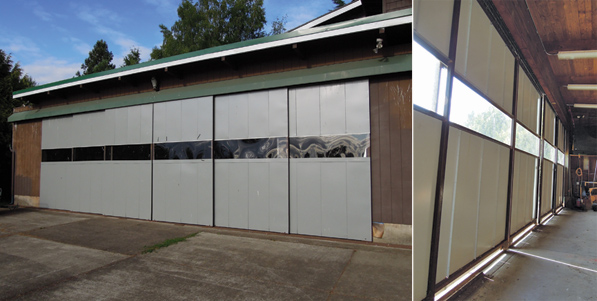
These hangar doors, framed in eighth-inch-thick square steel tube, were all welded with the little 110-volt unit. Really.
I slowly gained a bit of dexterity and confidence as the frames went together, and with Bobbitt’s help, there were soon six sliding frames running smoothly back and forth. They were straight and square, so putting on the sheet-metal siding with pop rivets went easily.
The change in the hangar was dramatic. The doors could be operated easily with one hand, they didn’t swell up and bind when it rained, and they were strong enough that I was sure they would remain standing even if the rest of the hangar blew down. And every time I moved them back and forth, I had the satisfaction of knowing that I’d been able to learn what it took to make that happen.
Next up: traditional oxyacetylene welding.


