 Every two years, as regular as rain on Saturday in Seattle, we’re supposed to test the pitot-static system and confirm that the transponder and encoder are kicking out what they’re supposed to be kicking out. Simple enough, but a test that I’d always sort of scorned. Day to day, everything seems to work, ATC isn’t any crabbier than usual, so why open it up and muck about? This year, I’m glad we did.
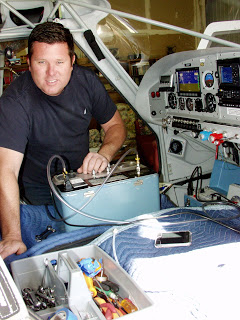
After receiving recommendations from the airport locals, I called Brian Gerdes of Gerdes Aviation to come by for N30KP’s pitot-static and transponder test. He quickly set up his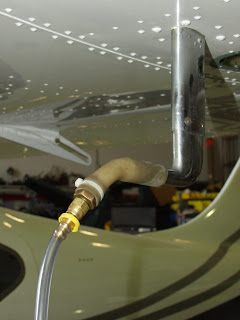 equipment, tapped into the static line—hooking directly to the left port, and covering the right—while also sliding a curiously condom-like thing on the pitot mast. (Better safe than… oh, never mind.)
It wasn’t long before he delivered some bad news. “You have a big pitot leak,” he said. You mean static leak, as that’s what I’ve heard is far more common? Nope, pitot. Hmmm, very curious.
Gerdes kept after it, and within a minute said, “Ha. Found it.” I peeked over the panel and, sure enough, the plastic block on the TruTrak autopilot had cracked at the pitot fitting. (On the photo below, can you see the tiny bit of raised plastic just forward and to the left of the “P” on the label on the photo?) Lesson learned: Go easy on those fittings from now on. The autopilot will be temporarily taken out of the pitot-static loop and sent back to TruTrak for repair (plus a software upgrade, as I’m on a fairly old version), though I suspect a touch of 5-minute epoxy would do the trick.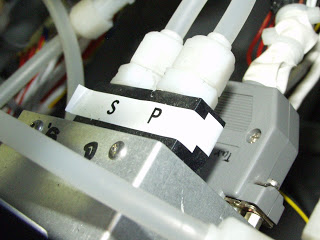
Although Gerdes bypassed the autopilot, we still had a pitot leak. By carefully and methodically working through the system, we knew we’d find the leak, which was now smaller. “It’s a crack in the line,” he said, “not a full-on break. I can tell by how quickly it’s leaking down.”
We eventually isolated the behind-the-panel items from the line running up through the wingstrut to the pitot head and found no leaks there. With the panels off the wing for the annual, it was easy to disconnect the pitot head itself and cap the line; after retesting, we discovered there must be a break in the main pitot line between the head and the fitting behind the panel. Methodical troubleshooting works every time. Problem is, this line runs down the wingstrut, under the seats and well along the left side of the cabin. It’s a long bit of nylo-seal, and the leak could be anywhere.
Ah, but luck was with me. When I built the airplane, I planned to use the Dynon angle-of-attack pitot tube, which requires its own reference line to the instrument. By the time I was out of Phase I flight test and wanting to fly some IFR—where, it’s my view, you need to have a heated pitot head, period—Dynon still had only the unheated model. It was therefore replaced with a traditional Falcon heated pitot, and the extra line was simply capped off.
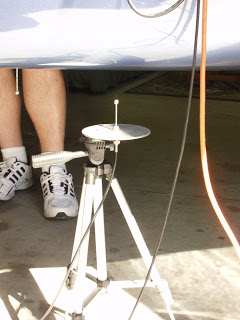 Easy solution, then: Swap lines. The old AOA line became the new pitot line. Ten minutes later, everything looked good. With the test rig’s vacuum pump chugging away, Gerdes brought the system up to 20,000 feet, where the Dynon’s maximum discrepancy was 40 feet and the backup United altimeter’s was 70 feet. What’s interesting about the test chart is how the steam-gauge altimeter can trend high or low from one 2000-foot increment to the next, while the Dynon is very consistent. Yet another check mark in the “good stuff” column for electronics.
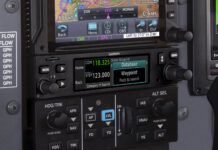
The final test was on the Garmin GTX 327 transponder for frequency stability, sending the correct codes and modes, and RF output. It passed, no problem.
In all, I spent an enjoyable morning talking airplanes with Gerdes. I was grateful that we (he) found the pitot leaks, which never showed up in flight. He told me that many airplanes fly with just such problems, but I’m happy we discovered mine. The Dynon EFIS is dependent upon pitot input to, er, keep its head on straight, so it behooves me to maintain that system in top shape. Without this inspection, I never would have known about the leak.
Gerdes charges $225 for the inspection. Money well spent.

