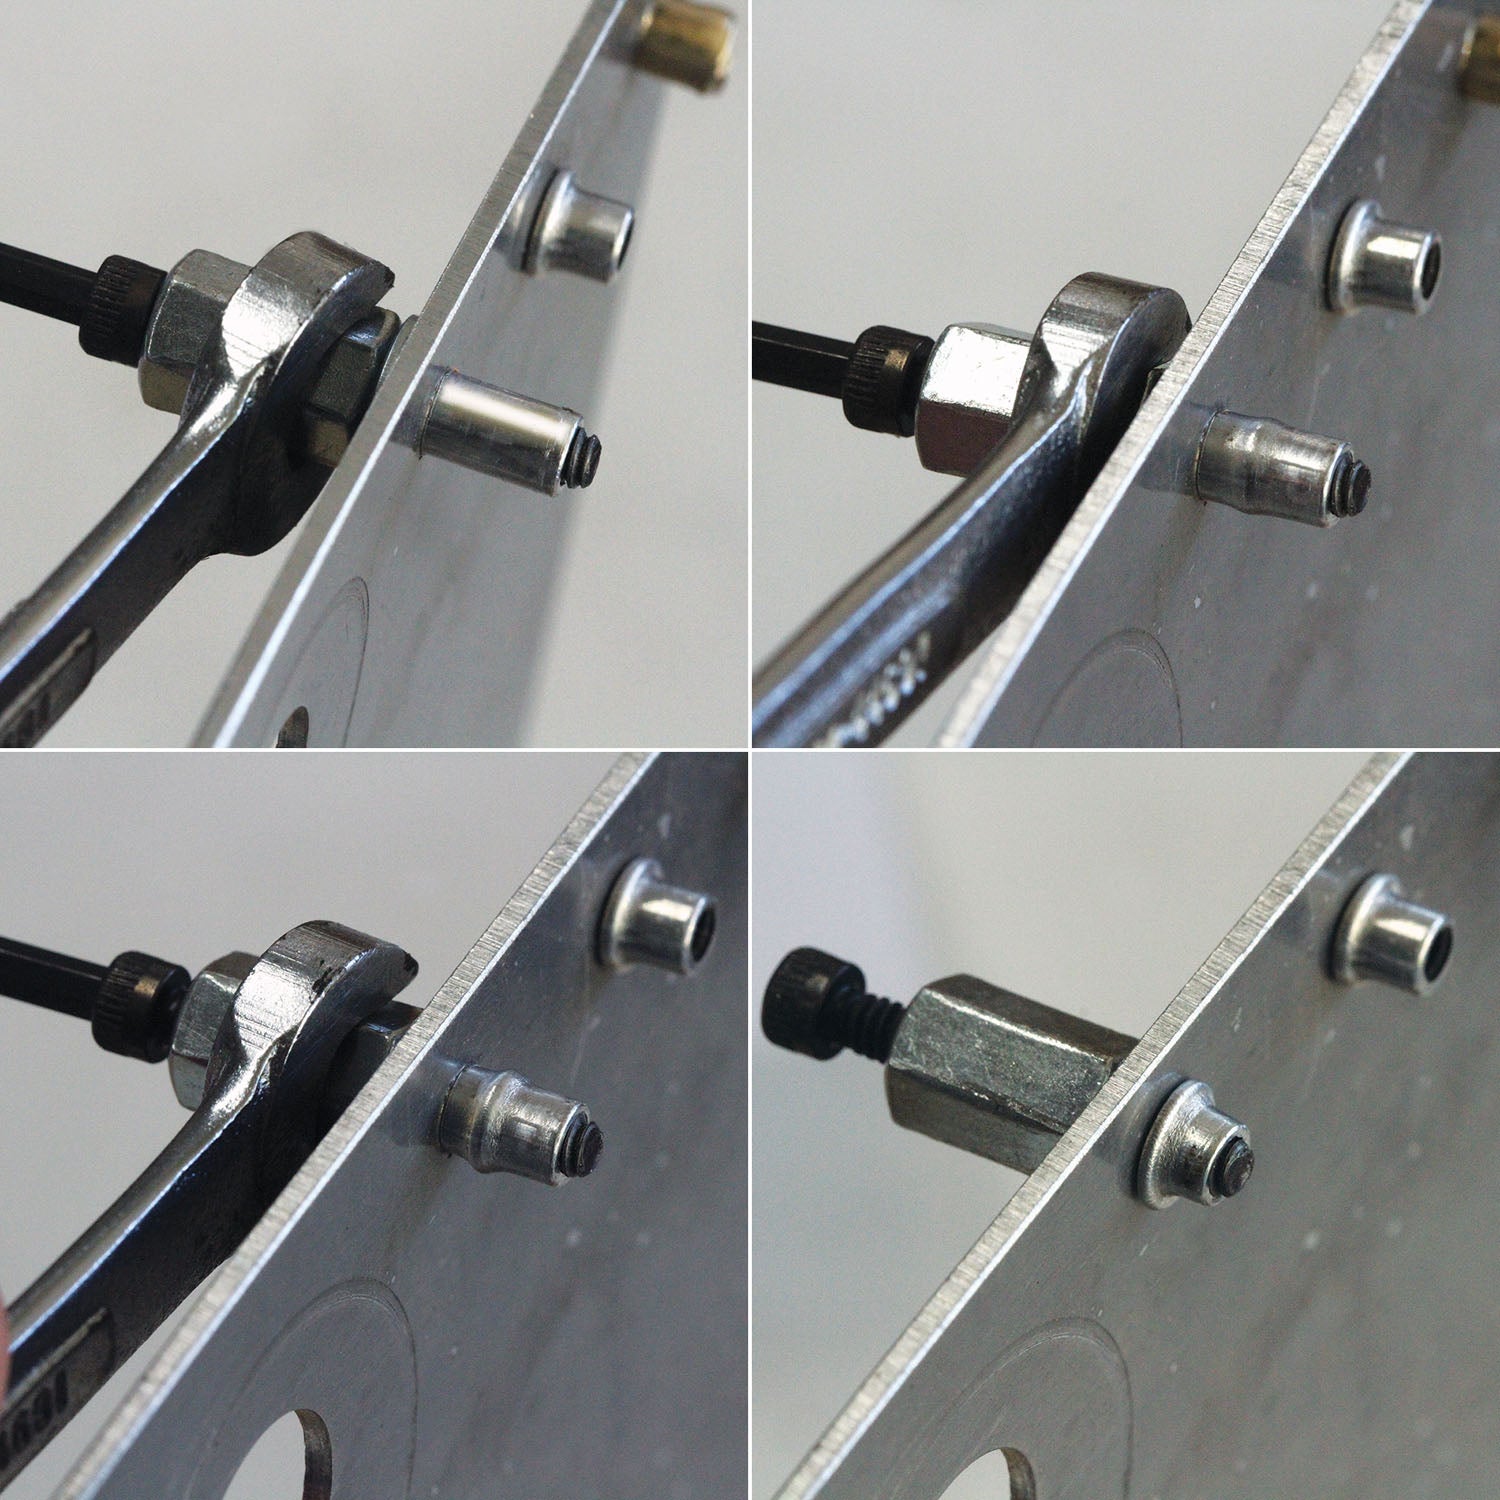
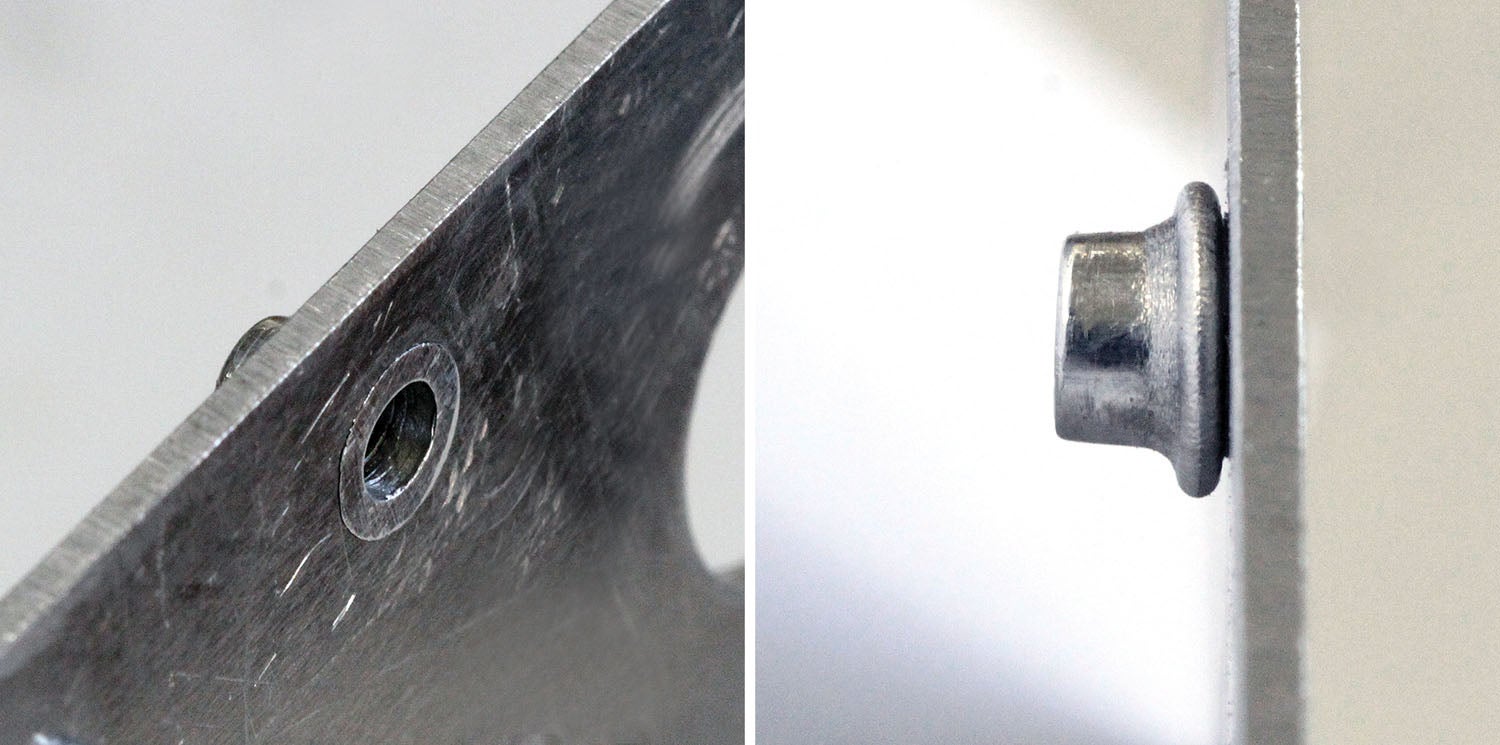
Blind rivet nuts, also called rivnuts, rivet nuts or insert nuts, are a clever way to add threaded bosses to thin-wall sheet metal structures or to anchor a threaded hardpoint to a composite skin (post cure).
Aircraft grade blind rivet nuts are available from most aircraft parts suppliers, including Aircraft Spruce and Wicks Aircraft Supply (search “rivnuts”). They are available in two styles (counterbore or countersunk), in various lengths and three thread choices: 6-32, 8-32 and 10-32. The prices range from 20 cents each to a dollar, depending on the style and size. You can also find rivet nut kits on Amazon and eBay. These tend to be for automotive applications and will usually include a mix of metric and SAE inserts.
So, with all these suppliers and choices, why make rivet nuts in the home shop? One, because they are easy to make. And two, because the available choices may not be exactly what you need.
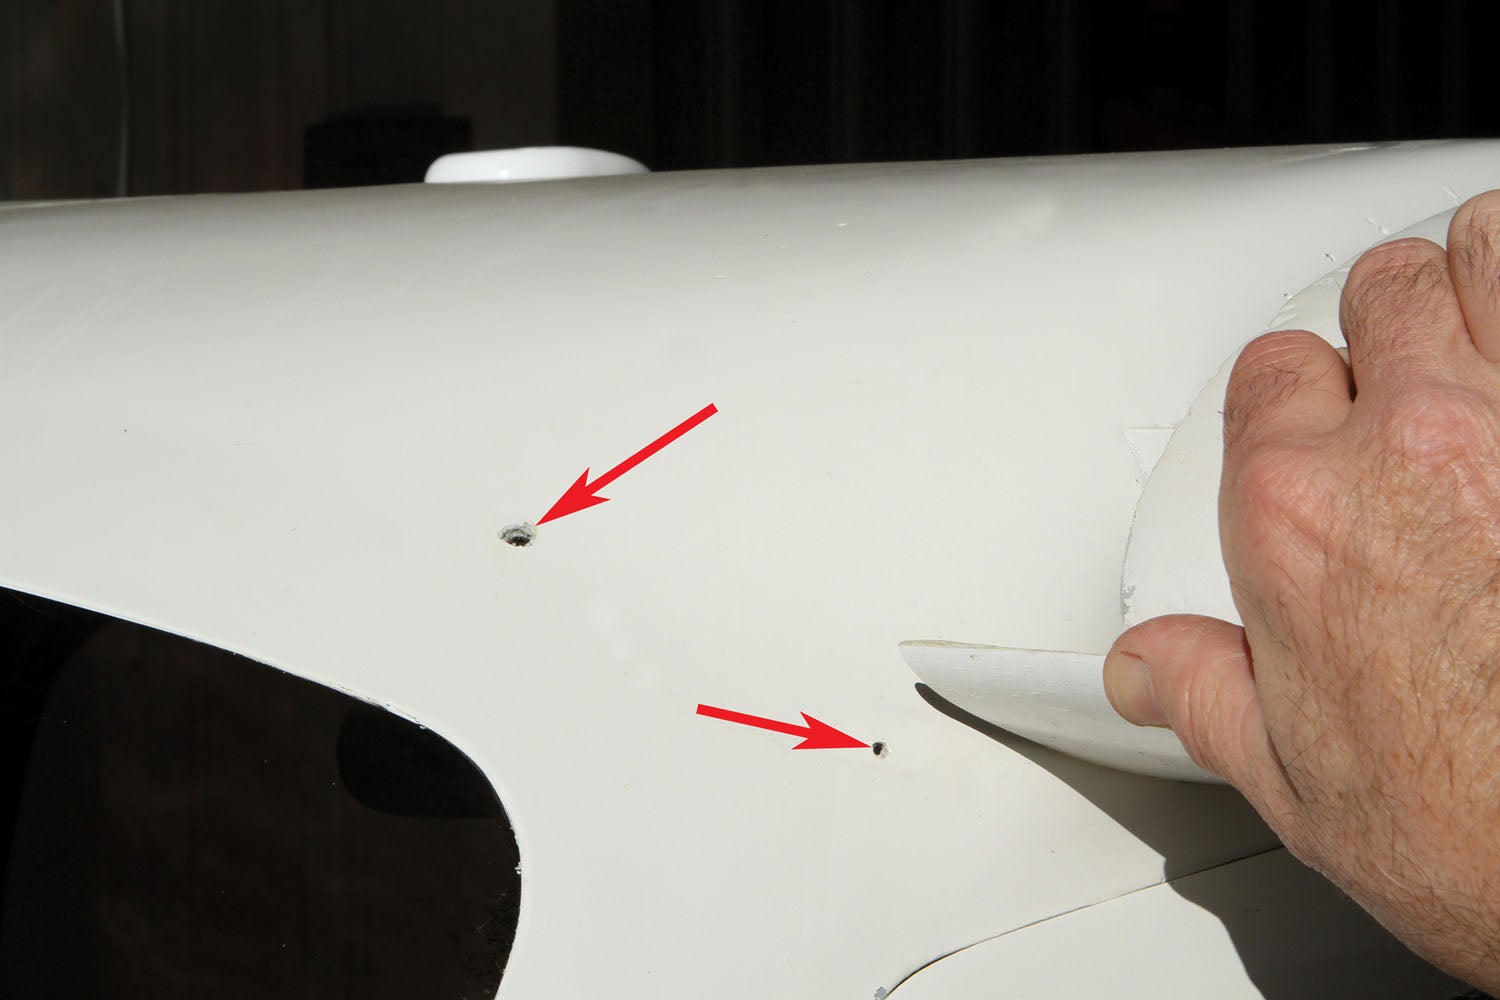
Both reasons came into play when I needed to fix a worn-out screw hole for one of the wing root fairings on my Jabiru. The original builder attached the fairings with NAS548-style self-tapping screws threaded into the fiberglass skin. The fairings come off at least once a year—during the condition inspection—to check the wing attachment bolts and fuel lines. It’s only natural that, over the years, the screws have started to loosen their grip in the thin fiberglass. Going on 10 years, I’ve replaced all of the original #6 screws with #8 screws. On the last inspection, one of the #8 screws was starting to loosen to the point where a #10 screw was needed. Since this particular screw was at eye level and a #10 screw is noticeably oversized compared to the surrounding screws (to me anyway), I decided to install a 6-32 rivet nut and forever end the problem of self-tapping screws coming loose.
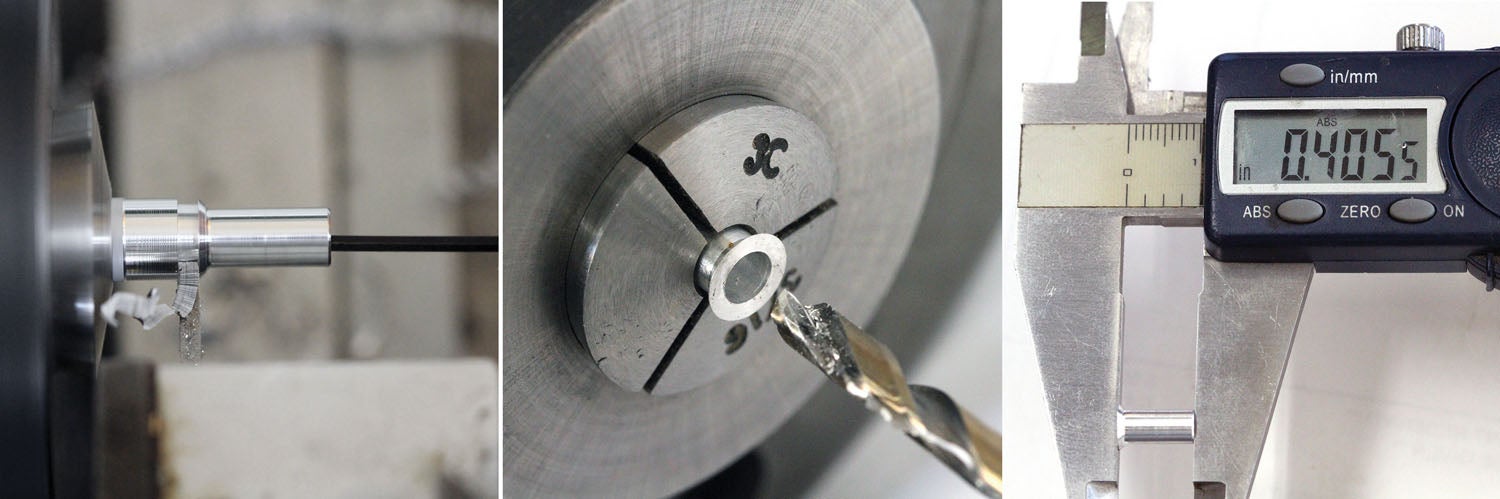
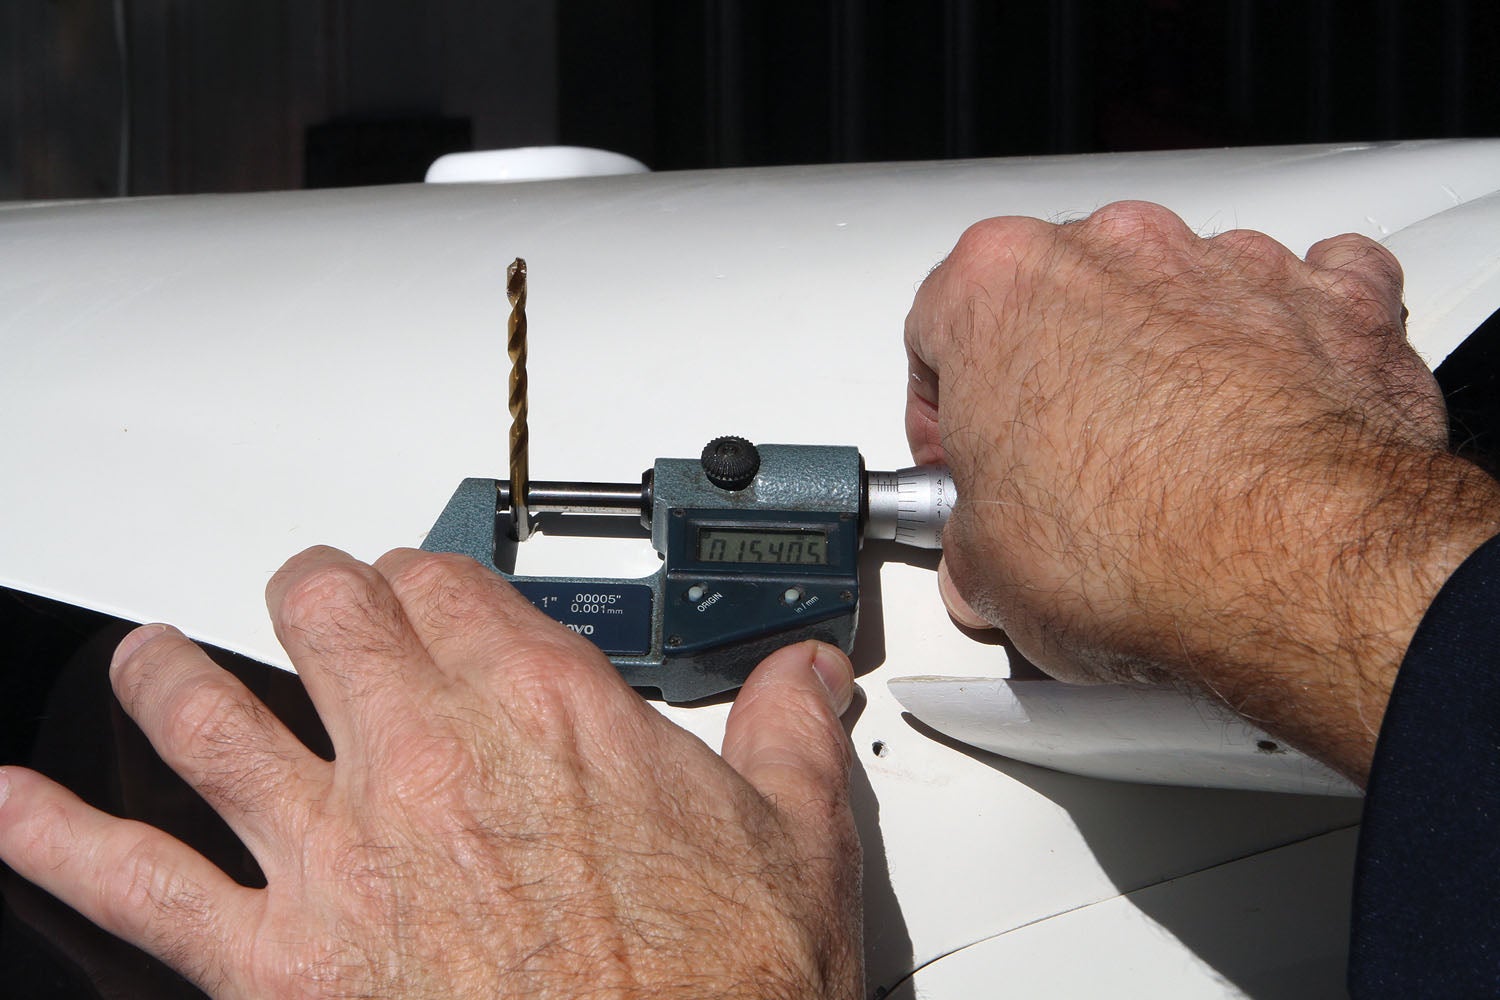
In checking out the dimensions of various rivet nuts available from Aircraft Spruce, the head diameters of all the 6-32 variations were between 5/16 and 3/8 inches. I was looking for something a bit smaller with a shallower countersink depth because the skin on the Jabiru is very thin. A standard rivet nut would require a countersink depth equal to the thickness of the fiberglass, so I decided to take a stab at making a custom rivet nut.
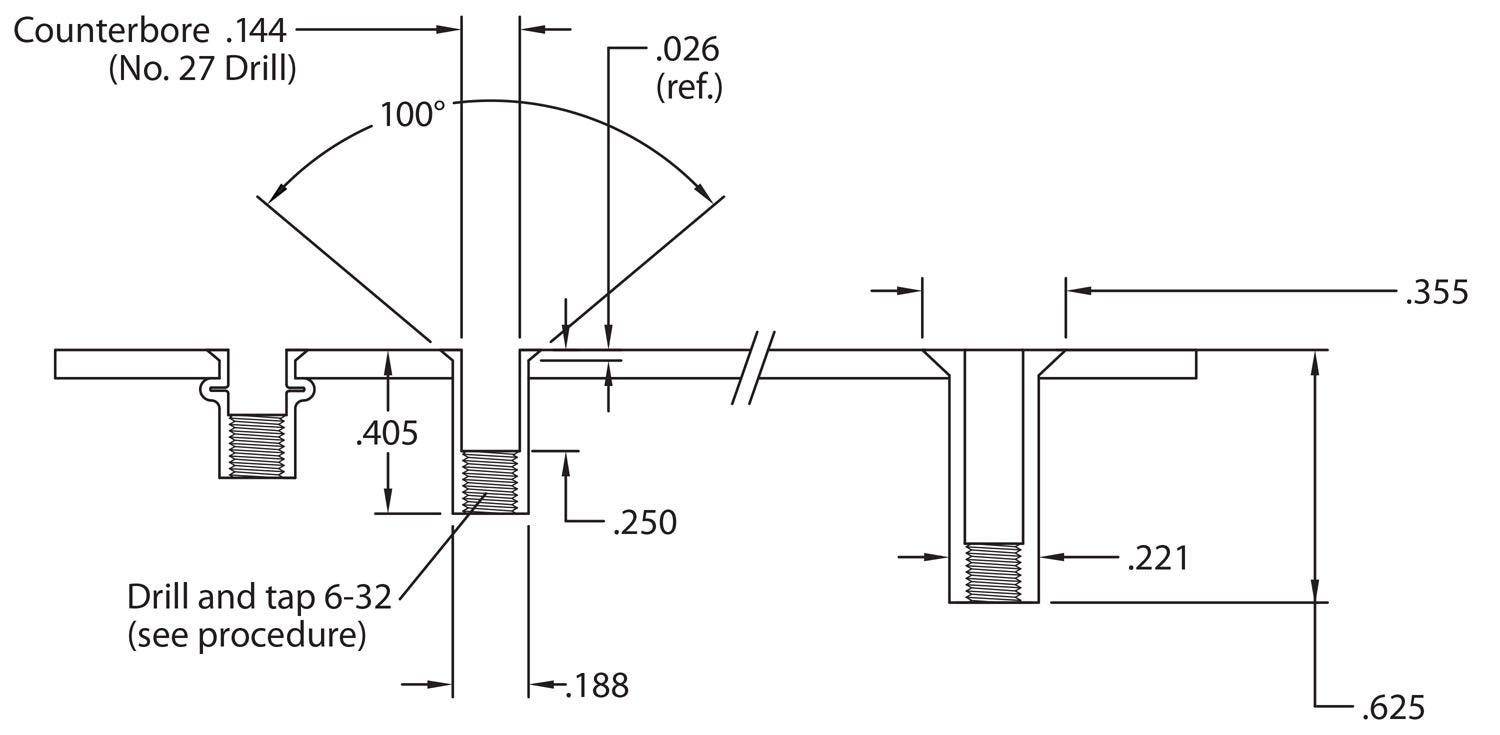
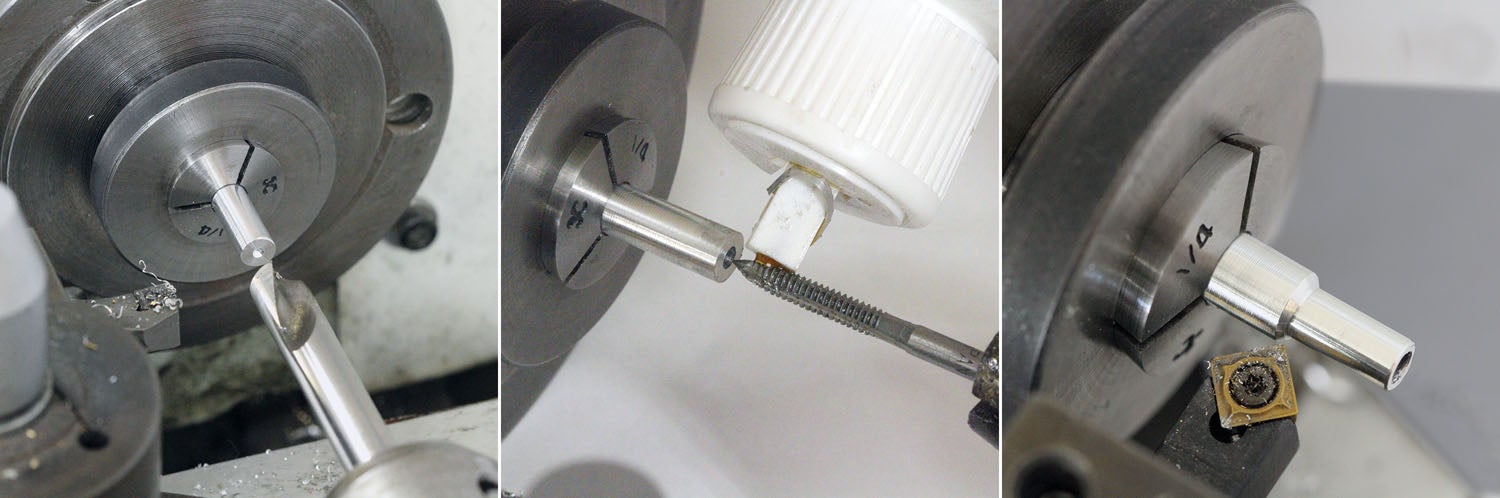
It turned out to be a really easy and fun project. I started by rough sketching a NAS 6-32 rivet nut using the dimensions provided on the Aircraft Spruce website. I then sketched a shop-made version with a comparatively shallow countersink. Once the sketch was done, I couldn’t wait to get out in the shop to make a batch and test them out.


Doesn’t annealing call for heating and then SLOW cooling? https://www.speedymetals.com/information/Material6.html Isn’t a water quench part of hardening?
The link below is to an excellent ASTM paper on heat treating aluminum alloys and explains the specifics of aluminum quenching. The chemistry is different for steel alloys (where quenching hardens). On aluminum, the hardening happens through a process called precipitation.
https://www.asminternational.org/documents/10192/17082024/HTP_Nov-2009__Quenching__00907p25.pdf/eb516c04-7ade-4163-b7ae-a4f2d9f38185
See also:
https://makeitfrommetal.com/how-to-anneal-aluminum-the-beginners-guide/
1100 Anneal at 650 F, make sure it’s heated through, then air cool.
2024 If working from a heat treated condition, soak at 750 F for two hours then slow furnace cool. Between cold working, anneal at 650 for 2 hours then air cool.
3003 Anneal at 775 F, air cool.
5052 Anneal at 650 F then air cool.
6061 Anneal at 775 F, hold for 2-3 hours at temperature, then air cool.
7075 Anneal at 775 F for 3 hours, then cool to 500 F at a rate of 50 F per hour, then air cool. This is fussy stuff to work with.
All of this said air cool, but you say to quench it in water?
Comments are closed.