 The day will come when all of your engine’s parts come home from their exciting trip to Tulsa, Oklahoma. (Remember that, in the last installment, all the big pieces of our RV-6’s Lycoming O-360 had been UPS’d to Tulsa for review and rework as necessary.)
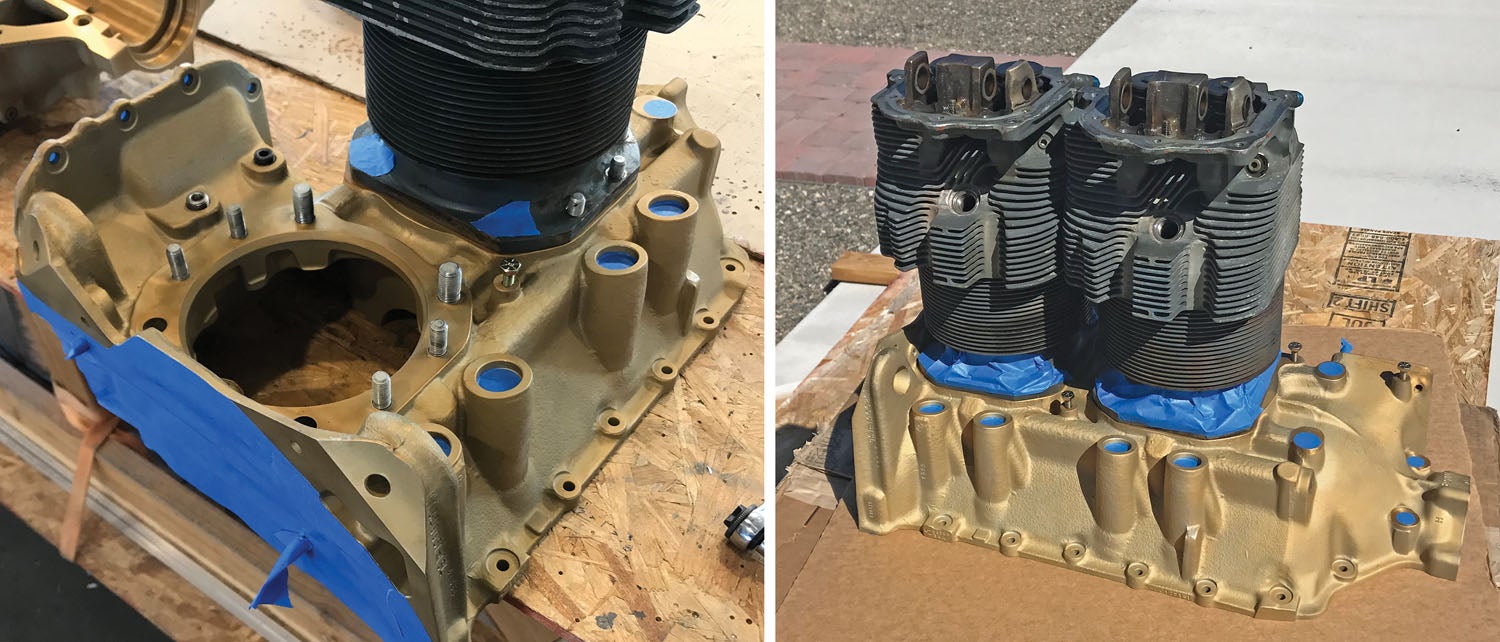
 So now it’s time to put things together. For our engine, the crankcase got back two weeks before the steel parts, so we took the time to clean and inspect, then to mask and paint the outside of the case. In its disassembled state, we could shoot paint in some difficult places, and we ended up with a nice-looking engine—even though we just painted it standard Lycoming Gray (Aircraft Spruce has this paint in spray cans).
Here’s one trick to masking the case: If you have the old cylinders lying around, clean up a couple of them so that you won’t get anything greasy or oily, then paint the case halves individually, separation plane (spine) down, the old cylinders just sitting in their locations without any bolts. That way, you’ll get no paint on the mating surfaces, and the paint will go right to the edge of the cylinder bases so that there will be no gap in the paint when new cylinders are installed. It makes for a lot less masking!
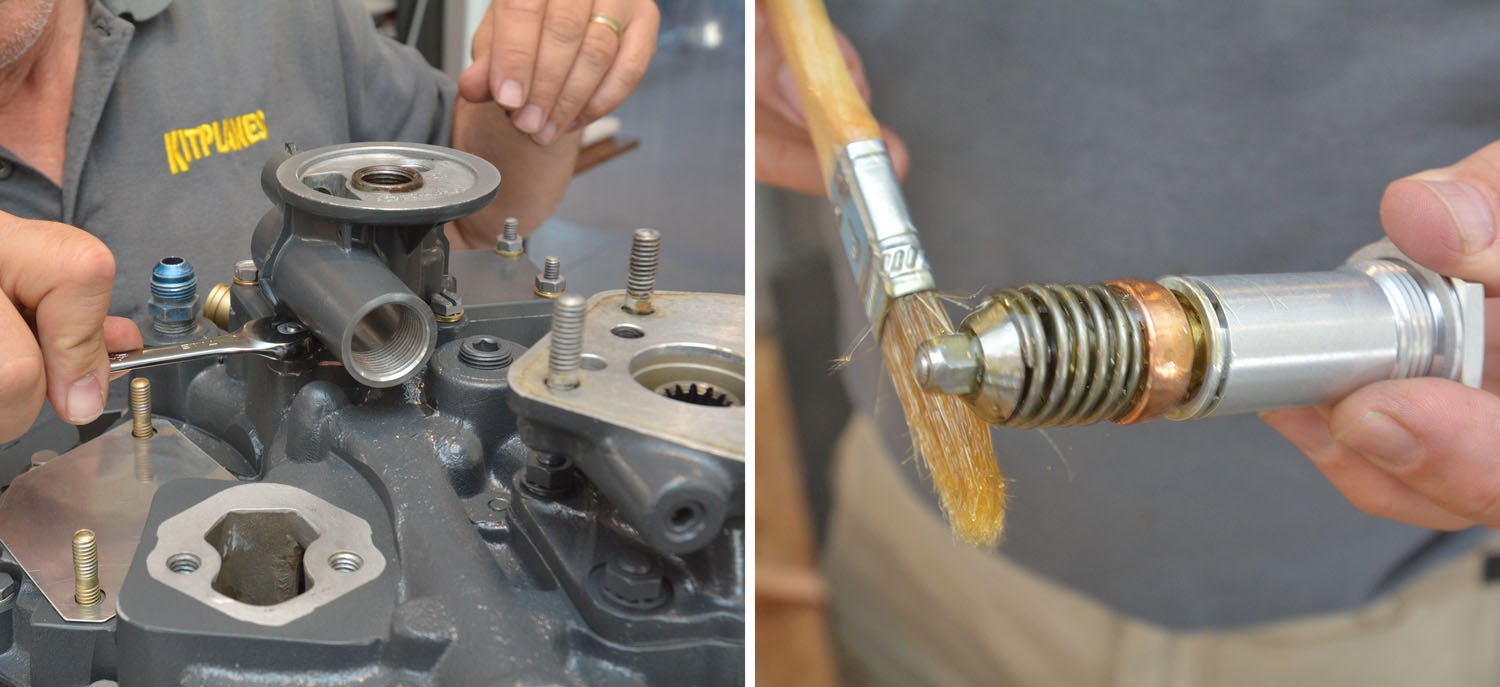
As we said up front, we’re not going to describe building the engine here in this series of articles. We’ve done that before and in much more detail than the manuals, which will give you specific instructions that you need as well. Suffice it to say, follow the Superior manuals, along with other assembly stories you can find, and some of the sidebars we have here, and you should do fine. However, even though these are simple engines, it is surprising how many little tricks you learn from experienced builders and by watching others—and doing it yourself.

Calling for Help
If you have never assembled a Lycoming or watched it being done, our advice is that you get some help from someone who has done it. After all, even though these are simple engines, they’re expensive—and the consequences are much more severe than if your home-overhauled car engine throws a rod. You’re going to fly behind this engine, as are others, so it has to be done right. Don’t be proud—get some help until you’ve done it enough to learn the pitfalls. When you tighten that last bolt and the engine spins freely on the work stand, you’ll know you have a good powerplant, ready to go and safe to fly behind.

Plan on a couple of days for assembly—and don’t be surprised if, indeed, you run into one of those surprising parts shortages, like our rocker-arm thrust buttons. We didn’t let that bring us to a halt—we simply finished installing the rocker arms and shafts, then put two screws in each rocker box cover to hold them in place should the newly reconditioned shafts creep out due to gravity. When the buttons showed up, we finished the job.
Also, don’t be in too much of a hurry to put everything on the engine. It’s up to you if it is easier to put baffles on before or after hanging the engine (we waited until after because we didn’t risk dinging them with the hoist), but until the baffles are installed, you can’t install the dipstick tube permanently. You’ll also probably want to wait on spark-plug wires and maybe even the magnetos—it can be a tight shimmy getting those through the engine-mount ring. We leave spark plugs out because we know we’ll be turning the engine during the installation of the prop—and we’ll be timing it—so no need to crush those washers twice. We did install the starter and alternator, as well as the prop governor, because it is easier to do those when you have more room to work. So, think ahead.
Don’t be surprised if, during assembly, you run into a strange problem associated with the exact parts installed in your engine. There is a rumor that Lycoming once made two absolutely identical engines—but no one has ever proven that to be true. There is a huge variety of Lycoming 360s out there and an equally large number of accessory cases, sumps, drive adapters and the like. It is not unheard of for your engine to not match any of the specific models, especially once it entered the homebuilt realm and someone started substituting parts. In our case, the parts chase was more subtle—and involved the factory.
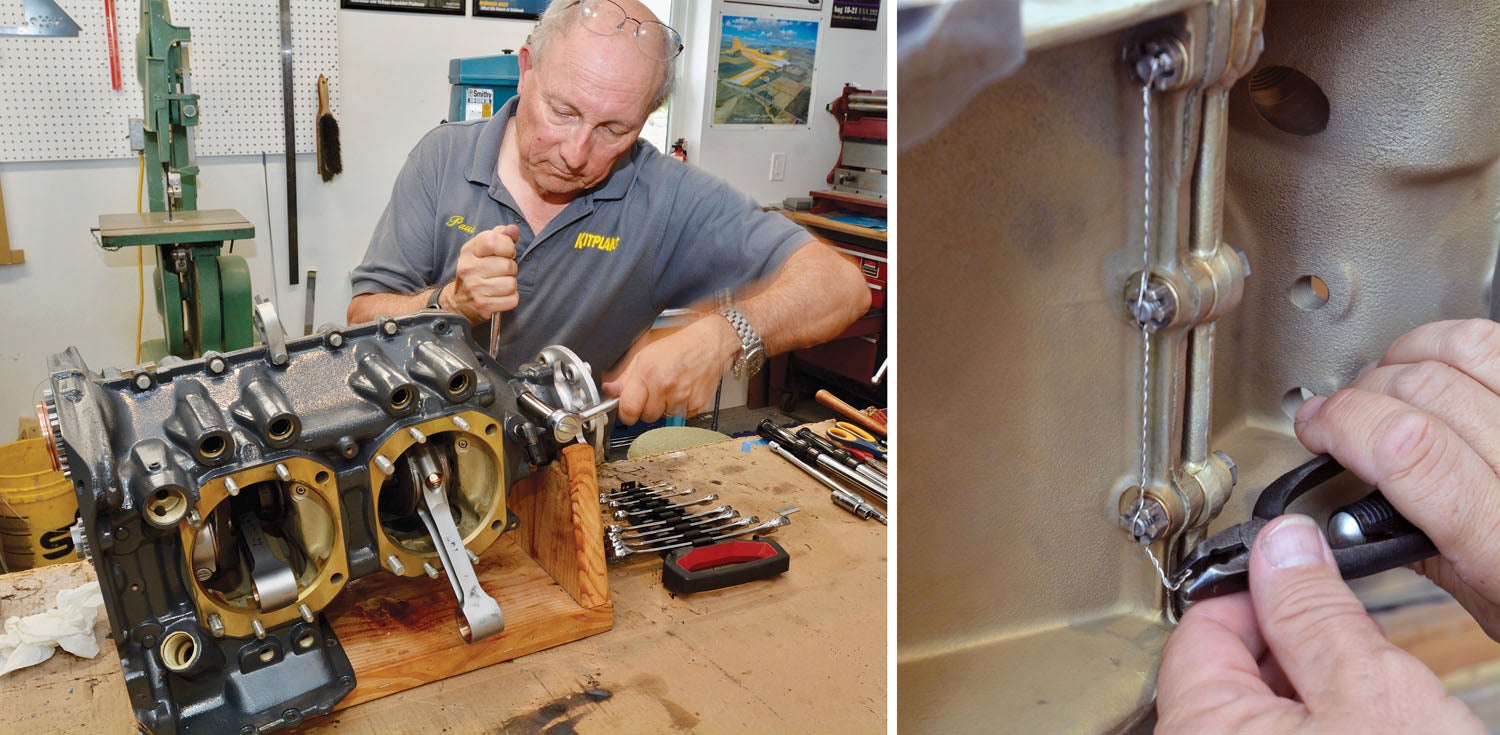
Time to Stand
After we had fully assembled the lower end, we put it on the engine stand, added torque plates and brought the through-bolts and -studs up to full torque; this is to ensure that the crankshaft bearings were properly bedded. The engine spun effortlessly (indicating the bearings were perfect) right up until we heard a “clunk.” And then it stopped. Something was interfering internally! We carefully moved rods around and even installed the idler gear between the crank and camshaft to see if it was a timing problem—and the clunk remained, though sometimes it moved beyond that spot and sometimes it didn’t.
Removing one torque plate, we shined a bright flashlight inside and soon found the problem—the rod bolts were hitting the camshaft! The contact was between cam lobes, so it wasn’t timing—the heads on the bolts were actually protruding too far and hitting the shaft.

Phone calls ensued to various experts we keep on speed dial and for whom we have the deepest respect. Part numbers were exchanged and looked up, and we concluded that the part numbers on our rods were not correct for our engine—which, according to every bit of data we had, had never been opened up after leaving the factory. The bolts we had were the right ones for these rods, according to Aircraft Specialties, but they were “big head” bolts, not the shorter ones more frequently used in the O-360. It was clear that we needed the short-head bolts, and Aircraft Specialties promised to have them to us by noon the next day—even though they weren’t at fault in the slightest.
Our next call was to Lycoming. They keep build records on every engine that has left the factory since time began. We were pleasantly surprised to get a live person from tech support very quickly. He listened intently to our problem and promised a return email as soon as he could research the issue. He took down our engine model and serial numbers, and we left him to research while we grabbed some lunch. In about a half-hour, we had our answer—sure enough, a range of serial numbers produced in a row had this part-number rod substituted (probably because of supply issues) for the more common rod, and a service bulletin was issued to memorialize this fact. Bottom line, though: The rods were approved for our use and, yes, they needed the short-head bolts. We took the afternoon to catch up on other things, went four-wheeling in the mountains the next morning and the brown truck showed up so that we could proceed at 11:00 a.m. We didn’t lose much time, and the short-head bolts solved the problem.
The lesson here is that no matter how much you do in advance, some problem will still pop up. If you could predict the problem in advance, you could stop it from happening, but you can’t. So don’t have your assembly expert booked on a non-refundable ticket for the evening at the end of a planned two-day build. Expect at least one off-kilter problem like this and roll with the punches. Make sure to trace anything that doesn’t smell right all the way to the end. Get the right answers and get the right parts—you’re going to fly with this engine, after all.
Next time, I’ll go over the last bits and pieces for reinstallation of the O-360 to our very patient RV-6, a primer on overhaul paperwork and then dive right into first start and break-in procedures. Because there’s more to this than swinging wrenches!
Photos: Tom Wilson, Paul Dye, Louise Hose.
![[Credit: Lisa Turner]](https://www.kitplanes.com/wp-content/uploads/2026/02/Fuel-Selector.jpg?w=218&h=150&crop=1 "Fuel Follies")


Thank you , a very interesting article . My favourite moment after every engine rebuild is the first start , with everything perfect they start with the slightest swing of the starter motor and purr into life . Pure bliss
Putting the crankcase through studs into the crankcase before crankcase assembly avoids scarring up the mid point of the stud that does the c/c alignment and sealing surface to the o-ring in the recess that should be there after any c/c overhaul. Reference SI1290D to accomplish O-ring mod.
Comments are closed.