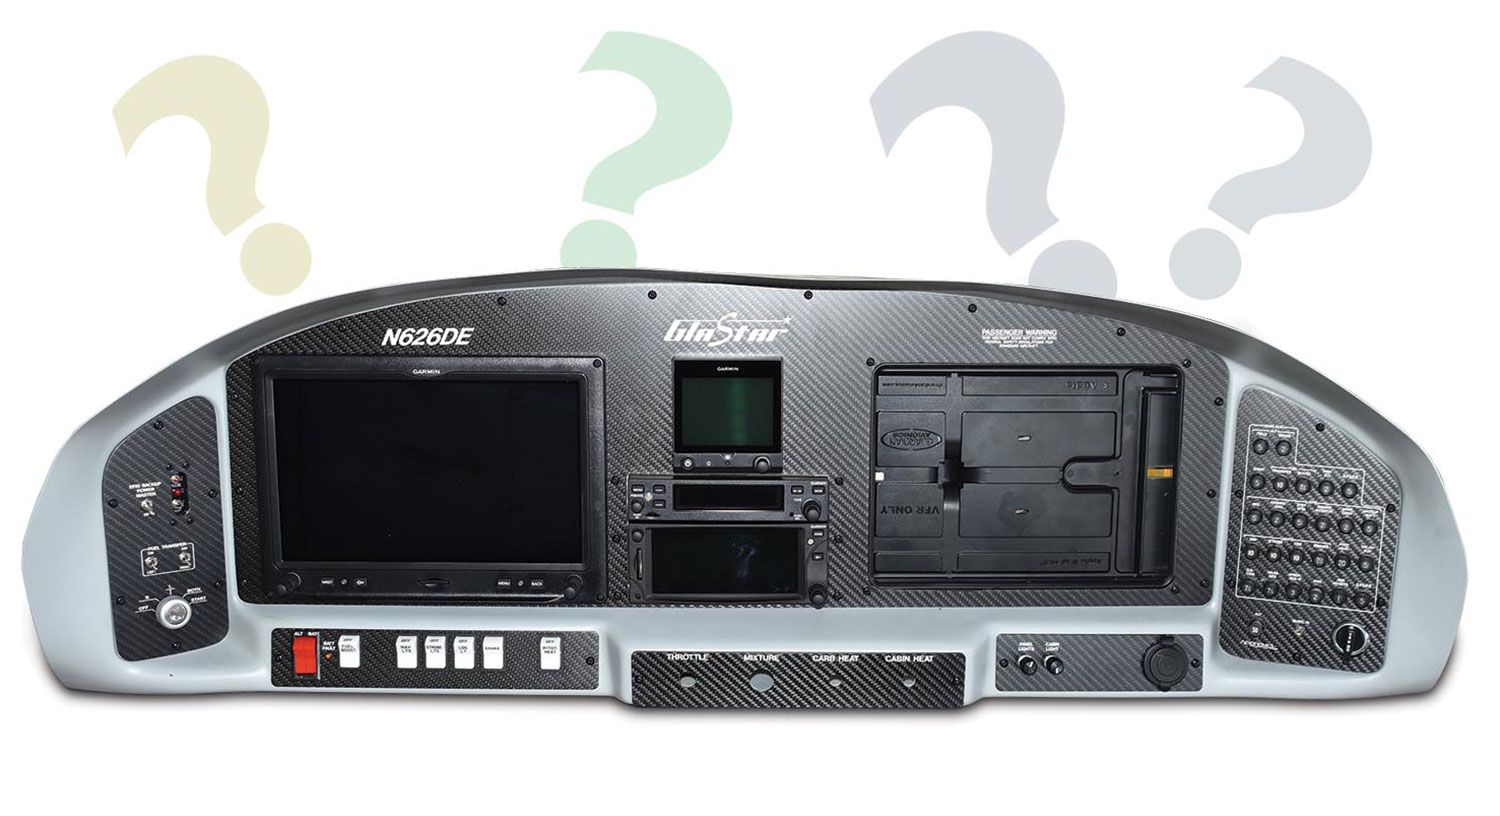
 The instrument panel is a big cost item for any airplane project. How big? The rule of thumb is that the kit is one third the cost, the engine and prop are another third, and the instrument panel fills up the rest of the budget. While this is roughly true, there is a lot of variability in the cost of an instrument panel.
Before one can pin down the cost of a new panel there are a few questions to answer: Do you need IFR capability? What kind of backup systems will satisfy your needs? Do you have a brand preference—Garmin, Dynon, Advanced Flight Systems, etc.? Do you need ADS-B Out? Do you want an autopilot? Do you want to include any traditional analog instruments (steam gauges)? Do you plan to wire the panel yourself or get a pre-wired panel?
Admittedly it is still possible to build a very simple panel with an airspeed indicator, altimeter, compass, and a few automotive engine instruments. With a handheld device for navigation, a com radio and a transponder, such a panel can be put together for less than $10,000 if you build it yourself. However, the trend is undeniably toward electronic displays; they’ve become affordable, reliable and offer tremendous capability along with the potential for expansion and upgrade. So that is where we will focus most of our attention.

IFR vs. VFR
If you fly IFR or maybe just think that someday you will, build a panel with at least basic IFR capability. This ties you into some basic costs that are almost impossible to avoid. Gone are the days when a pair of VHF nav/coms with VOR and ILS will get it done. Today you need an IFR approach-approved GPS, a transponder, and a com radio. With January 2020 just around the corner, you will need ADS-B Out capability in your transponder. In addition, you will need a primary flight display or equivalent analog instruments that include airspeed, altimeter, artificial horizon, and turn and bank. If your primary flight display (PFD) is electronic, you should have an alternative source of basic flight information such as a Garmin G5, Dynon D10A, or a second screen of some kind that can act independently of the PFD. (Fortunately today’s systems are networked in a way that as long as the components determining the airplane’s movement in space are still working, that information is available to many screens.) You will also need engine instruments, but these are typically covered with the PFD, except that the sensors do add cost.
If you do not need IFR capability you can eliminate the expensive approach-approved GPS and arguably the backup PFD. In other words, if you lost your panel, you would have to fly by looking outside and make the best of it.
To guard against this traumatic eventuality early glass panel users installed a few analog gauges such as airspeed and altimeter, but today the electronic backup has become the default choice. Of course, while this is a security blanket for the VFR pilot, it is mandatory for the IFR pilot who may be flying in actual instrument conditions when the primary PFD decides to stop working.
The VFR pilot may elect to spend the extra money to get IFR capability, even without any intent to get an instrument rating in the future, to add value to the plane. Whether or not this is a good plan depends on the type of plane and how long the builder plans to keep it. For example, a future buyer of an RV-10 or a Lancair would expect to see IFR capability on such a plane. The lack of it would surely be a drag on the sale price. However, with many of the popular utility planes such as those by Kitfox or RANS, the money spent on IFR equipment might be hard to recover in a future sale.
Upgrading from VFR to IFR capability can easily add from $7000 on the low side to $15,000 or so on the high side. In addition to the approach-approved GPS receiver and backup instruments, little things like a heated pitot tube add to the cost. (For the difference in cost, this is a component you should just build in from the start, even if you never use it.)
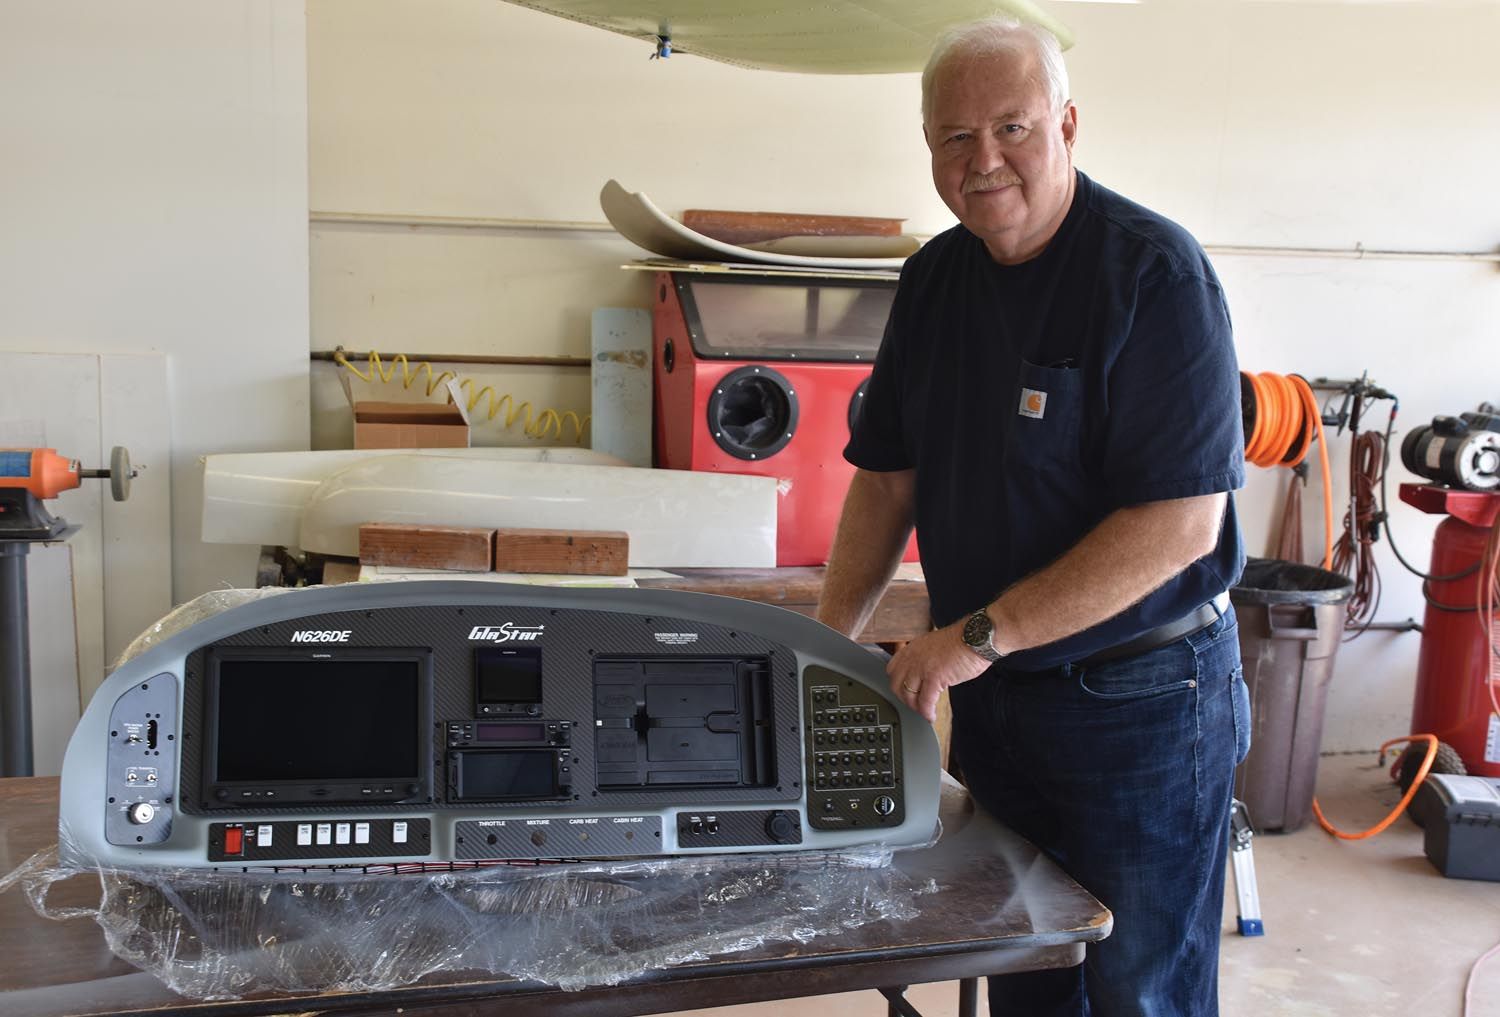
For rough budgeting purposes figure VFR pre-wired panels to begin in the low $20,000 range, and IFR pre-wired panels to start in the low to mid-$30,000 range. Deluxe pre-wired IFR panels will start in the low $40,000 range and go up to, well, “how much do you have?”
If you are willing to buy equipment and do all the panel construction and wiring yourself, a basic VFR glass panel with ADS-B transponder will start around $15,000 with lower costs achievable if you go with automotive-type engine instruments. Again, if you are willing to do all of the fabrication and wiring, a decent IFR panel can be put together for something in the mid-$20,000 range, going up from there depending on how fancy you want to get. A two-axis autopilot will add about $1500 or so to all of these numbers.
Backup Systems
Backup systems apply directly to the instrument panel and more broadly to the design of the airplane’s electrical system. We are only looking at panel costs here, but things like backup batteries and alternators do affect panel design and cost to a small degree. For example, a B&C backup alternator and controller will cost about $700. An EarthX lithium battery and related hardware will add about $500. Most EFIS setups offer internal or remote battery backup for displays and attitude-sensing electronics. Should you lose all ship’s power, these displays will keep going, though you won’t have hard-wired com or transponder. At least you’ll know which way is up.
Backup power is one thing, but what about backups to the primary flight instruments? Those are the things that will save your bacon if your expensive panel goes dark—or suffers a systemic failure that prevents it from calculating the airplane’s position or attitude. Dynon and Garmin now offer backup instruments that present a wealth of information to the pilot, including heading, artificial horizon, airspeed, altitude, and more. The Garmin is by far the leader in this category with its G5, which runs about $1500 with related hardware. A similar Dynon D10 EFIS will cost a good $1000 more, though the portable D3, which is not connected to the pitot-static system and so can’t give you indicated airspeed or baro-based altitude, is well under $1000.
Another option for higher-end systems already employing dual screens is to buy a second ADAHRS (air-data and heading reference system) to feed independent data to both the primary and secondary screen. A dual-sensor, dual-screen system offers true redundancy for display and attitude calculation. Adding a second ADAHRS will cost you an extra $800, which you can add to the $4400 you spent for the second G3X screen. Dynon or AFS equipment that will do the same thing will typically cost about the same. These numbers are the list prices for the equipment only. If you are getting a pre-wired panel, you will need to add installation costs to these numbers and subtract any discounts your panel provider may pass on to you.
Sample Panels
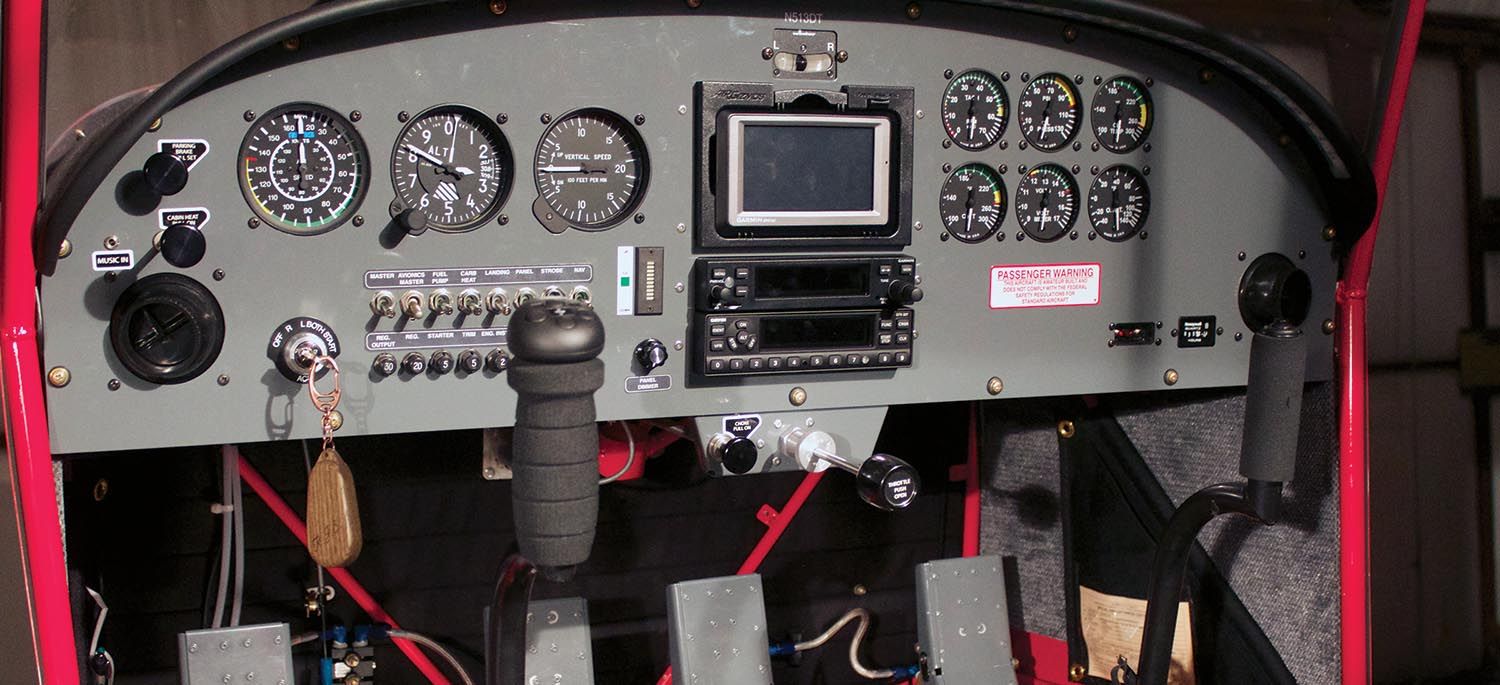
It is possible, and in some cases even advisable, to build a panel with analog gauges and a magnetic compass, using a handheld device such as an iPad or a Garmin Aera 660 for navigation. Add a com radio with built-in intercom function such as the Garmin GTR 200, an ELT and encoder, some automotive-type engine gauges, and a transponder with ADS-B Out and you are well on your way to having a panel that will legally take you anywhere you want to go VFR for under $10,000. Of course, at that price you will have to assemble it yourself.
Randy Schlitter of RANS Aircraft recently put a panel similar to this in an S-20 just to show people it could be done without breaking the bank. Light, cheap (relatively), and simple are good things if that is all you really need. But that is not what most people do these days—even if they really don’t need the complexity.
Some Context
Aerotronics Inc. of Billings, Montana, has provided us with some sample panels and prices for these based on current market conditions and current equipment now available. Of course, your panel may cost more or less depending on the exact configuration and changes in prices and equipment availability at the time you order. These numbers are just “ballpark” figures for your budgeting purposes. These samples are based on Garmin equipment, but as I said before, Dynon and AFS equipment tend to cost pretty much the same for equal capability. I have chosen four examples—light VFR, standard VFR, light IFR, and standard IFR—to give you starting points for your budgeting. In all cases the most accurate number will come from an actual quote from the panel builder.
A light-VFR pre-wired panel will typically run somewhere in the low $20,000 range. The example came in at just under $22,000. It includes a single-screen Garmin G3X touch, a GTR 200 com radio with built-in intercom, a GPS 20A WAAS GPS receiver (VFR only for navigation purposes), a GTX 23 transponder with extended squitter (ADS-B compliant), and a 406 MHz ELT. In addition to the big items, it includes all related switches and circuit breakers, engine sensors, required antennas, and panel fabrication. The panel would come with all items programmed and ready to use.
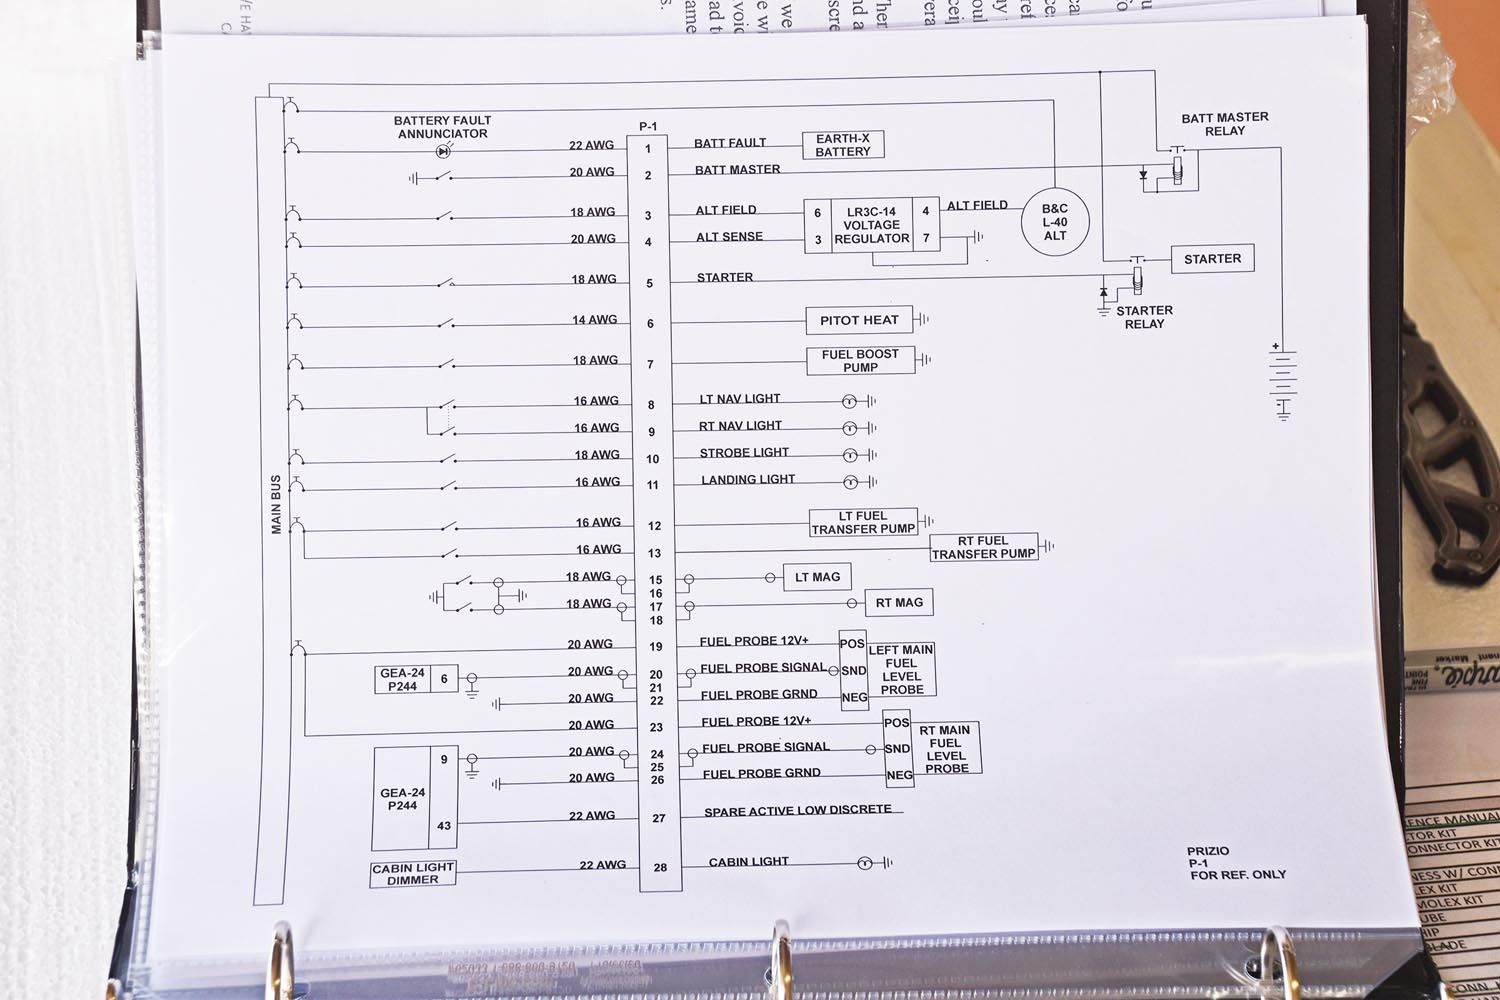
To install this panel, you would need to bring your wires and antenna leads back to the panel to cannon plugs. Aerotronics includes pin-out diagrams to facilitate the wiring connections but no traditional schematics. This price includes a little over $7000 for wiring, fabrication, and testing of the panel. Thus, you could duplicate the panel yourself with your own labor and about $16,700 worth of equipment and other parts and material, based on current list prices. The difference in the cost numbers, besides the labor cost, is the $1700 worth of discounts passed on by Aerotronics. You may or may not be able to duplicate those on your own.
A standard-VFR panel as shown in the example will run a little over $28,000 complete. Admittedly, the idea of a “standard” VFR panel is a little hard to get your arms around because there is really no such thing as a standard panel in Experimental amateur-built aviation, but let’s just call this standard for the sake of this article. Our standard panel includes all items from the light-VFR panel plus the following: a second com radio, an audio panel, a Garmin G5 backup primary flight display (PFD), and a two-axis autopilot. Aerotronics has included about $2200 in discounts in this price.
For about $2500 more, the G5 could be dropped and replaced with a second G3X screen, giving you a dual-screen G3X VFR panel ready to install in your plane for about $31,000. This panel would have a lot of capability, but it would not be legal to fly IFR with it because of the non-approved GPS receiver.
A light-IFR panel, one that meets all of the legal requirements but is not exactly loaded with the latest goodies, will come in somewhere in the mid-$30,000 range for a pre-wired panel. The example shown was priced out at $35,500. It includes a single-screen Garmin G3X and a single com radio. Backup instruments are provided by a Garmin G5. A transponder meeting upcoming ADS-B requirements, one GTR 20 remote com radio, one GNC 255A nav/com, heated pitot tube, a 406 ELT, two-axis autopilot, engine sensors, and the usual switches and circuit breakers round out the package with one important addition, a Garmin GNX 375 IFR-approved GPS navigator. This $8000 item makes this panel IFR legal. If you deducted Aerotronics’ labor and paid list price for all of the components, you could build this panel yourself for about $31,000. You may be able to beat that price if you can get some discounts on the equipment you buy. Of course, you can always save money by substituting some less expensive items in some cases or simply eliminating things like the nav/com or the autopilot.
For the standard-IFR panel, we will upgrade to a dual-screen G3X and we replace the GNC 255A nav/com and the GNX 375 with a GTN 650 nav/com/GPS. We keep the G5 as a backup in this example. This panel pre-wired comes in at just under $43,000. Wiring and fabrication contributes $11,000 to the cost of building this panel, but that is partly offset by $5000 in discounts on equipment, leaving you with a cost to build the panel yourself, assuming you paid list price for the equipment, of $37,000. You could substitute the big-screen GTN 750 for the GTN 650 at an added cost of around $5000. On the other hand, there are ample opportunities to reduce the price with substitutions or deletions.
To be fair, it is not hard to save money off the list price of most of this equipment, especially on the pricey items such as the GTN 650 and 750. However, achieving all of the discounts offered in a pre-wired panel package may not be possible. There is also the matter of doing the work yourself. If you have experience with electronic assembly and fabrication, this may not be that hard; but if you have never done this before, expect to encounter a significant learning curve as you work your way through the process.
What You Get with a Pre-wired Panel
When you order a pre-wired panel from one of the major panel suppliers such as Aerotronics or Stein, you will get a complete panel just as you would want to see it in your finished airplane. It will have everything in place and tested. It will be painted and labelled so you know what every switch and circuit breaker does. Your panel will come with cannon plugs for you to finish up with wiring from items such as lights, fuel senders, engine sensors, headsets, and other things you may have in your plane. You will need to make up antenna leads unless you have previously provided your panel supplier with exact lengths for those leads. Of course, there will also be pinout diagrams to tell you where each wire from your plane’s systems needs to connect to make things work.
Typically, the base panel blank will need to be provided by you after you have fitted it into your plane. This will ensure that your panel does not need any modification after assembly to fit in your plane. While you are at it, you should fabricate any brackets or bracing needed to hold your panel in place. If you want to use a separate panel for switches and/or circuit breakers, be sure to fabricate and fit that up, too, and give it to your panel builder along with the length of wires needed to connect it to the main panel. Good communication with the panel builder will reduce surprises later.
To assemble the aircraft side of the cannon plugs and assemble antenna wires you will need about $150 worth of tools including a good wire stripper, a coax crimper for antenna connectors, a D-sub crimper, and a pin insertion/extraction tool. You will need these tools whether you build your own panel or buy a pre-wired one. You can spend hundreds of dollars on a D-sub crimper, but it isn’t necessary to spend more than $50. Look around for good tools at reasonable prices. Amazon is a good place to start.
Rolling Your Own
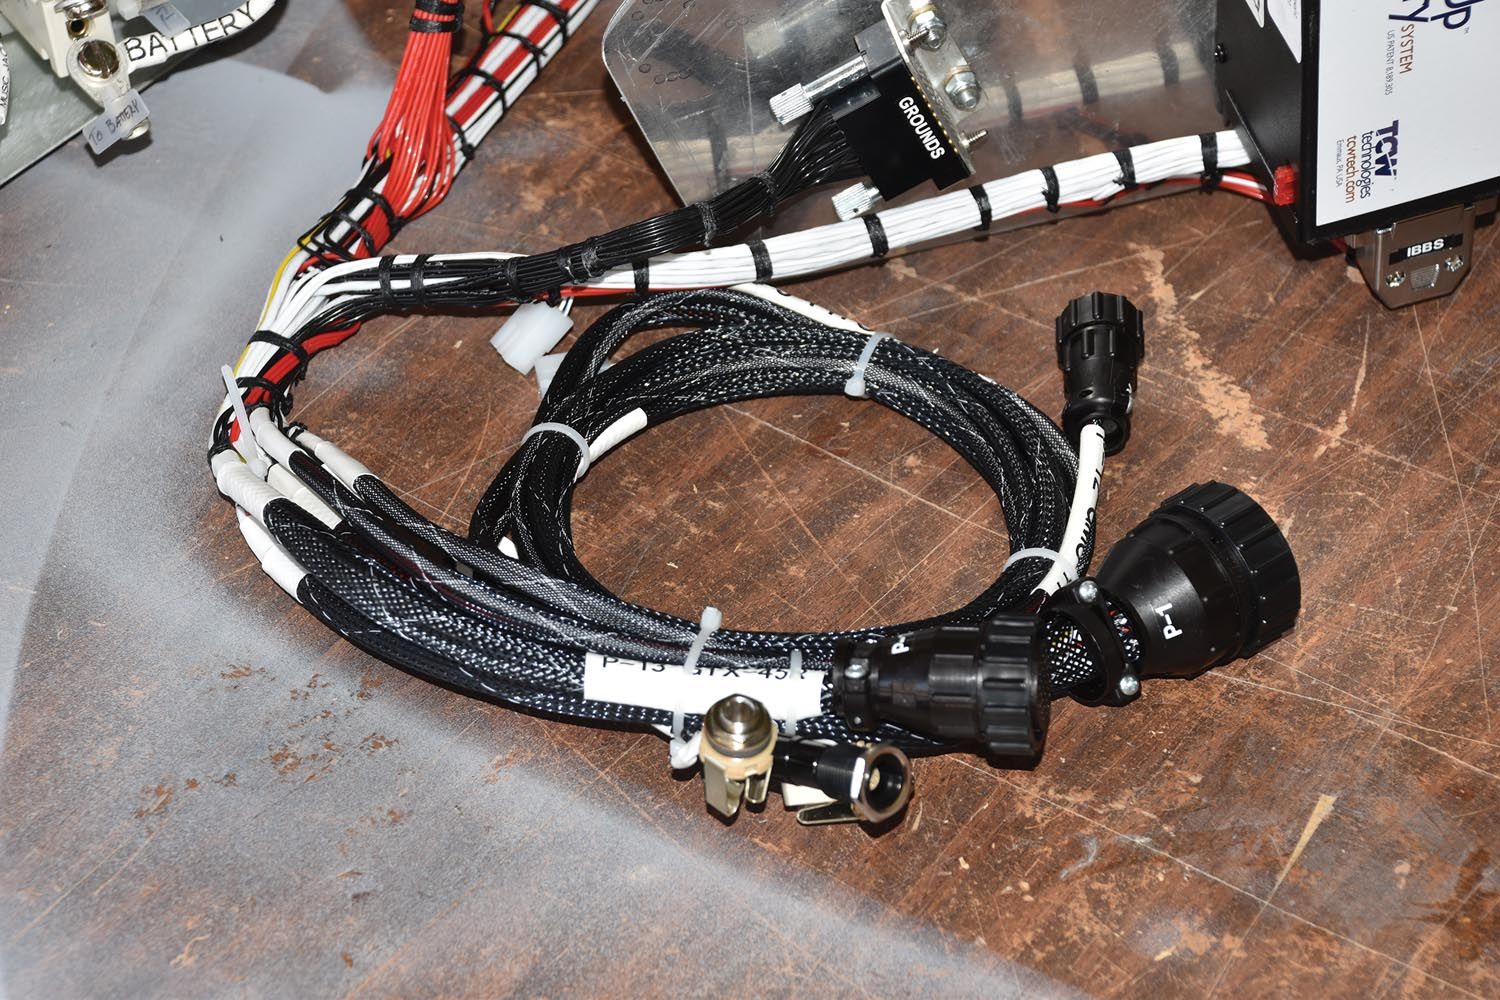
You will have a lot of fabrication to do if you make your own panel, including cutting holes, making up wire looms and plugs, and programming and testing your components. All of this is within the capability of most builders, even if you are not an electrical engineer. It will just take longer and require more support from your avionics makers. Some manufacturers are good with this and others not so much.
Expect to make some mistakes. The good news is that most mistakes will not damage avionics, but don’t use that as an excuse to get careless or in a hurry. One thing that can help the nervous or inexperienced is pre-made wired harnesses. This can save a lot of time and frustration for little added cost. Ask your avionics vendor about this. Lastly, don’t be afraid to ask panel builders such as SteinAir or Aerotronics to sell you equipment or pre-made wiring harnesses. They can often be a great source for these items.


