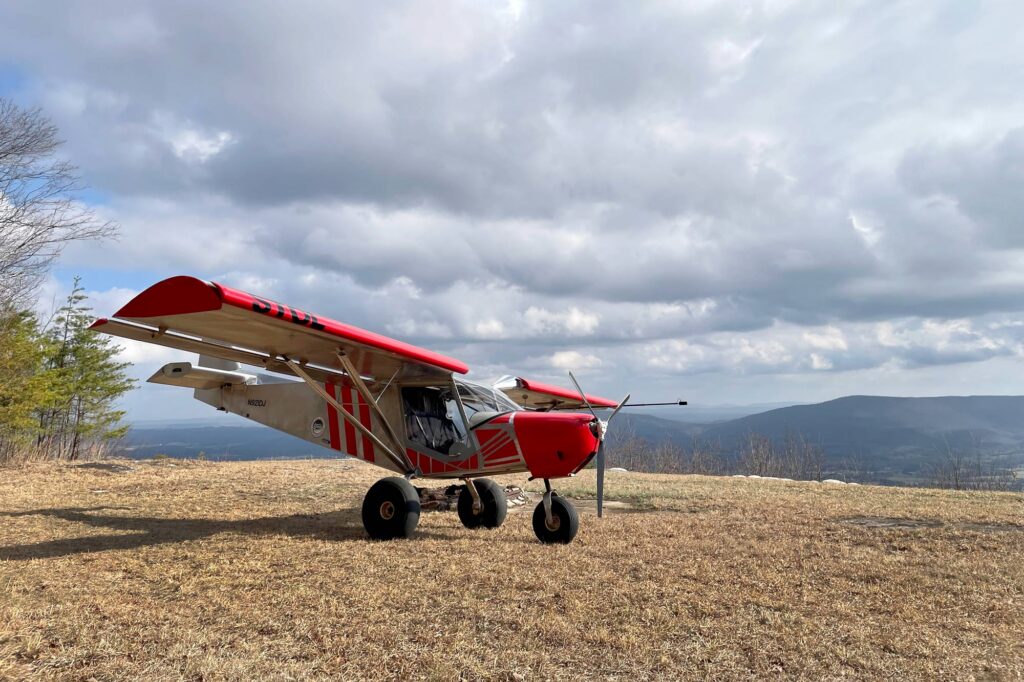
![Checking out East Tennessee scenery from the 701. [Credit: Jon Humberd]](https://www.kitplanes.com/wp-content/uploads/2026/04/3-1024x683.jpg)
With airplanes, sometimes there is a fine line between flying and falling. There is also a balance point between building a plane light enough for good flying performance, and keeping it structurally robust enough to withstand the abuse of the pilots, turbulence, and also all the roughness of our backcountry shenanigans.
As we look over the unassembled flimsy aluminum skins and ribs, a farmer friend and I joke about what would happen if we were to design an airplane, and the simple fact is that it would never get off the ground because it would be way too heavily built. For the two of us, most of our lives have revolved around agricultural equipment like tractors, heavy trucks, and combines. Using extra thick steel, cast iron, and other super heavy components isn’t an issue there because you can’t usually build a tractor heavy enough. In fact, most tractors need extra added weight (like fluid filled tires and cast iron wheel weights) in order to be able to handle the implements/tools they need to use. So merging into aviation engineering and dealing with super lightweight structures has taken a little transition and adjustment time for me.
Luckily, Zenith Aircraft has done an amazing job with the engineering and finding that balance in their designs and kits straight out of the box. All those aluminum skins, angles, and ribs seem way too flimsy and light to be able to withstand any kind of use, however, as they are assembled it becomes very admirable how all those individual flimsy pieces quickly come together to make a finished component that is very rigid and impressively structurally strong, while still being almost magically lightweight.
So how do we, as builders, improve on that? I’m not even sure that we can make any truly noticeable difference, but I am giving it an honest attempt anyway, and at the very least I will make it “mine”. That is one of the big benefits of experimental aviation. As builders, we have the ability and freedom to make modifications, design changes, and customizations as we see fit in order to make our planes both unique and to fine-tune them to our exact desires. The planned missions for my two current builds are very different, but also share a few similarities. For example, my 750SDXtreme will be aimed more toward longer distance travels, airshows, and backcountry exploring along the way while enjoying comfort, performance, and a respectable useful load for hauling plenty of extra baggage/cargo. Meanwhile, the single-seat Super701/half’s mission will primarily focus on shorter trips and much higher performance flying, while losing many of the extra comforts and some of the useful load. The biggest similarity is that I am trying my best to make them both as lightweight as possible in order for them to have exceptional performance. Many of the modifications and weight reductions of the 750SDXtreme will be somewhat offset by luxuries and comfort things that will be added, however, the Super701/half will be a different beast. I believe that a lot of builders overlook the benefits of keeping the weight down in their builds. Don’t get me wrong, these Zenith airplanes handle well and are still very fun to fly when they are heavily equipped/loaded, but the real fun happens when you climb inside a lightly built 701 and can truly feel the quickness and the performance difference they have to offer.
Ok ok, I know you are wondering what I have been up to since the last article. Well, of course I have spent some time both flying and tweaking the new-to-me 701. It had a bit of a heavy left wing and a few other small nuances that I wanted to address. Also, after owning it for several weeks, it developed a fuel leak in the left wing tank within the fuel gauge sender itself. I never have been a fan of VDO electronics (farm equipment experiences), and especially the thought of mounting them in the side of a gas tank, but we’ll save that rant for another day. Quickly drilling out several rivets that hold the wing root skin allowed reasonably easy access and a few hours later, I have a new sending unit installed, tested, and the plane is ready to go again. It has also been a busy season with daily cattle feeding duties and checking newborn calves on the farm, as well as all the other ongoing mechanic/maintenance work. To be perfectly honest, I am also still in a mental block because of the whole custom nose gear strut delay. Those frustrations are definitely limiting progress and I have come to realize that there are two types of “builder’s block”. One is the personal blocks that builders have with life priorities, health, and the many other obstacles that get in their way. The second type of builder’s block is the supply issues we experience, especially when parts/components are being modified and custom built. Companies that we depend on for these pieces often face challenges too. Some of them have supply issues of their own, some are overwhelmed with other tasks, and then a few simply do not have the same ethics and communications that we expect.
Let’s talk about progress!
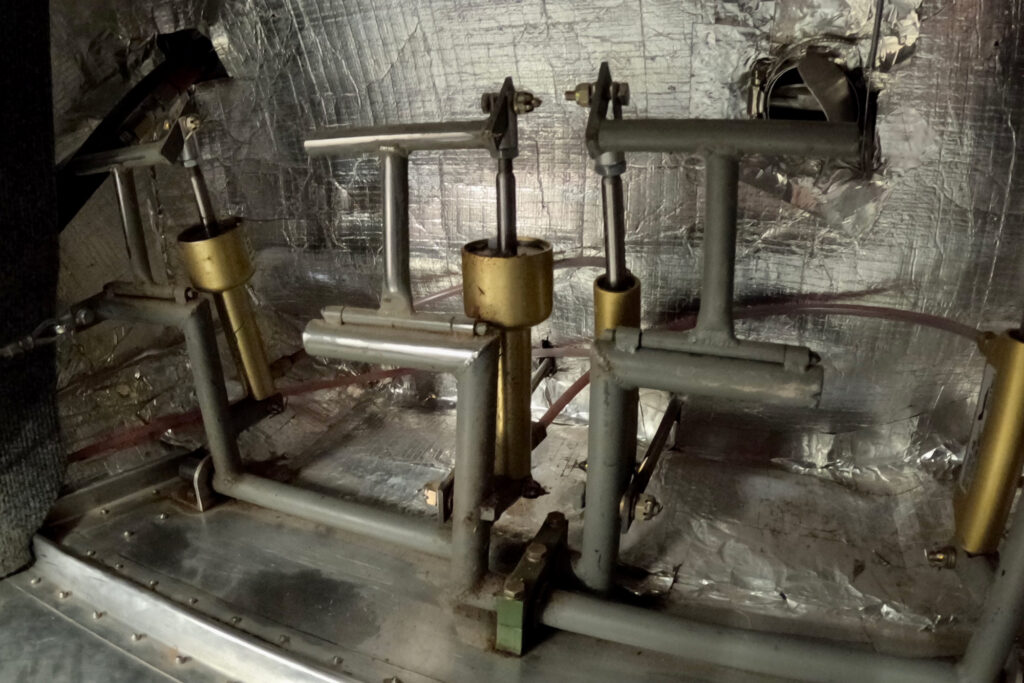
Even though there has been a full month of very limited build progress, trust that things are always advancing because my mind is almost constantly thinking about designs, even when I am not around the shop. There are a lot of obstacles to overcome, a few “aha” moments, and many hours of unseen progress when building any customized aircraft. Both of my builds share the same workspace, so while working on one, I am regularly glancing over at the other and thinking about the next steps for both builds and how to approach them. My goal has always been to get the 750SDXtreme flying first and I am still working out many details with it. One of the most current details includes research for the brake system, such as picking out the best Beringer master cylinders that will match my custom setup and geometry. The Zenith 701 and 750 designs differ in their master cylinder mounting and I have yet to decide which setup I like better. The 701 designs that I have lots of time operating, attach the bottom of the master cylinder to the vertical tubing on the pedal itself. So the entire master cylinder moves with the rudder pedal. As you rotate the rudder pedal forward, the toe brake angle rotates forward as well. This is a very simple and robust design that works excellent. The only disadvantage I see is that it requires a bit of an awkward extended foot/toe posture when applying the brake while the rudder/steering is pushed fully right or left. Basically, when trying to make very sharp turns on the ground.
The 750 design attaches the bottom of the master cylinder to the floor instead of the pedal tubing. When mounted to the floor, the geometry changes and the toe brake pedal stays closer to an upright position throughout the rudder pedal’s range of motion. While this seems like a more ergonomic design, I have limited time actually using the 750 brake setup. I have heard that the 750 floor flexes some while applying hard braking, causing a slight lack of brake control/feel during hard pedal pushing. This design obviously depends on the floor’s rigidity to maintain a firm brake feel, so I will be adding some additional stiffeners in my 750SDXtreme. Another unknown is my implementation of the Beringer Rudd’Air brake pedals. I really like the concept of these pedals, the extra foot contact area, and the adjustability that they offer, but I have never actually used them to see how they “fit” me. This is another reason I have been trying to get the 750SDXtreme in the air before finishing the Super701/half build, because it would give me the chance to see how a few of my ideas actually work and how I might improve on them before I build those components from scratch for my highly modified 701.
However, since the 750SDXtreme is still waiting on a custom nose strut, I have decided to put some focus into the Super701/half. The rear fuselage has been mostly fabricated and mocked up for quite some time, as well as the lower part of the forward fuselage. These structures have been just sitting there waiting on some attention. I have had many different components on my build table over the last several months, but now it is occupied with the next build steps for joining the Super701/half’s forward and rear fuselage. A big part of this decision stems from the terrible timeline I have been facing with the 750SDX nose strut, and realizing that I better be getting the custom gear setup for this one in the works too. Since it is such a uniquely modified 701 design concept, I need to get this narrow fuselage all joined so I can nail down the specifics for both the nose gear, and also the custom main gear that will be required. Along with the many challenges of building a very narrow fuselage for this 701, one increasingly noticeable benefit is losing some weight. You should know by now that I am big on making these things lightweight and that brings us to the next steps of progress…

More RaceTech Titanium!
The weight reductions for the Super701/half are obviously becoming far more radical than the 750SDXtreme. In my pursuit of replacing all of the cromoly/steel pieces with titanium, I have started fabricating a new cabin frame. A couple of years ago, and before I exposed myself to titanium, I got Zenith Aircraft to build the first pieces of the narrowed cromoly cabin frame to help get me started because they already have the required jigs set up to make the angles come out properly on these welded pieces. This portion of the cabin frame consists of the main crossover tube with the wing attachment brackets welded in place, as well as the side tubes that come down in front of the doors. Fabricating this from scratch was made a little easier because I have one to look at and compare, but still very time consuming to get everything fitted up and just right. I am going with slightly thicker titanium material all around with the cabin frame because I am still fairly new to welding titanium and this is a very critical component. I cut out the wing attach brackets from a plate and heated them enough to make the curve and correct inside width for the upcoming wing attachment, then carefully notched the main tube, making sure they were the same angle on both ends. Once those first pieces were prepped and ready, they were Tig welded into place. With the first (and most critical) piece ready to go, it was time to mock up the proper angles for the next tubes with a makeshift “jig” using my welding table, scrap metal, and several clamps. Once the angles and spacings were set up on the table, I had to cope the tube ends to fit up tightly with the slightly larger crosstube. A little more careful Tig welding and I now have the same first part of the cabin frame ready to go. These individual weight savings are small, but definitely beginning to add up. The cromoly cabin frame component is 1.5x heavier than the same part made out of slightly thicker titanium, and that does not factor in the extra weight reduction from making the entire cabin frame over 1 foot narrower than the standard Zenith 701. Needless to say, I am excited to be making some progress with the Super701/half again. There are a few changes I’ll be making on the rest of this cabin frame, other than just the material and width reduction, but I’ll save that for next time, when I have some more of the cabin frame figured out, completed, and ready to show.
![Careful planning and determination will get you to your goal of building and flying your own airplane. [Credit: AdobeStock]](https://www.kitplanes.com/wp-content/uploads/2026/05/Pulsar-Sunset.jpg?w=218&h=150&crop=1 "Last Bits")
![Making rare use of my drafting tools for the internal timing. [All Images Credited to Andrew Robinson]](https://www.kitplanes.com/wp-content/uploads/2026/05/P1010535.jpg?w=218&h=150&crop=1 "Conquering the Magneto, Part 2")
![[Credit: AdobeStock]](https://www.kitplanes.com/wp-content/uploads/2026/05/AdobeStock_262642207_AGCuesta.jpg?w=218&h=150&crop=1 "Winging It")
![Lowell Farrand spent years serving as an FAA DAR and is in the EAA Hall of Fame. He offers sound advise to builders. [Credit: Bill Wilson]](https://www.kitplanes.com/wp-content/uploads/2026/05/unnamed-4.jpg?w=218&h=150&crop=1 "Think Like a Builder")
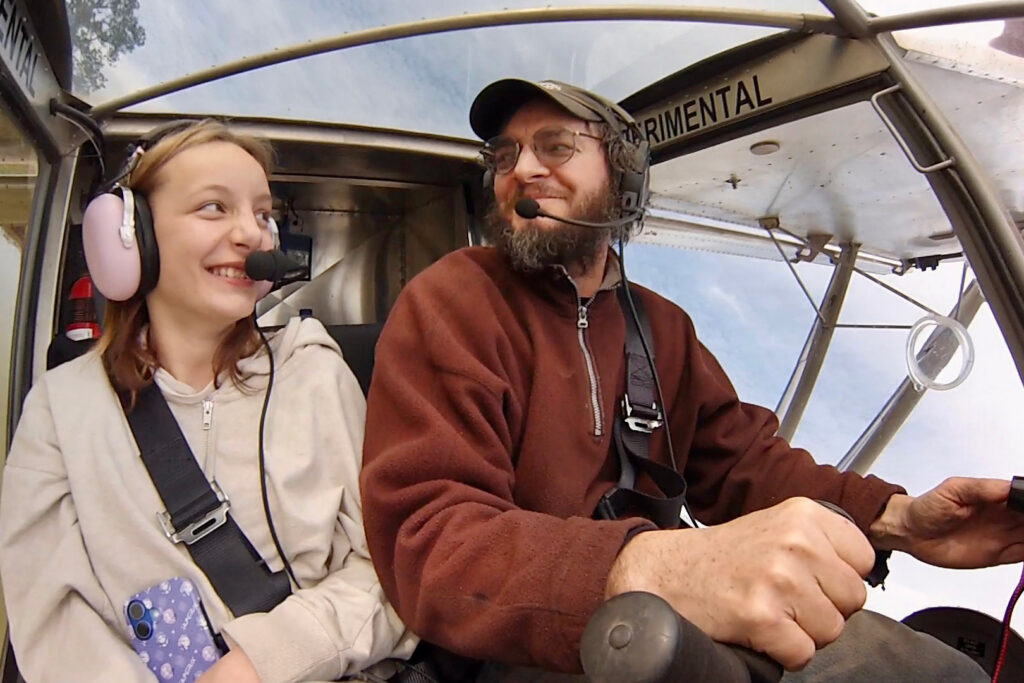
![Humberd and his daughter using the 701 for some farm duty transportation. [All Images Credited to Jon Humberd]](https://www.kitplanes.com/wp-content/uploads/2026/05/1-3.jpg?w=218&h=150&crop=1 "Builder’s Spotlight")
![Author Bill Wilson takes a break from measuring and cutting the Lexan windshield during his Onex build. [All Images Credit to Bill Wilson]](https://www.kitplanes.com/wp-content/uploads/2026/04/image-2.jpg?w=218&h=150&crop=1 "Think Like A Builder")
![Andrew bought a Thorp T-18 project, which started him down the road to experimental aircraft project ownership and construction. [Credit: Andrew Robinson]](https://www.kitplanes.com/wp-content/uploads/2026/04/IMG_7725-scaled.jpeg?w=218&h=150&crop=1 "Winging It")
![The integrated ECLIPSE NG features a very sunlight readable display that shows the engine and all flight data organized in one or more pages. [Credit: Fielden Aero LLC]](https://www.kitplanes.com/wp-content/uploads/2026/04/1_Screenshot_.jpg?w=218&h=150&crop=1 "FLYBOX Avionics")
![[Credit: Chat GPT]](https://www.kitplanes.com/wp-content/uploads/2026/04/Generated-image.jpg?w=218&h=150&crop=1 "Homebuilder’s Insurance")


