A long time ago, in an issue far, far away…the May 2014 issue of KITPLANES, to be exact…The Home Shop Machinist covered the ins and outs of using the Quantum jig to DIY drill bolt heads for safety tying. Although not discussed in the article, the drill jig can also be used to drill bolt shanks, but only if the bolt is long enough. In the case of AN bolts, the minimum length would be a dash 12. In other words, a nominal length of 12/8 or 11/2 inch (note the actual specified length is closer to 1.28 inches). Bolts with shanks shorter than that can’t be drilled using the Quantum jig.
Clearly, there are commercial jigs that can drill short shank bolts and, of course, drilled AN bolts are stocked by every aviation hardware supplier and are plentifully available in all sizes. Most builders probably have bin organizers full of them. So, why build this DIY jig? The answer is twofold: 1) It’s an easy project with minimal material, and 2) It’s for the day you need one bolt that’s not in your bin and, for whatever reason—you can’t wait, or the cost of one bolt plus shipping is crazy—you simply can’t justify buying one bolt.
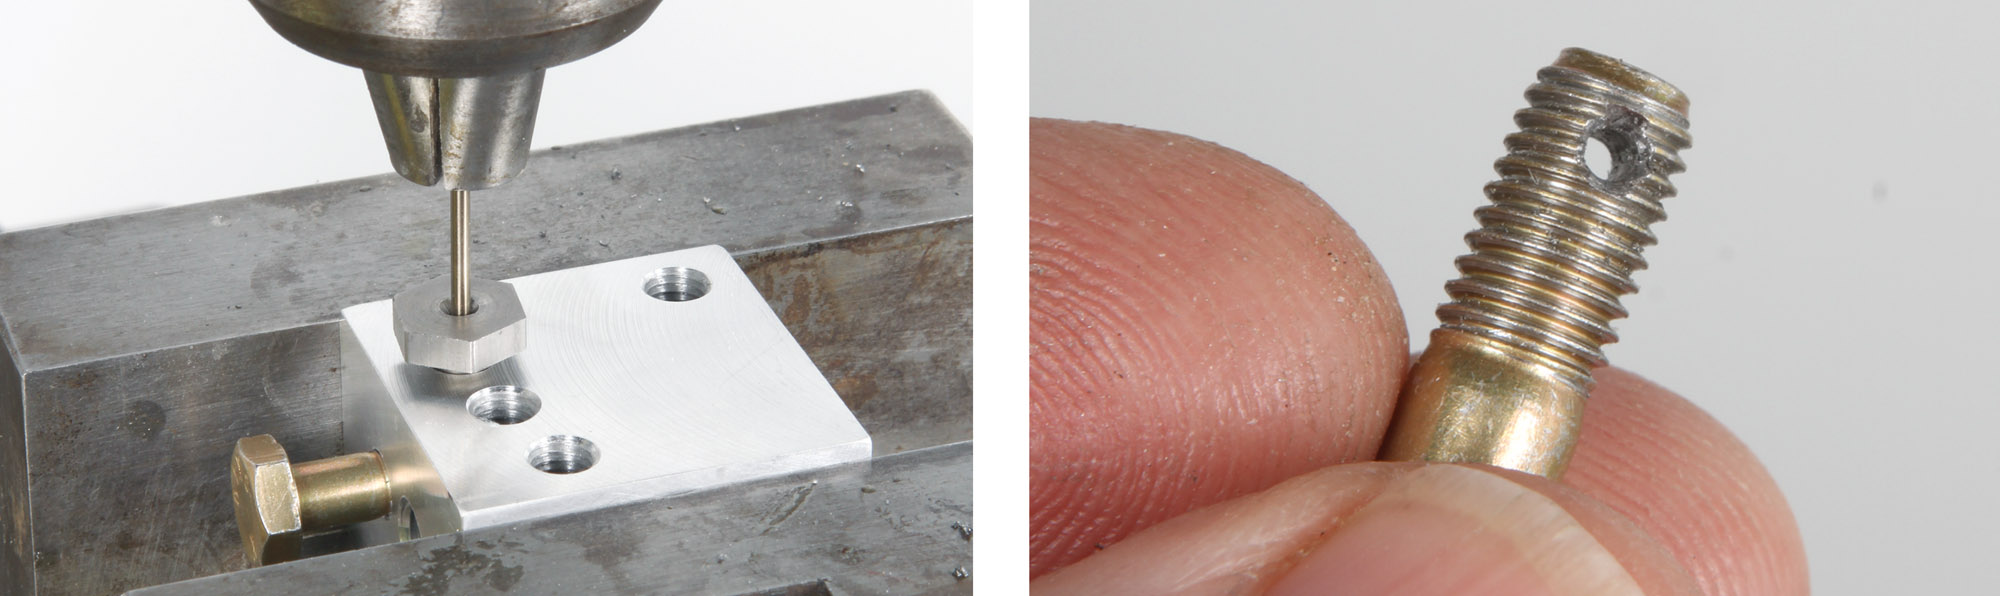
 Drilled AN bolts, based on visual inspection, seem to be mostly drilled between four to five threads from the end. Instead of eyeballing the placement, Paul Dye suggested the jig design and hole locations be determined by the AN specifications. And so it was. I looked up the thread lengths and relative hole positions for AN3 thru AN6 bolts and sketched a jig that, with the bolt threads bottomed out against the jig face, the guide holes/drill bushings would be in the correct spot. Being to spec is always better than not. After extrapolating and averaging the various tolerances, the four-to-five thread observation proved to be accurate only for AN5 bolts or smaller.

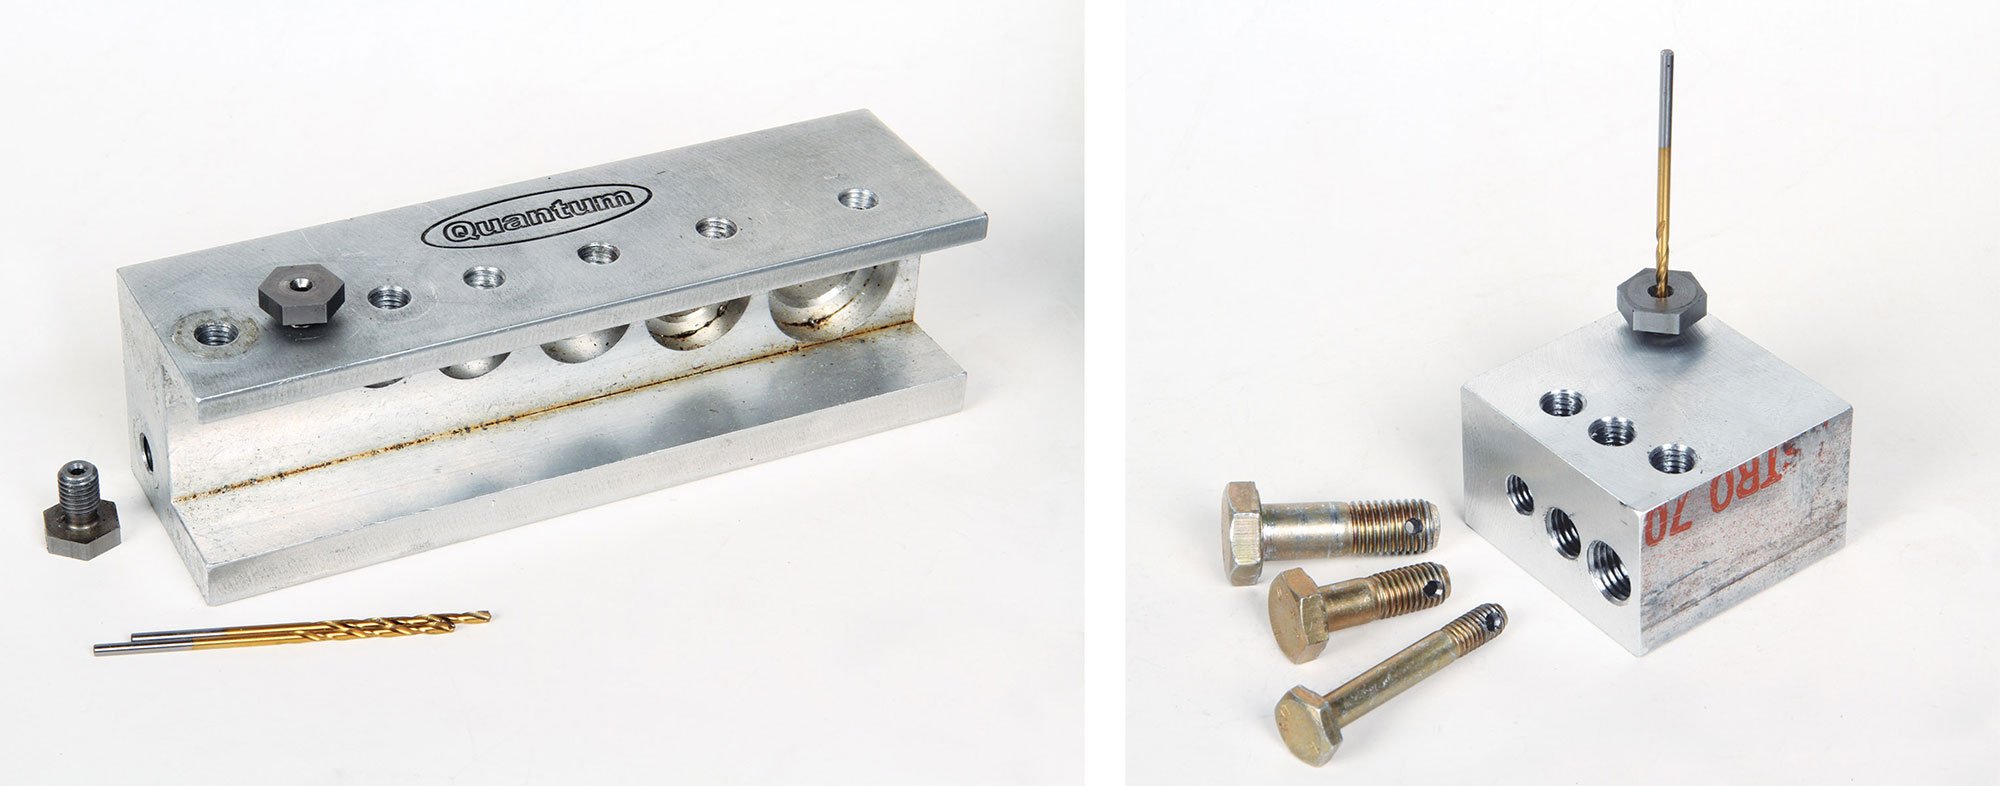
The jig was made from a 1½x1½x1 block of aluminum scrap I had on hand. The material happened to be 7075, which machines really nicely, but any common aluminum will work.
Since I have a Quantum jig, I decided to have the guide holes to use the ¼-28 #50 drill (0.070 inch) bushings that come with the Quantum tool. You could get away without a guide bushing by drilling the guide holes to #50 drill size, but the risk of burrs snagging on and potentially messing up the threads in the jig is 100%. In any case, you need a relief hole on the back side to be able to blow out the swarf before unthreading the bolt from the jig. By using the drill bushing from the Quantum (or making your own; see drawing), I simply drilled all the way through the block with the #3 tap drill (0.213 inches) and then hand-tapped (¼-28) halfway down on the bushing side. This had the added benefit of being able to use a larger bit or chamfer tool to deburr and countersink both sides of the hole while the bolt is still in the jig.


I hope Bob’s column will be continuing, somewhere, in the aftermath of the wanton destruction at Firecrown.
It is one of the resources I will miss when Kitplanes self-destructs completely.
Fortunately, many of the refugees seem to be sharing their expertise in other venues.
I hope we don’t lose Bob.
Comments are closed.