 My next-door hangar neighbor, GlaStar builder and KITPLANES® web manager, Omar Filipovic, had already cast his steely gaze upon the Titan IO-340 hanging from my GlaStar’s nose. A few days before “the event,” I had mechanic friend Will Steenrod pop over to provide another set of eyes. His expertise involves cars and motorcycles—as a factory-trained wrench for multiple brands—but I know him to be meticulous and curious. He could be counted on to apply a critical eye to my work without preconceptions about how stuff is “usually” done in aviation.
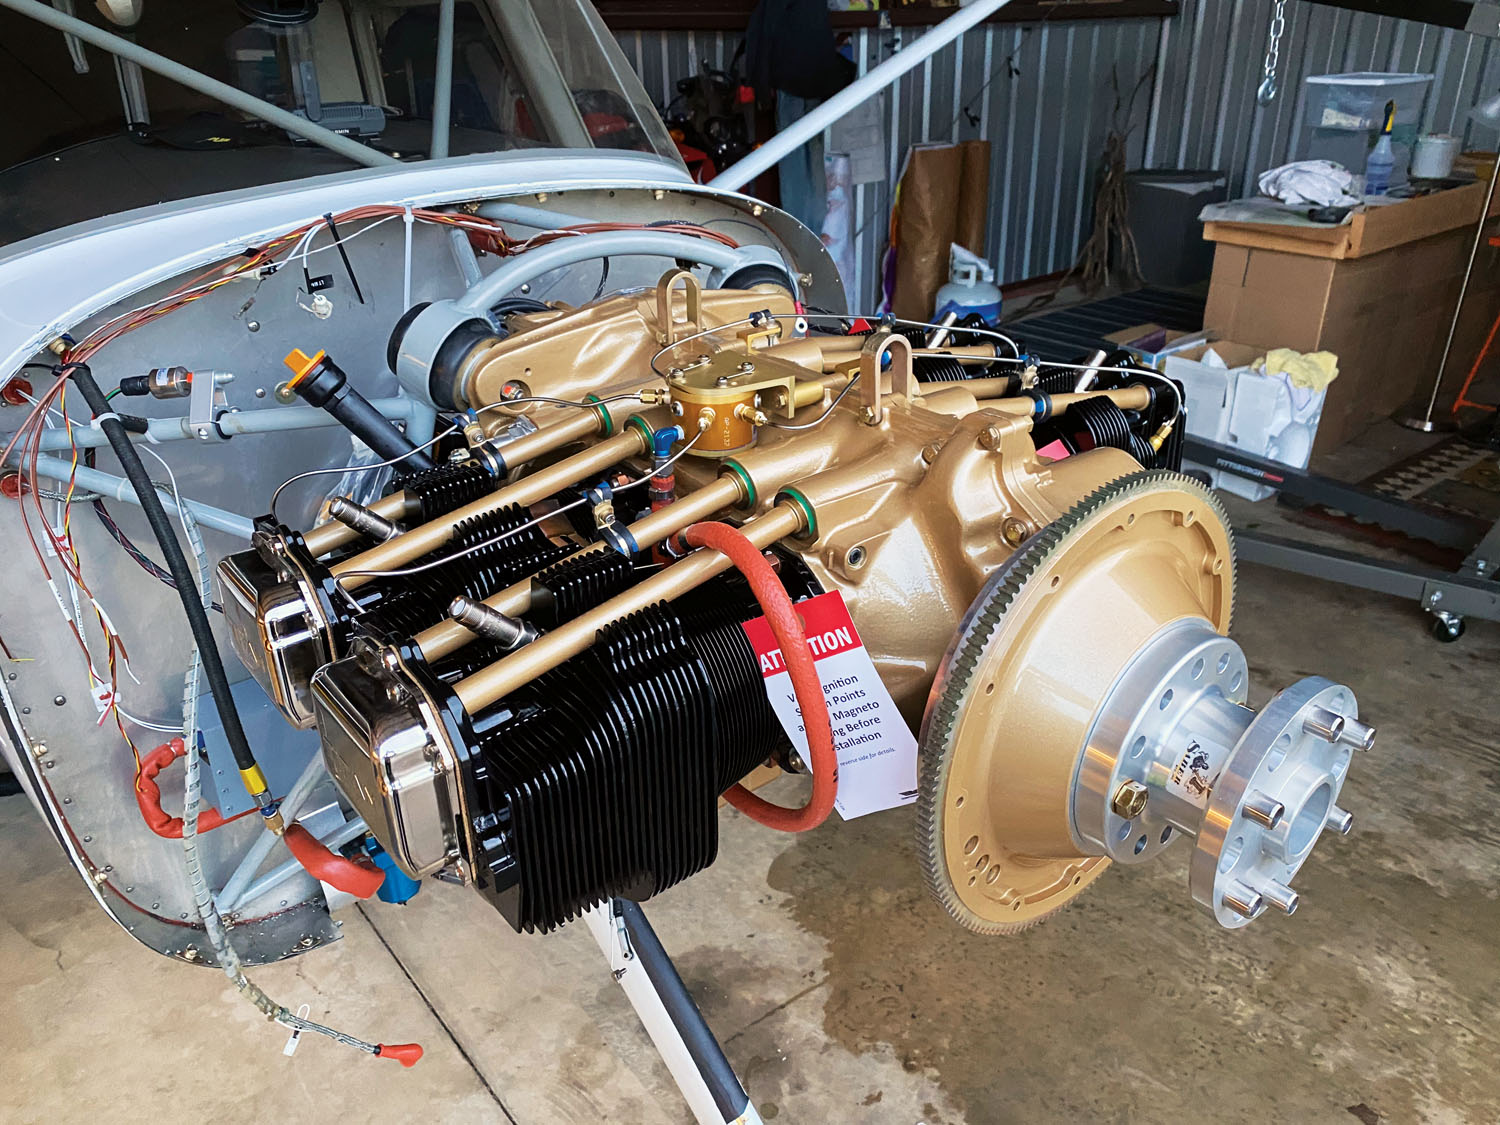
And still, with the GlaStar sitting in the sunny space between hangars at my home base of Twin Oaks Airpark, Omar standing ready with the fire extinguisher, I felt the shimmer of anticipation and concern. What had I missed? How will it go? The moment of truth to prove the rightness of making so many changes at once—old O-320 to spanky new Titan IO-340—had come and I was, yes, just a titch nervous.

But there was no obvious reason to wait. Besides, this Titan had already been run on the factory dyno for 3 hours, so I wasn’t the first to bring the engine to life. No, someone in Alabama had already done that, probably acting careful/routine and not feeling nervous at all. Another day in the life…
Still, for me this moment was at the end of a lot of integration work. Some of it more “cookie cutter” than wheel-reinvention, but there was still enough raw fabrication and one or two places where I had to put my experience prototyping and best-guessing to the test.
Chunk, Chunk, Vroom
Omar gave me the side-eye, saying, “OK, let’s do it.” I’d reworked all the checklists for the airplane that I keep on ForeFlight a few days before, and so followed the new pre-start items carefully. Finally, master switch on, throttle full open, mixture rich, boost pump for 3-4 seconds to prime and then off. Close and then crack the throttle, and reach for the key. One more look outside to be sure Omar had the extinguisher handy. Thumbs up. I pressed the toe brakes just a little harder.
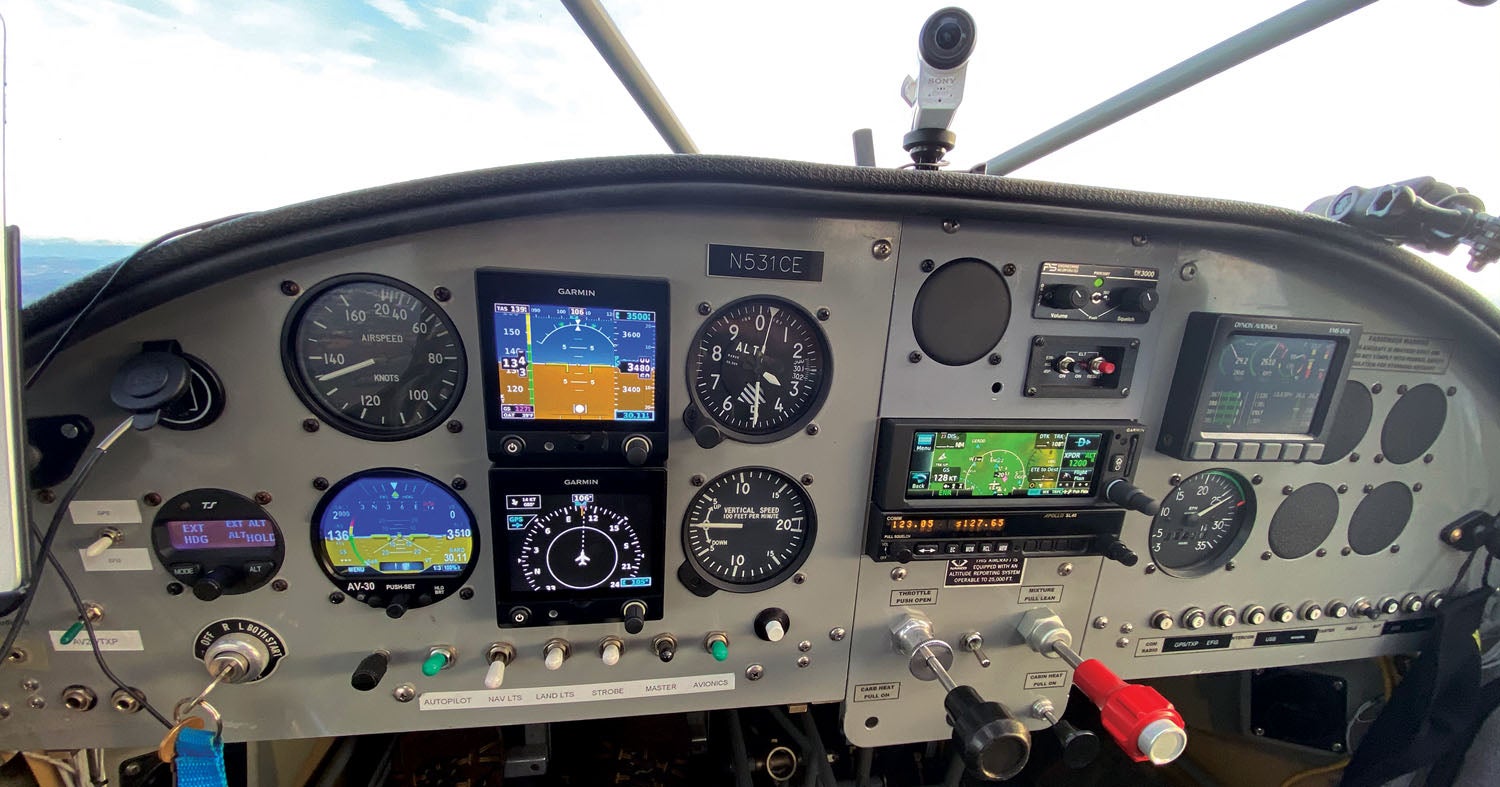
Twist the key. The lightweight Sensenich prop turned much more quickly than I’d expected, and after a few blades the engine caught and ran. No huffing or puffing, coughing or sputtering. The engine was running smoothly. I switched the avionics on as quickly as I could so the engine monitor would come alive and I could read the Titan’s vitals. The start-up screen cleared and there it was: oil pressure in high green, CHTs and EGTs all uniformly coming up. Fuel pressure steady at 32 psi. Oil temp starting to react. I looked outside again and saw Omar walking carefully around, kneeling to see the bottom end of the uncowled engine, then standing to find a new vantage point. After 30 or 40 seconds of familiar four-cylinder noise, no smoke and no flame—I began to breathe again.


Lead-In Points
The time lapse between hanging the engine and first start was a matter of weeks for me, mainly because I can’t work on the project every day. (Wish I could, but even this job is a job!) A big part of the post-hanging part of the project was managing the engine baffling. I had the so-called advantage of starting with existing tin. But there were enough changes from the 320 to the 340 that it wasn’t even close to a bolt-on affair. In fact, there were a number of surprising differences.

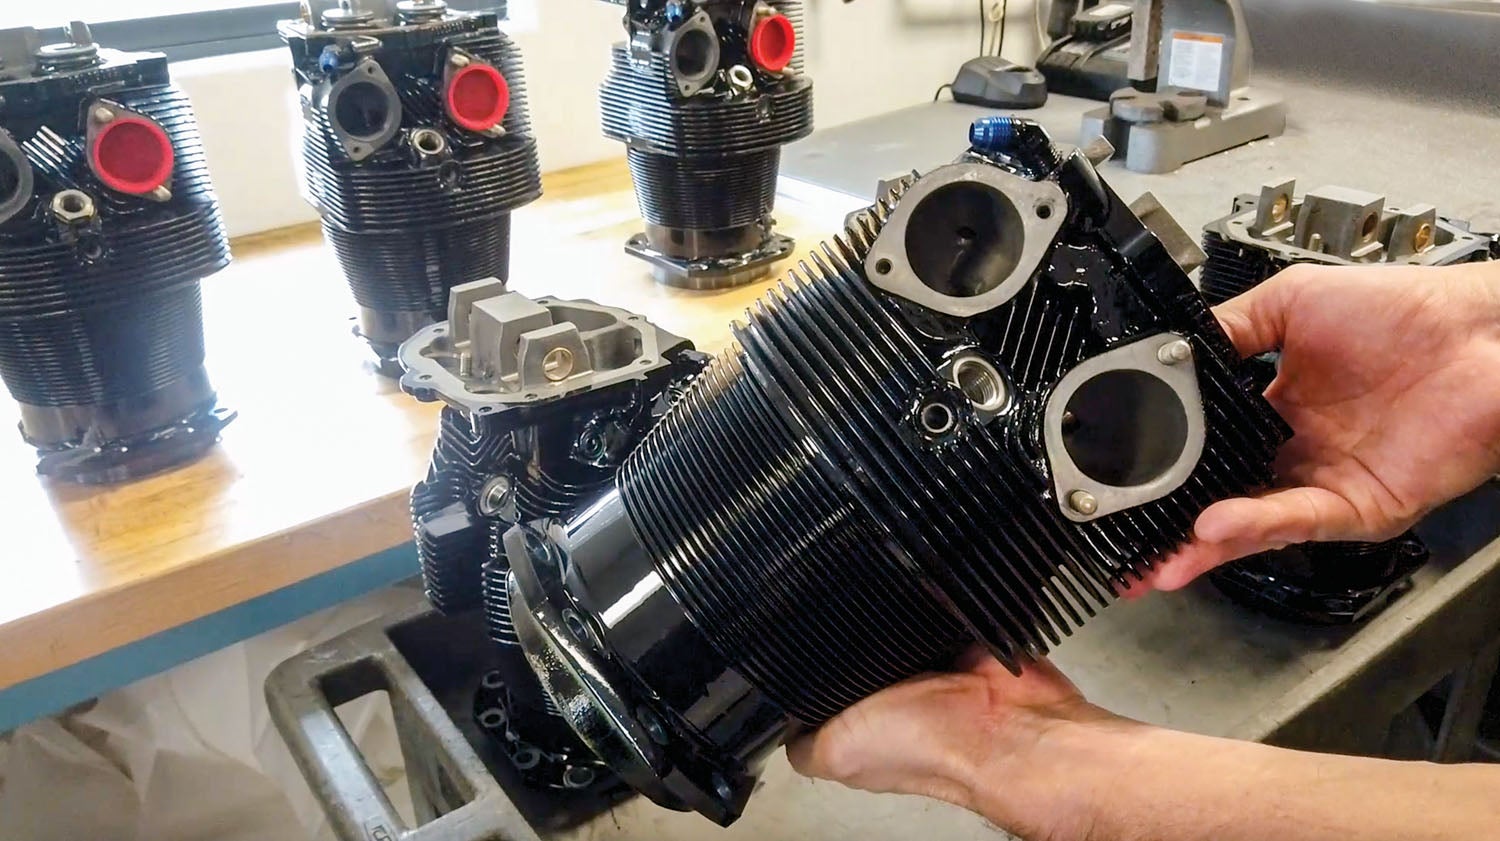
For starters, the IO-340 has roller lifters in place of the older Lycoming’s flat tappets, and this necessitates a thicker lifter boss. That’s normally not a problem, but my baffling came right up to the lifter cavity on the pilot’s side aft baffle. A few minutes with a file and Scotch-Brite wheel opened that up enough. I also noted that the Lycoming had a threaded hole that was used to secure baffling, just inboard of the top pilot’s side engine mount. My Titan didn’t have that hole, so I had to make a bracket. More of the changes came up front, where I had to accommodate the pad for the forward governor, which meant taking a section out of the fixed baffling and creating a couple of flexible baffle strips to seal it off. I have since learned that the newer prop governors are short enough to be used with an aft pad—the more common 320/340/360 configuration—and do not need a firewall indent. Wish I’d known that in July.
Odds and ends never seem to, erm, end. The IO-340 has a 149-tooth ring gear where the old engine had the smaller, 122-tooth gear, which has the effect of moving the starter and partially encroaching on the baffling. (Fortunately, I had just enough room.) This change gave me the opportunity to replace the existing cable from the starter contactor to the starter itself with one the correct gauge and not oil soaked. Naturally, while I had the large-gauge Tefzel cable itself on hand, I had only one of the correct terminals. Both terminal ends on the old cable were too big for the starter and contactor posts, so I fixed that problem with this change.
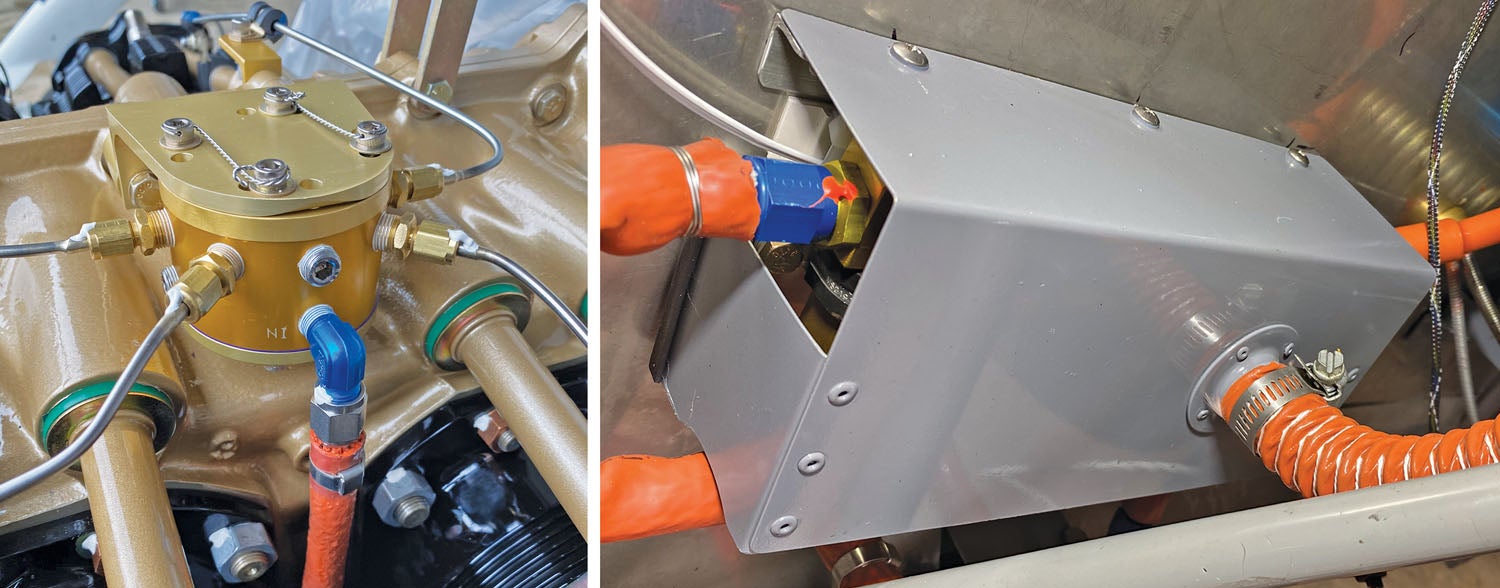
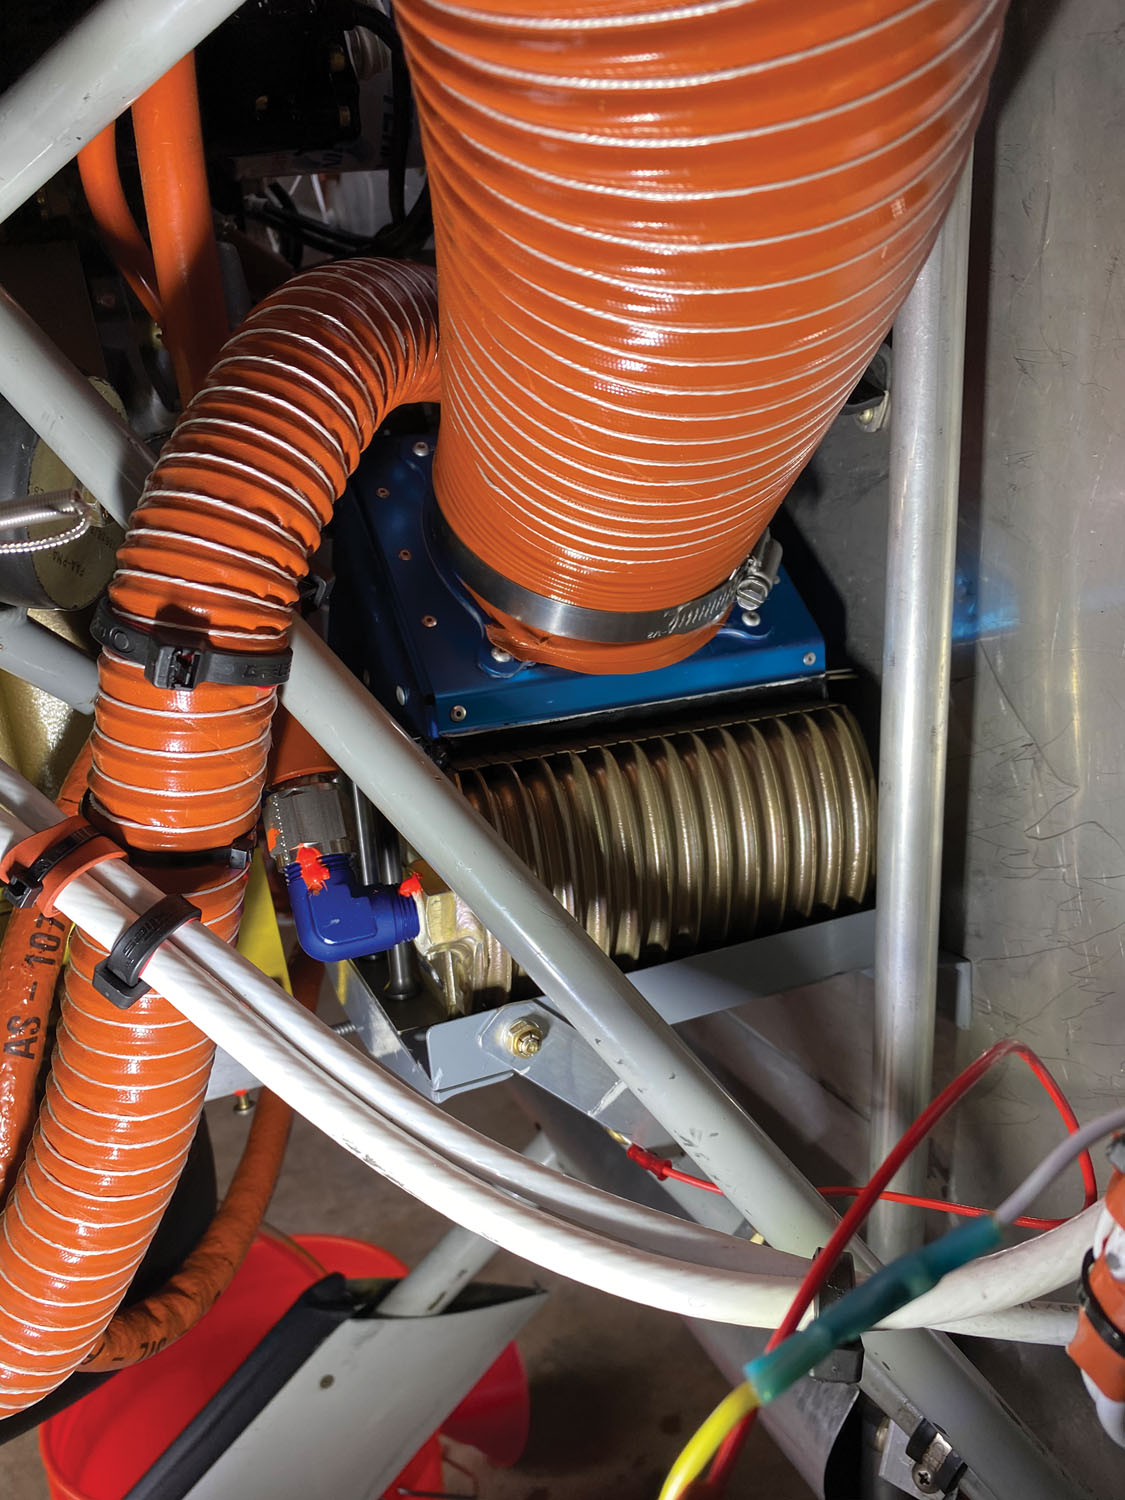
With the fixed and flexible baffling in place, I started systems integration. I decided to work somewhat system by system, starting by mounting the Airflow Systems 2006X, 13-row oil cooler to my firewall mount and mocking up the hose routing. By the time I had the fuel lines, heater ducting and both oil lines run in this small sliver of space on the lower third of the pilot’s side firewall, there wasn’t much room. However, it did all fit, and some judicious clocking of the 90° fittings on the oil cooler ensured clearance. I then connected the fuel system with a set of TS Flightlines hoses from the new boost pump on the firewall. The Titan comes with the hoses between the engine-driven pump and the servo, and the line from the Airflow Performance servo up to the flow divider, but I also added a fuel-pressure pickoff right at the exit of the mechanical fuel pump. Van’s Aircraft sells a proper 90° fuel-pump fitting that ends in a dash-6 AN nipple that also has a 1/8-inch NPT port for grabbing fuel pressure. A 45° fitting from there to a short line up to a really lovely Show Planes transducer clamp finished the job. I used a second Show Planes mount for the oil pressure sender on the other side.

I had, just a few hours before grounding the airplane, replaced the ancient Motorola alternator with a new B&C Specialty 40-amp model that’s lighter and more compact, and about four decades newer. That went on fine, but of course, the belt no longer fit because of the larger ring gear. No worries, I’ll just hit NAPA Auto Parts on the way home and grab a #7365 V belt. Remember what I said about ripple effects?
One of the last systems to deal with involved engine controls. I knew that I’d be replacing one or both of the throttle and mixture controls, and wanted an upgrade to the current Van’s style push-pull cables that have nice, robust locking sleeves at the engine end. I’d also purchased the mounting kit from Airflow Performance, which sandwiches a nice, beefy plate between the engine and the throttle body. Once I got the controls from Van’s, I was able to mock up another system.
Only I couldn’t. Neither control would work on this airplane because the distance required between the end of the control (at the throttle or mixture lever) and the securing barrel was greater than the available room. A couple of days moving cables to one side of the engine mount and then the other, followed by a number of aluminum L-angles cut, test fit, modified and test fit again—nothing I did worked within the confines of the GlaStar engine mount. Plus, both controls, which are fixed length, were so long that they needed S-turns in the run, adding friction and failure points.
Finally, simpler became better, with a modified version of the clamp used previously on the airplane and reuse of the throttle cable—in fact, an Aircraft Spruce A-800 friction-lock throttle control. I fabricated my own mixture clamp, borrowing the idea from the builder of my GlaStar; it basically just grips the outer sheath of a universal wire control. (The throttle side has a smooth barrel that you can clamp to and safety-wire for security.) In the end, it took me a few days of fabricating and cussing to come back to almost where I started.
Through this all, I’d kept an extensive set of notes and tasks, knocking them down one by one and adding new ones as I discovered something I’d missed. (One of which was that the original engine has a 5/8-inch breather and the new one came with a straight 3/4-inch port. Will it ever end?) Finally, nearing completion, all the items on my two sheets had been crossed off. Not much left to do.
Wait, Weight
Actually, there’s always something else to do, and it’s usually paperwork. And part of that paperwork is a revised weight and balance. I’ve always been a bit suspect of this airplane’s stated empty weight. Very few GlaStars are as light as 1220 pounds empty. But that’s what I had to start with, so I began removing weights of items based on claimed weights (the engine, for example) and those that I could verify, like the weight of the added components (airbox, boost pump) minus removal of old stuff (the Motorola alternator and vacuum system) and came up with a difference of just under 20 pounds. That is, the airplane gained that much with the changes, and it comes in ounces here and there: beefier engine, roller tappets, larger starter ring gear, different magnetos, fuel injection, and so on.
The assumed set of weights fell right in line with expectations, and I was confident that, at least until my local EAA chapter’s electronic scales became available, I was safe conducting sub-max-weight flights. It’s nice that the GlaStar has a generous weight-and-balance envelope.
Break In vs. Run In
It’s worth clarifying a term here. Run in is something the manufacturers consider part of the very early testing, a basic check to see that the engine runs, has good pressures and temperatures, and that the systems themselves are working as intended. On the airplane, the early part of what is really the break-in period involves short ground runs aimed at double-checking the installation. It’s assumed the engine’s core assets are sound since the factory has done a big part of the run-in for you.
You are still required to verify the oiling system before starting, which I did by pre-filling the low-mounted oil cooler, filling the sump and then motoring the engine on the starter with the top spark plugs removed. This revealed two things: First, the cranking voltage is too low to keep the engine monitor running, so I was, at first, unable to read oil pressure directly. Second, my battery was almost toast and labored to turn the compression-less engine. Ugh. The two solutions were a new battery—hey, why stop spending now?—and a way to power the monitor independently. I almost did the latter but realized that the engine held a bit of pressure after cranking stopped and the monitor would read it once booted. I didn’t have to use my mechanical gauge after all.
Back to the actual running. I ran the engine for one quick sprint of about 4 minutes, ranging from 750 to 1000 rpm. Because it was cool, I did this with the engine uncowled to make it easier to spot leaks. Titan recommends another engine run, which I did with it cowled, to verify that any anomalies found during the first run are rectified, and includes control checks, verification that the mag switching is correct, and that the idle speed and mixtures are correct. (Mine were spot-on from the start.) Titan’s recommendations are a little confusing—you could read them as needing to do multiple ground runs—but the bottom line is don’t run the engine longer than you need to on the ground, but do it enough to ensure that any problems are properly rectified.
Finally, Flight
The day arrived when it was time to fly. After months of waiting, so much teardown, rebuilding, prototyping, re-prototyping and just plain putting my emotional energy into the process, it seemed slightly suspicious that the Pacific Northwest would provide me with a perfectly sunny, clear, almost warm day for first flight. But there you are.
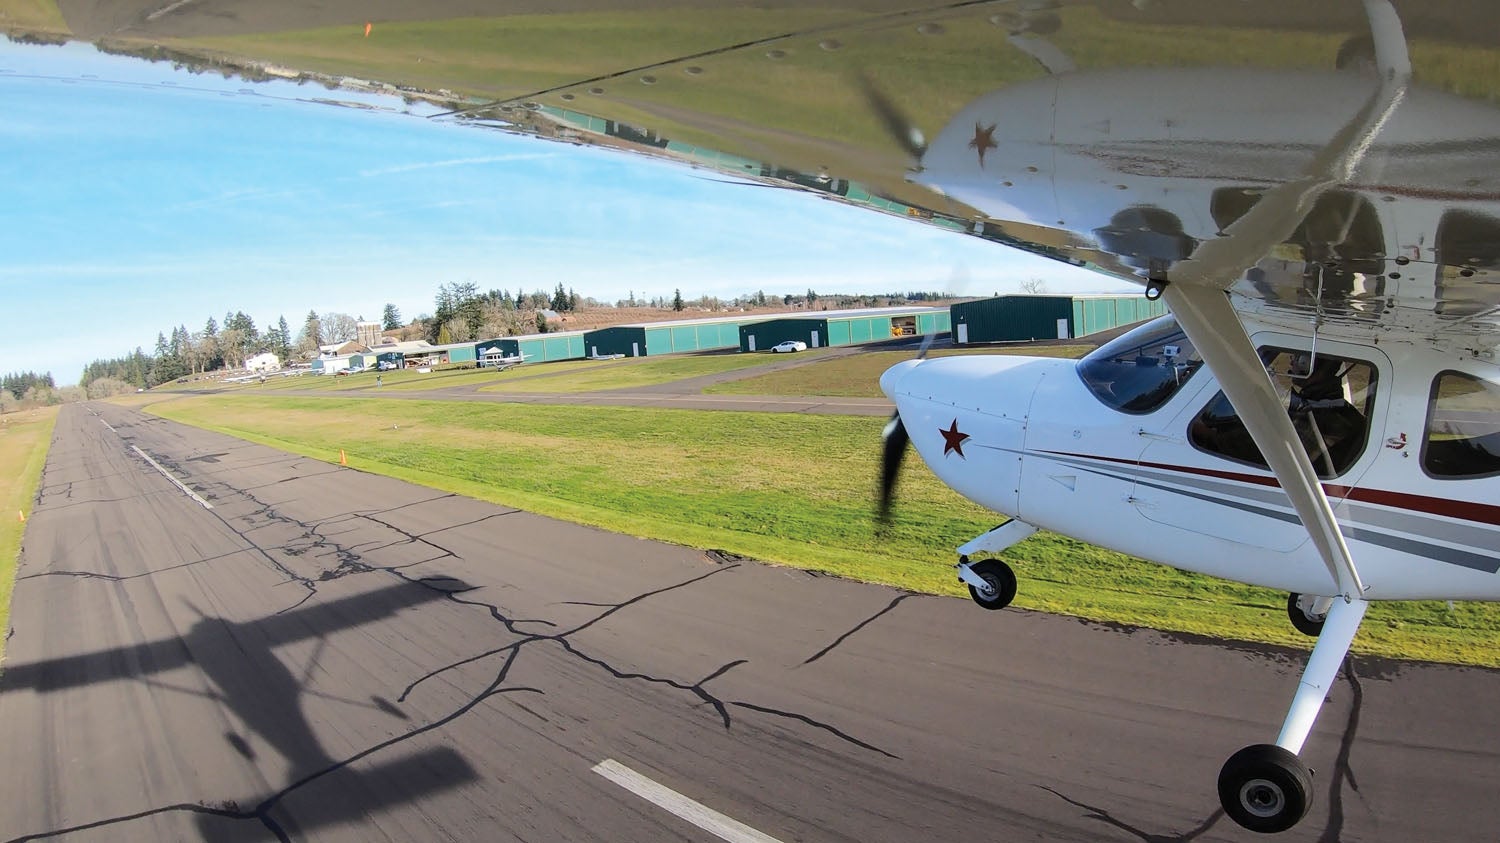
I’d kept the airplane relatively light (about 20 gallons of fuel on board) and set the prop to pitch setting #4, the recommended baseline. With Omar listening on the handheld and my brief runup complete, I pulled onto the Twin Oaks runway, rolled into position and, holding the brakes, smoothly throttled up. Every indication looked good, the engine sounded great and the GlaStar was raring to go.
In that moment, the adrenaline dropped away and I felt calm but very alert. The airplane accelerated briskly, much more like my old 215-hp Sportsman than this 150-hp GlaStar ever did, came off the ground in a few hundred feet and climbed at an angle I’d never seen before. With some air under me, I pushed the nose over, retracted the flaps and set up for a tight, climbing pattern over the airport. For half an hour, I flew circles and ovals and rectangles around the airport, watching the engine monitor and listening to the sound of a happy engine on a happy airframe. Despite the months not flying the GlaStar, the landing was perfect. (There, I’m jinxed.) And now the next phase of work begins…
Photos: Marc Cook, Omar Filipovic and courtesy of Titan Engines.


