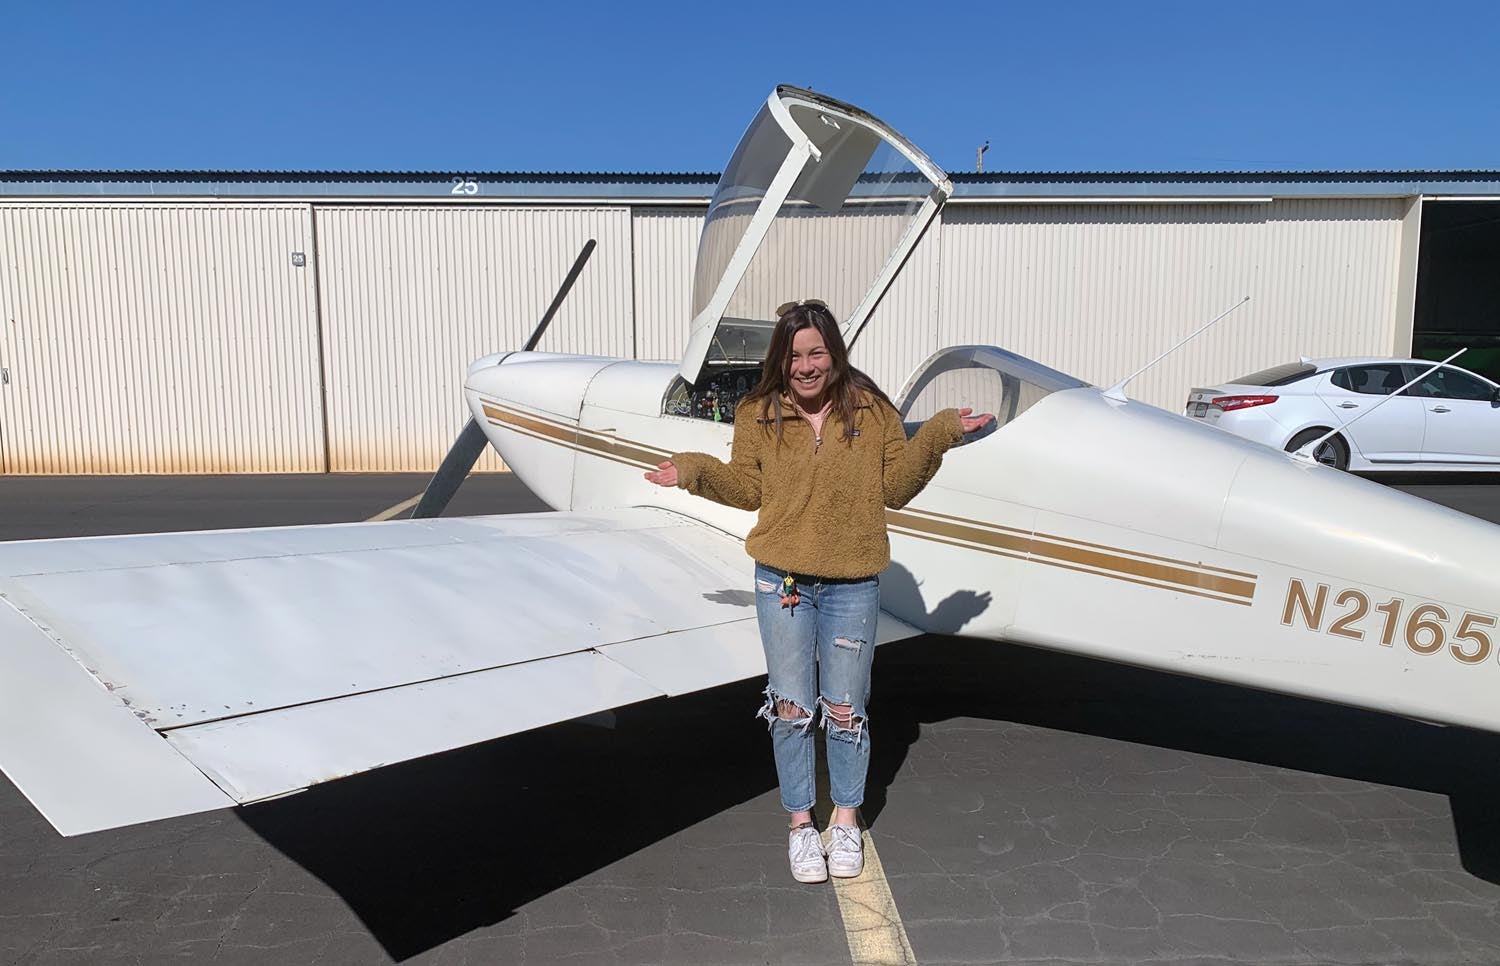
 So here I am. A 23-year-old with my own airplane. I’ve made the investment but don’t (yet) know how to fly it or fix it. I knew that N2165U, my Van’s RV-6, was going to need a lot of love, and I wanted to start immediately so I could fly it as soon as possible. As this was happening in late 2021, I was hoping to get to last year’s AirVenture. That didn’t happen. Oshkosh 2023? Not likely.
Fortunately, I’m not alone in this journey. Stan Lawrence, my CFI and general mentor, minutes after my RV-6 arrived in Sacramento, told me that the first thing we would need to do is remove the cowling to inspect the engine. He was out of town and my friends Kim and Mike had gone home, so I went back to Hangar 32 alone the first evening and started to remove it.
Hangar 32 is the home for N3062S, the Cessna 150/150 that Stan uses for flight training. The Cessna has been temporarily kicked out so the hangar can be home to my RV-6 as we rip its guts apart and then piece them back together.
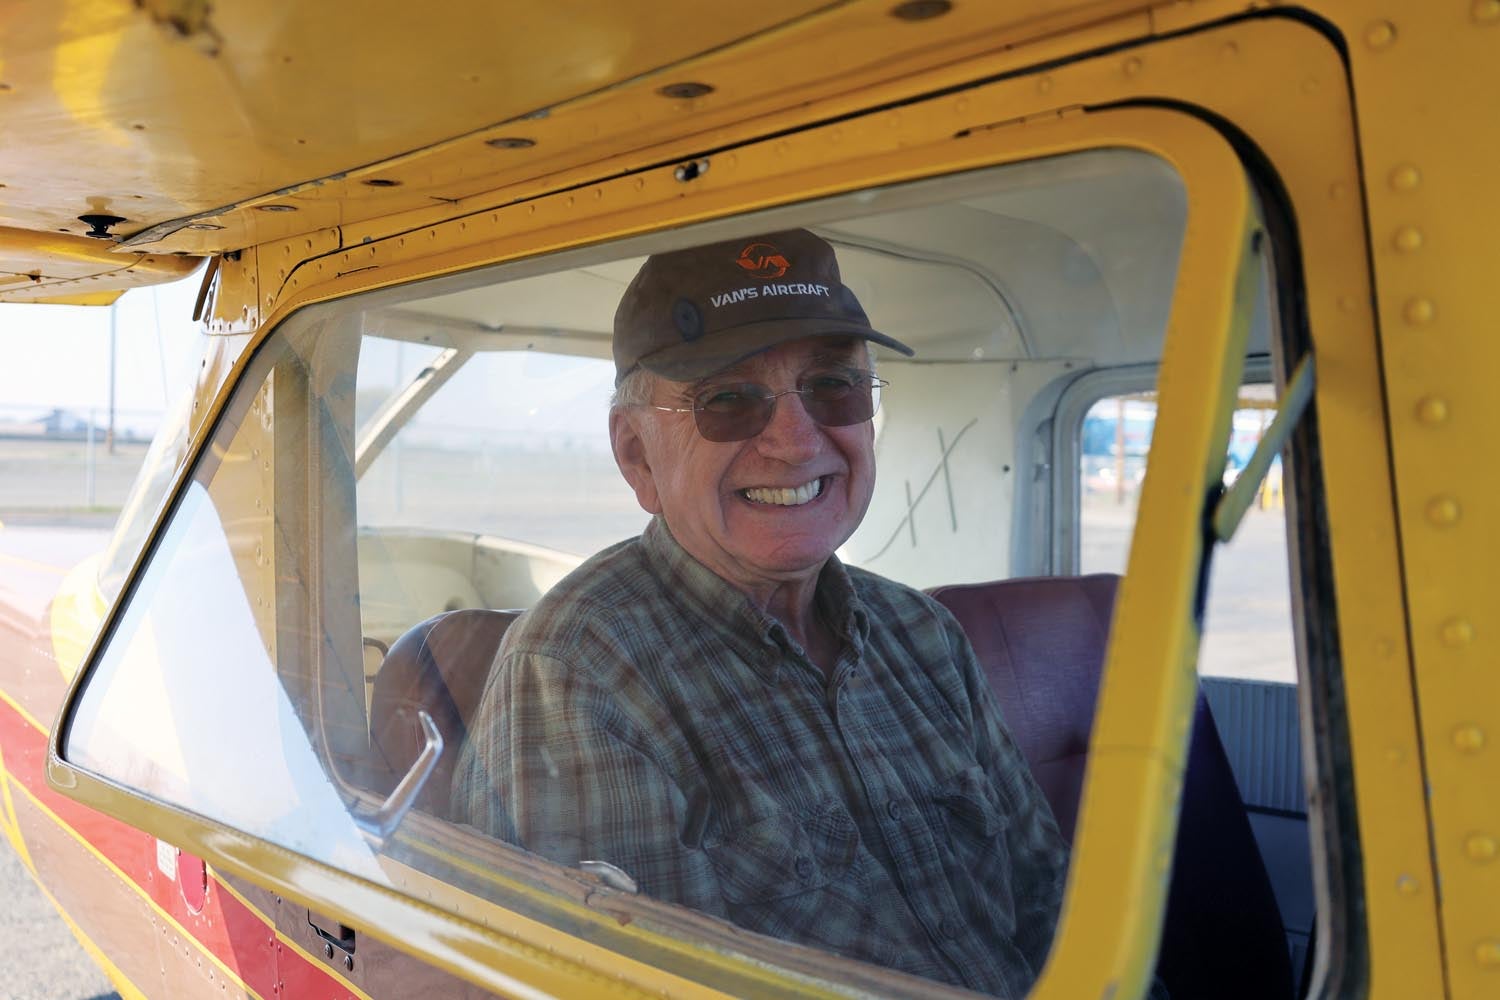
As I mentioned, Stan is my CFI. But really, he’s more like family to me than anything. Stan has given me countless hours of instruction and mentored me through my private and commercial certificates, as well as my tailwheel endorsement. He helped me find my RV-6 project and has been guiding me through the restoration process ever since. Stan is retired from the dairy business and now spends his time at home with his wife and his dog, Buddy, or at the airport working on his four airplanes. On top of that, he is the volunteer CFI for EAA Vintage Chapter 25 and is an integral part of helping the chapter produce two private pilots per year through the EAA Ray Scholarship. His passion for aviation and involvement in the community have made an impact on many lives.
The Cowling and the Cleaning
The cowling was attached with piano hinges that were not lined up correctly, making it difficult to pull the retaining pins. I headed to the back of the hangar and started going through the drawers, familiarizing myself with the tools in them while trying to decide which one could help me. I rummaged around a drawer of pliers and pulled out a couple that looked like they could work.
After 20 minutes or so of grabbing onto the pins and attempting to pull each one without success, I started to fear that I might hurt the plane or bend the metal in a way it shouldn’t be bent. I accepted my defeat and admitted I might need to ask for help already. Before I’d really even begun.
Despite my failed attempt, I wasn’t quite ready to give up for the evening. Instead, I found something that I knew was possible. The belly was so filthy that it looked like it had not been touched in years. Covered in grime, oil and some weird blue stuff, it was in desperate need of some cleaning. Also, the ferry pilots had added oil at some point along their journey and spilled it, so there were streaks all the way down the right side of my airplane. I got to work with cleaning but was carefully avoiding the blue areas.
As you know, the “weird blue stuff” is 100LL avgas, tinted with a bluish dye. Even though fuel leaked—from somewhere!—eventually it evaporated, leaving behind the blue dye used to differentiate the fuel from other octanes and Jet A (clear). I left these blue splotches on the plane so we could later look back and trace where some of the leaks were. I didn’t know it at the time, but the blue residue marked the beginning of one of the most difficult parts of the whole restoration project.
The Backstory: Meet Kerry and Hal
I’d recently been offered a job in Oshkosh, Wisconsin, which I was starting to seriously consider. However, after just buying my airplane and needing to take it apart, I would have had to figure out how to get it out there—it had been flown to me but the consensus opinion was that it needed work to be safe for me to fly. Aside from that, all of my family and friends were in Sacramento and Truckee, so I was still on the fence about the job.
All of my uncertainty vanished the next afternoon. I woke up, ran some errands and went to the airport, only to find that the cowling had been removed! I knew Stan was still in Arizona. So who could have done it?
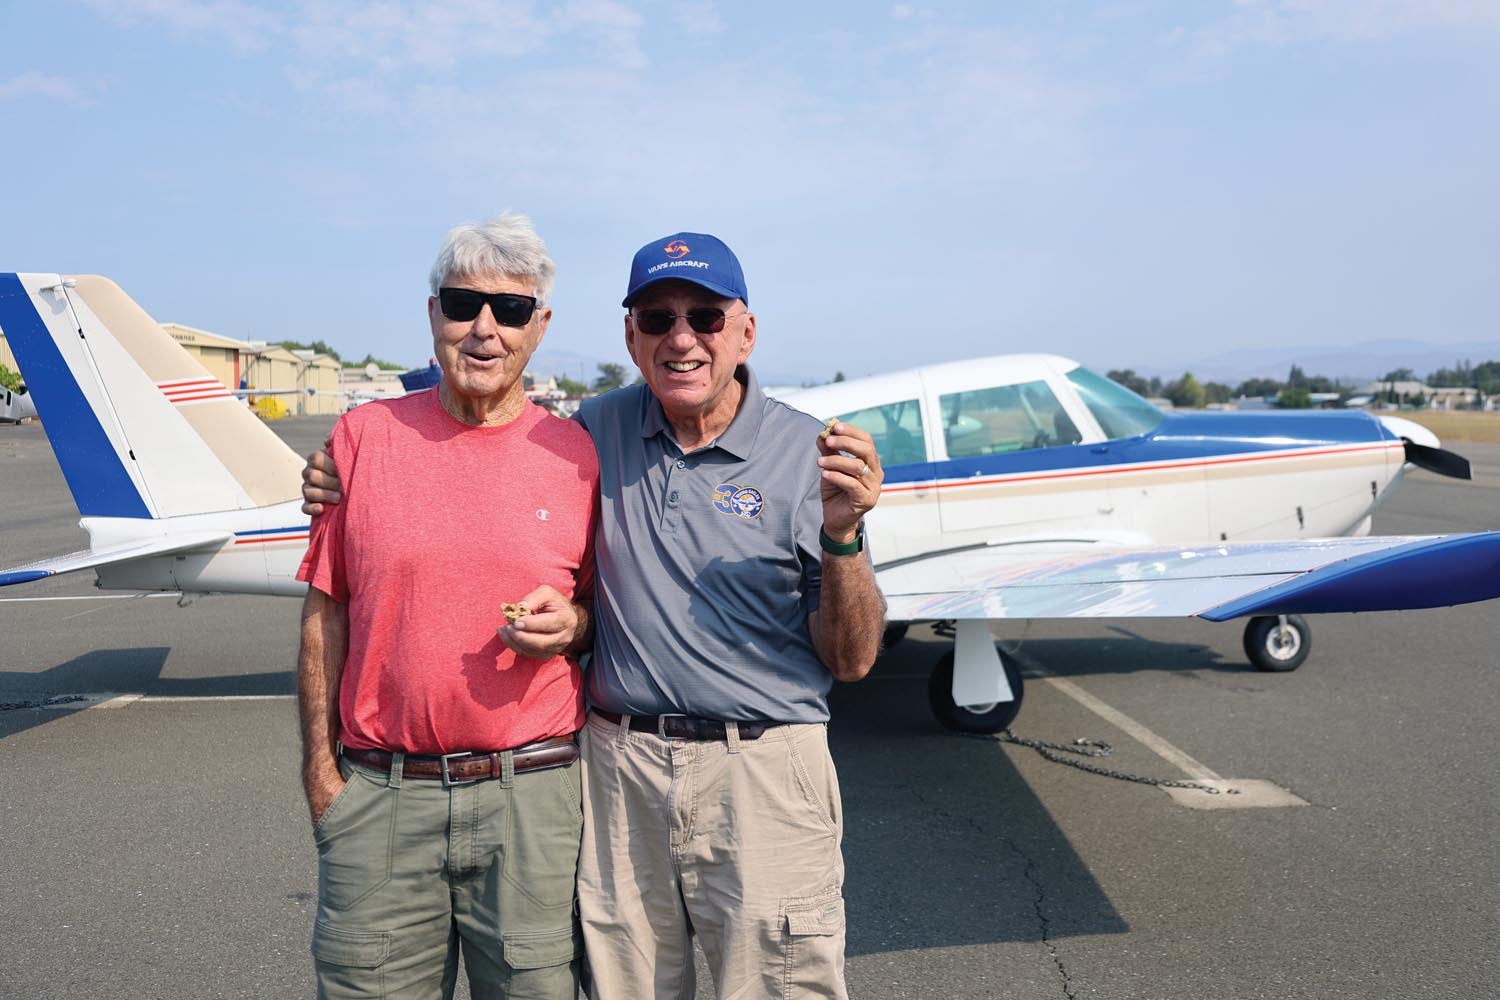
Kerry and Hal. Two peas in a pod. And a couple of the sweetest people you’ll ever meet. Kerry is the owner of Hangar 32, where my RV-6 is living now. A handyman from South Carolina and veteran of the U.S. Air Force, Kerry is the builder of two Van’s RVs, an RV-6 and RV-9. He sold his two airplanes years ago and now spends his time at home with his wife and helping his neighbors out with anything they need. He is often at the airport working on various projects or at our friend’s walnut orchard a few miles north of Sacramento.
Hal is the owner of Hangar 31, right next door to Kerry. He is also a veteran as well as a retired engineer and the father of one of my favorite people, Kim Owen. Hal built a sailboat and sailed up and down the Pacific Coast with his lovely late wife, Ruth, then built and flew his own RV-6. He recently finished redoing the panel on his airplane and is working on test-flying it.

The Epiphany
I was completely bewildered by the mysterious cowl removal until I found out that Kerry and Hal had helped me. I then felt pleasantly surprised and struck with a realization at the same time. The morning when I went to the airport and found that the cowling was off my airplane was the morning that I knew that I wasn’t taking the job in Oshkosh. I realized that I had a community at the Sacramento airport—real friends who cared and shared my passion and interests with me.
After-hours de-cowling was just the start. Kerry and Hal have been out there every other day ever since. Without them, plus Stan and the help of all my other friends at the airport, I wouldn’t be able to get through this project. Or maybe I would. But it might take like 10 years or so.
It’s Just the Beginning
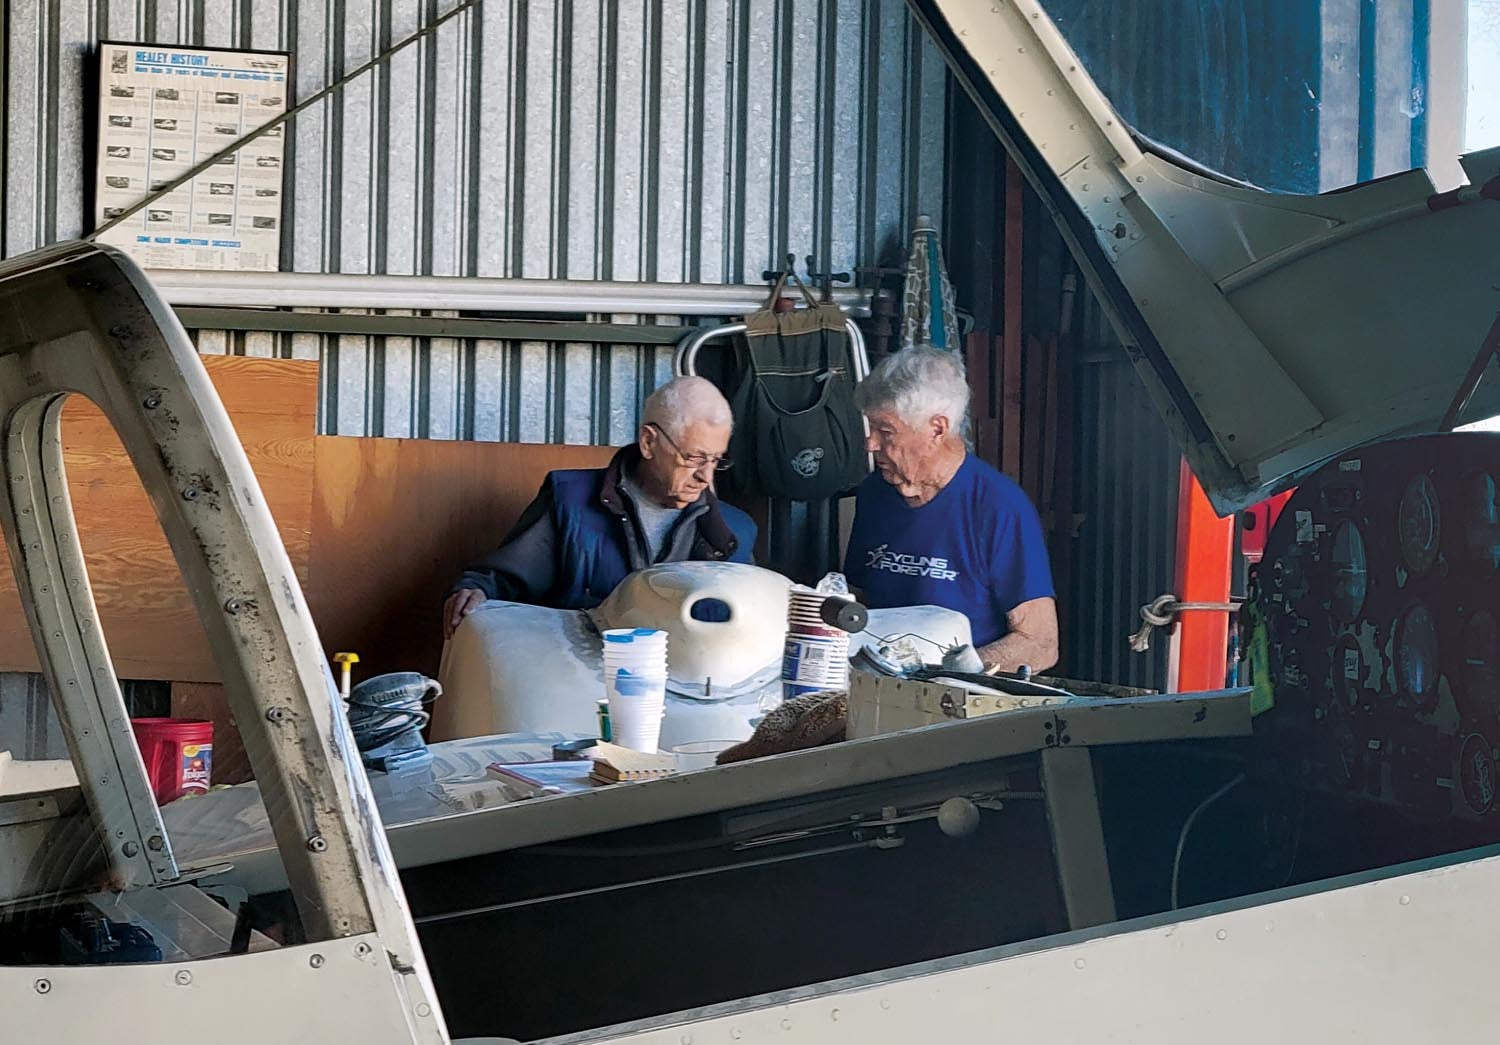
Getting back to the project. The air intake cover for the carb air filter was screwed onto the cowling, not fiberglassed as it normally is. Kerry, the fiberglass master, quickly adopted this project. Using Clecoes, fiberglass and epoxy, he worked for weeks bonding the air intake seamlessly to the cowl.
He and Hal also took on the project of redoing the piano hinges on the cowling. It had been difficult to take off because none of the hinges were lined up correctly. They removed the old ones and attached new parts, which was not an easy feat. There were also some dents in the bottom of the cowling, making it difficult to install a nut plate. They worked hard on this part of the project.
While they were busy up front, I removed the seats and baggage bulkhead to inspect the tail cone for internal damage. After also removing the tail fairing for a better look, Stan, Kerry and Hal all advised that it looked great and we would not need to do anything to this part of the plane. Phew, thank goodness!
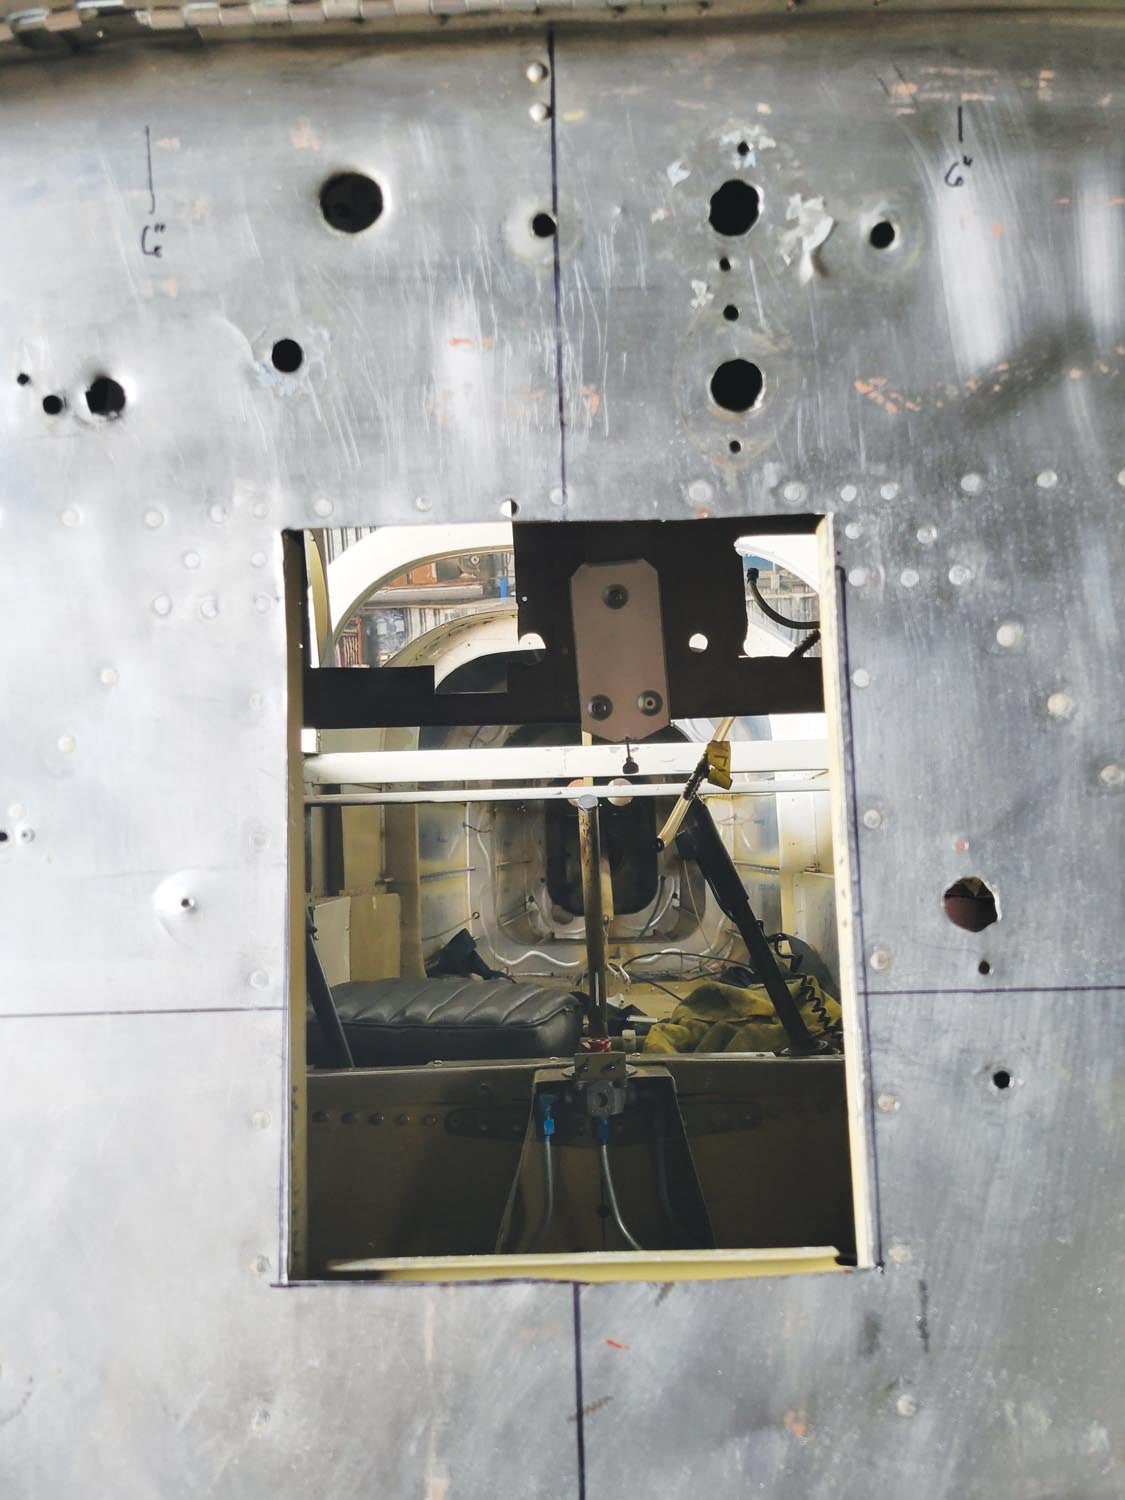
Back to the Blue Stuff
One of the major projects was to fix the fuel tanks. I started by draining the fuel. Then I removed the wing-root fairings to inspect them. We had to first find the leaks by following the blue fuel residue. There was residue around rivets, which indicated they were leaking. Aside from that, there was a lot leaking from the side of the tanks next to the fuselage. It was clear: We would need to remove the fuel tanks from the plane, open them up and reseal them.
The mounting screws had paint and corrosion on them so we had to drill many of them out. Kerry and Stan showed me how to drill the screws out. After drilling most of them, I was still struggling to get the tanks off. Hal and Kerry helped me, pointing out that I left some screws in. Oops!
The Slosh Project
We discovered that the tanks must have been leaking at some time in the past because they had been sloshed. As RV builders know, the proper way to build the tanks, which are actually the leading-edge D sections, is to seal the joints with Pro-Seal. Sometimes when the tanks leak, a broad “sloshing” compound is used to seal the tanks. Sometimes it works. Often it does not. Slosh eventually flakes off and clogs up the fuel lines and screens (very important). The slosh in N2165U was starting to flake, so we have to take off the tanks and scrape the slosh out.
The Engine
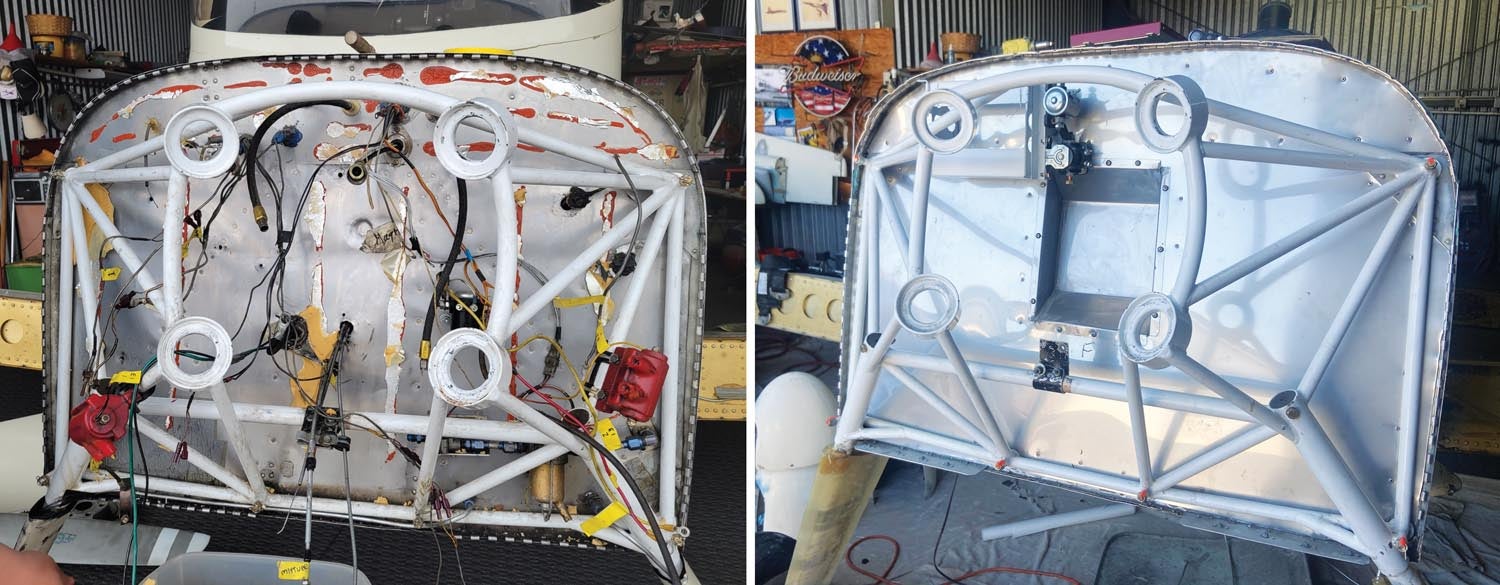
As you may have seen in previous photos of this project, the engine has been removed, not to have it overhauled but in order to provide greater access to the firewall. For one, the original oil filter was very large and heavy, so we replaced it with a spin-on oil filter. Unfortunately, dimensions of the spin-on filter were too large to fit between the engine and the firewall. Therefore, Stan cut out a space in the firewall and crafted a box in the middle. The original firewall had many holes where different parts and pieces had been mounted to it. It was also dirty and damaged at the bottom, so we ended up measuring a piece of stainless steel and riveting it on to create a cleaner look as a whole. To do this, we removed the engine mount and main landing gear. The vacuum system and pump were also removed as they will not be needed because I won’t have pneumatic gyro instruments. There were also oil lines for a constant-speed prop. However, as I have a fixed-pitch prop, we chose to remove those. We are also moving the battery from the cockpit to the firewall.
All of this is more than simply cleaning up. But I want my airplane to be right, to be safe, and my “Sacramento ground crew” seems to want it that way. Next time, I’ll get into the process of removing the fuel-tank slosh.


I applaud you for taking on the project and doing it right. I bought a number of aircraft that I saw as diamonds in the rough and could see something special could be made out of them. I think I enjoyed the projects and seeing the finished product more than flying the birds. I had retired artisans who would volunteer to help and without their skill sets and lifetime of knowledge I never would have finished one project. Be patient is my best advice. It will be worth it. You will have something you will always be proud of. An aircraft you know how it was put back together. And I always took pride in knowing I had passed on a much better, safer aircraft to the new owner. That to me is what aviation is about. Best always and safe travels.
Congrats to everyone involved in this project! It’s so great to see a young person, a woman, and some diversity in the magainze!!
You go, Tenley!!!!!
Great to see a young woman with a passion for flying. Proves that getting bitten by the bug is not gender linked!
Seems there’s alway some old codger willing to donate time and effort to young folks…
Comments are closed.