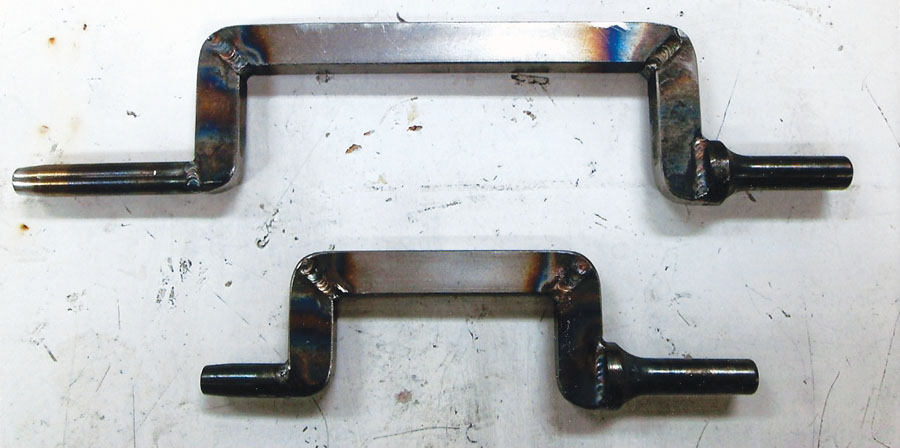
Two examples of MYO C-offset back rivet sets.
There comes the time while building a metal airplane that bucking some rivets seems impossible. Our Creative Homebuilder came to that point while working on the mid- and forward belly skins on his RV-3. The shop heads of the rivets connecting the belly skins to the bulkheads line up under flanges that prevent a direct line for either pounding or bucking. The solution? Make Your Own (MYO) back rivet set. A little cutting, a little milling, and a little welding created C-offset back rivet sets for pounding the shop heads. The flanges tuck into the offset part of the driver. The machine heads are bucked from the outer side of the skins.
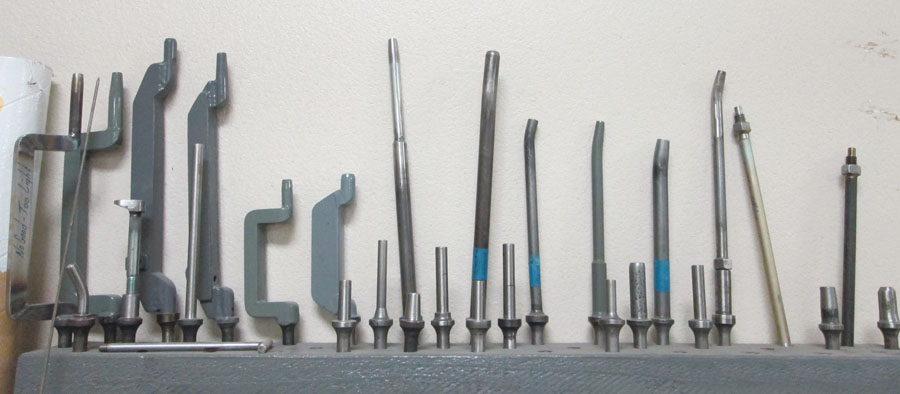
Some of the 30 custom back rivet sets that the Creative Homebuilder uses for back riveting stiffeners to skins.
Flush with success after making the C-shaped rivet sets, our Creative Homebuilder made over 30 sets for different needs, including straight, single, and double-offset sets. The custom sets allow back riveting in most locations, which takes most of the variability out of bucking.
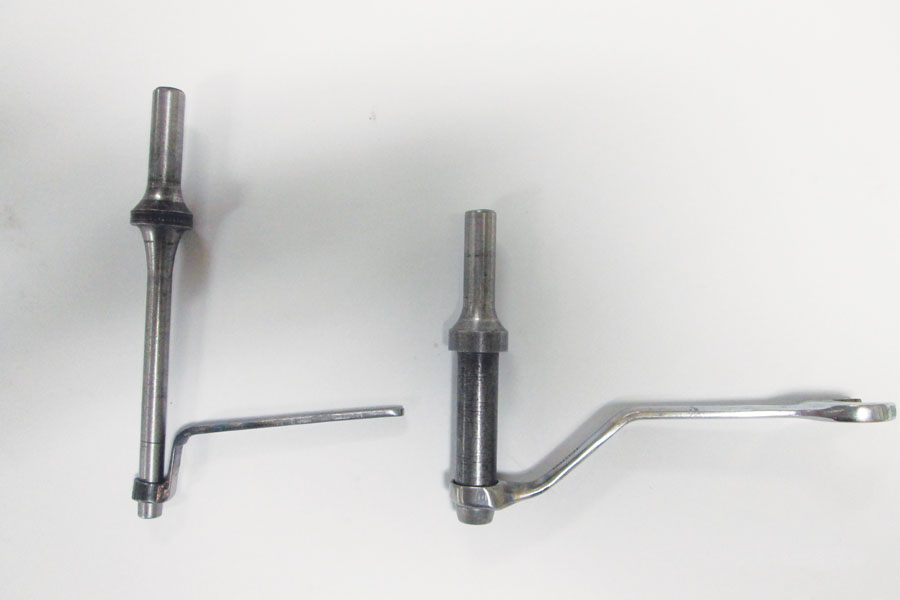
Custom hold-downs made by bending inexpensive wrenches can help stabilize the drive head.
Although still a two-person job, the only thing the “bucker” needs to do is center the bar over the rivet head and press down. The driver only needs to align the set square to the rivet shank, maintain positive pressure, and trigger the gun. All the necessary skills required for success lie with the driver; even then, there aren’t very many. Align, press, shoot—that’s it!
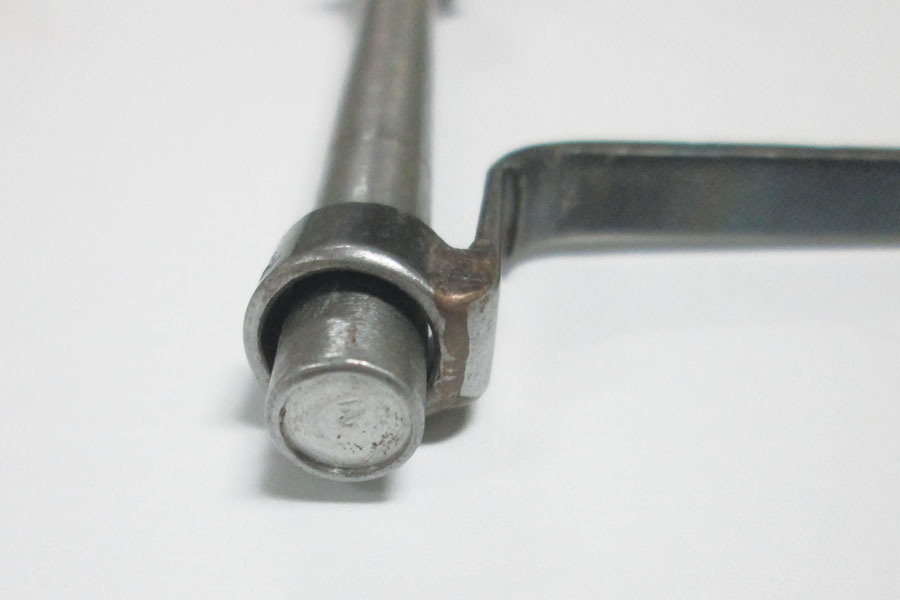
The pounding head of an MYO back rivet set. The .032-inch-deep counterbore in the head helps ensure that the driven head stays inside the set face. As long as positive pressure is maintained during the driving process, the set will not slip off the rivet shank.


