Way back in the stone age of electronics (when dinosaurs roamed the earth and I had brown hair), I designed my first voltage regulator circuit using a pair of 6DQ6 power tubes and a pair of 0A2 argon/mercury regulator tubes. Sucker put out a decent 300 volts at half an amp or so, enough to fry me if I did an oopsie. My last real avionics design of a regulator was a little lamp dimmer that used four transistors, an opamp, a couple of Zener diodes, several resistors, and a couple of capacitors—and that was 25 years ago.
Times change, things evolve, and today I can buy that regulator-dimmer in a single small package for under a buck and a half. The only external components are two voltage-set resistors and three capacitors, and it is protected from overcurrent (i.e., short circuit) and overheating. Parts cost (excluding any chassis, housing, or heat sink) is under $3, and that includes a small variable resistor to adjust the voltage anywhere from about 1.2 volts to a little less than a volt from the power supply voltage, which can be either a 12- or 24-volt aircraft battery system.
Hang on. This month and the next couple of months are going to bring you everything you ever wanted to know about the art of making voltage be whatever you want it to be using both linear and switching regulators.
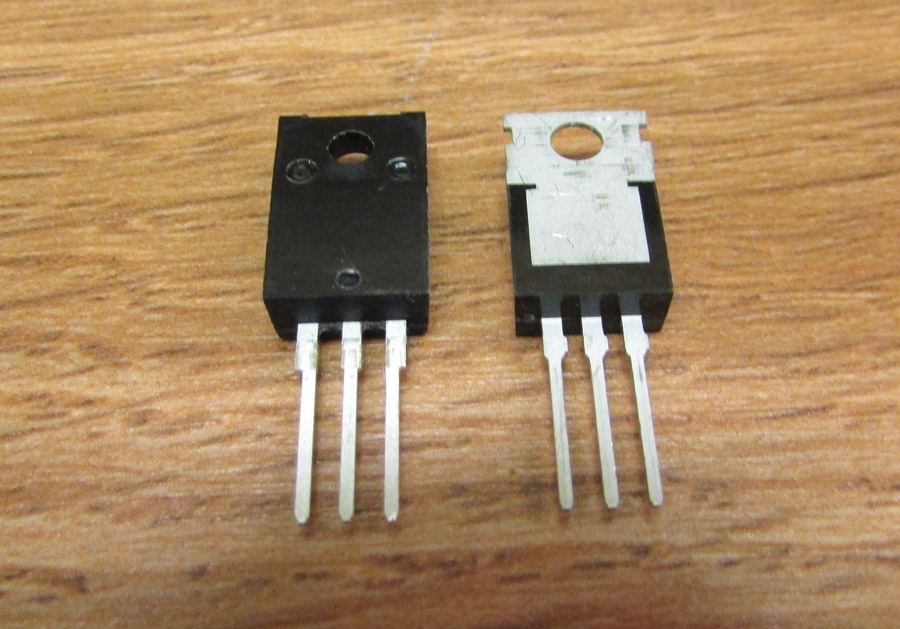
A “normal” TO-220 with the metal mounting tab on the right and the much-improved TO-220 with the thermally conductive plastic tab on the left.
Low-Dropout Regulators
In the past couple of years, the low-dropout regulator (LDO) has come into its own. Couple the LDO with some pretty remarkable increases in regulator current capability, and you’ve got a real workhorse on your hands. What is an LDO you ask? Simply this: It is the difference between the voltage you have for a power supply (like a 12-volt aircraft battery) and the maximum voltage that the regulator can put out. It used to be quite common for a regulator to have a 2- to 4-volt dropout voltage (what some of us call “headroom”). The LDO changed all that with some clever circuit design, and now we have regulators that have less than a volt of dropout—hence the low-dropout or LDO. Your nominal 13.8- to 14-volt charged-up “12-volt” battery will now power an LDO to give 13 volts of regulated voltage.
Current? You say it is current that you want? It used to be that once you got past an amp or so of current, you started talking about external power pass transistors and all the peripheral circuitry that went with them. Today, 3-amp and 5-amp regulators are the norm. I’ve seen some prototype 10-amp devices, and a few years from now, I’m sure that will be the standard.
All this is well and good, but something has to stay constant with temperature, applied voltage, output voltage, output current, phase of the moon, and the EAA annual budget. That something is called a “bandgap” reference, and it is purely a function of the atoms of silicon in a transistor. Nothing else bothers it. Fortunately for us, the bandgap voltage of silicon is very near 1.25 volts, and the entire function of the rest of the circuitry inside that regulator package is to compare a fraction of the output voltage with the bandgap and so keep the output voltage at a constant level. Again, this bandgap reference is much more stable than the old Zener diode method of reference, so we have another step forward in regulator performance.
Now, here’s something that has remained with us and is inherent in a linear regulator—heat. Brother Ohm told us that with voltage drop and current flow, there will be heat generated, no way around it. The nice thing with a lamp dimmer (which is where we are headed shortly) is that minimum current happens with maximum voltage drop, and maximum current happens with minimum voltage drop. Short story is that a lamp dimmer heat problem isn’t quite as severe as you might expect.
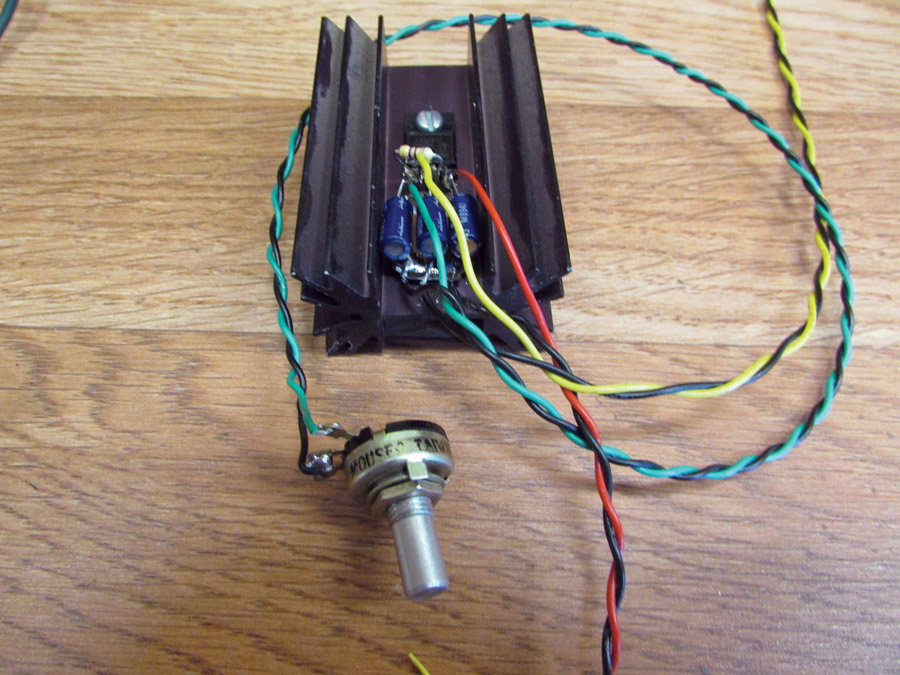
The whole dimmer circuit mounted on a pretty hefty heat sink. This sink is way overkill for 3 amps of lamp dimmer current, but I wanted to do some temperature measurements that will help us next month to size our heat sinks.
Building the Dimmer
Without further ado, let’s get on with our inexpensive lamp dimmer. I chose one of the new-gen voltage regulators from a company called ST Microelectronics. It is their LD1085P, and it goes for about a buck and a half in onesies from any of the usual suspects (Mouser, Digi-Key, Jameco, and a few dozen others). I had my choice of a couple of manufacturers of this device, but the ST Micro part has a built-in thermal insulator as part of the case. Normally in the TO-220 package the mounting lug is also the mounting plate for the IC chip itself and is electrically connected to the output. In order to get the heat out of the case, you wind up with a little mica washer, shoulder washer, and associated hardware in a mounting kit. With the ST Micro case, it is 4-40 screw, lockwasher, and nut. Period. I also use a tiny bit of zinc oxide paste from the drugstore as the “goose grease” between the case and the heat sink instead of the insanely expensive “thermal compound” which is marginally (if anything) better than ZnO.
The circuit is remarkably straightforward. Battery voltage (12- or 24-volt system, your choice) comes in the left side, is massaged by the regulator IC, set by R2 to any value between 1.25 volts and battery volts minus a volt, and output to the lamps on the right side. C1 and C2 are there to provide stability to the IC and should be mounted reasonably close (say, within an inch or so) of the IC. C3 strips off any noise that the twisted pair going to the dimmer control might pick up, although twisting the wires together makes noise pickup a minor concern.
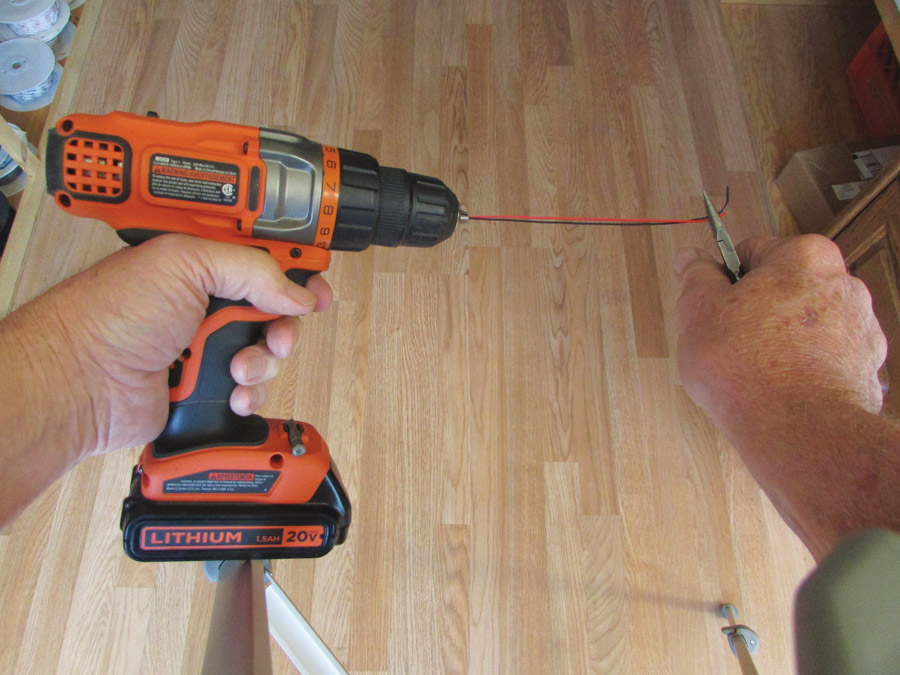
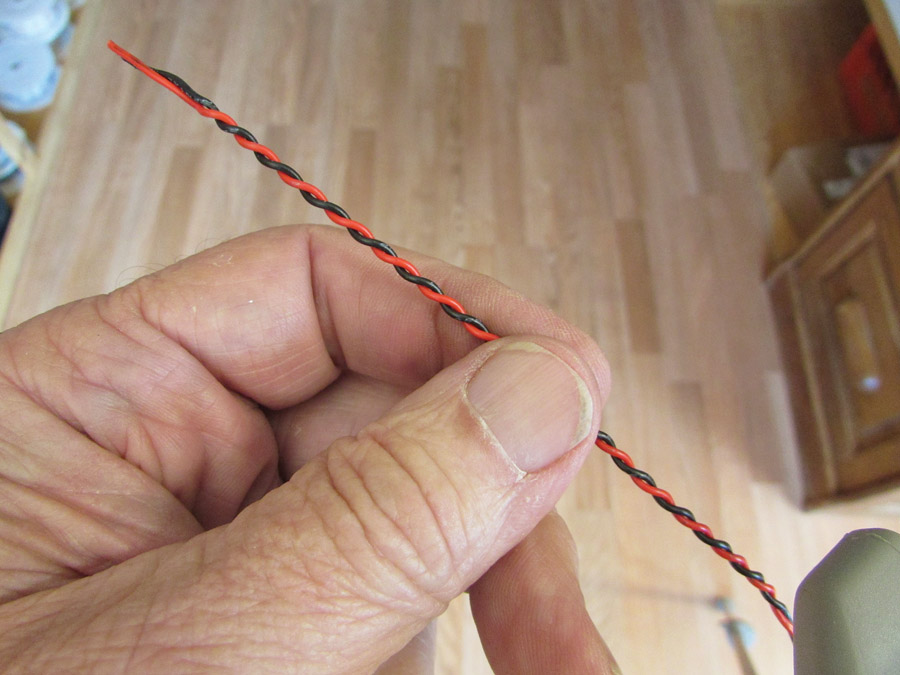
As to twisting the wires together, I learned early on that if I’m running two or three wires out of a circuit for some distance to another location, I keep noise and spikes out of both ends by twisting the wires together. I also found about that time, it is certainly easier to use an electric drill to do the twisting than twisting by hand.
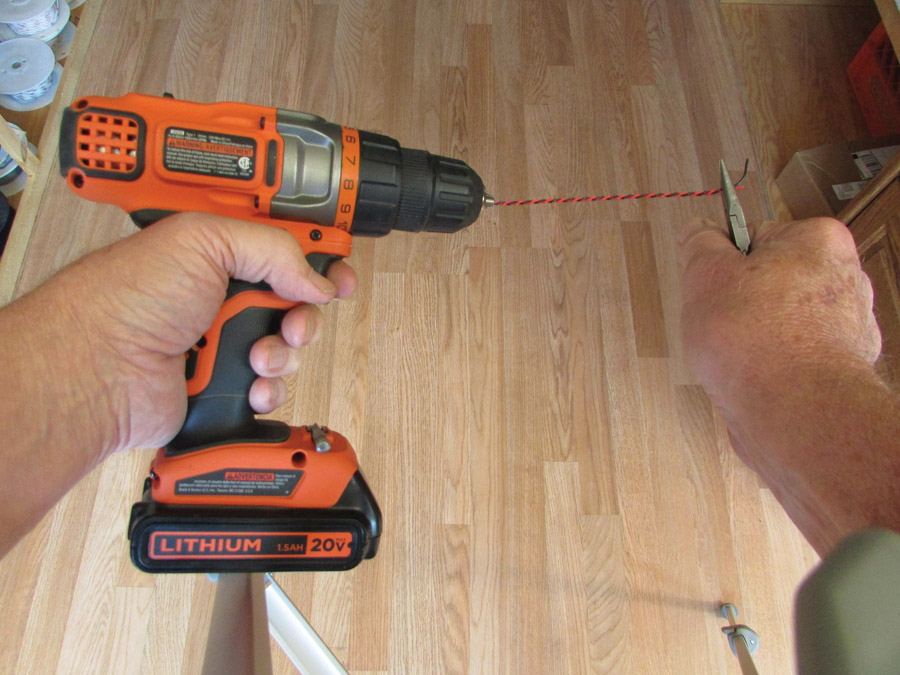
After twisting, take your right hand and give that twisted wire a real snap to mate the wires. Try to snap it hard enough to pull it out of the drill chuck.
Now for heat. This little gem can put out up to three amps of current if necessary, so some form of heat sink is going to be necessary for high currents. How much heat sink and how high is high current? We now leave the realm of science for the world of art. There are several variables in play here: 12- or 24-volt system, LED or incandescent lamps, and how much current to supply. All these affect how much heat is going to be produced, and I will tell you that the best way of finding out what is acceptable is to fire it up on the test bench, measure the temperature of the IC, and provide enough metal to get rid of the heat. How much heat to get rid of? If I can keep the case of the transistor (right at the mounting screw) below 212 F (100 C), I should be OK. The cooler the better, but if you are tight for space, then let it run a little hot. Just remember that the wiring to and from the dimmer also needs to be able to handle these temperatures. Fuse or breaker? Of course you fuse/breaker everything. This little fellow is current limited to 5.5 amps, so a 5-amp fuse should be more than adequate.
So you say, “Couldn’t I power my iPad or iPhone from this regulator?” Sort of. I don’t think I’d trust a $700 iPad to a device that could open up the voltage set resistor divider and put full battery voltage on the iPad. Better we use a fixed regulator with a real calculated heat sink…next month. Until then…stay tuned…

![]()
Jim Weiris the chief avioniker at RST Engineering. He answers avionics questions in the Internet newsgroup www.pilotsofamerica.com-Maintenance. His technical advisor, Cyndi Weir, got her Masters degree in English and Journalism and keeps Jim on the straight and narrow. Check out their web site atwww.rstengineering.com/kitplanesfor previous articles and supplements.








Do you have any tips on resurrecting (or attempting) avionics after they were dunked in a SeaRay amphibian sinking.
IF YOU HAVEN”T ATTEMPTED TO TURN THEM ON…
IF in fresh water give them a good bath in a 50-50 mix of 95% isopropyl (rubbing) alcohol or a 95% pure iso alcohol, dry them in a makeshift oven of a cardboard box with a small (30 watt) incandescent bulb for a week, and then give it a try.
If it was salt water, OR you’ve turned them on after the fresh water bath, give them a decent burial.
Jim