 When I last wrote about the eXenos, it was in the heady days after the first flight. But by the time the first couple of flights were complete, we figured out that the motor system could get us into the sky and back down again without overheating and the nerves (and excitement) of the initial flights were gone. It was time to get down to the reality of a test program.
Flight testing is, at its heart, fairly boring—or at least it is supposed to be. In the space program, we always said that “if things were getting exciting you were doing something wrong.” Flying really cool machines in high-performance regimes was exciting enough. Having them catch fire, break up or lose control just meant you weren’t properly prepared for what you were trying to do.
The test program for our eXenos was a little more intellectually exciting than the test program for an RV that was built to plans. Only one other Xenos has flown with an electric motor. Finding and investigating unknowns is where the fun part of flight testing comes in. It’s also true that any good flight test program follows the basic rules of plan, train, fly. You make a plan, you make sure that you are trained to carry out that plan and then you go do it. Of course, you have to be ready for unexpected twists and turns along the way, so any good plan is flexible. And the training might come along as part of the flying. In any case, when you’re flying, you need to be able to alter the plans in real time, so the three phases are intertwined and iterative upon each other.
Planning
Because we were one of the first builders in the country to have the task-based option in our operating limitations, we wanted to make sure to do it right. While there are many ways to build a flight test plan and quite a few references to use in doing so, for most amateur builders, it is hard to beat the EAA Flight Test Manual (and associated test cards) as a starting point. In fact, for most homebuilts, it is more than a starting point—it is a complete plan that can be executed pretty much as written. But for an outlier such as a motorglider—especially a real outlier such as an electric motorglider—it serves as a good jumping-off point.
The second flight was a repeat of the first and consisted mostly of making sure that the airframe would fly successfully with the unique powerplant we installed. Until you actually fly, it’s hard to predict key performance items, such as maximum rpm at full throttle, what kind of climb rate would result and, more importantly, how the cooling was going to work and how we’d manage motor temperatures at a density altitude of more than a mile above sea level. On the other end of each flight, I needed to determine the best ways to land the aircraft, and this meant understanding the effectiveness of the spoilers, power response, trim speeds and how the airplane acted at touchdown. In other words, there was a lot to learn all at once. For this reason, we didn’t plan to step into the EAA test cards right away.
It’s important to recognize that one size simply doesn’t fit all. For that reason, it’s OK to modify the cards (and program) to fit your aircraft and your situation. Aside from a few cards that need to be completed before others (such as doing a fuel flow test before first flight and doing wings-level stalls before accelerated stalls), you can shuffle the cards as required. When I fly a test program, I almost always have a primary card for each flight as well as a backup card. This is to allow me to make the most efficient use of time. Let’s say the flight is to test airspeed calibration but the air isn’t smooth enough. In order not to “waste” the flight, I might choose instead to do a stability test or gather some range/endurance test points.
Still, it pays to go over the entire test plan before you get started to see what is appropriate to add or subtract as part of the initial plan. After accounting for the fact that we had an electric motorglider, our modified list of test cards looked like this:
Card 0 — Fuel Flow Test- Card 1 — Engine Run & Taxi Tests
- Card 2 — First Flight
Card 3 — Gear & Flap Operation- Card 4 — Rough Pitot-Static Check
- Card 5 — Longitudinal Control
- Card 6 — Wings-Level Stalls
- Card 7 — Determine Vx & Vy
- Card 8 — Best Glide Speed
Card 9 — Range & Endurance- Card 10 — Takeoff Performance
- Card 11 — Landing Performance
- Card 12 — Accelerated Stalls
- Card 13 — Trim Effectiveness
- Card 14 — Static Longitudinal Stability
- Card 15 — Static Directional Stability
- Card 16 — Static Lateral Stability & Spiral Stability
- Card 17 — Longitudinal Dynamic Stability
Card 18 — Runaway Electric Pitch Trim
It’s a tribute to the EAA Flight Test program that for something as radically different from a standard airplane as we were flying, there are surprisingly few modifications to the basic plan. The real changes, however, came in the details of each card. For instance, we had surprisingly few weight and CG loading points to test. “Fuel” always weighs the same with an electric airplane; therefore, you don’t have different levels to test. Our passenger and pilot sit almost exactly on the CG and, with no baggage to speak of, there is almost no variation of CG—this eliminates almost half of the test points for each test card right there! It might seem odd to cross off the “fuel flow” test, but we actually replaced it with a full battery ground run to check duration and continuous motor performance.
Training for Phase I
Most pilots, once they have gotten their private certificate, just go fly airplanes. They go on trips (long and short), do a little sightseeing and take passengers for rides. Rarely do they go out and practice forced landings, do a stall series or refine their ability to hold speeds plus or minus a single knot. In addition to having the necessary baseline skills, how do you prepare for a particularly unique aircraft like the eXenos? Break down the uniqueness into manageable bites and think about what is going to be different from the airplanes that you usually fly. Once you have determined what is unique, go out and practice skills that address those characteristics.
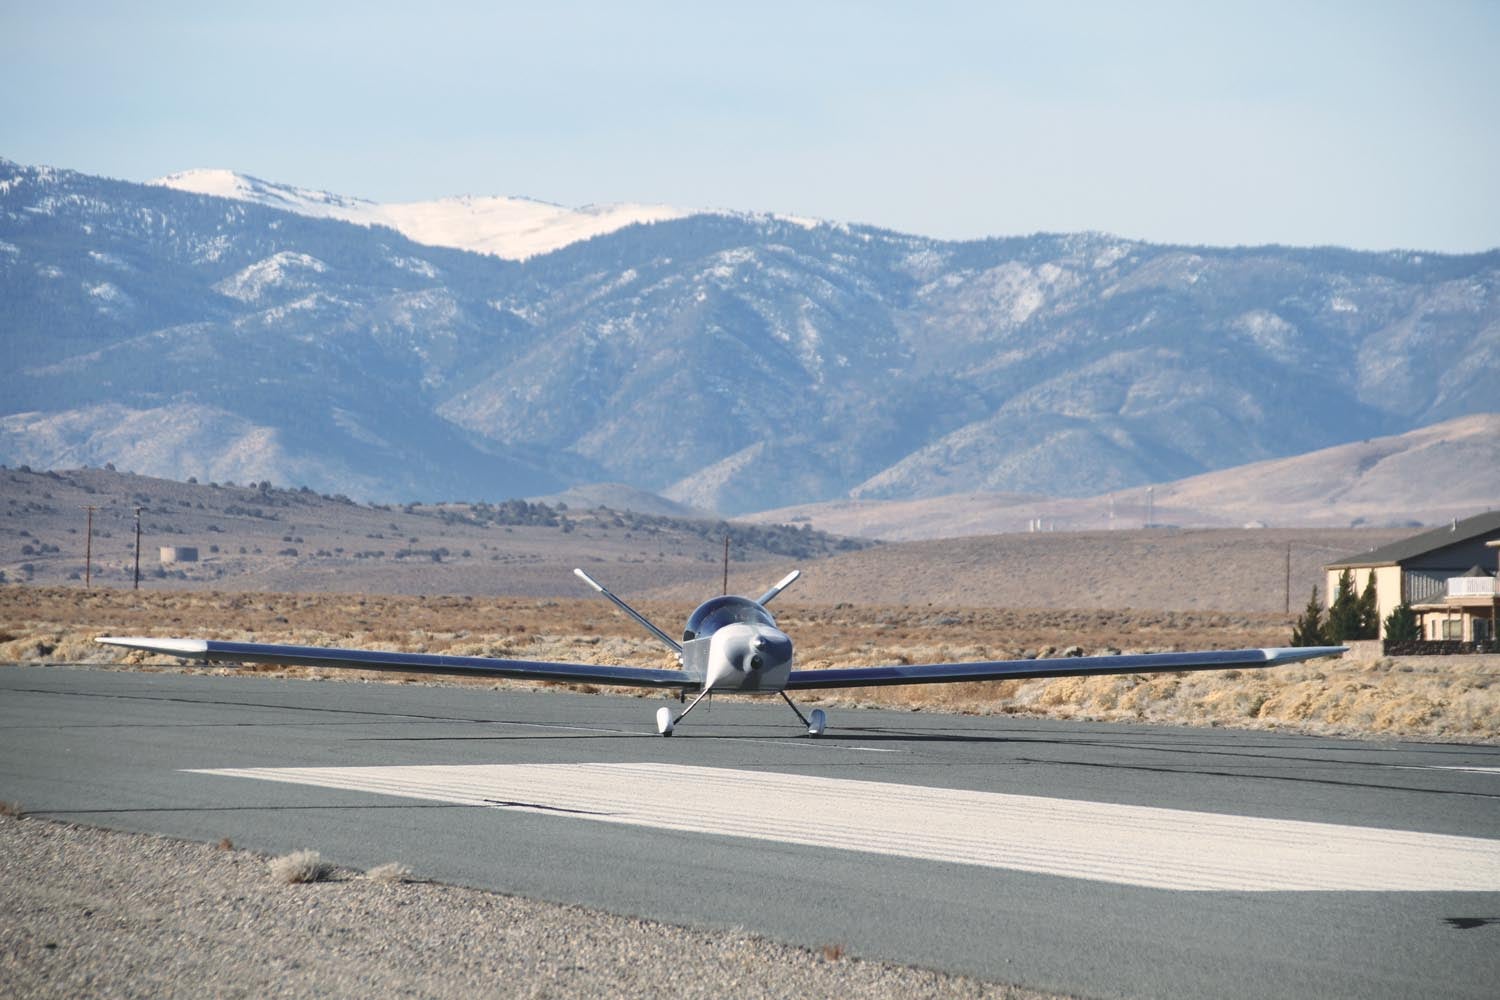
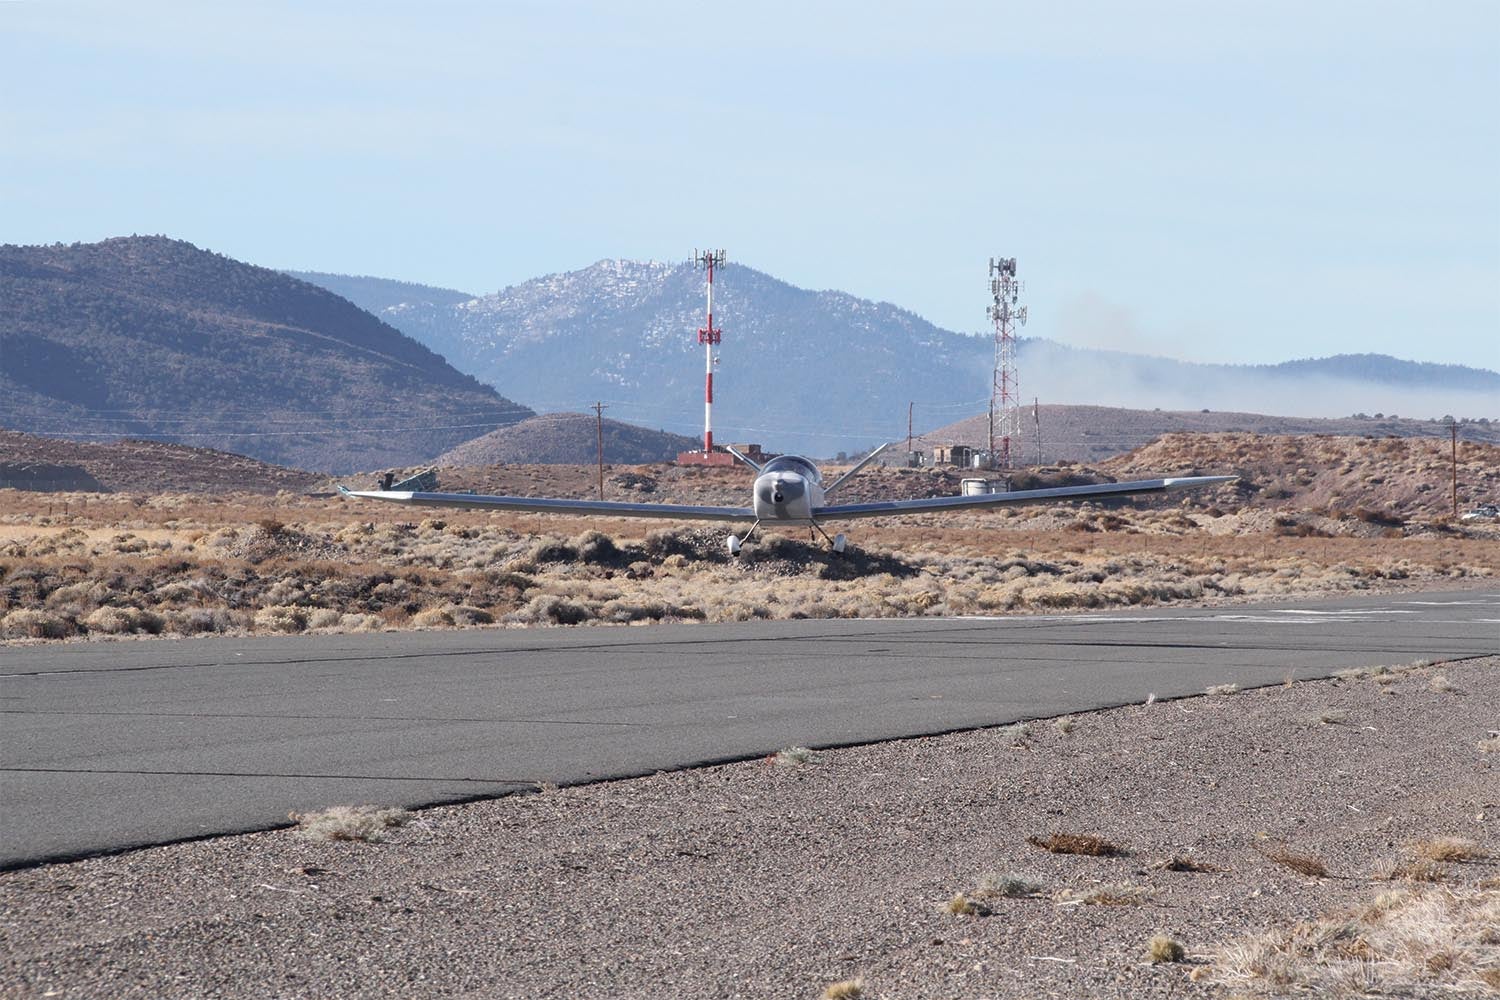
For instance, the eXenos is a long-wing airplane, designed to soar, so a sailplane rating or experience is a big plus. The eXenos also has a surprisingly small speed range—it flies well at 40 KIAS, just above the stall, and rarely gets going faster than 70 KIAS. The sweet spot for most flying is right between 55 and 60. This is down near the stall speed of the usual RVs that I fly, so some emphasis on slow flight is probably appropriate before going to start the test program.
In addition to flying slow, the eXenos has significantly less horsepower than most modern pilots are used to—especially with respect to the wing area. One way to get used to this is to practice reduced-power takeoffs—using a long and open runway environment, of course—and climbs in your usual airplane. Get sharp taking off at minimum flying speed, with significantly reduced power, and climb out that way. It’ll feel like you’re on a bubble and you need to maintain a safe margin above the stall. But getting the feel of hanging there in the sky is valuable when getting ready to fly a slow-flying floater of an airplane.
Finally, go out and practice power-off landings from various altitudes and positions relative to the runway. This is important before any test program with a new airplane because engines do quit. But it’s especially important when you are going to go fly a glider. It is important to reacquaint yourself with power-off landings and gain confidence that, yes, you can hit the runway when required—which is every time you land the eXenos. Sounds like a lot of training, doesn’t it? It does. But until you can fly precisely, are used to a low-powered, large-span airplane and can hit a power-off landing spot accurately and repeatably, you really aren’t ready to go fly something this unique.
First Things First
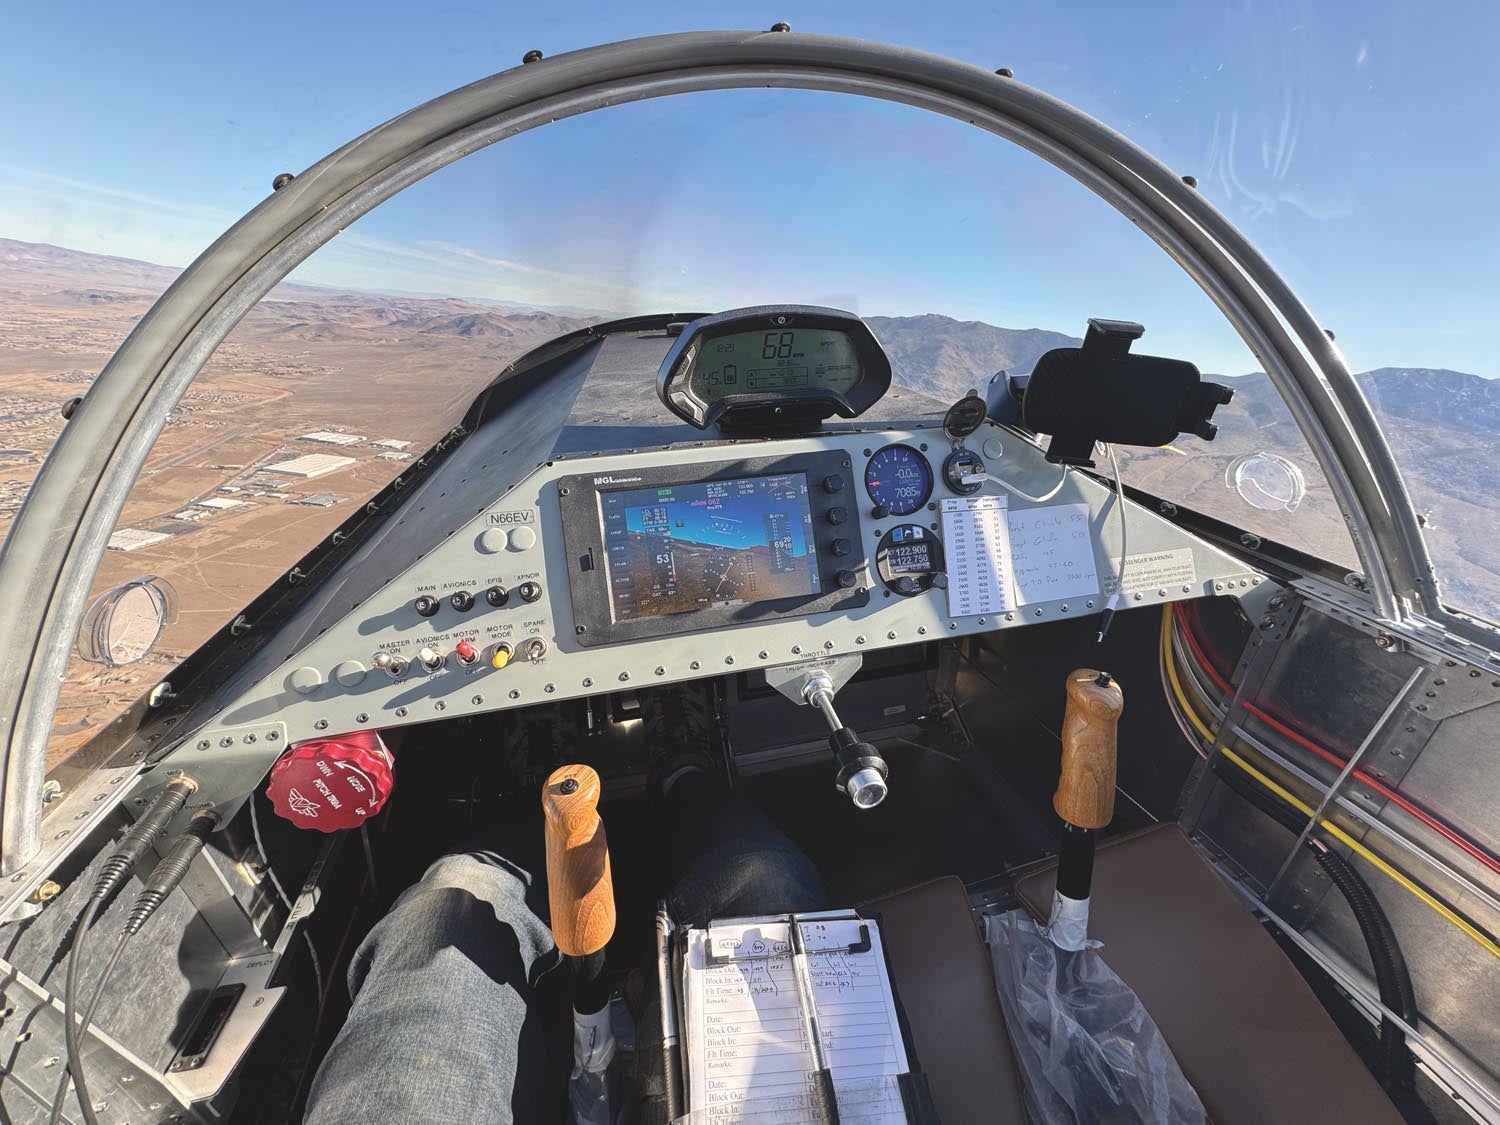
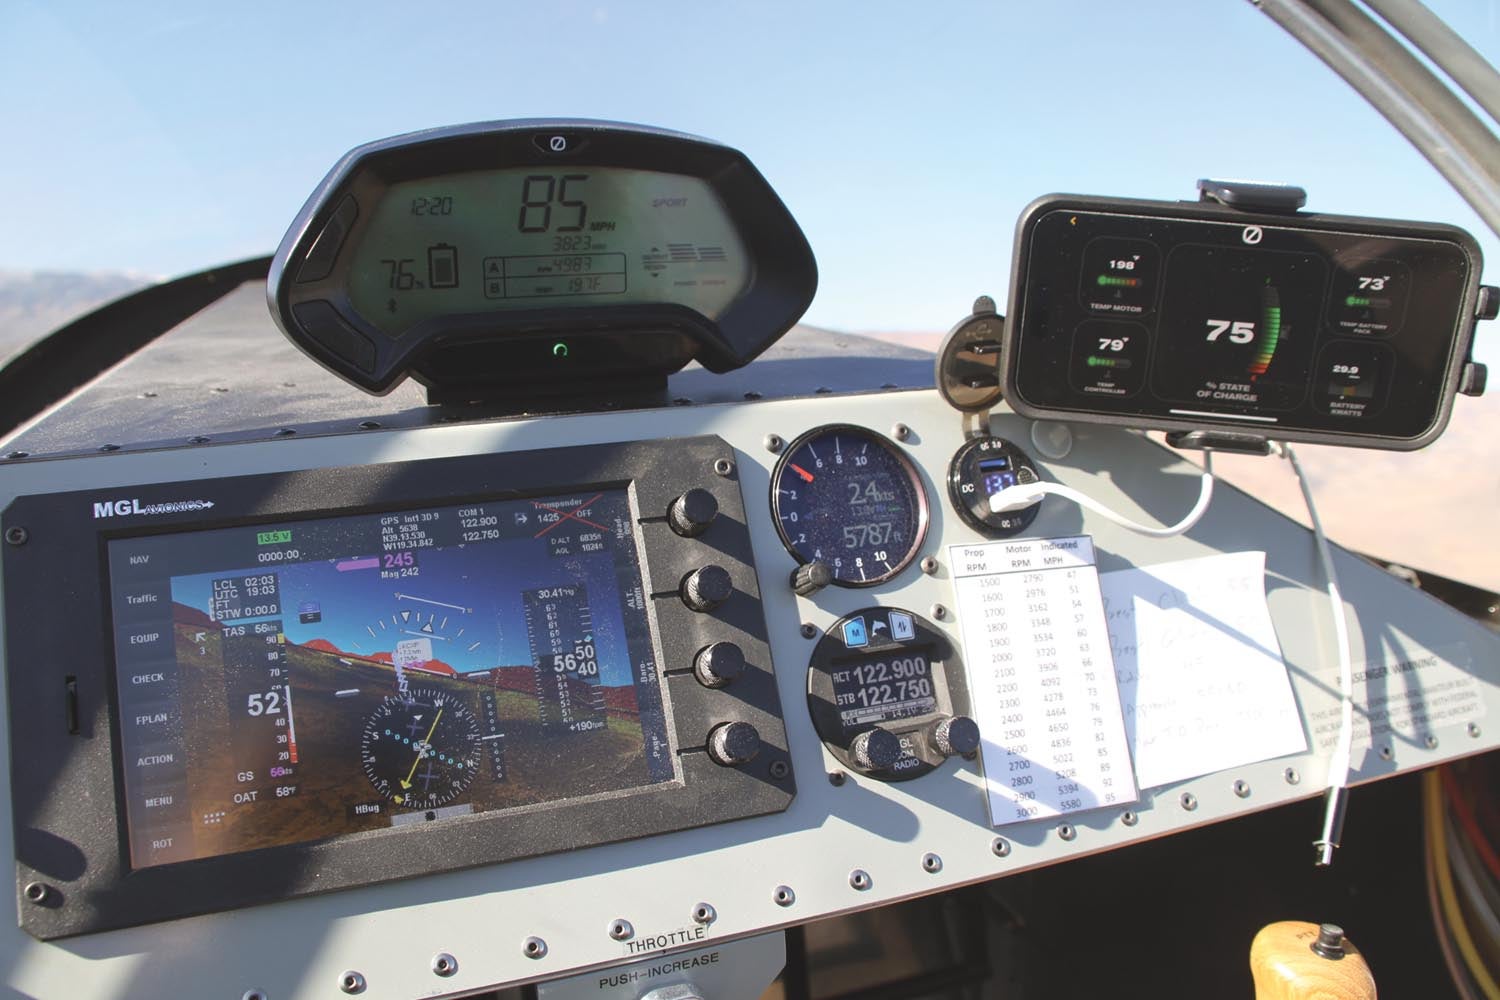
The first four or five flights were dedicated to quantifying powerplant operations—I learned that I had to limit rpm manually because the prop was pitched a little flat and that the motor temps increased rapidly at full throttle for essentially no gain. That means manually setting 5500 (motor) rpm, which is equivalent to a dashboard speed of 94 mph. Standard takeoff procedure turned out to be setting takeoff power to 94 mph on the dash while holding the brakes, then releasing the brakes with stick forward to raise the tail. About the time the tail comes up to a level attitude, airspeed is about 43 KIAS, which is a good liftoff speed, so a little back pressure gets the wheels off the ground and you accelerate to a best climb of 55 KIAS. Takeoff power is held until motor temp gets to 200° F, which (at our altitude) is about 400 feet AGL. Then reduce power to 84 mph on the dash, which allows continuous climb as the motor temps stabilize.
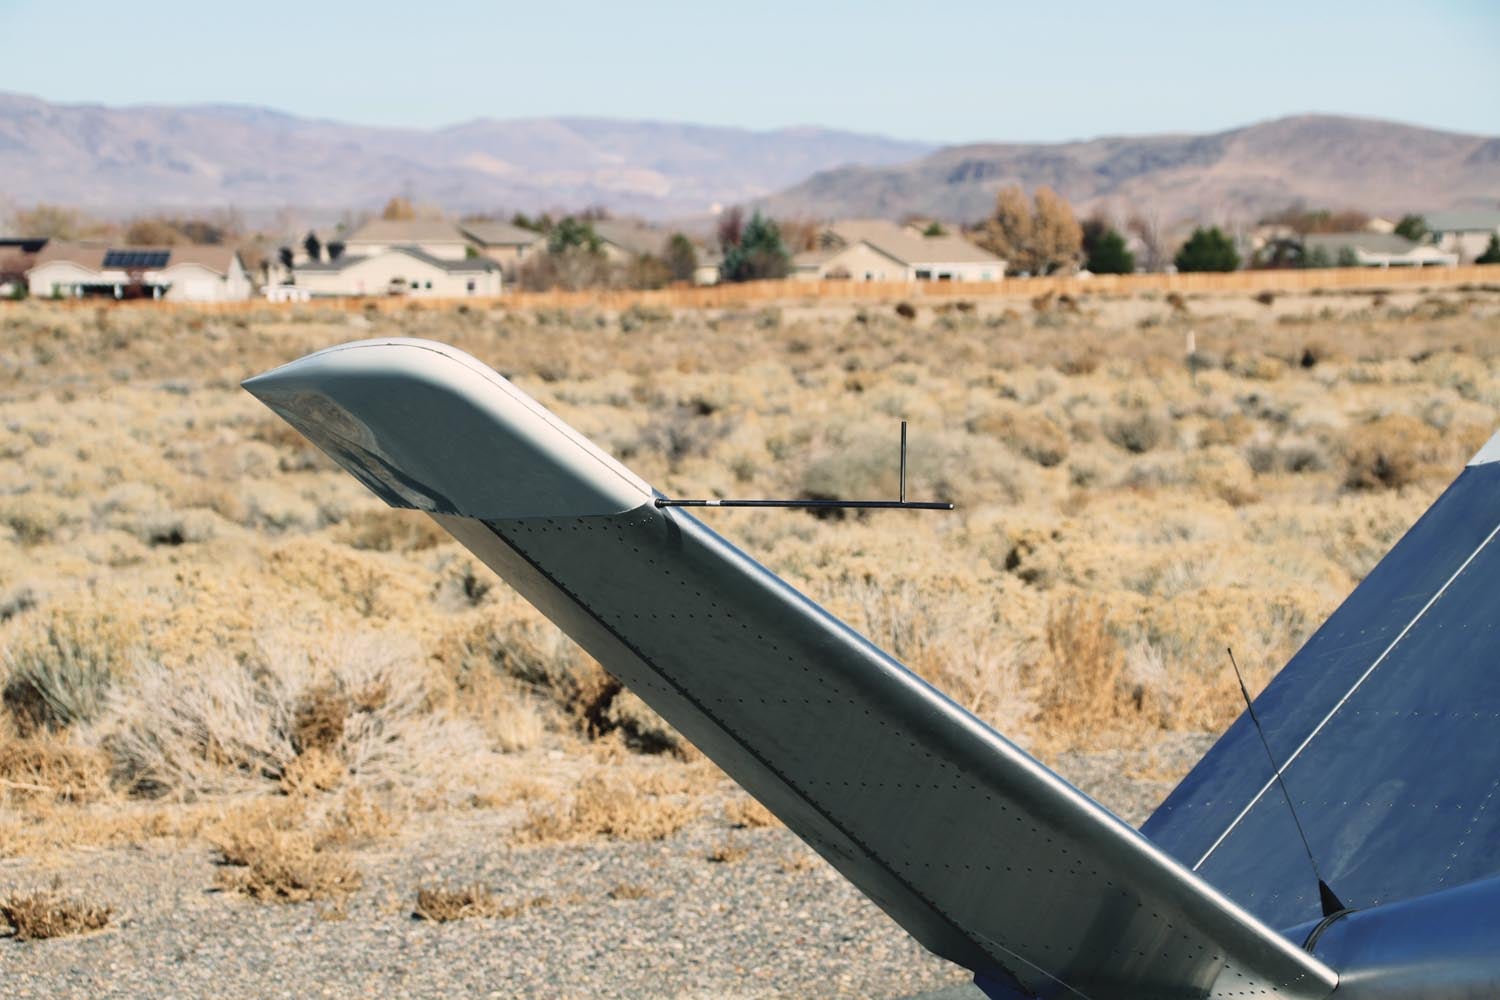
I also practiced landing techniques, dividing them into power-on and power-off approaches, and tested the spoilers to make sure they didn’t induce any horrid trim changes. The basic airplane, power off, descends at about 300 fpm at best glide speed of 45 KIAS. With half spoilers, the descent rate increases to 700 fpm, and it goes to nearly 1000 fpm with full spoilers—quite a ride! There are trim bobbles as the spoilers come out, mostly a pitch up, but followed by a pitch down and a speed increase if you let the airplane do what it wants. All of these things need to be considered in your approach planning.
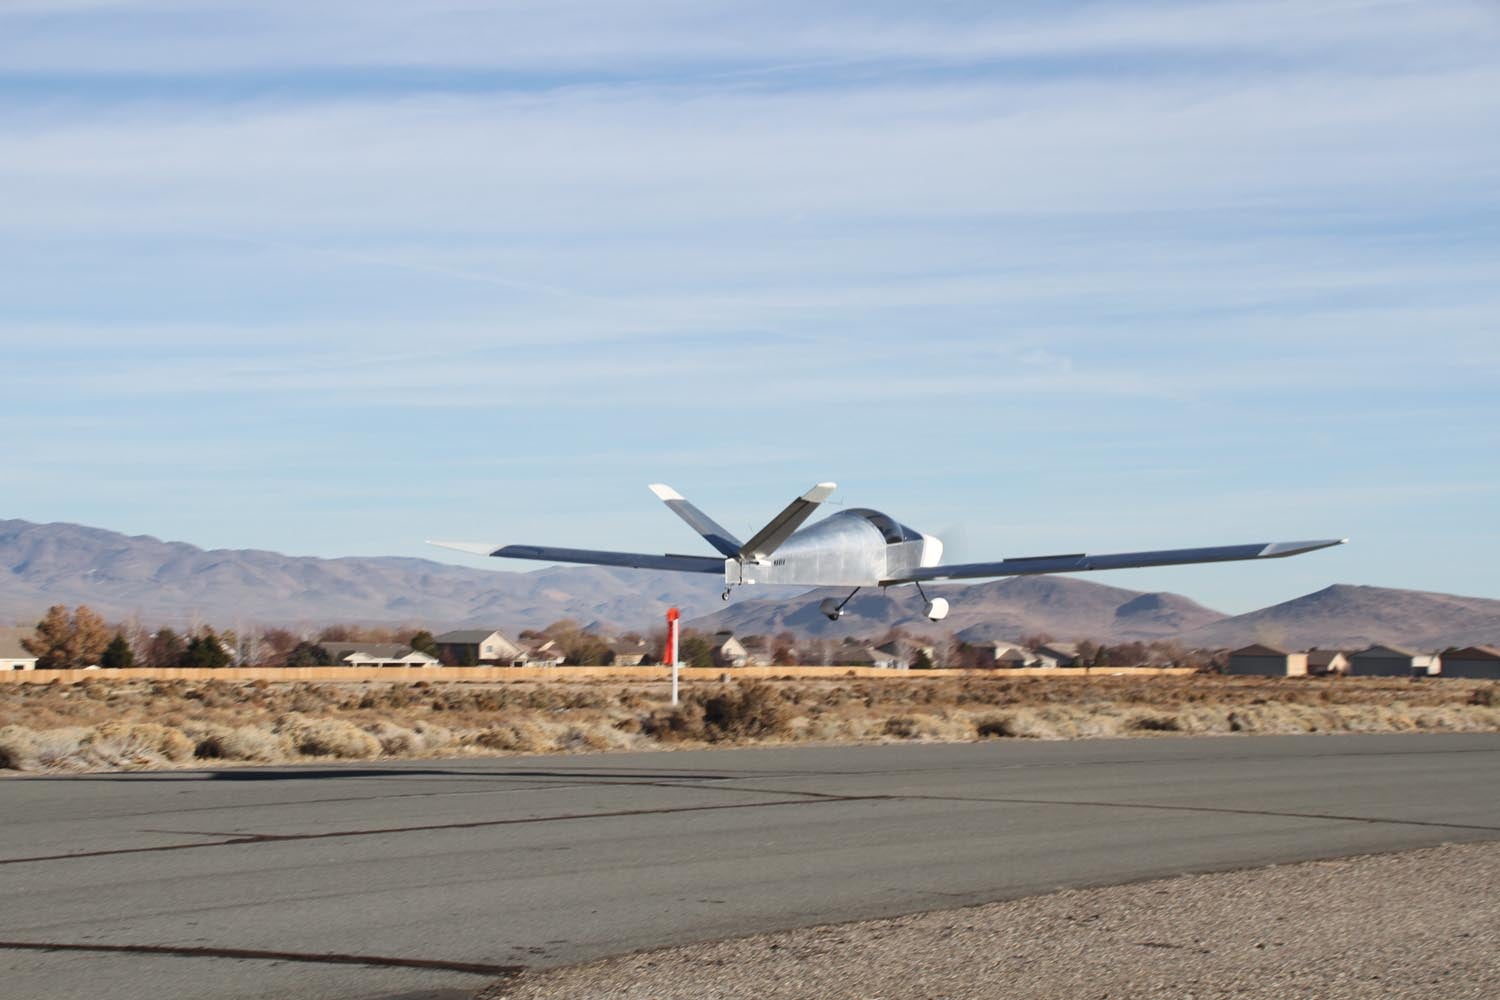
My first landings were “like an airplane,” with power used to modulate glideslope until the field was made. I then flew it as a glider to touchdown and noted that to get it slow enough to actually land, you hit tail first. Using the power to touch down in a wheel landing gave a nice attitude without banging the tail. Landing with spoilers deployed (even halfway) created a seriously nose-high attitude at touchdown, with a subsequent slam down of the main gear. So touchdowns would be either with power or in a glide with spoilers stowed, which requires good timing as you are decelerating through the flare and touchdown. The eXenos is sitting up on its two landing gear legs, so you have to manage steering the long-winged beastie until it is at a full stop. In gusty conditions, it wants to fly.
One last unique feature with the eXenos is charging it up after flight. We have a 220-volt charging cable that plugs into the big welding outlet in our hangar, so we can charge it from 20% to full in about 1 hour and 45 minutes. If we use a 110-volt outlet, it takes overnight. Since we can’t get the airplane into our hangar due to the wingspan (we store it elsewhere), we have to charge it sitting out front, in the sun. The battery temperature is closely monitored by the computer and while it will fully charge when it’s hot, it doesn’t necessarily want to run after it reaches 100% if it is hot. So we built a small cooling fan and duct to blow air in the cooling inlet during charging and also built a frame to hold the canopy open so that the battery charger (which is mounted under the glareshield) doesn’t start to melt things in the cockpit! On cool days, I could do two flights in a row (with charging in between), but once the summer heat set in, it was one flight, followed by a charge session, then it got put away due to excessive heat and the risk of a controller shutting down the power system because it was too hot.
Getting With the Program
Each flight was planned to use the test card most appropriate for the winds and weather of the day and budgeted for about 30 minutes. It took close to 10 minutes to reach 2000 feet AGL, from which I could always glide back if needed. I also planned to arrive back to the pattern with 30% state of charge (SOC) in the battery. That’s enough for a go-around, climb to pattern altitude and landing—a reserve saved for a botched landing or unexpected circumstances.
Because most of the cards were condensed due to the eXenos’ limited speed range and lack of ability to vary the CG or weight, it was fairly easy to complete each card in a single flight. The limited powered flight duration meant that you simply had to be efficient—tests at climb speed were done during climb, glide performance was tested during descents and stability test points were done one right after another as you decelerated or accelerated. It was good to have the task-based Phase I option, since the limited duration would have led to a yearlong Phase I program if 40 hours had been required. In fact, the test program was mostly completed in just 18 hours of flight time.
Around the Bend
During an earlier flight, I had a slight off-runway excursion that bent a gear leg. That was fairly easy to remedy because I had been given a spare set of gear legs from another Xenos owner when he retired from flying. So it was a fairly simple matter of drilling a new gear leg to the airframe with careful wheel alignment. It also meant straightening out a small dent in the leading edge of the wing because of the sagebrush I ran into off the side of the runway as the airplane looped slowly toward the bent gear.
The other repair (really a modification) came to the braking system—the handling on the runway after landing early on gave me a few exciting moments. The solution was to replace the slightly spongy nylon tubing with Teflon/stainless hose and, more importantly, modify the brake pedals to stiffen them and add some surface area. In truth, the brake pedals were not stock Sonex. The standard design for the airplane is a single hand-operated lever to brake both wheels at the same time, with a tailwheel locked to the rudder motion. Because we had some tight corners and narrow taxiways at our airpark, we added a full-swivel tailwheel and individual brakes. A previous Sonex builder had developed brake pedals that slipped into the rudder pedal tubes and mounted to a cylinder on each rudder pedal—a simple design that I liked. But it proved to be too flexible and my toe could “miss” the brake bar when sliding my feet up from the floor. While I still don’t like to fly it on a gusty day, the runway handling is now adequate.
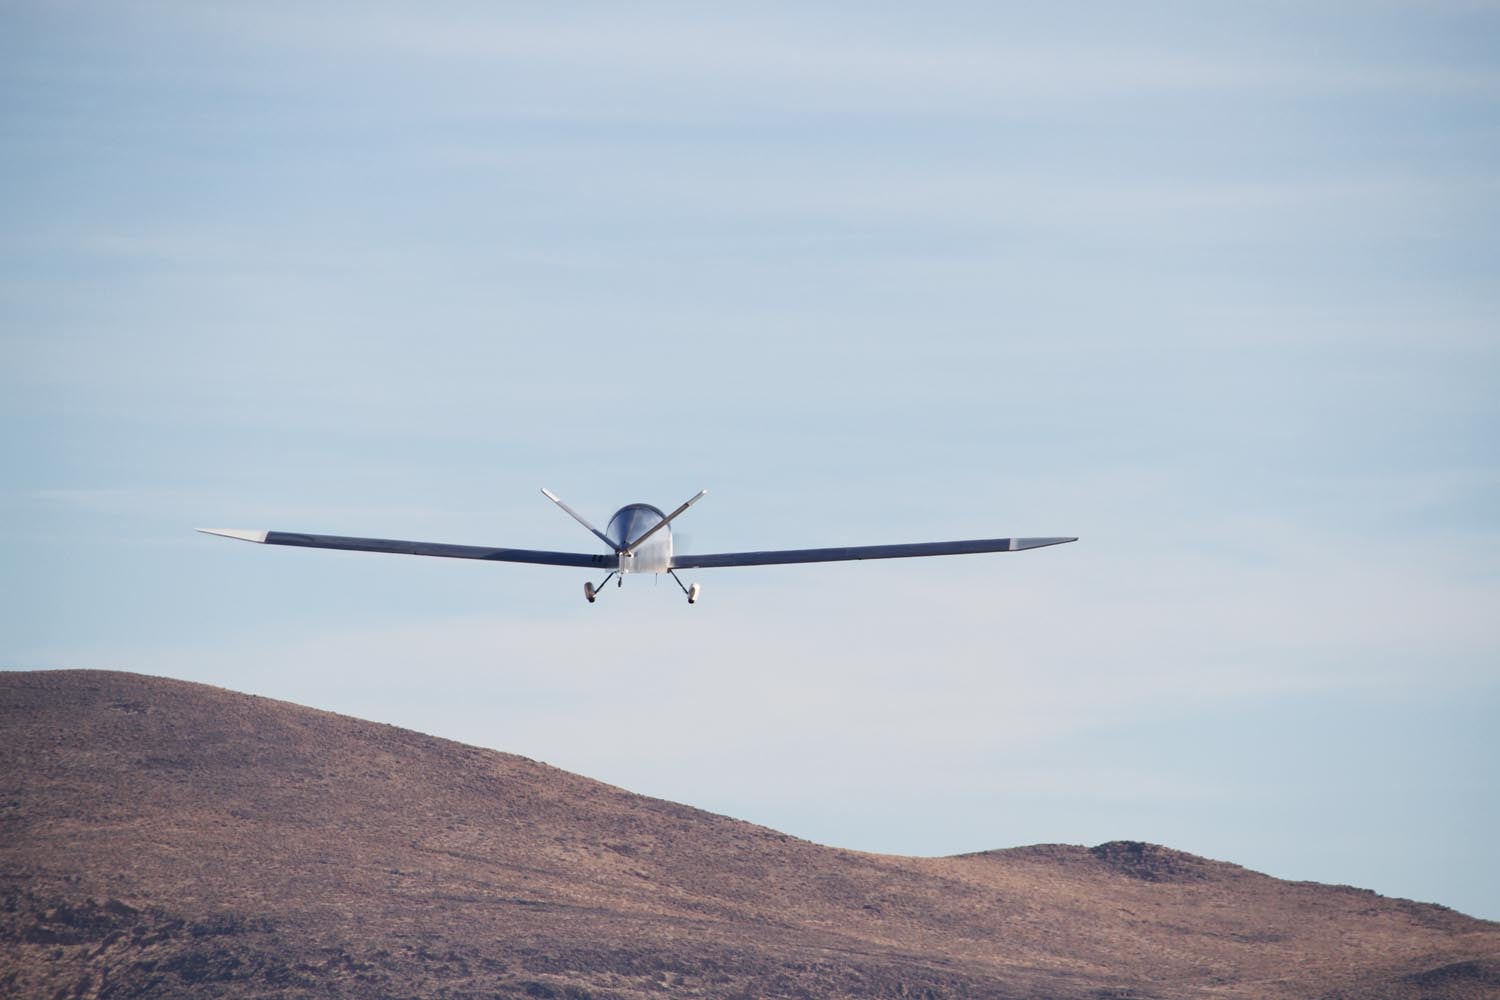
The other major test item to mention—that really wasn’t part of the EAA plan—was going out and finding some thermals to see how the airplane soared. It should be understood that the Xenos design is a 24:1 sailplane—not what you’d call a great thermalling machine. But with the local “house thermals” coming off a nearby gravel pit, I was able to gain altitude on a warm rising-air day. Performance improved greatly with just a touch of motor power—something that you can’t really do with a gas-powered motorglider but is easy in an electric. Just run the motor at a few kW and the net effect is to raise the glide ratio to whatever you like. The fact of the matter is that even when you pull the power to “off,” the prop keeps going around (there is no real friction to stop it), so you always have that spinning thing out front anyway.
Moving Into Phase II
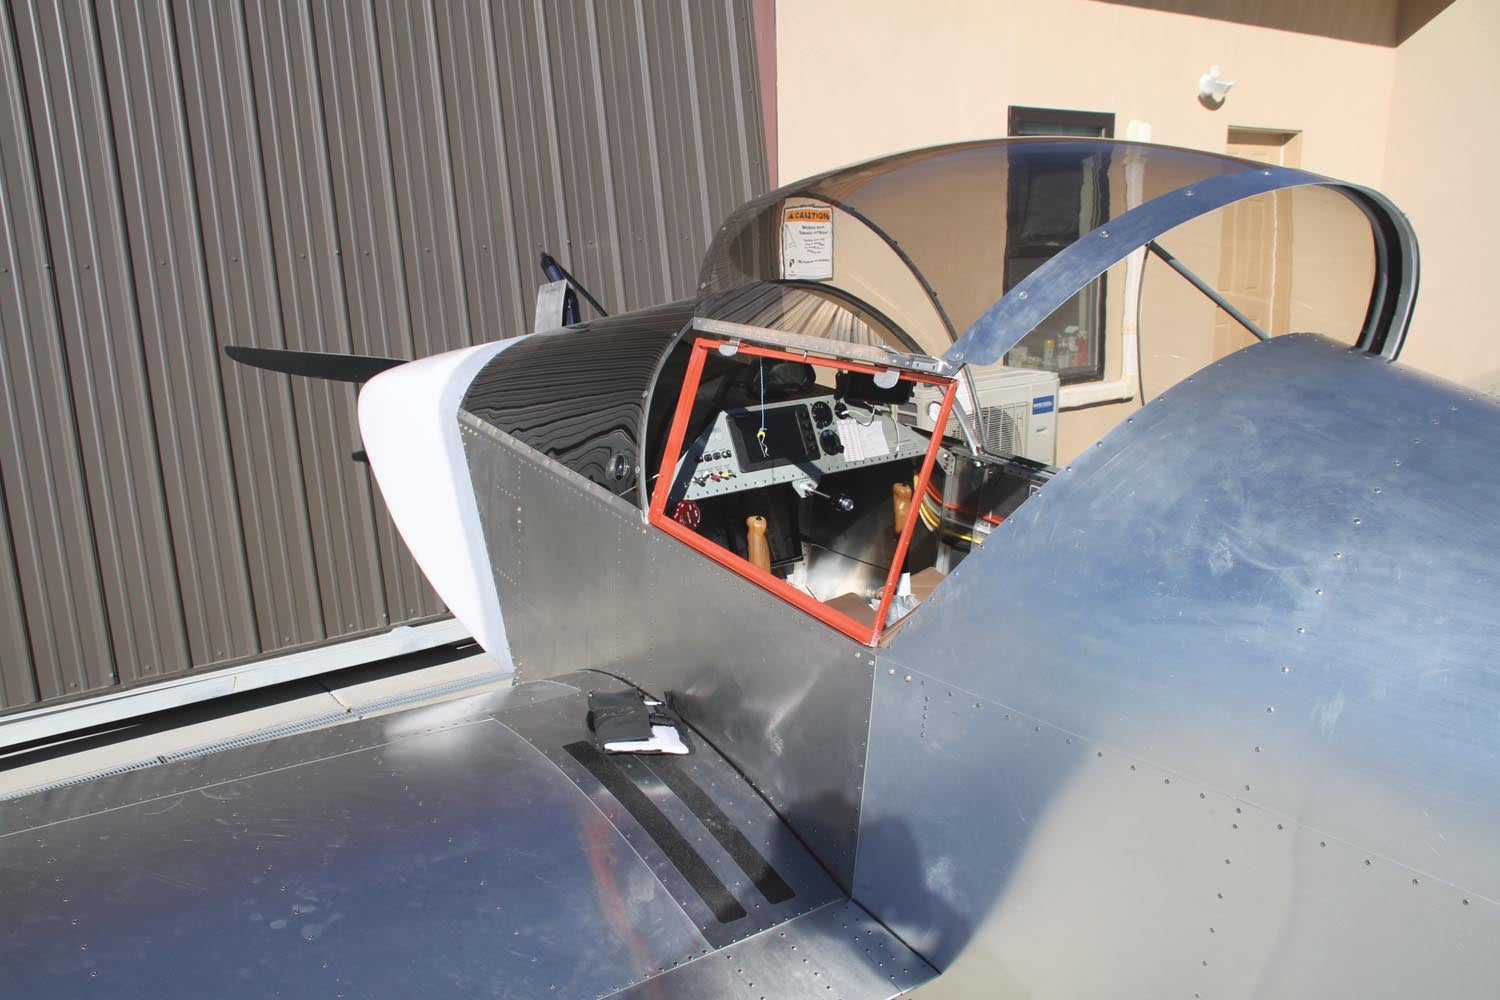
Using the task-based testing, we had milestones to hit, not just a specific number of hours. But the job isn’t finished until the paperwork is complete, so let’s discuss what that means. Frankly, the new rules about task-based testing are pretty spare, which means they are fairly liberal. Basically, you have to document your test results and produce some sort of flight manual. The documentation can take any form you want, as can the manual. But think about resale and let your conscience be your guide. For our project, we took our file of test cards and notes and wrote a fairly detailed report, with analysis and discussion of handling qualities and performance, a description of motor management and rationale for the procedures we use for takeoff, landing and cruise flight. In addition to the report, we took the Sonex-provided flight manual, filled in the blanks for various speeds and performance charts and updated procedures (and systems descriptions) to reflect our specific aircraft.
A flight manual should incorporate anything a pilot new to the aircraft needs to fly it safely—and starting with the manual from Sonex gave us a good format to use to build a complete package for a future owner/operator. While technically, a procedure cue card and some V-speeds are all you really need to satisfy the letter of the law, going beyond the letter and into the spirit of the rules will, in the end, give you the satisfaction of truly completing not only an airplane, but a true test program as well.
but wheel landings are tricky because rudder authority with the Y-tail is less than with a conventional rudder.
Into the Future
So, what’s the future of our eXenos? It’s hard to say. It’s a large airplane to keep hangared and the wings are not easily removed. And as technology advances quickly in the electric power world, there are potentially newer (better, more stored energy) options since we committed to this power system over two years ago.
As we age, we look at our fleet of sport planes, the big bush machine and the little jet, and realize that sooner or later, a true glider could replace a number of them as we no longer engage in aerobatics or technical flying. Living near Minden, one of the soaring capitals of the U.S., it is tempting to go all-in with a serious soaring motorglider to fly long after we care about medical certificates. The eXenos is basically a beginner glider when looked at against those options. But for now, we’ve got an airplane sitting in the hangar—a neighbor’s hangar, actually—that we can charge up in an hour and a half and go fly—no gas, no oil, and it’s as simple as dirt. I think it’ll hang out in the fleet until something better and more capable comes along to tickle our fancy—after all, the journey to completion for this unique project has been an end in itself.
Photos: Paul Dye & Louise Hose.


