The undo and delete functions on computers have spoiled me. They let me write with abandon and then, when I find I’ve composed drivel and defaced a document, erase offending words, phrases or an entire opus and try again. I can throw away as many words as I want without cost or consequence. If only it were that easy when I muff a part on my Onex.
I’ve known builders who claimed to have built two airplanes on their way to one; one went to a recycler, the other was licensed to fly. There is a terrible cost to that. Wealthy will be the kit manufacturer who can add an undo or delete function to their kit’s list of features. Until then, most all of us would benefit from slowing down, disengaging our autopilot when holding a power tool and embracing the adage, “If there’s time to do it over, there’s time to do it right.”
When I was supporting Sonex builders, more often than not there was a work-around for mistakes builders thought were of “just-send-me-the-parts-and-bill-me” severity. For those who called or emailed for advice, my favorite task was breaking the news that they’d have to try much harder if they were truly set on ruining parts. For others, it came naturally. I’ve made mistakes on my Onex project and I certainly made mistakes while scratchbuilding Metal Illness, mistakes that left me thinking I’d be selling many more pints of plasma to perpetrate a recovery. In all but one case—a miss-cut spar cap. Oof!—I was wrong and got back to making progress after a cooling-off period, during which I gave myself a gentle talking to.
“Idiot!”
“You’re the one who let me do it.”
“I wanted to double-check the plans and you plowed ahead, up-drilling holes like it was a game of Whac-A-Mole.”
“Well, at the time I was sure I was right and maybe under the influence of caffeine.”
“And now?”
“I’ve changed. I’m going to slow down.”
“OK then.”
And a few work sessions later I’d up-drill what was supposed to be a #40 hole to #30. Ope!
Three Causes, Same Effect
I can think of three causes for errant holes. The most common is builder error. Right now there are builders I supported thinking, “Yah, always blame the customer.” Builder errors include not paying attention to the kit documentation, making assumptions, slipping into cruise control and, to a lesser extent, grabbing the wrong drill bit. I’m guilty of all but the latter. What I call “cruise control” occurs when you slip into a rhythm drilling many holes in a single part or assembly and some that shouldn’t get drilled get drilled too large. Drilling Sonex spar assemblies comes to mind as an example. The vast majority of the rivets in the spar are 5/32-inch, which require a #21 hole. The ribs, however, are installed with 1/8-inch pulled rivets. They require a #30 hole. A person gets to up-drilling two long lines of holes to #21 and inevitably oversizes a rib hole. Raise your hand if you’ve done it. I’d raise mine but I type poorly enough with two hands, no sense trying it with one. Thankfully, Sonex spars are prebuilt now, largely eliminating that error. Errors out of a builder’s control include defective kit parts and deficient documentation. To say nothing of accommodating a friend’s request to “help.” Those shortcomings—more common in new designs, which haven’t yet had errors weeded out by reports from early adopters—can introduce a hole where one doesn’t belong or cause a hole to be drilled too large for the intended fastener.

An Ounce of Prevention
Talking to myself is an important tool in my homebuilding toolbox. It keeps me grounded in a task and gives me a degree of pause before I commit an inconvenient act of idiocy. It’s not 100% effective and it earns me odd looks when I’m working on my Onex in the Sonex factory hangar. Still, it’s better to have a preventive talk than the “now look what you’ve done” talk.
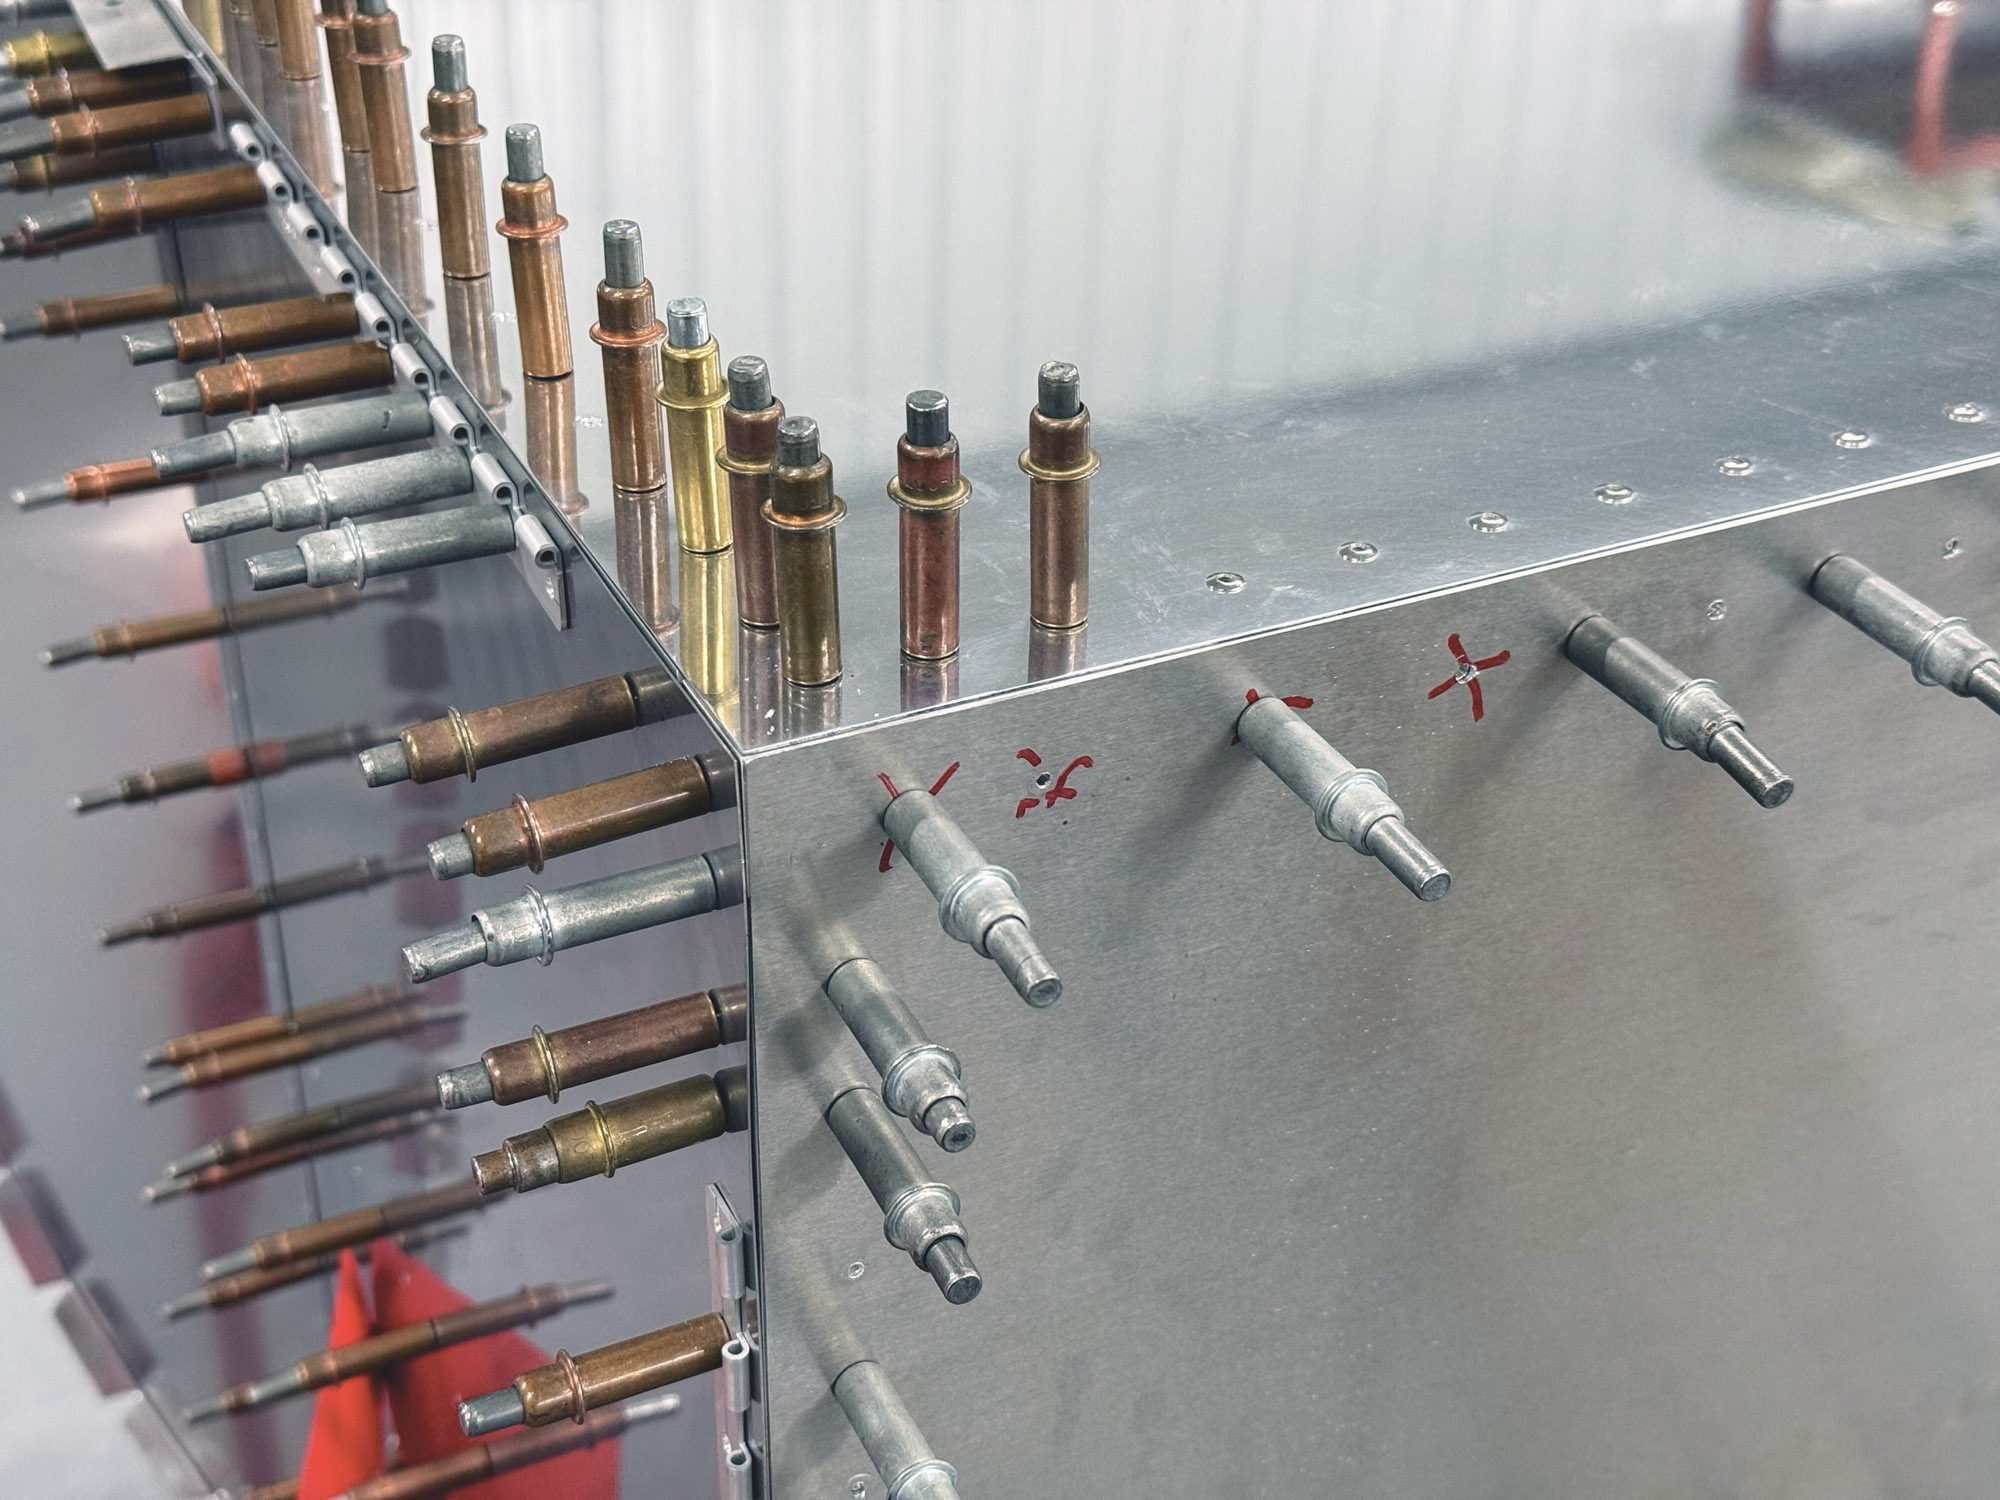
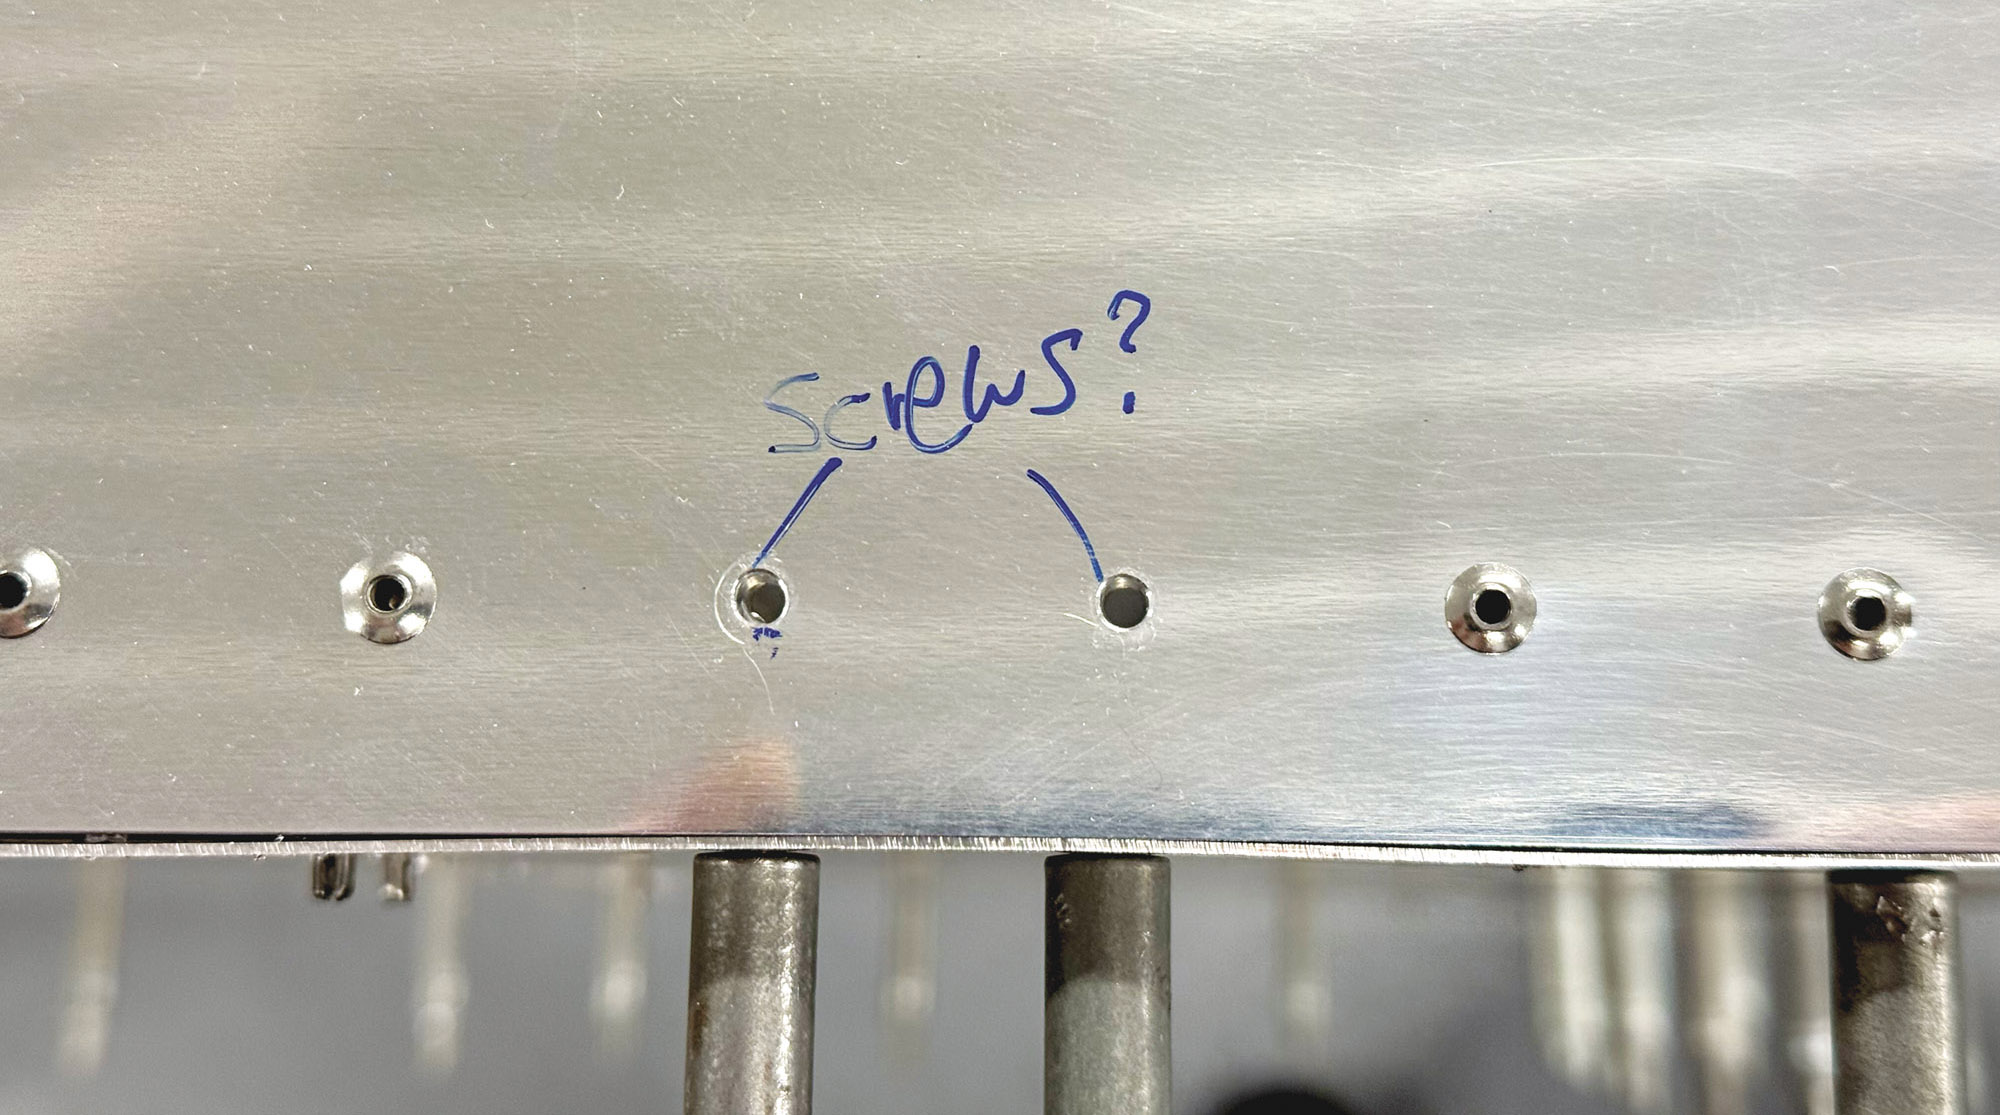
Another preventive measure I use—one that’s more effective—is marking the holes that are, or aren’t, to be drilled. Let’s use a customer-built Sonex wing spar as an example. The majority of the fasteners are 5/32-inch diameter solid rivets. The ribs are attached with ⅛-inch diameter blind rivets and various other fittings are attached with 3/16-inch diameter bolts. The pilot holes, to get everything aligned and temporarily fastened, are #40 diameter. Here’s the process I’d use to up-drill all holes to their final size to reduce the odds of an error:
1. Let the caffeine work itself out of my system.
2. Draw a bold, red “X” over every hole that remains a #40 pilot hole. There aren’t many.
3. Double-check my marks.
4. Turn up my music while I up-drill every unmarked hole to #30.
5. Draw a bold “X” over every hole that doesn’t get up-drilled to #21. Again, there aren’t many so “X”-ing them out makes sense.
6. Double-check my marks.
7. Up-drill every unmarked hole to #21.
8. With the majority of the holes now at their final size, I change my marking method. Rather than crossing out the hundreds of #21 holes that don’t get drilled to #11, I circle, in green, the ones that do get drilled to #11.
9. Double-check my marks.
10. Up-drill each circled hole to #11.
While I used the Sonex spar as my example, this technique works on any airframe assembly, small or large, with numerous holes of various sizes.

When Bad Things Happen to Good Parts
Upon every aluminum airframe an errant or enlarged fastener hole will fall. The above steps help keep errors to a minimum, but they’ll still happen. Unless it’s a hole for a critical fastener, like a wing spar attach bolt or some such thing, the damage done is often less than you think. There are zero successful kit aircraft on the market where one oversized rivet hole results in compromised safety or dooms a major assembly to the landfill. There are three corrective measures I use when I make a hole-drilling boo-boo. I caution you, however, to contact your kit’s manufacturer for their specific guidance on your specific error. In no particular order, here are the fixes I employ:

Un-Drill the Hole. Small holes (ideally ⅛-inch diameter or smaller) in parts greater than 3/32-inch thick I fill with a flush, solid rivet whose head and tail are set into a countersink. Any portion of the rivet’s tail that protrudes above the surface is ground and polished flush.
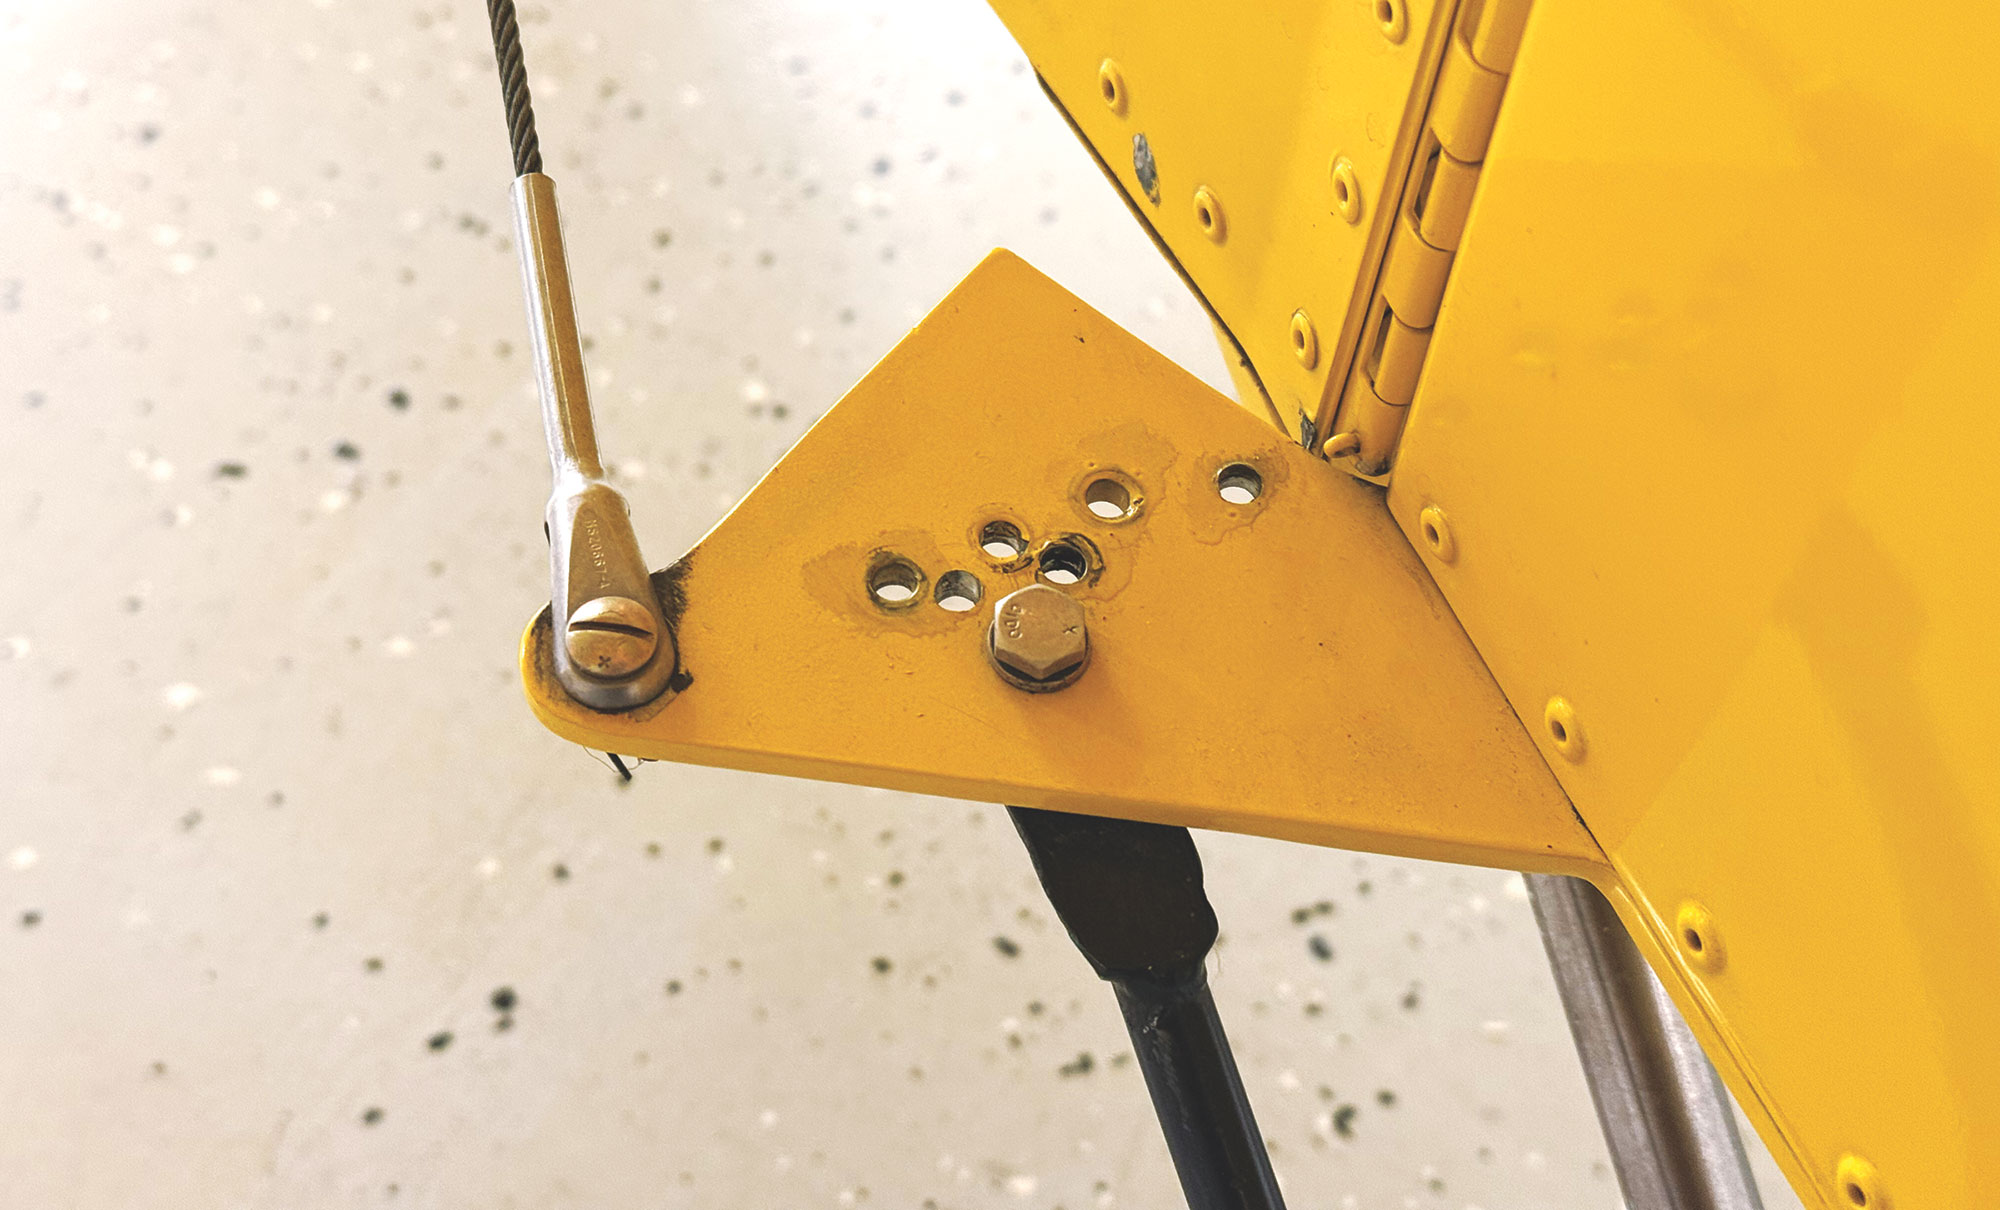
Install a Larger Fastener. If edge distance permits, and filling the hole with a double-flush rivet isn’t an option, I install a fastener larger than the plans call for: an AN3 bolt rather than a #21 rivet, for instance.
Install an Additional Fastener. When a hole is out of place and edge distance won’t be compromised when the proper hole is drilled, the easiest fix is to fill the errant hole with the smallest fastener option available. In some cases the fix may be as easy as forgoing the proper hole and using the errant hole, but that can offend my sense of symmetry.
There is very little a builder who’s making an honest effort can do to ruin a part or assembly to the extent it forces an expensive correction. The key to is stop as soon as the error is recognized and contact the kit manufacturer for guidance. (And by all means, talk to yourself.) There are no undo or delete functions in homebuilding, but there are often easy, structurally sound fixes.


Another method I have had success with in marking holes not to be drilled is to put a piece of tape over the hole you don’t want to touch. If I can’t see it, I can’t drill it.
Why not use Loctite hysol 2 component epoxy for the closing of errant holes in thicker aluminium?
Arguments to do so:
it fits itself perfect into shape, and:
it sticks to the aluminium, contrary to rivets.
One can even sink both sides of the hole to give the epoxy an hourglass shape.
When the hardening process is for 50-80% done, one can use a wet finger to straighten the epoxy perfect with the surface of the aluminium.
Excellent article Kerry, thanks for publishing
Comments are closed.