Let me say right up front that I hate nutserts. Also called rivet nuts, threaded inserts or rivnuts. (I’m sure there’s a formal product name in there, but I can’t muster the energy to look it up.) These vile little devices offer the opportunity to install a blind nut plate equivalent without having to access the back side (or inside) of the workpiece. Traditional nut plates require you to have that access, so they have to be installed during construction. Nutserts—and that’s what I’m going to call these &#*@ things from here on—allow you to install a blind nut fastener in the field, after everything has been closed up, so they are often used as a last idea for repairs—with the emphasis on last. When it comes to aircraft, I suggest trying anything else first before you turn to these things. But sometimes you have no choice.
The problem with nutserts is that they tend to spin—that is, once you have installed and pulled them, they don’t have enough grip on the surface to prevent a careless mechanic from putting enough torque on them while installing a fastener that they lose their hold and spin in the hole. Once they do this, not only do you no longer have a working joint, but the fastener might be stuck in the spinning nutsert—now you’ve got a real problem.

I recently had an application for a blind nut that was not going to be solved by anything but a nutsert. The hold-down bolts for the rear-mounted battery in my RV-8 are simply long 1/4-20 hardware-store bolts that run the height of the battery and are fastened with non-captive nuts on the bottom. This means that in order to remove the battery, you have to remove the entire rear baggage compartment enclosure. Many RV-8 builders (myself included) have installed a hatch in that enclosure to provide battery access—but unless you made it particularly large, you can’t get the battery out because you can’t reach those nuts. You can’t replace them with an AN4 nut plate because the bolt has coarse threads and it is hard to find a 6-inch-long AN4 bolt for a reasonable price.
Nutserts to the Rescue?
The good part in this situation is that if one spins, you can remove the baggage compartment enclosure and remove the stubborn thing, so it’s not a disaster. It’s just another horrible inconvenience. However, wanting to be proactive, I thought I’d test the holding ability of the nutsert in a test fixture and see if I couldn’t improve it.
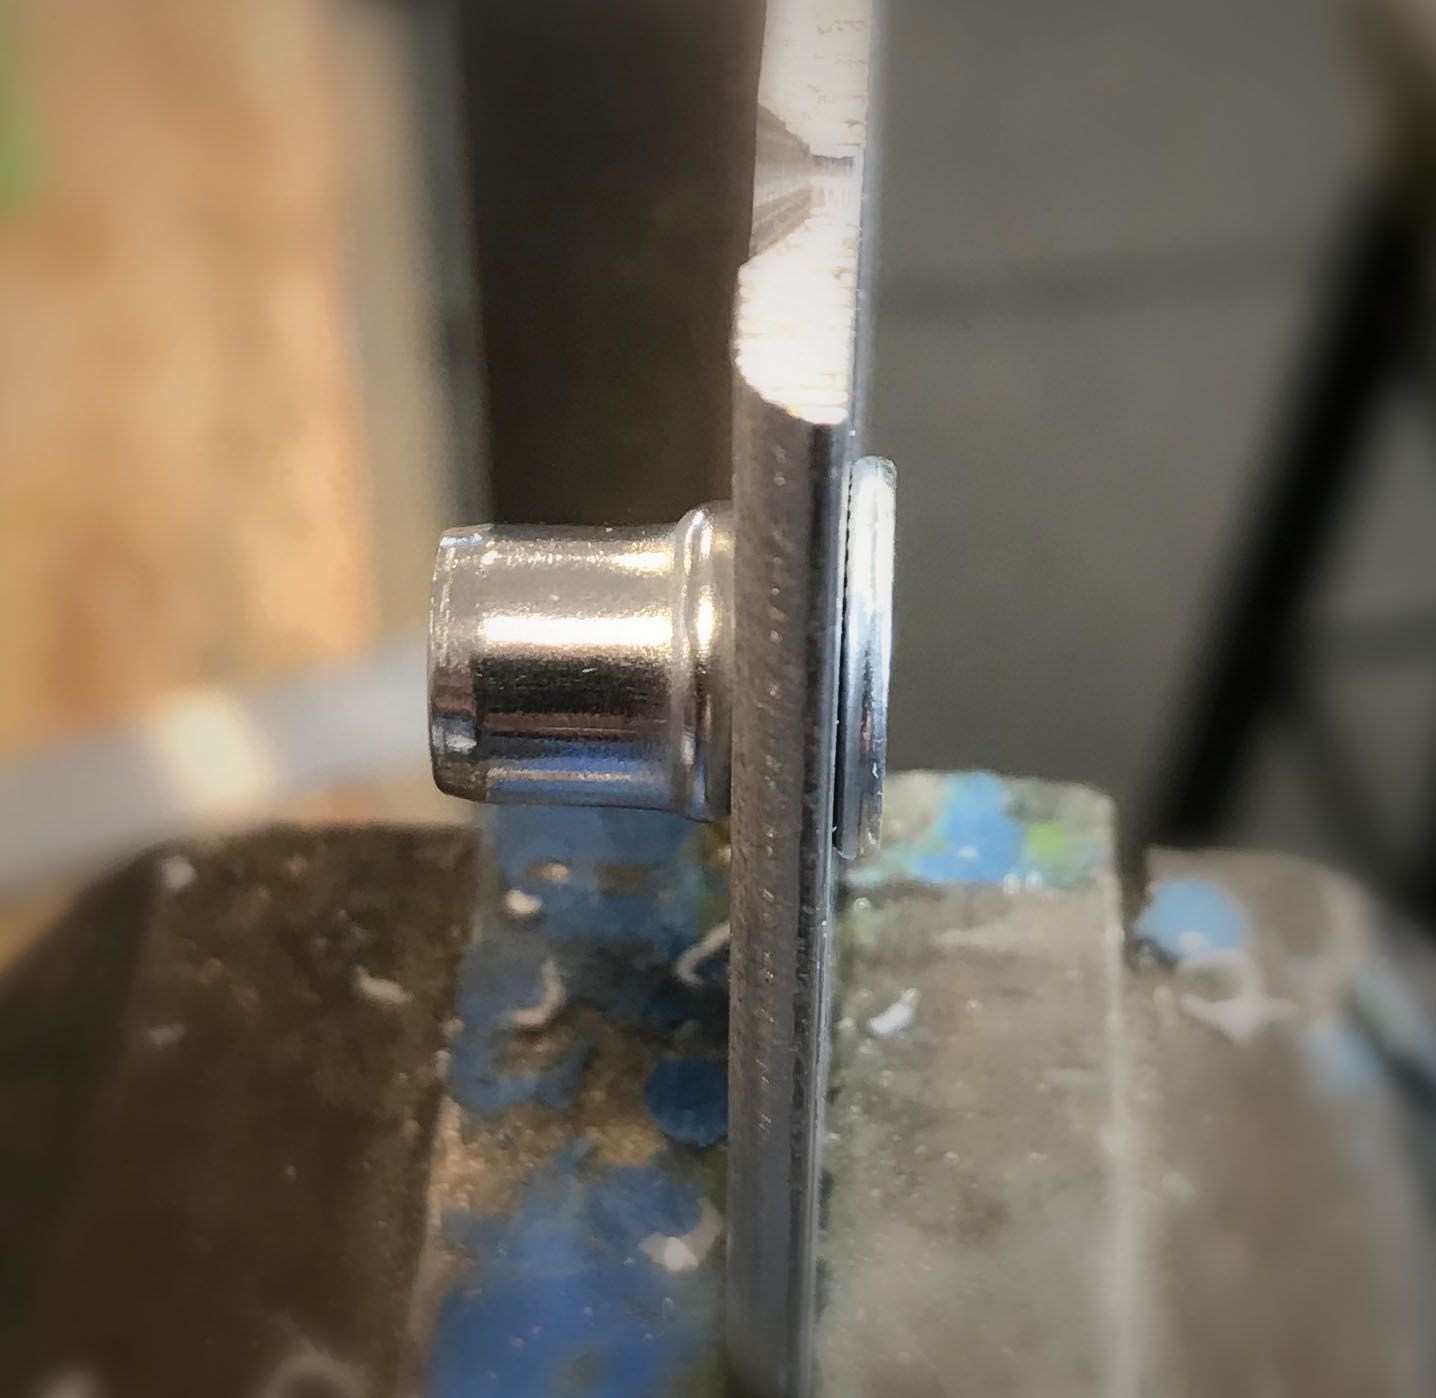
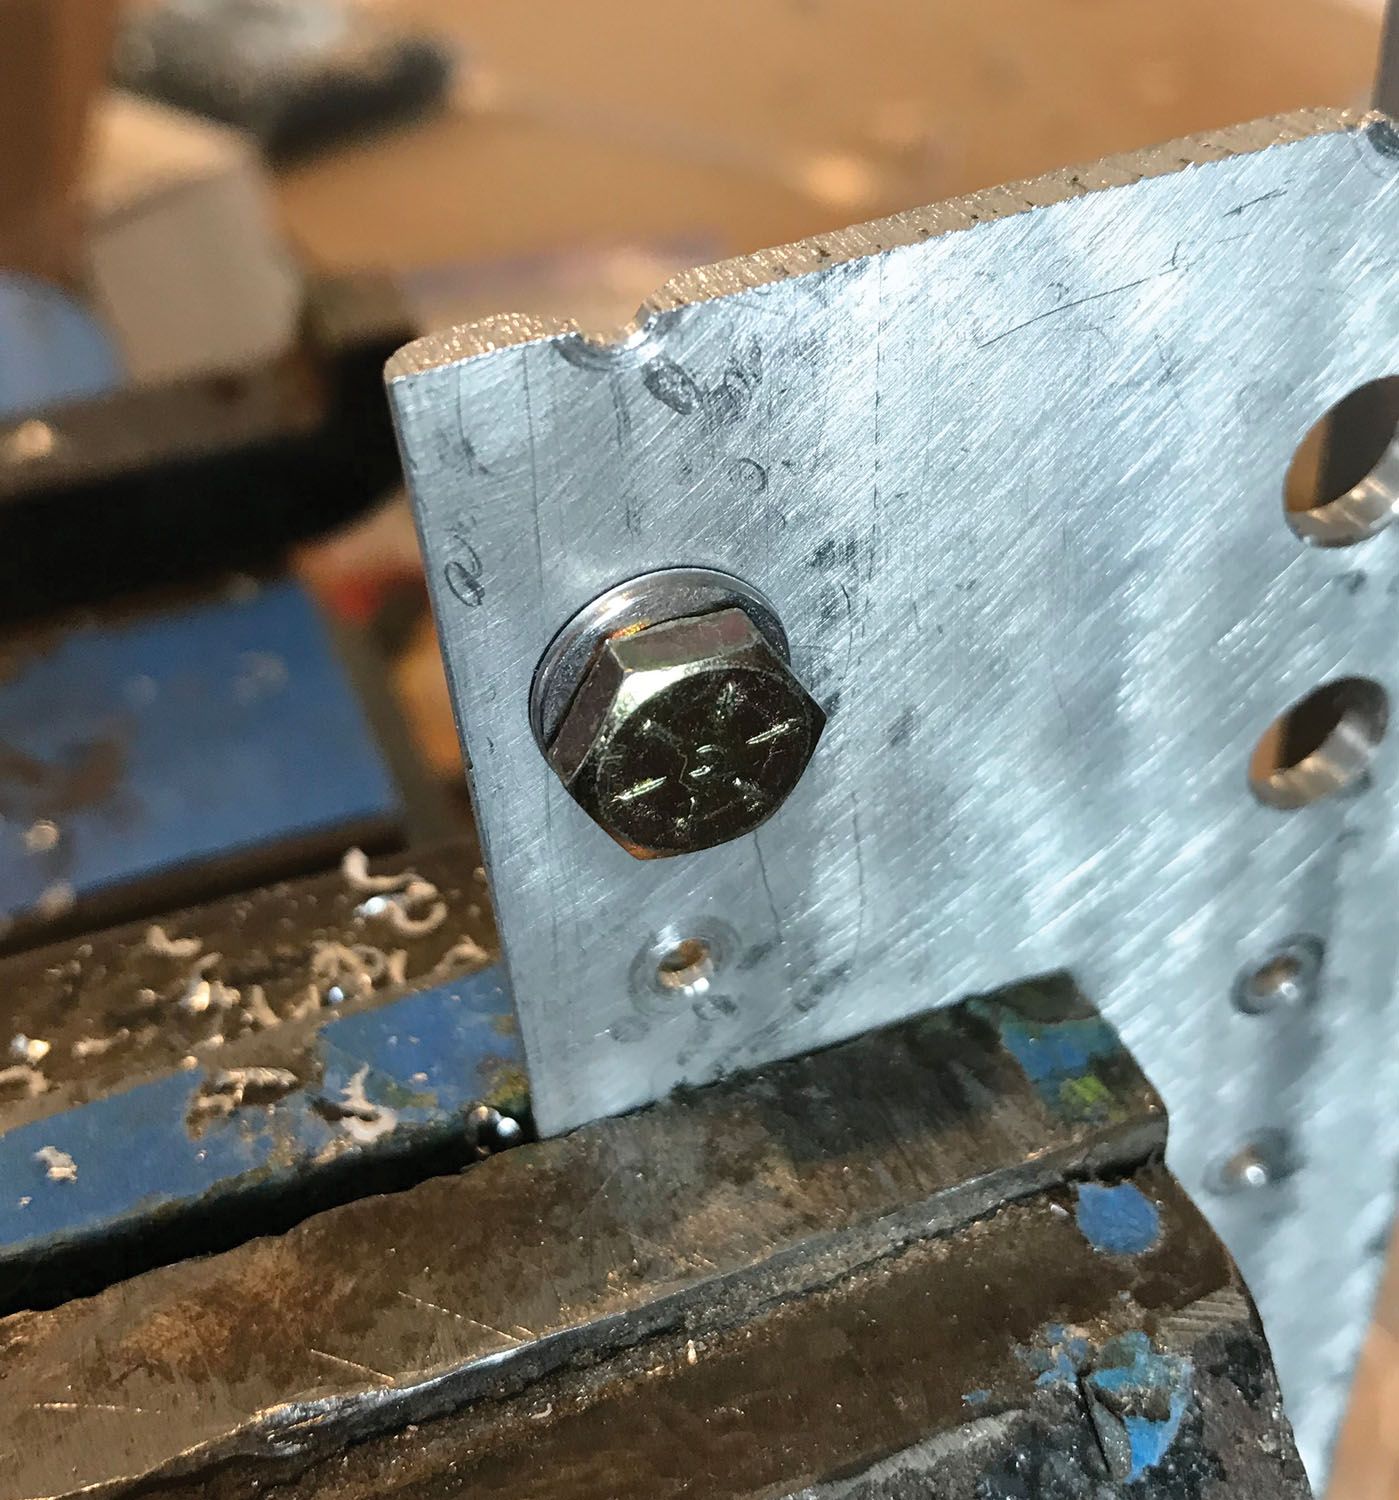
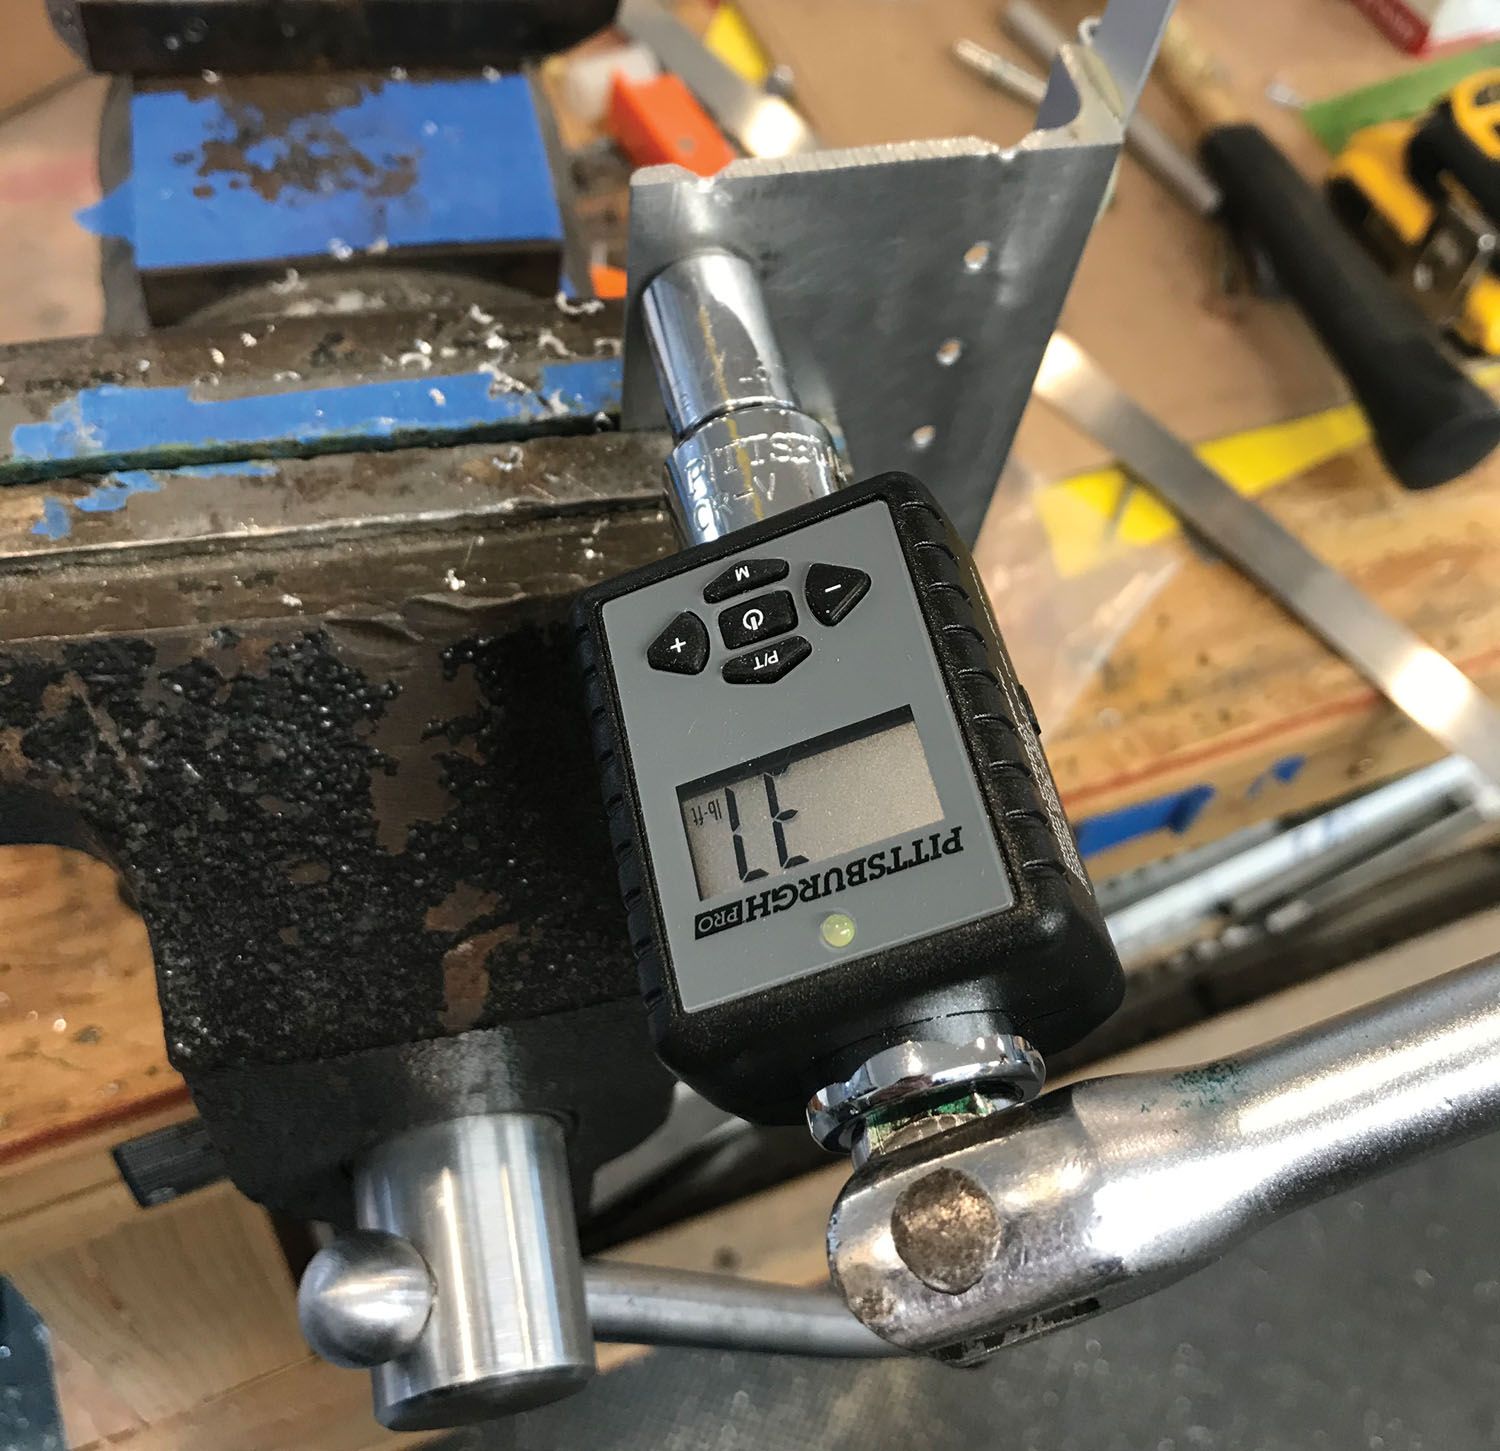
The battery mounting plate is actually fairly thick, with 1/8-inch-thick angle aluminum extrusion reinforcements, so I found a piece of aluminum with similar thickness in my scrap bin and mounted it in the vise. I drilled an appropriate-sized hole and installed a 1/4-20 nutsert—a generic one from the local hardware store, to be precise, not a branded one. It had a smooth barrel, which doesn’t help its tightness in the hole. After pulling with a typical squeezing tool, I screwed in a 1/4-20 bolt and installed a torque load cell on a breaker bar with a 7/16-inch socket.
With the bolt snugged up, I began to apply pressure to the breaker bar until the nutsert slipped and read the torque. The most I saw was 4.0 foot-pounds, with an average of about 3.7. That comes out to less than 50 inch-pounds. Not a whole lot.
Round 2
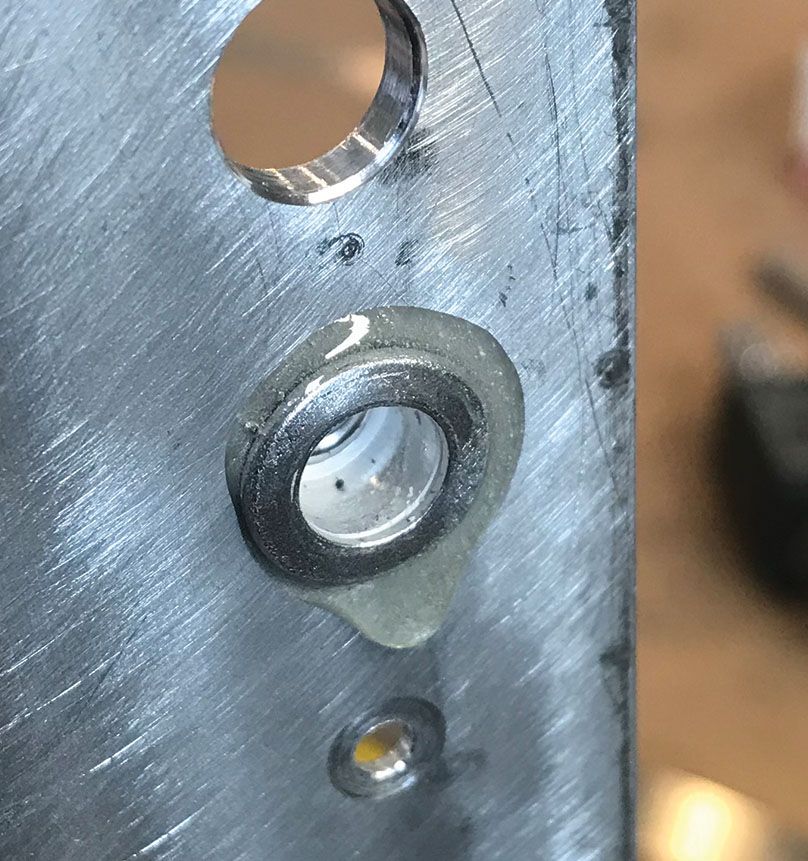
Next, I prepared another hole and another nutsert, but this time I roughed up the barrel on a wire wheel and I used five-minute epoxy slathered all over as I inserted it in the hole and pulled it. Given that the temperature in the shop was about 55° F, I let it set up overnight.
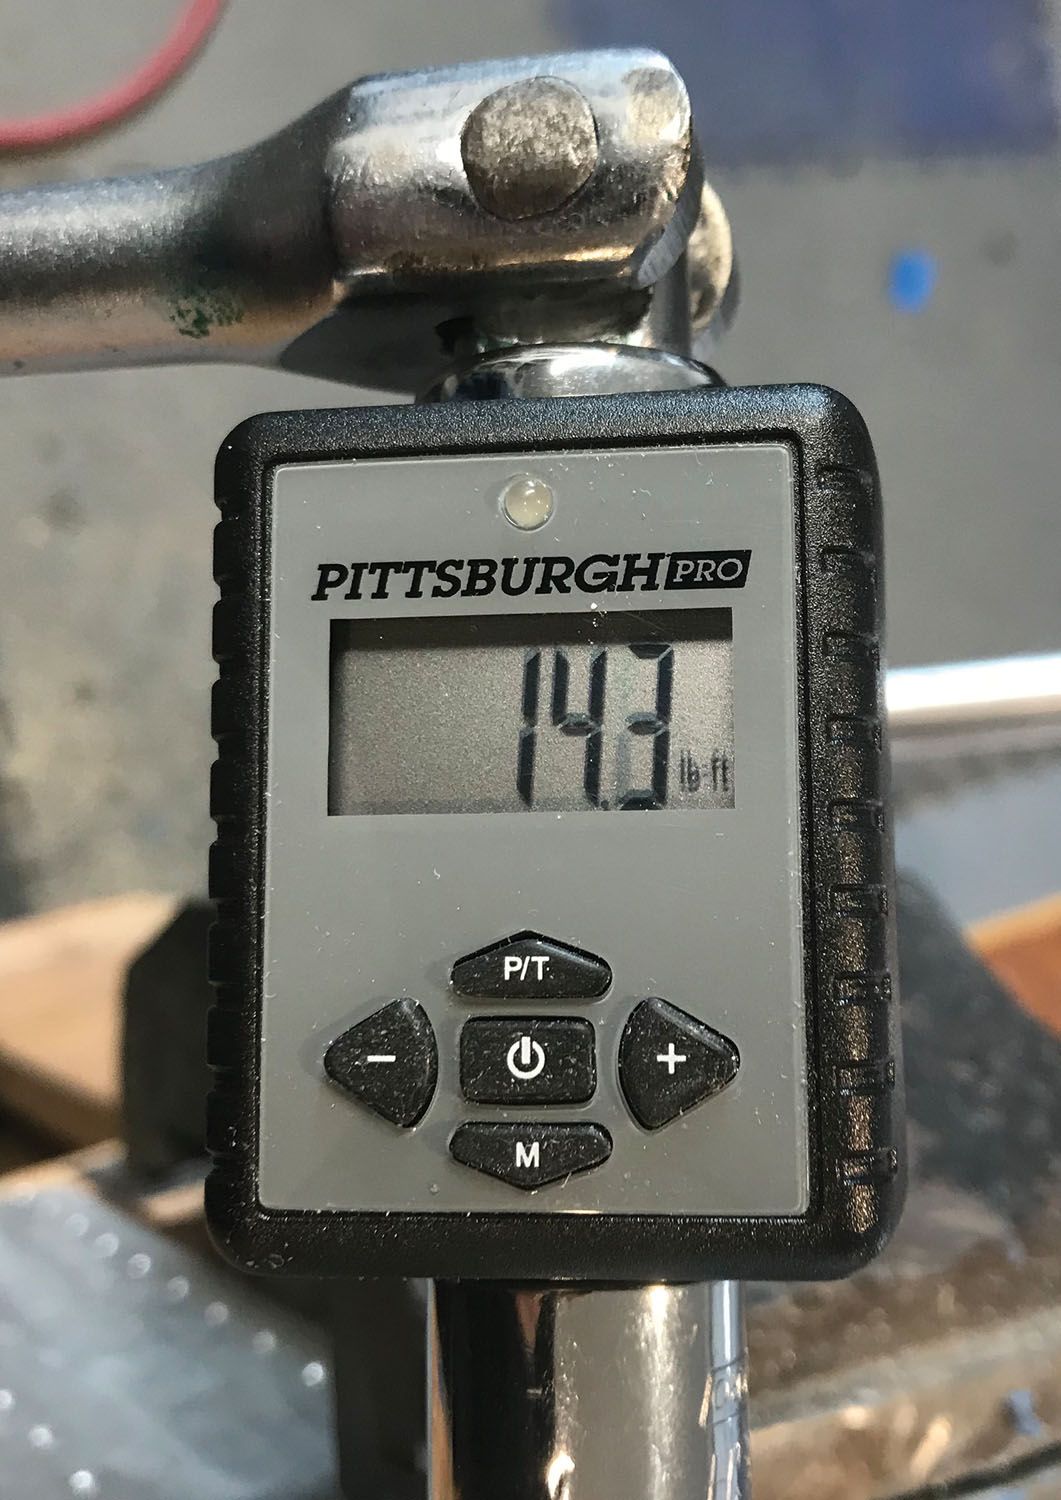
The next morning, I screwed in my test bolt and started applying torque. It was obvious right off the bat that it was going to do better. In fact, it did so well that the body of the nutsert never slipped. In fact, the bolt kept screwing in to the threaded portion of the nutsert and pulling it toward the head. Eventually, with about 14 foot-pounds showing on the load cell, I noticed that the bolt was turning, but nothing more happened. The threads on the nutsert had actually failed! I saw about 16 foot-pounds at the peak before this happened.
So, the lesson here is that you can use such a device if you add a little epoxy and recognize that you aren’t going to want to apply a large amount of torque. For this application, it will be fine. (But I still hate nutserts!)
Back in the days of my old Grumman Yankee, the aluminum tail fairings were attached using regular PK screws and no nuts of any kind—they just screwed into the aluminum. They started out as #6 screws and when you stripped those out you went to #8 (on the next annual). When those got too loose, you went to #10, and when those stripped, you put in a nutsert and prayed that it didn’t slip. Yeah, I hate nutserts. But, sometimes, you have to use them. And now I’ll use them with a little epoxy.


Although I´ve not used rivet nuts on an airplane (yet), I´ve used these little things for 20 years on equipment handled and repaired by not so softy hands, and I never experienced any issue. Of couse, all rivet nuts I use have serrated body as you call it. Only downside I see, is that the head protrudes from the surface, but other than that, they are great. May be you could give it another chance
Pablo: You can specify 100 degree countersunk rivnuts that have no head protrusion. They are on page 9 of this catalog spec sheet: https://www.rivetnutusa.com/wp-content/uploads/2018/11/RIVNUT-TheOriginalRivnut.pdf Also, keyed versions that meet MIL-N-25027 for thread locking are on page 23. You file a notch in the drilled hole for the key to fit.
I would like to know where to find more information on how to use the nut bolt tool .I have a tool I just bought that has 14 in.handles. I would also like to know what other rivetnuts can be used with this manual rivet applicator.like a video I can buy etc. And the many used.