“Darned headset doesn’t work.” How many times have we all said that? Likely more than once, especially when the headset is your own and fixing it will cost a fair chunk of an AMU (Aviation Monetary Unit: $1,000).
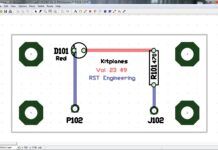
Here is the answer, and if this project is too complex, then I give up. One battery, one capacitor and one resistor are the only parts needed. It really doesn’t get a lot simpler than this.
Perhaps it would be good to take one step back and see how we might approach this problem of the non-functioning headset. There are two basic elements to a headset: a microphone and a headphone. We’ll divide the problem into two parts.
Speak into the Mic
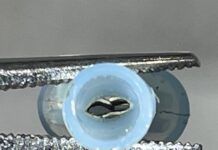
The microphone started life fairly simply back in the early days of aviation. It was simply a sack of carbon granules (coal) about the size of table-salt grains with brass contacts top and bottom. What with carbon being a fairly good resistor material, there was a constant resistance between top and bottom brass contacts. When your voice hit these granules, it pushed the carbon around and changed the resistance between the brass contacts.
Why did aviation adopt this simple microphone design when there were already dynamic and condenser microphones? Well, for two good reasons. One is that dynamic and condenser microphones of the day were about the size of a softball or better. The other (and probably more decisive) reason is that the rapidly emerging telephone industry was standardizing carbon microphones for home phones and the little carbon microphone elements were cheap and widely available. Now I’ve never done it, mind you, but I have this friend Ernie who simply went to the nearest pay phone, unscrewed the mic housing, took out the element and replaced his defective aircraft microphone element.
What was the most common failure mode of the carbon microphone? Spit. Let’s face it: Some of us talk juicy, and when the droplets hit those carbon granules, they formed a type of carbon concrete and the microphone was said to be packed. Sometimes you could heat up the carbon sack and break the carbon back into “salt,” but more often the hammer that broke up the carbon also broke up the delicate sack that the carbon was enclosed within.
Modernizing the Mic
Along about the 1970s, dynamic microphones—little speakers driven in reverse, where sound pressure moved a voice coil to and fro around a tiny magnet—were all the rage for the police and the firefighters because they really had no common failure mechanism, were rugged as all get-out and generally were far superior to carbon microphones. So why didn’t aviation switch immediately to this superior product? Because the police departments and the fire departments in a community could switch their radios whenever they wanted to use this style microphone, while aviation was truly a worldwide service that would have to switch all at once.
Parenthetically, this is why the whole communications world uses FM, while aviation is still stuck with the so-called “ancient modulation” (AM). Yeah, I know, you all say it is because we can hear weak heterodynes (squeal) with AM, while FM (and its modern cousin, spread spectrum) are all or nothing. Sorry, but in today’s world, that just doesn’t cut it. Running tens and twenties of watts with lots of receiving stations put that squeal so far into the background that it doesn’t make a bit of difference.
We also modified the condenser microphone into a snazzy little device called an electret. It uses the property of changing the space between a couple of pieces of tinfoil, which changes the capacitance, through a semiconductor sensor, to output a voltage.
But engineering has overcome the problem that these modern microphone elements don’t look like the venerable carbon element. We’ve adapted long-chain transistor amplifiers, op-amps and lots of other configurations that you never see inside of the microphone element or the headset itself so that these elements resemble a carbon microphone.
It really doesn’t matter what your actual microphone element is; they all simulate a carbon element. That makes the job of testing the headset a whole lot easier.
Lend an Ear
Now for the earphones, which truly are also right out of telephones of the 1920s and haven’t changed one bit in all that time. They are just tiny electromagnet speakers that push a voice coil in and out in time with the received audio. And, once again, back in the ’60s and ’70s, when one of the speakers went bad, we simply opened up a (ahem) “junk” telephone, stole the earpiece and repaired our headsets. At least Ernie repaired his that way.
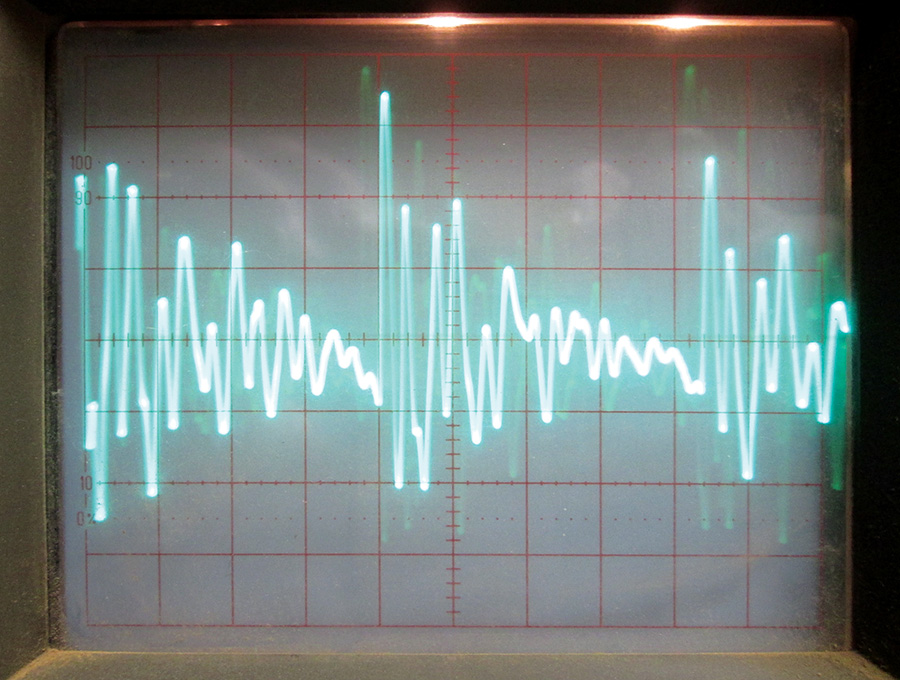
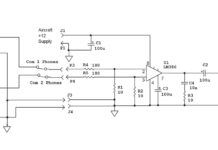
So here is the deal. To get a variable voltage out of a variable resistor, we simply simulate a constant current source, and then Old Man Ohm says that the output voltage of a constant current and a variable resistance is a variable voltage. Where do we get a constant current? From a constant external battery (for example, a 9-volt transistor radio battery or an aircraft battery) through a relatively high-value fixed resistor, say, about 470 ohms. (See the circuit diagram.) That will give us about half a volt, peak to peak, of voltage with a normal human voice talking into the microphone.
How do we know that the microphone is putting out half a volt of audio? Simply running it directly to the headphones of that same headset through a fairly high-value capacitor allows us to hear ourselves.
How’s that for simple? A real headset tester for a battery, a resistor and a capacitor? Two bucks, tops.
Troubleshooting
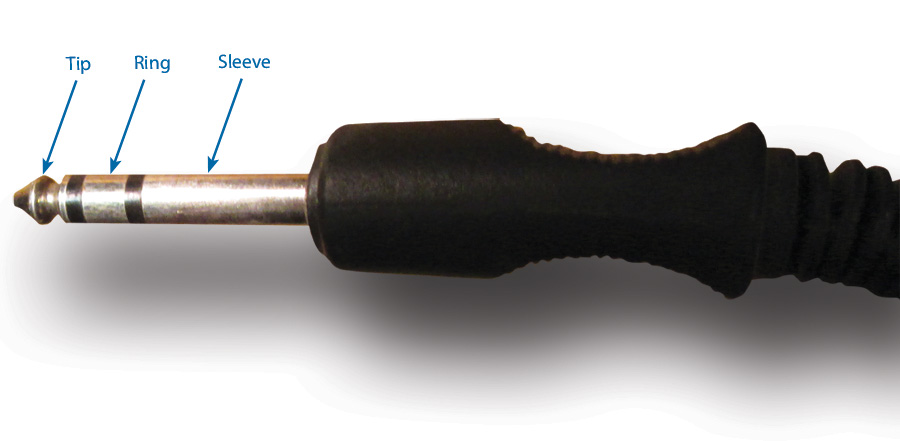
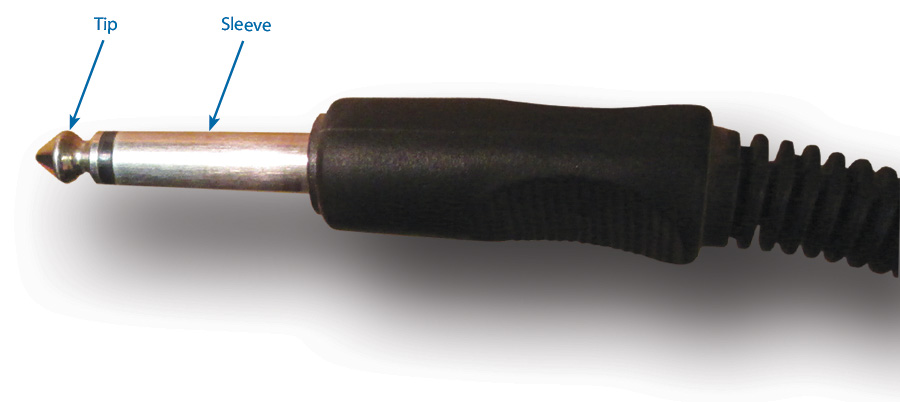
OK, so you don’t get any audio when you hook this thing up. First, disconnect the battery. Then reconnect it. You should get a fairly loud click when you first connect the battery. No click? Either the headphones are defective or you don’t have it hooked up right.
If the audio is somewhat distorted with the battery connected, it should be. There is a tremendous mismatch between the microphone and the headphones, and this will cause a lot of distortion. This is a go/no-go tester, not one that will tell you the distortion level of either microphone or headset.
Simple, cheap and nearly foolproof. You can set it up permanently with mic and phone jacks, battery clips and all the rest of it for your local EAA chapter to use, and once again, you have become the electronics guru. Stay tuned for some more simple stuff like this in the months to come.

