 “The aircraft lost power during the takeoff initial climb and collided with the ground. Responding sheriff’s deputies reported that the pilot said he forgot to turn on the fuel selector prior to takeoff. Examination of the aircraft revealed that the fuel selector was in the off position.” —NTSB Report, April 1991
What exactly is the history of N2165U? Why does this plane have so many dents? Has it ever crashed? These were a lot of things my friends and I wondered about as we worked on my Van’s RV-6 restoration project. Six months after the airplane had come to her new home in Sacramento, California, I had a few answers. My friend Bruce did some research (that I probably should have done in addition to a prebuy inspection, which I also didn’t do) on N2165U. I came to the hangar to find two pieces of paper and a DVD-CD. The DVD-CD was a collection of FAA records consisting of airworthiness, registration and suspense that he had ordered online.
More questions were answered as I wrote this very article. My friends and I have been working on this project for over a year and a half. They’re experienced builders and while not an experienced builder myself, normally I am thorough with my research. However, none of us had really dug through the paperwork side of owning a plane. Honestly, we were all just really excited to start fixing it!
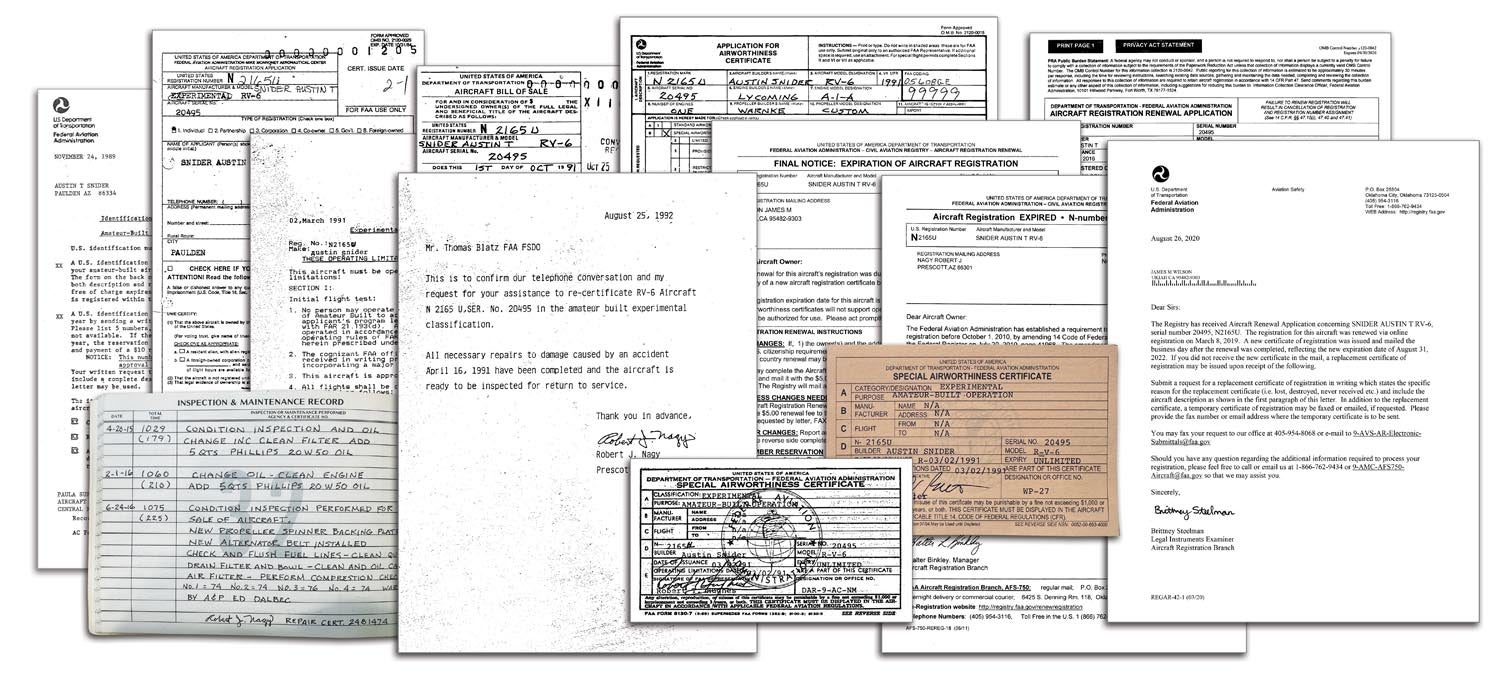
I have a zipper binder that was given to me when I purchased N2165U, but it was filled with disorganized invoices and the aircraft and engine logs were hiding deep out of sight within a folder. While not all of our questions were answered, between Bruce’s DVD-CD and the aircraft/engine logs themselves, some details have been recently uncovered and the answers to many of our questions revealed.
The aircraft was registered on January 5, 1990, to builder Austin Snider. All went well for the first seven flights. But on the eighth, and 17th flight hour, he forgot to position the fuel selector properly, starving the engine, resulting in an off-airport landing on April 16, 1991, less than a month and a half after 65U was built! Snider survived, but the aircraft was substantially damaged.
On November 19, 1991, N2165U was sold to Robert Nagy in Prescott, Arizona. According to the logbooks, Nagy purchased several new parts from Van’s Aircraft for repairs. These included two wing skins and ribs, a new engine mount, both main landing-gear legs, wheel fairings and a replacement filtered air box, which make sense as he also ordered a new cowling and spinner. And almost as though he didn’t want another accident related to the fuel selector (pilot related or not), he ordered a new fuel valve. Considering the nature of the damage and the extent of the repairs, it’s not surprising it took him more than a year to complete the work. On December 28, 1992, N2165U was approved for flight testing within 25 nautical miles of Paulden, where it had originally been crashed.
Nagy flew N2165U from the 1990s and into the early 2000s. He kept it up to date and performed condition inspections and oil changes. In 2005, he replaced two engine cylinders and in 2013 one of those two was replaced again.
In 2010, the FAA issued a new requirement regarding the registration of all aircraft. Between 2010 and 2013, all aircraft registered prior to 2010 would need to be re-registered. In addition, moving forward all aircraft would need to be re-registered every three years. Therefore, N2165U needed to be re-registered. After multiple failed attempts made by the FAA to contact Nagy, the registration for N2165U expired on December 31, 2012. On May 1, 2013, the FAA officially deregistered N2165U.
It turns out that Nagy had moved to Cloverdale, California, and must have forgotten to change his address! On April 29, 2016, N2165U was re-registered to Nagy. Sadly, the only reason for the re-registration of N2165U was that it was being sold. Nagy and N2165U were friends from 17 hours when he bought and restored it until 1075 hours when the bill of sale was signed to James Wilson in Ukiah, California, on July 1, 2016. After some mild internet stalking, it looks like Nagy was about 84 years old when they parted ways. Sometime between 2019 and February 2022 when I purchased N2165U, Wilson passed away and the aircraft ended up in Colorado in the possession of a gentleman who buys and sells aircraft. On February 8, 2022, N2165U came home to me.
What’s still unknown is how much damage there was after the early crash, how it was fixed and by whom. The logs from that period are missing, so the assumption that the second owner performed or had the repairs done is the best we have. And now, 34 years after its birth, the project continues.
Saturday Build and Maintain
On Saturdays, my friend and CFI, Stan, and my friends/mentors, Nick Leonard and Mark Zukowski, host a Build and Maintain program at KSAC. Youth ages 15–18 come out and work on the club airplanes, learning about maintenance, while Stan takes one at a time flying. From those kids, EAA Vintage Chapter 25 selects two Ray Aviation Scholarship recipients per year and gets them through their private pilot certificates.
They already helped me remove my panel and paint my valve covers. We labeled some things in case we wanted to put it all back together, as I wasn’t sure if I was going to get a glass panel yet or not. Other Young Eagles helped me with sanding or running errands.
Putting the Engine Mount Back On
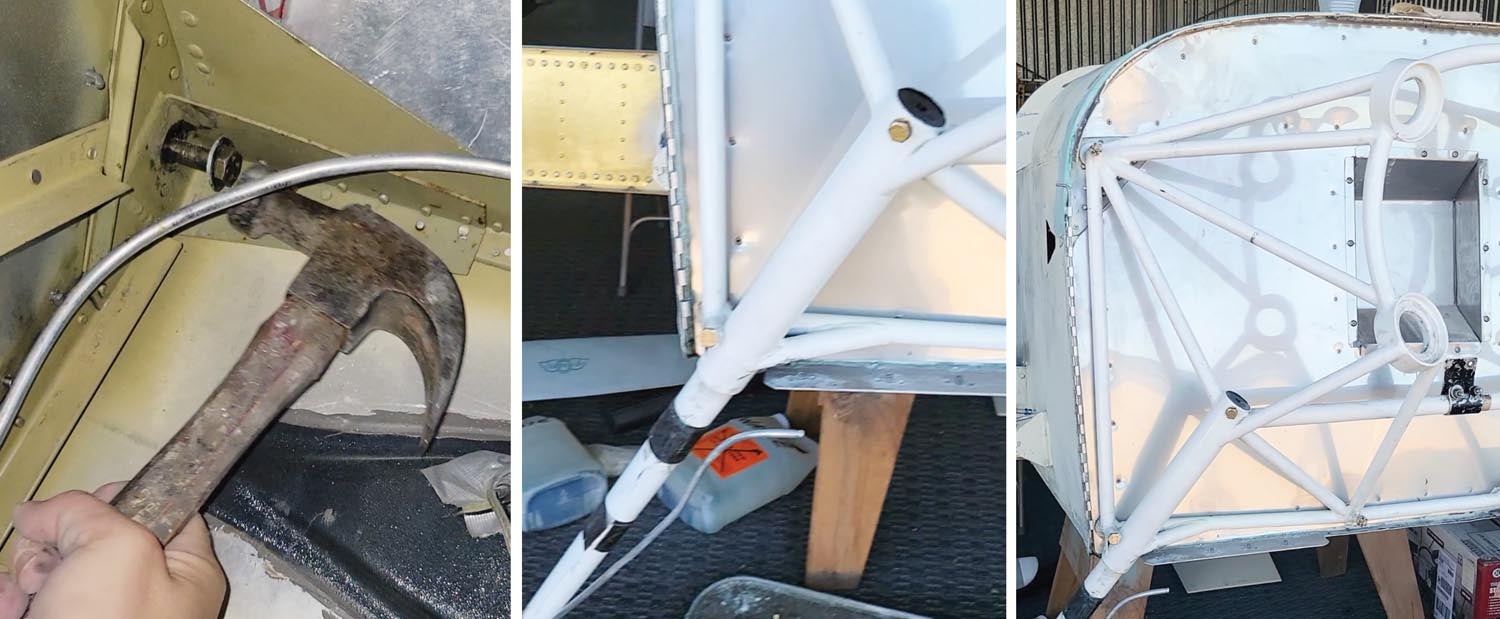
Stan and my friend Kerry inspected the Dynafocal engine mount and found no damage. They concluded that the engine mount is not the original and is actually in great condition. To our surprise, this was confirmed with a paper slip hiding in the logs, stating that the new motor mount was installed in November 2020. However, Stan recognized that the rubber motor mounts were in poor condition, so he bought new ones after removing the engine. There was nothing further we needed to do, except remove the mount to work on the firewall But a side note here. If you’re shopping for a used RV-6—or any of the earlier taildragger RVs—pay special attention to the engine mount. Because of the design, the main gear slips into sockets that are part of the engine mount. Off-runway excursions can load the mount, bending it or setting it up to crack later on. Cracked engine mounts aren’t uncommon in RV-6s, so I was lucky that the mount was new and still in good shape.
After sitting on a few sawhorses with towels wedged between them and the bottom of the fuselage and wings, it was time to put the engine mount back on and shift the weight back to the main gear. One hot afternoon, Stan, Kerry and I worked together to secure it with six long bolts. It was a much more arduous task than we thought it would be. Using a hammer and a bucking tool, I put the bolts through the holes from the inside and helped drive them through the mount lugs. From the outside, Stan and Kerry held the engine mount and screwed on the nuts. You definitely need extra hands for this part of the project. Oh, and it was also 100° F in the hangar! Did I mention how much I appreciate my friends?
Sanding and Prepping for Painting
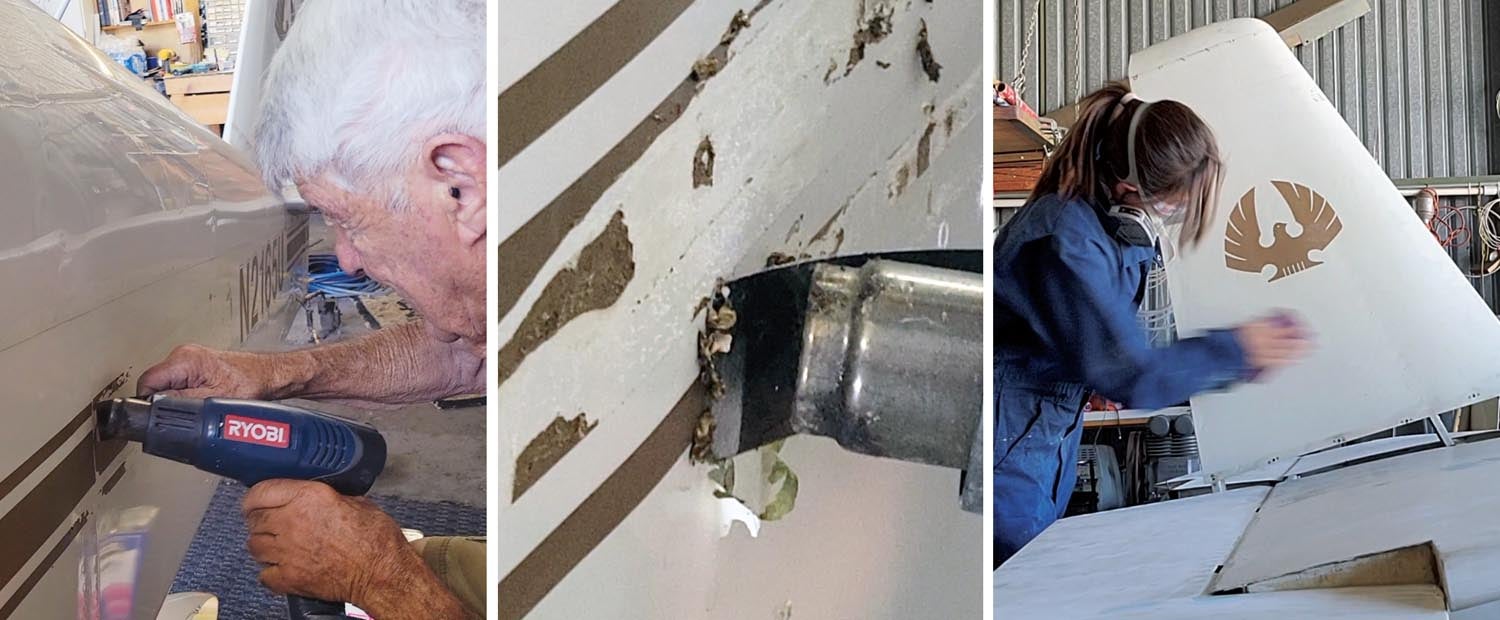
After the fuel tanks, the next big project was painting. N2165U sat in the sun for many years in Arizona, and even the vinyl on top of the wings had completely worn away. It was desperately in need of a total makeover. Before I started sanding, I had to remove the vinyl. I tried sanding it off, which didn’t work very well. I tried using a heat gun and peeling it with my fingers. That also didn’t work very well. I tried lacquer thinner. That wasn’t great, either.
Then Kerry came up with the idea to use the heat gun combined with a paint scraper. It was genius. He held the heat gun over the gold vinyl stripe until the vinyl became malleable (and the adhesive released itself) and started to shrivel and curl. By scraping it off with the paint scraper once it was soft, the vinyl came off with no issues! He showed me how to do it, then I took over.
The back of my plane had a vinyl phoenix bird on the vertical stabilizer. Because I’m practically replacing everything, I decided to trace the bird to make a new vinyl cutout of it for when the plane is done. I’m not sure if I’ll use the exact bird shape, but I like the idea of keeping something from the original paint job. I held a piece of paper over the bird and traced it with a pencil, then a Sharpie. When it comes time to add vinyl or paint, I will cut out the bird and trace it onto a new sheet of vinyl.
After removing the vinyl, it was time to start sanding. This actually took months (in conjunction with many other projects) but I can summarize most of it here. We started with the fuel tanks, then went to the control surfaces. While this was happening, we also were working on the wings and fuselage. The goal was to get the fuselage and wings done and send them in for painting while we finished up the control surfaces.
An airplane poses a few challenges when it comes to sanding because none of the parts are flat. Therefore, it’s easy to end up with rough or thicker areas if you don’t sand it correctly. If I were to use an electric sander, the task would go much quicker, but also risks the paint becoming uneven. Kerry advised that if I wanted to do the smoothest sanding job, then I would need to sand it by hand with wet sandpaper. Wet sanding helps cut down on dust and helps carry away the sanded material rather than let it set on the surface.
After hand sanding for hours and hours with 3M Pro Grade Precision 220-grit sandpaper wrapped around a piece of sanding foam, I gave up and tried to use an orbital sander. I borrowed one from another friend, Steve Lightstone, which required a powerful air compressor to operate. Unfortunately, while we had a lot of small compressors, we did not have access to a big one.
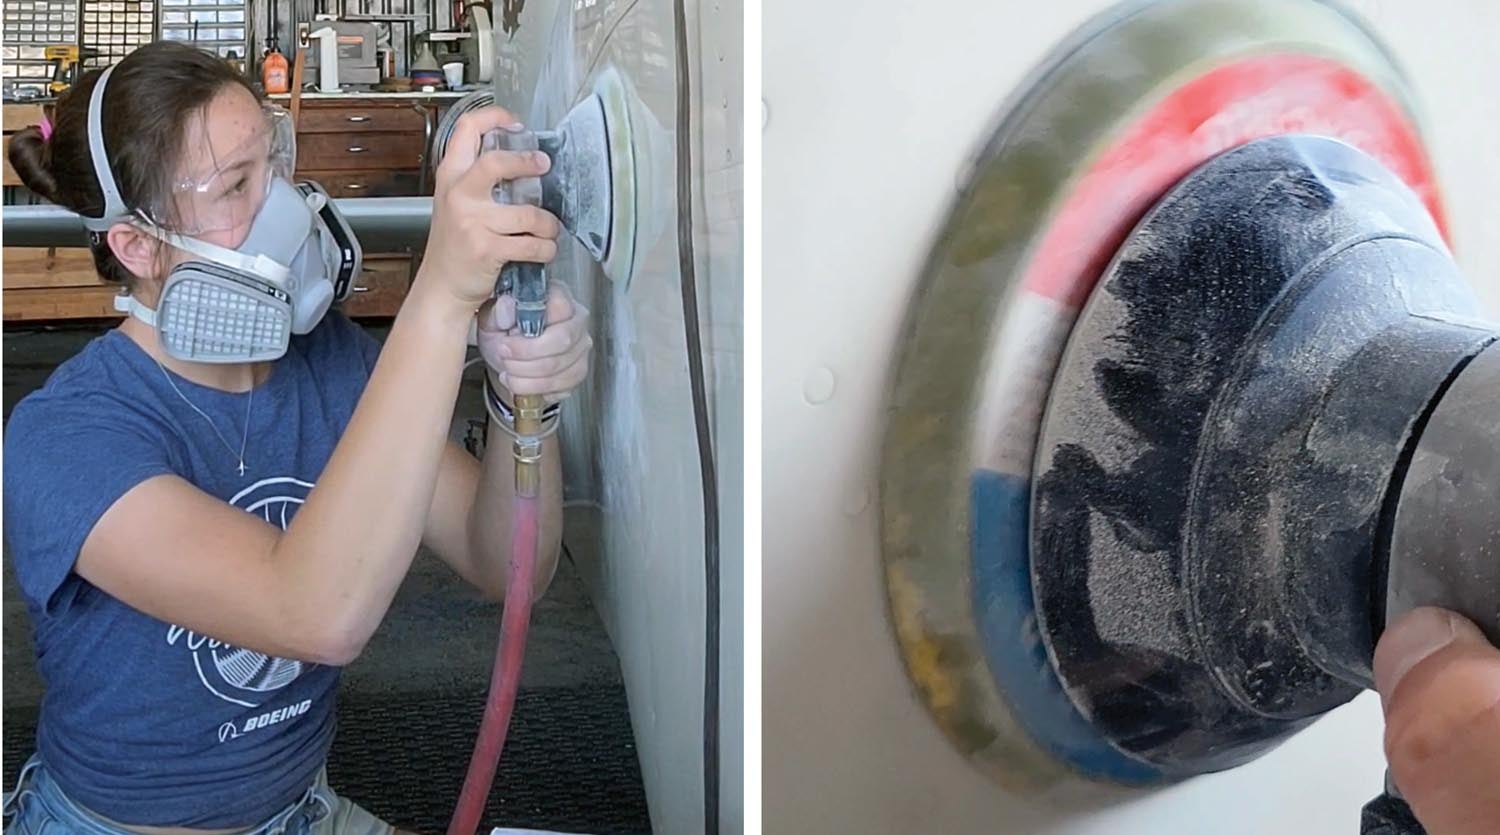
Shortly after, I found a similar round electric one at home that didn’t need an air compressor. I bought some more sandpaper to stick to the bottom of it and started sanding. The electric one worked OK, but Kerry was right. It was uneven. I continued to use it in the flatter sections, like the top and bottoms of the wings, but eventually reverted to hand sanding. After sanding off as much paint as possible, I switched to 3M Pro Grade Precision 320 sandpaper.
When I was done sanding the fuel tanks, Kerry feather filled the dents and rough spots, making them as smooth as possible. He would then prime them, look for rough spots, sand them down, feather fill a little bit and prime again. He showed me how to do it and we spent a while repeating the process, trying to make the tanks as smooth as possible.
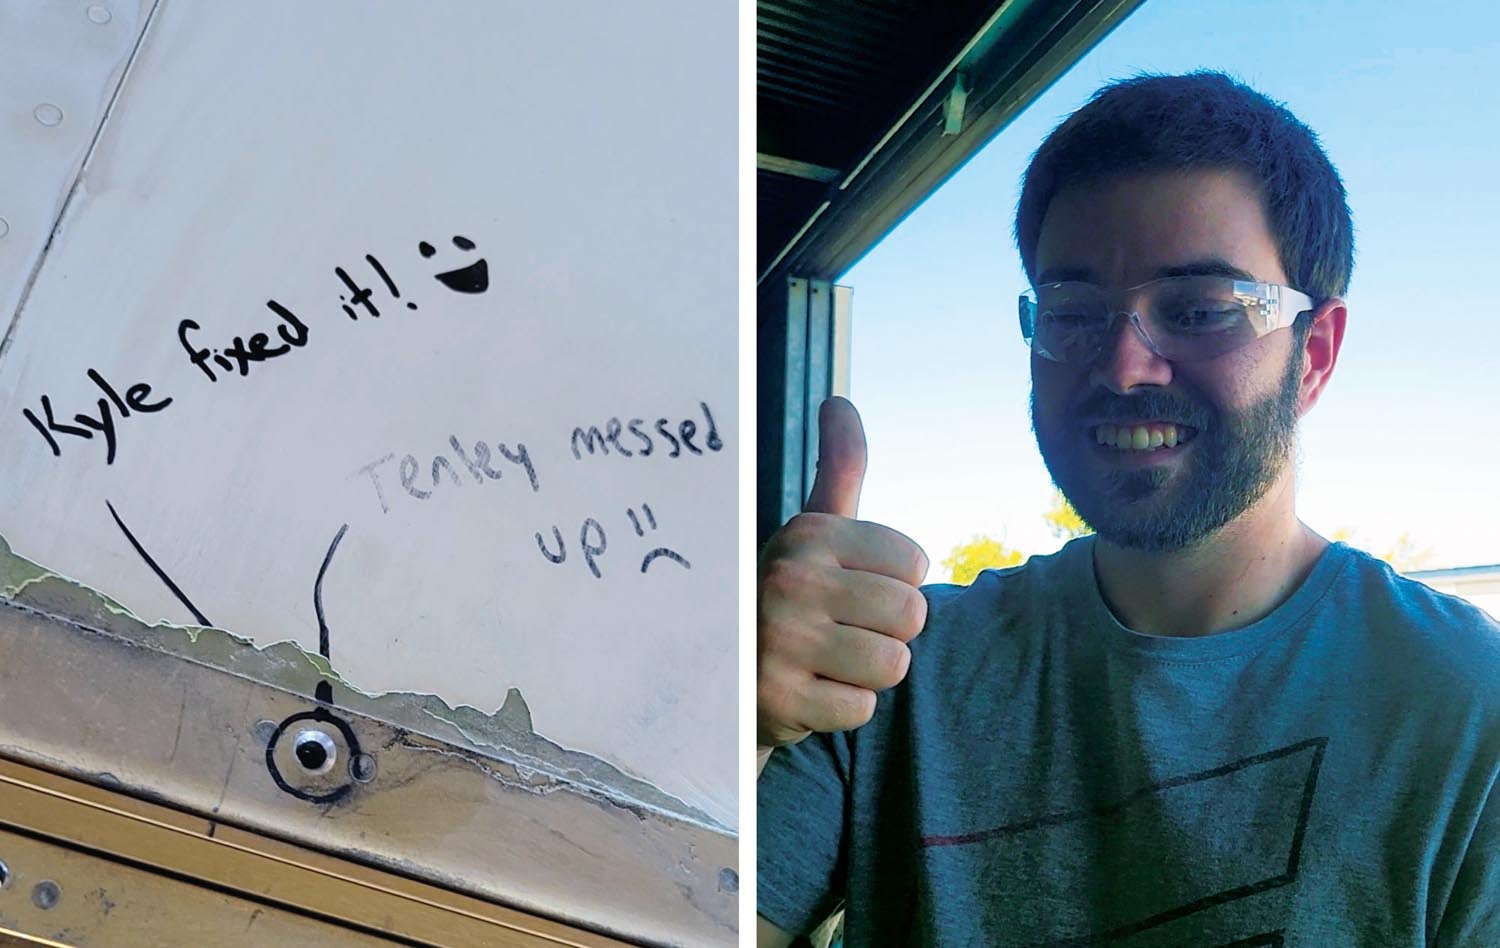
I also did some prep work to screw the fuel tanks back on. Stan showed me how to use a screw tap to clean up the nut plate threads and get rid of any corrosion and irregularities. Despite warnings from him and Kerry, I still ended up breaking the tap—inside my wing! It seemed impossible to get out. However, I showed up one day and it was magically gone. My friend Kyle Rodrigues stopped by and fixed it—thank you, Kyle!
The fuselage was the first big section, and the top part was easy. The bottom wasn’t. Lying on my back underneath the plane hand sanding led to a very tired arm and lots of paint pieces falling on my face. While I wore a mask and clear glasses, the paint dust still found its way up my nose and into my eyes. I also got my own pair of coveralls. My friend Faren Glenn gave me hers! My friend Natalia Kokosinka and her son Brandon also came to help me. Brandon worked on some light sanding.
Kerry and Hal Pattenaude, one of my other friends, got creative and decided to lift the tail up toward the ceiling with a rope, putting the nose toward the ground. This made it easier to stand up and sand underneath the tail, which was a hard place to get to before due to it being so close to the ground. Kerry took over sanding the belly and did a good portion of it while I was away at work. Thank you, Kerry!
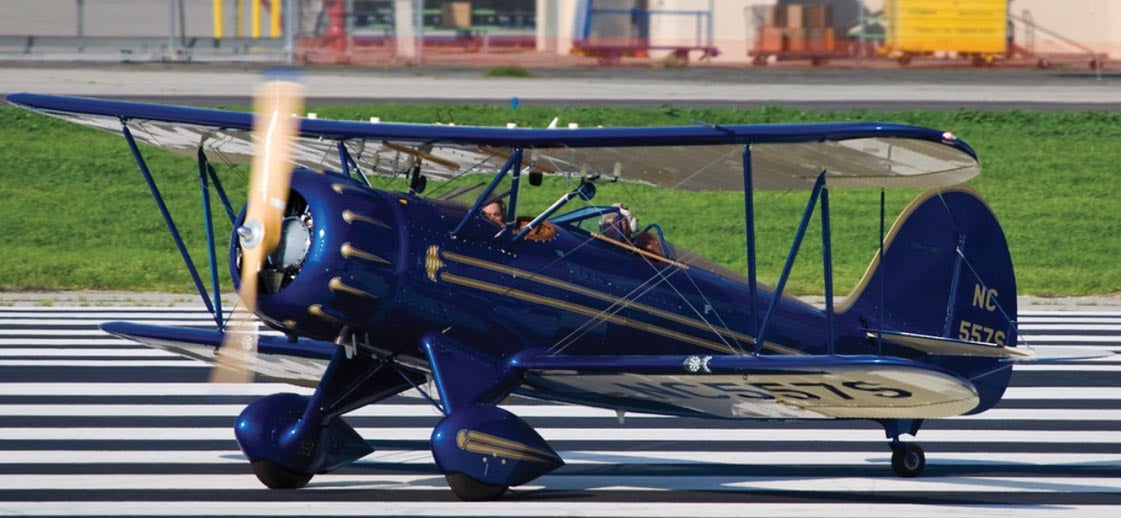
After all the sanding was completed, I turned my focus to painting and started to look up paint scheme inspiration and found a few that I liked. These included the Cirrus SR22 in Himalayan Salt, black and silver, and the Waco YMF-5FC in blue and gold. And yes, both aircraft are gorgeous, but the paint jobs are beautiful too. The fancier the paint job, the more expensive it gets. So I may need to make it white and put vinyl on top. There’s still plenty of time to decide.

My friend was planning to paint N2165U when the sanding was complete. He recommended that I purchase Evercoat Finish Sand 4:1 Polyester Primer in gray. When the fuselage was ready, we would also bring the primer for my friend to use. Yes, there’s so much more to go but these are big pieces and important to have behind me.


Tenley,
Keep after it.
I’m building a -6A now, and the end is within sight.
Would not have gotten to this point without my friends that offer encouragement, teaching, and even their own aircraft to keep my stick and rudder skills up.
Best,
Dave “Daddyman” Clinthorne
Comments are closed.