
1. Normal brightness for a standard 40-watt (x2) 4-foot fluorescent fixture.
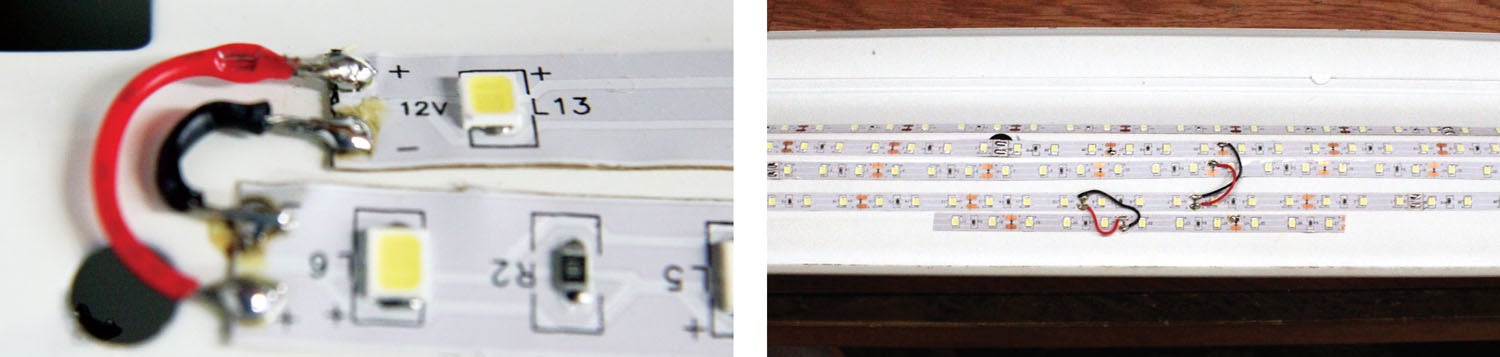
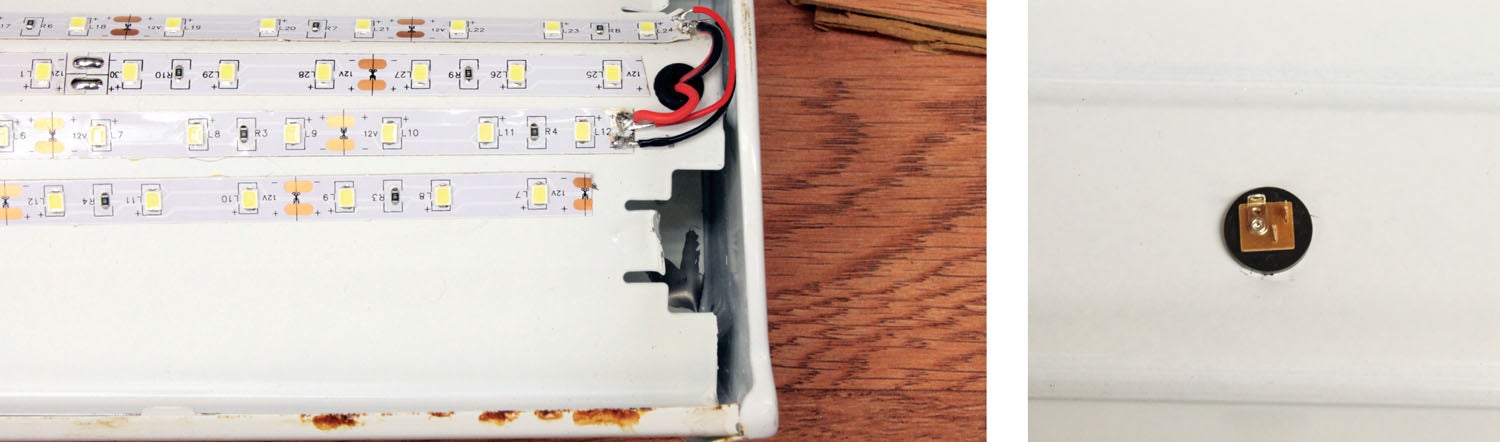
2. Replacing the fluorescent bulbs with LED strips. Because they are running below their rated current, you can see the individual lights.
3. Two strips of the LEDs running at normal current.
4. All of the internal fixture wiring and parts we are going to get rid of.
As I told you a couple of months ago, “In theory, there is no difference between theory and practice. In practice there is a large difference.” While it’s debatable whether Brother Yogi Berra actually said this, there’s no question these words give me my comeuppance this month.
I started out in late September to do the whole wiring of the hangar for 12 volts. Then, as we found out, there were a few obstacles in our way that we hadn’t figured on. This month I found a whole bunch of obstacles we hadn’t even considered. Plus a real climate change problem that I hadn’t even factored in.
Let’s do the climate change gig first. In 1988, Nevada County (location of my home and business) had the 49er Fire that came within a couple of miles of my house, lab and hangar. At that time, it was the second largest forest fire in the state of California in the last 100 years of record keeping. As of this year (33 years later), it isn’t even in the top 25. In this last month, we have been put on “evacuation warning” four times. That means we have to have vehicles, pets and irreplaceable things in a go-bag and be out the door in 15 minutes. That takes an immense amount of time.
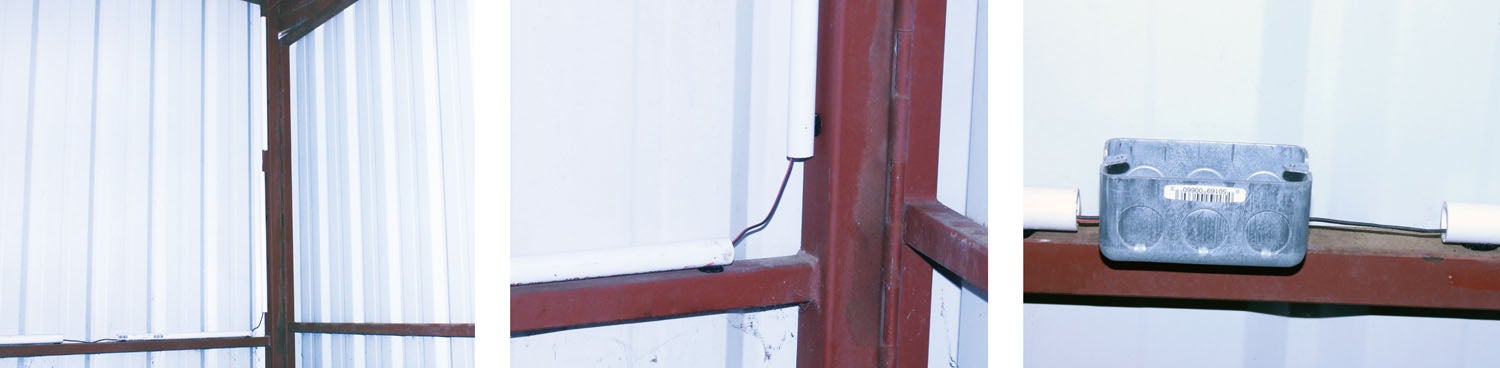
But I digress. Last I left you with “redneck conduit” (3/4-inch PVC water pipe). I’ll change my tune. Use the smallest diameter rigid PVC you can find. Three-quarter inch is way too big and heavy for these small wires.
I also left you with the idea of using magnets to hold the PVC to the hangar main steel structure. Wrong. I don’t know why, but when I first put them in, the magnets held the pipe to the hangar frame so firmly that I had to pull hard to dislodge them. However, after two or three days of 105° F heating those frame members, probably to in excess of 120° or so, they just gave way. Are these magnets heat sensitive? I have no idea; that is an investigation in and of itself. I just want to put up redneck conduit that stays up.
The fix was relatively simple. Instead of magnets (that I now have a drawer full of surplus), I used hook-and-loop (Velcro) fasteners. With a caveat. We had 100% success on the first day, but without any excessive heat, the Velcro sticky-backs all peeled off overnight. They didn’t decouple; the sticky-backs on the hangar structure failed. A short analysis showed that the glue on the back of the sticky-backs were no longer sticky. A bit of close inspection showed that the 40-year-old hangar grime had collected on the frame. A bit of cleaner (Formula 409 type spray) on the hangar frame cleaned up this problem and after one week of both hot and cold, the current redneck conduit seems to be working just fine.
In theory, that’s great. In practice, I came in a couple of weeks ago to find the two upper horizontal conduits hanging by the wires. For whatever reason, the glue on the Velcro sticky-backs had failed again. A solution came to me like I was a freshman Physics student. I was fighting gravity, and unless you are going at least 17,000 miles an hour, gravity will always win. That glue had to hold up a relatively heavy pipe and relatively heavy wire against gravity. (Even at 17,000 miles an hour, gravity is the only thing holding you in orbit. Otherwise you get to see Venus and Mercury on your way to the sun.)
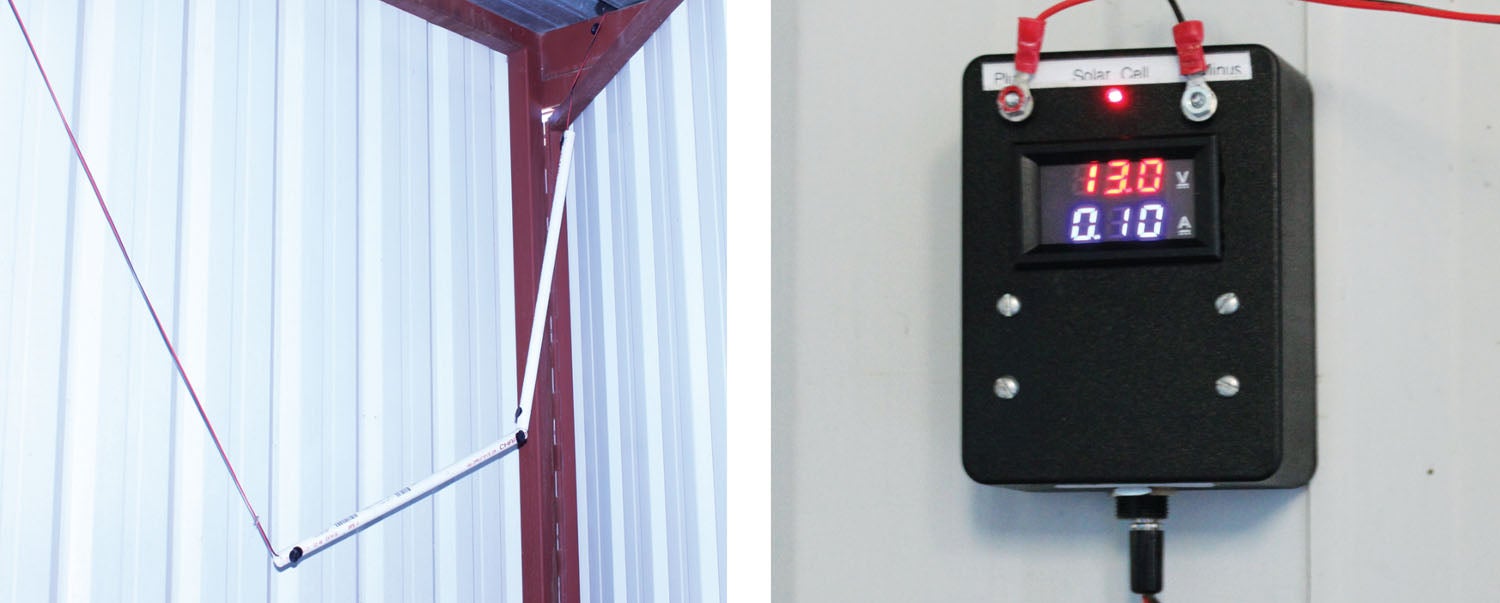
The solution was to go vertical as soon as possible and get a neutral gravity effect, except on top of the horizontal members where gravity is your friend. Problem solved. Now we can use Velcro or magnets without having to worry about either one decoupling from the steel framework.
On to the second problem of the month: changing all the fluorescent fixtures in the hangar to work on 12 volts. I thought about throwing away all the fixtures and using LEDs taped to the walls of the hangar, but that was just not appealing to me. I tried finding 12-volt LED bulbs that fit the 4-foot fluorescent fixtures and found that there was no such thing. I tried going to the RV stores to see if there were large 12-volt fixtures, and the ones that would work were prohibitively expensive.
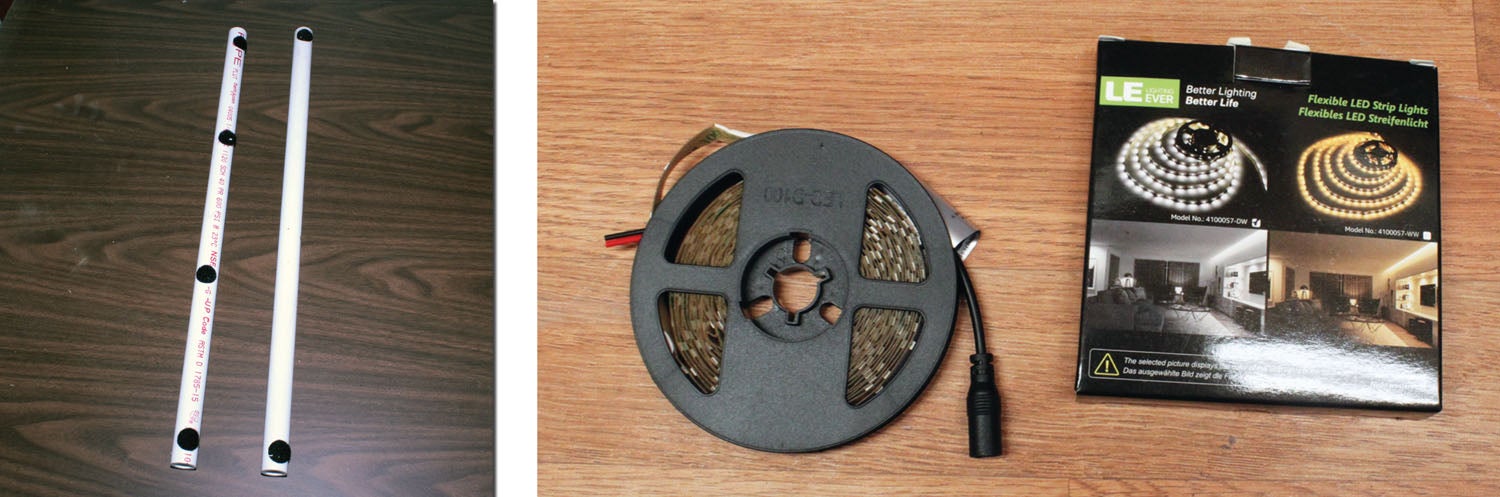
Then I found 12-volt LED tape lights on my old friend, Amazon. Small ¼-inch wide sticky-back tapes that were about 50 feet (15 meters) long and consisted of hundreds of small bright-white LEDs configured to run on 12 volts with their own onboard current limiting resistors. Fifty feet of tape light will give you about 12 4-foot strips on a 4-foot fluorescent fixture. Or if you want more light, you can run multiple strips on the same fluorescent carcass.
Each 4-foot strip will draw about 0.2 amps from a 12-volt supply, so a 3-strip fixture will cost you about 0.6 amps. Three 4-foot strips are just about as bright as two fluorescent bulbs, but the light is almost pure white and the fluorescent bulbs are not. And, if you really need more light from a particular fixture, just add more strips.
As to efficiency, two 40-watt fluorescent bulbs drawing 80 watts compares to four LED strips drawing 0.8 amps from a 12-volt supply for 10 watts—an 8:1 improvement in efficiency. Not only that, but the LED will typically operate for 50,000 hours (roughly 17 years of 8-hour days).
A word of caution: I use 5mm OD 12-volt DC power connectors throughout the HOG project. Just know that the center pin (the + pin) comes in both 2.1 and 2.5mm sizes. Pick one and use it throughout. They are not mix and match. I prefer the 2.5mm as they are slightly more robust and can carry a bit more current.
So where are we on this HOG project?
The little 5-watt solar cell battery maintainer is only putting 100 mA (0.1 amps) into the battery during the day. When I cobbled it together outside in the lab three months ago, it was doing 350 mA. Why the difference?
The little 12-volt compressor is going to be OK for filling up the tires and the shock struts. For the annual 80-psi compression check, I’m going to use a small 120-volt AC compressor for that one time a year I need that kind of power by increasing the size of my 12-volt DC to 120-volt AC power inverter to handle that kind of power. That seems to be the operational and inexpensive way to solve that problem.
I still don’t know what to do with that mini-fridge that sucks so much current.
Coming soon in a future column: a homemade taxi/landing light for less than $25. Until then…stay tuned.


