This is the last “Floobydust” column I’m going to write. Floobydust was a term used by one of my mentors in the electronics writing business…feller by the name of Bob Pease, a beyond brilliant electronics engineer. Bob wrote for several technical journals in…get this now…plain English that most of us could understand, and he’d use “Floobydust” for a column that had several smaller points in it. He’d use a “shucks” or “darn” every now and again just as a matter of normal conversation. He will be sorely missed by all of us who knew him. Ironically, Bob died when his VW Bug hit a tree coming home from a memorial service for Jim Williams, another prolific “plain language” author and giant in the electronics design profession who I came to know and respect.
So, dear reader, you get to choose what this series of “hints and kinks” is going to be called in Kitplanes. My editor has suggested two choices, and I leave it to you to vote as to what to call it. He suggests:
1. Smoke and Mirrors
2. Floor Sweepings
To vote for “Smoke and Mirrors,” send an email to [email protected] with “Smoke and Mirrors” as the subject line. To vote for “Floor Sweepings,” send an email to [email protected] with “Floor Sweepings” as the subject line. It doesn’t get much easier than that!
I can live with either name. “Smoke…” reminds me that every now and again, when we make a real blunder in the design, we “let the holy smoke” out of the most expensive component, and “Mirrors” reminds me that every op-amp that was ever made uses a current mirror on the inside as a vital component of the IC.
On the other hand, “Floor…” reminds me that everything I write is meant to use “Rat Shack” parts (called “Floor Sweepings” by the industry for the quality of their parts) that you can get from the Rat Shack store on a Sunday afternoon in East Undershirt, Ohio.
So, here we go with “Smoke and Mirrors” or “Floor Sweepings” for this month.

Deli takeout boxes are an economical way to store small parts. In quantities of 200, the 48-ounce box (left) costs 27 cents, and the 16-ounce box is 11 cents.
Deli Boxes for Parts
A recent article in Kitplanes suggests that we use empty baby food jars for keeping small components in our workshops. I have a better idea. I don’t know how many of you have had the pleasure of picking glass slivers out of the parts and out of the crevices in the shop when a glass jar is dropped from oily fingers. But picking oily sharp glass shards off the floor, out of the corners, and separating good parts from tiny glass specks that imbed themselves in your hands, your gloves, and your work clothes is not my idea of a good time.
Much better is to use stuff that doesn’t break—especially cheap stuff that doesn’t break. Stuff that somebody uses by the millions that we can buy by the dozens. Like…plastic boxes that you take your deli sandwich home in. They’re airtight, hermetically sealed, and unbreakable.
But where does the corner deli get those boxes? From the wholesale deli supply store, of course. As the “wholesale” name implies, be prepared to buy these boxes by the hundred or by the case. And, as with everything else, the more you buy, the less they cost. Moreover, the wholesaler isn’t in the business of holding your hand while you ask them a bazillion questions about the product. So, my choice of online deli-box wholesaler is webstaurantstore.com. Here’s a direct link to square and rectangular deli containers.
Now the search for “just the right size” begins. Think about how you are going to handle several hundred containers of small parts. AN-4 bolts in one, Rivnuts in another, and so on. Here at RST Engineering, we use several sizes, but the most common are the 16-ounce AD16S and the 48-ounce AD48. The former are 11 cents each in a case of 200 and the latter are 27 cents in the same quantity.
Why did we choose these two sizes? For small parts (rivets, small screws, etc.) the 16-ounce size was the smallest I could find in this height, and the 48-ounce box just “looked right.” Both are exactly the same height, so they occupy the same vertical height on the parts shelf. You want another size or height? Use the “filter” routine on the web page to pick.
Do the Twist
Let’s do a couple of “wire” tips and we’ll call it a month.
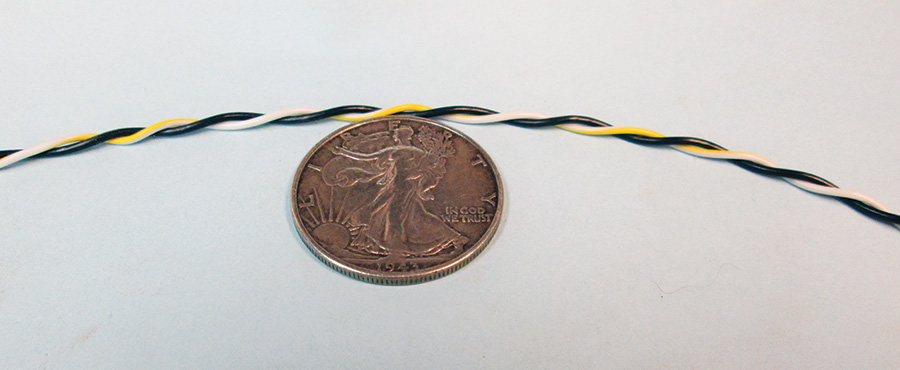
There are lots of places in the airplane that we need to run a pair of wires…positive and negative power, high and low temperature, isolated sensor, and a lot more. But running two wires is pretty sloppy unless we are willing to use tie wraps every few inches. Not only that, but parallel wire runs like this are susceptible to stray pickup from other electrical sources in the aircraft. That is why the phone company (all the way from A. G. Bell to the present day) have used twisted wires. It seems that the twisting picks up noise in one phase on one wire and the opposite phase on the other, which neatly cancels out noise. Not only that, but the twisting keeps other wires from getting tangled in the middle of our wire pair.

After two wires are twisted by a drill, but before either end is set loose, the wires should be jerked a few times. This will prevent them from untwisting over time.
The time-honored way of twisting wire is to chuck up both wires into a drill of some sort and twist it. The problem is that over time, the wire will slowly untwist itself and you are back to where you started. There needs to be a way to “set” the wire so that it stays twisted.
And there is. After the wire is twisted by the drill and before either end is set loose, the wire needs to be “jerked” a few times. That is, release the tension on the wire very slowly and then jerk it taut. The first couple of jerks should be relatively easy and then get progressively more aggressive. The last jerk (probably around the 5th jerk or so) ought to be enough to either break the wire at the held end or jerk the wire out of the drill chuck at the other end. This wire is now “set” and will not untwist over time.
How can you get in trouble with this? First of all, don’t relieve enough of the tension before the jerk for the wire to twist up into circles by itself. Second, don’t be gentle with that last jerk. You might break the wire at the end or jerk the end out of the drill chuck. Don’t worry about it. You wanted a pair anyway, so a break is no big deal. And you can always re-chuck it and twist it some more.
Crimping Small Wires in a Terminal
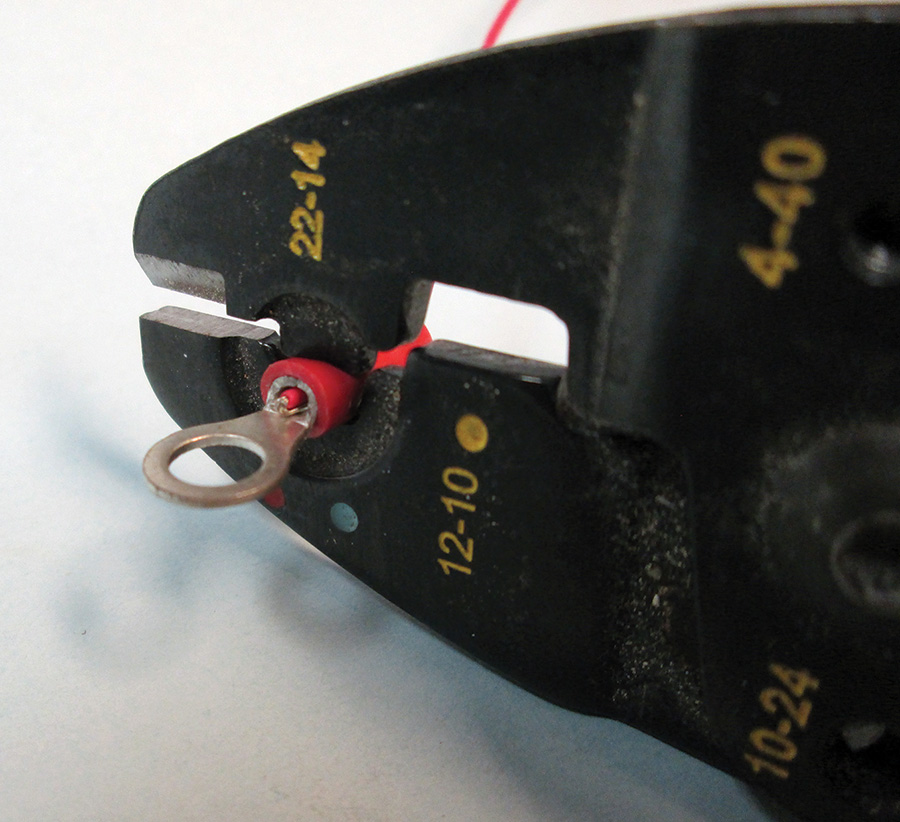
It seems that nobody thinks we are going to use anything smaller than AWG 22 in the airplane. And yet for a lot of the wiring that handles less than half an amp, we can use smaller wire…#24 to #28…and save a lot of space and weight. Yet the smallest crimp terminal is sized for a minimum of #22. Anything smaller just falls out of the crimp.
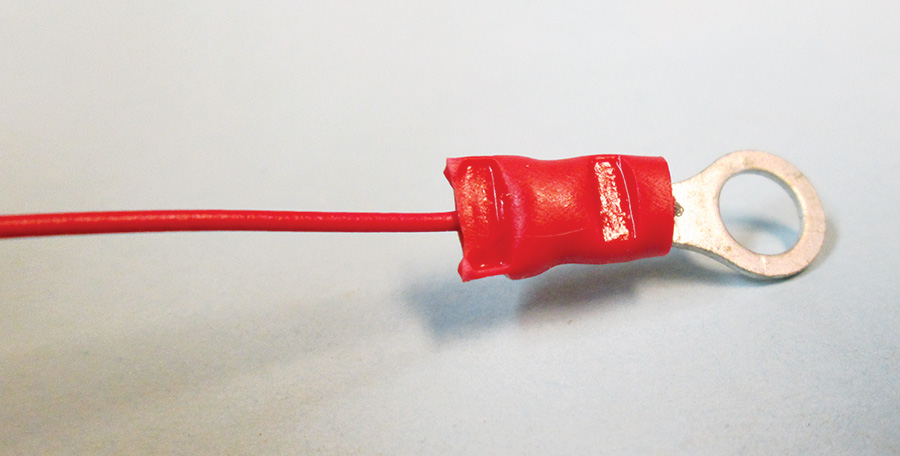
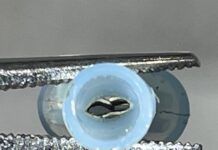
So, how do we reliably crimp smaller wires into the smallest terminal we can buy? Simple. Make the small wire larger. Easier said than done? Nope. Strip the end of the wire the normal length to crimp and then twist it back across the insulation of the wire. Now put the wire and insulation into the crimp area and perform a normal crimp.

When working with wire smaller than #22, strip the end of the wire the normal length to crimp and then twist it back across the insulation of the wire.
I can hear it now: “That’s not going to create a reliable crimp.”
“That’s not FAA approved.”
“NASA would never allow it.”
Horsefeathers. As to reliable, if the breaking strength of #24 wire wasn’t somewhere around five pounds, I’d do chin-ups with a wire crimped this way. Also, there are four Cessna aircraft flying around right now with hundreds of crimped terminals like this and not a failure in 40 years. You are right—NASA wouldn’t allow it, but neither you nor I are building spacecraft.
You may have noticed a couple of things in the images in this column. It looks like I’m using plain old PVC covered wire for my aircraft and I’m using a crimp tool you’ve never seen.
Answers to these last two things will appear in a future Floobydust Smoke/Sweepings column. Until then, stay tuned.

![]()
Jim Weir is the chief avioniker at RST Engineering. He answers avionics questions in the Maintenance Bay forum at www.pilotsofamerica.com. His wife, Cyndi Weir, was his high school sweetheart 50 years ago and now she keeps Jim from making stupid blunders in spelling and grammar. Check out www.rst-engr.com/kitplanes for previous articles and supplements.

