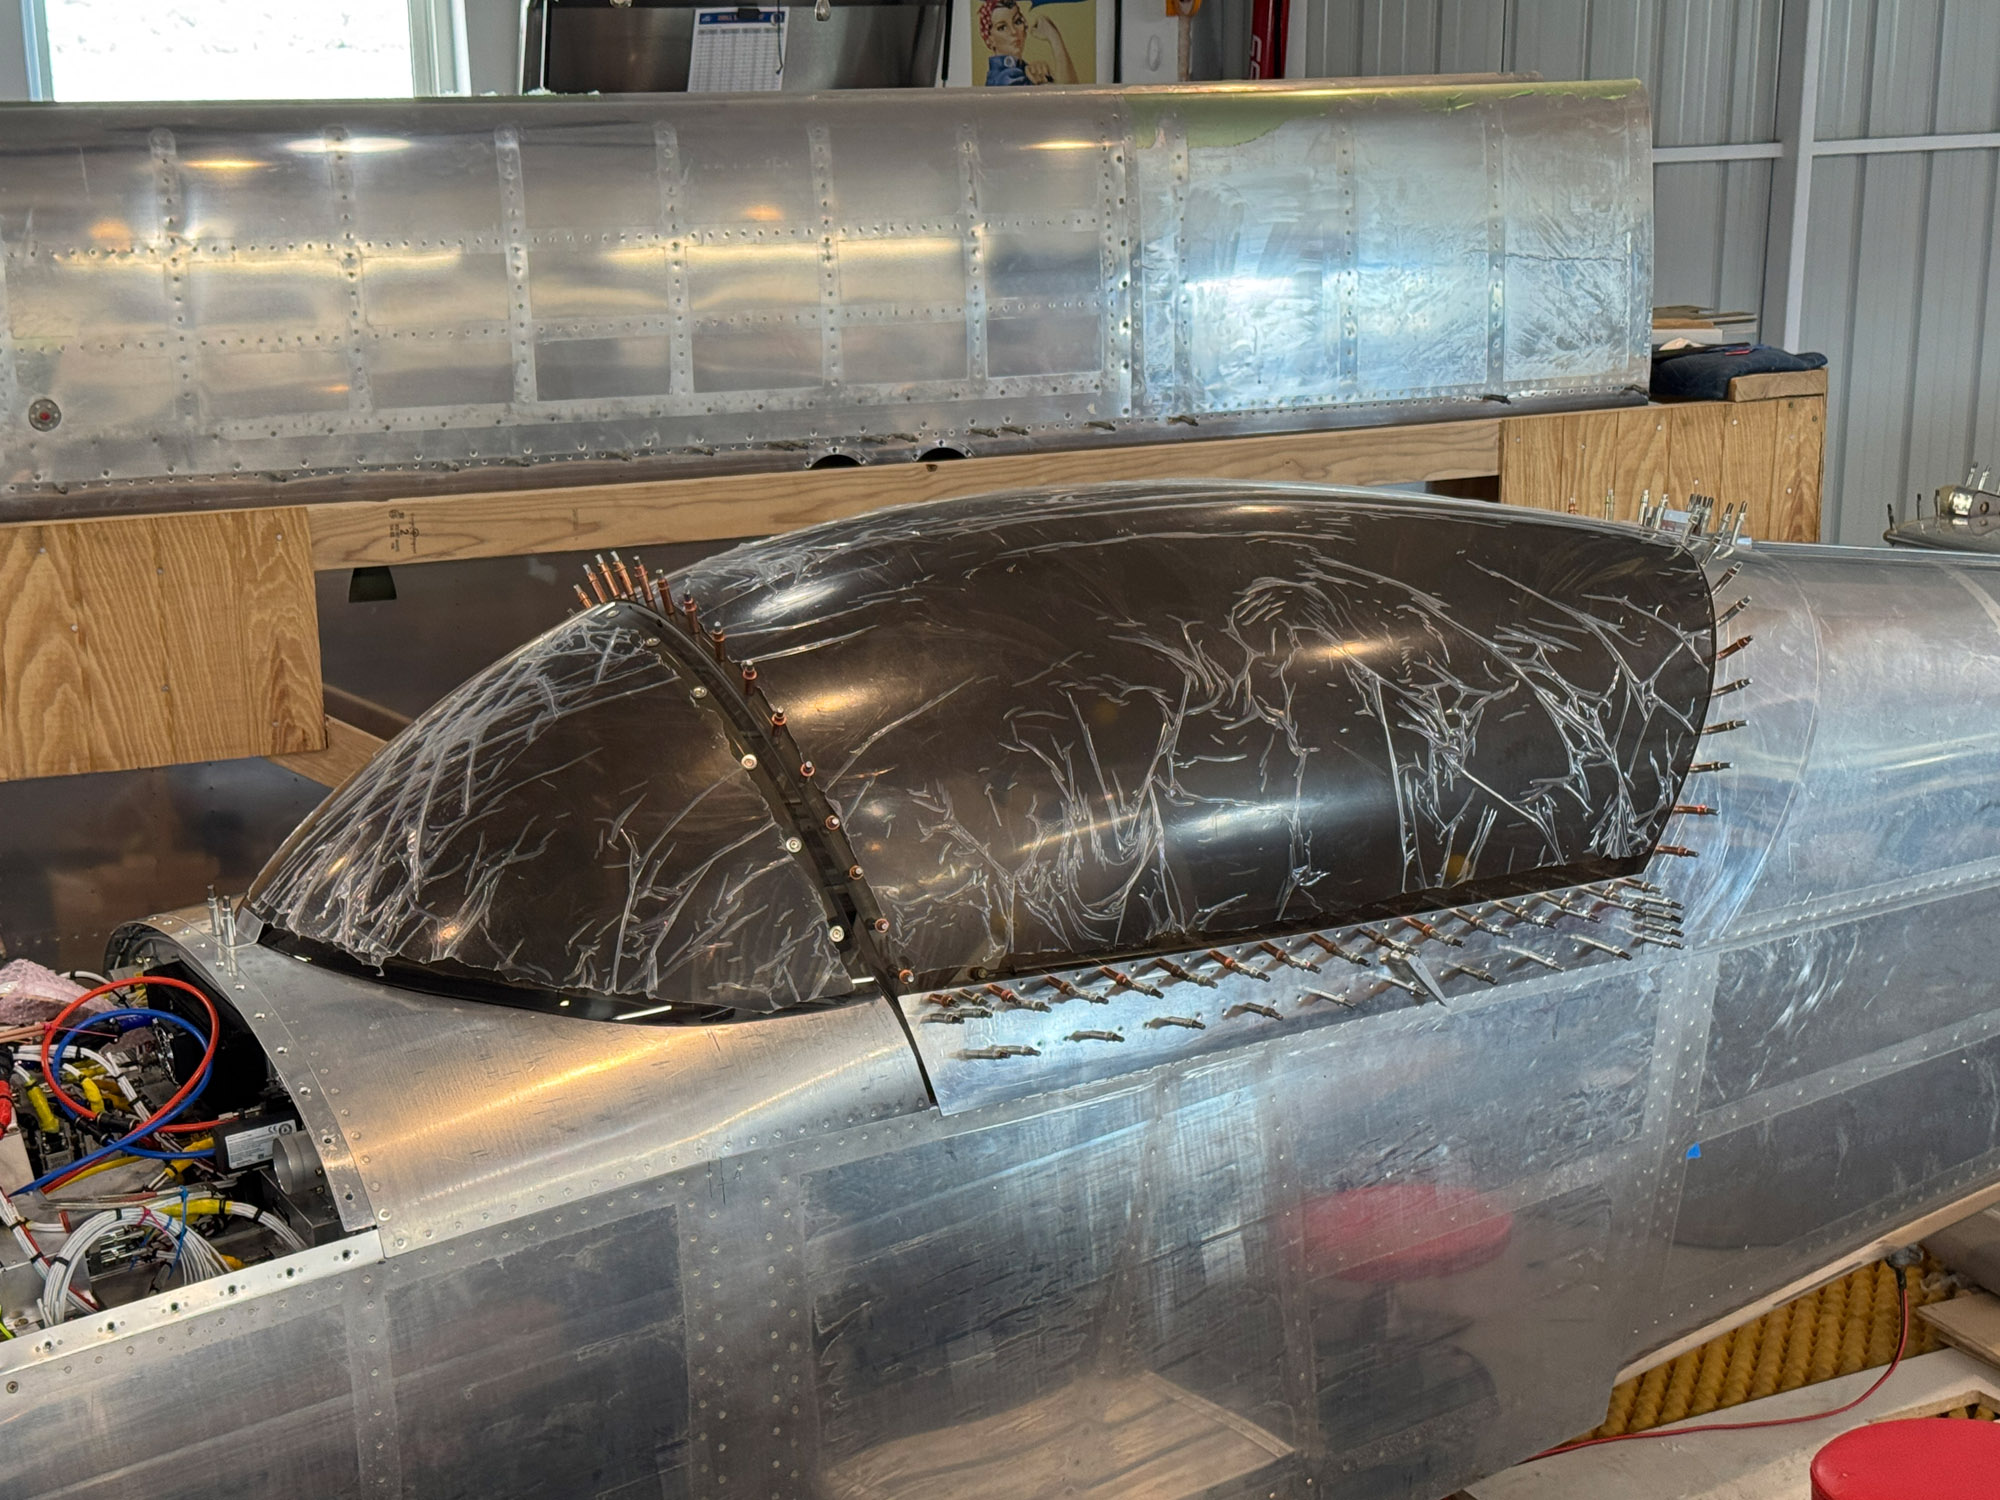
It’s been a while since we provided an update on the big picture of our F1 project—mostly because we’ve been heads-down, working on the many details of fitting and assembling the canopy and its skirts.
To bring those following along up to speed: The fuselage is at the point where we’re nearly ready to put it on the gear and hang the engine, so we can start the firewall-forward work—engine systems, baffles, and cowling. The fuselage is fully wired, all avionics and systems have been checked out, and we’ve even hooked up the wing lights using temporary jumpers.
We’ve kept the fuselage on a low cart throughout this phase, as the F1 sits tall on its landing gear. Fitting the canopy would have been more difficult if we had to climb onto work stools every time we installed or removed it. Now that the canopy is complete, we can move on. The tail is finished (except for fiberglass) and temporarily installed. It still needs balance work, which we’ll do after installing the fiberglass tips. The wings remain untouched—but installing the controls, wiring, lower skins, and tips should take only a couple of months.

The canopy and windshield are finished and functional, but the fiberglass frame for the windshield and some blending work on the canopy remain. That’s all artistry, and we’ll tackle it when we break out the fiberglass to do the cowling and tips. No point in filling the shop with fiberglass dust more than once. The Rocket’s canopy skirt is all metal, and frankly, we’re shocked at how well (and how quickly) it turned out. The manual hints that you’ll be throwing away metal and trying again—several times—so we wondered what we were doing wrong when it all worked on the first try!
Next up: We’ll break out the hoist, call some neighbors, and get this beast up on its wheels. The kit’s original tires and tubes are over 20 years old, so they’ll serve as “shop tires” for now. We’ll install proper flight rubber when it’s time to fly.


