 Ten hours into our Phase I flight testing, it’s finally time for me to fly our RANS S-21 Outbound. Mike and I had agreed that we’d let the RANS get 10 hours into Phase I and find solutions to several small problems before I flew it.
We had sold our Cessna 172 in February 2020, which was about the time the RANS needed to move into the big hangar, displacing the Cessna. During this time of transition, when we didn’t have a flying plane of our own, my neighbor and CFI, Jere Marble, allowed me to rent his Piper Cherokee to remain current. I also had several neighbor friends who took me up in their planes to assist in keeping my “head in the game” of flying during the interim. Many builders forget to stay current while building.
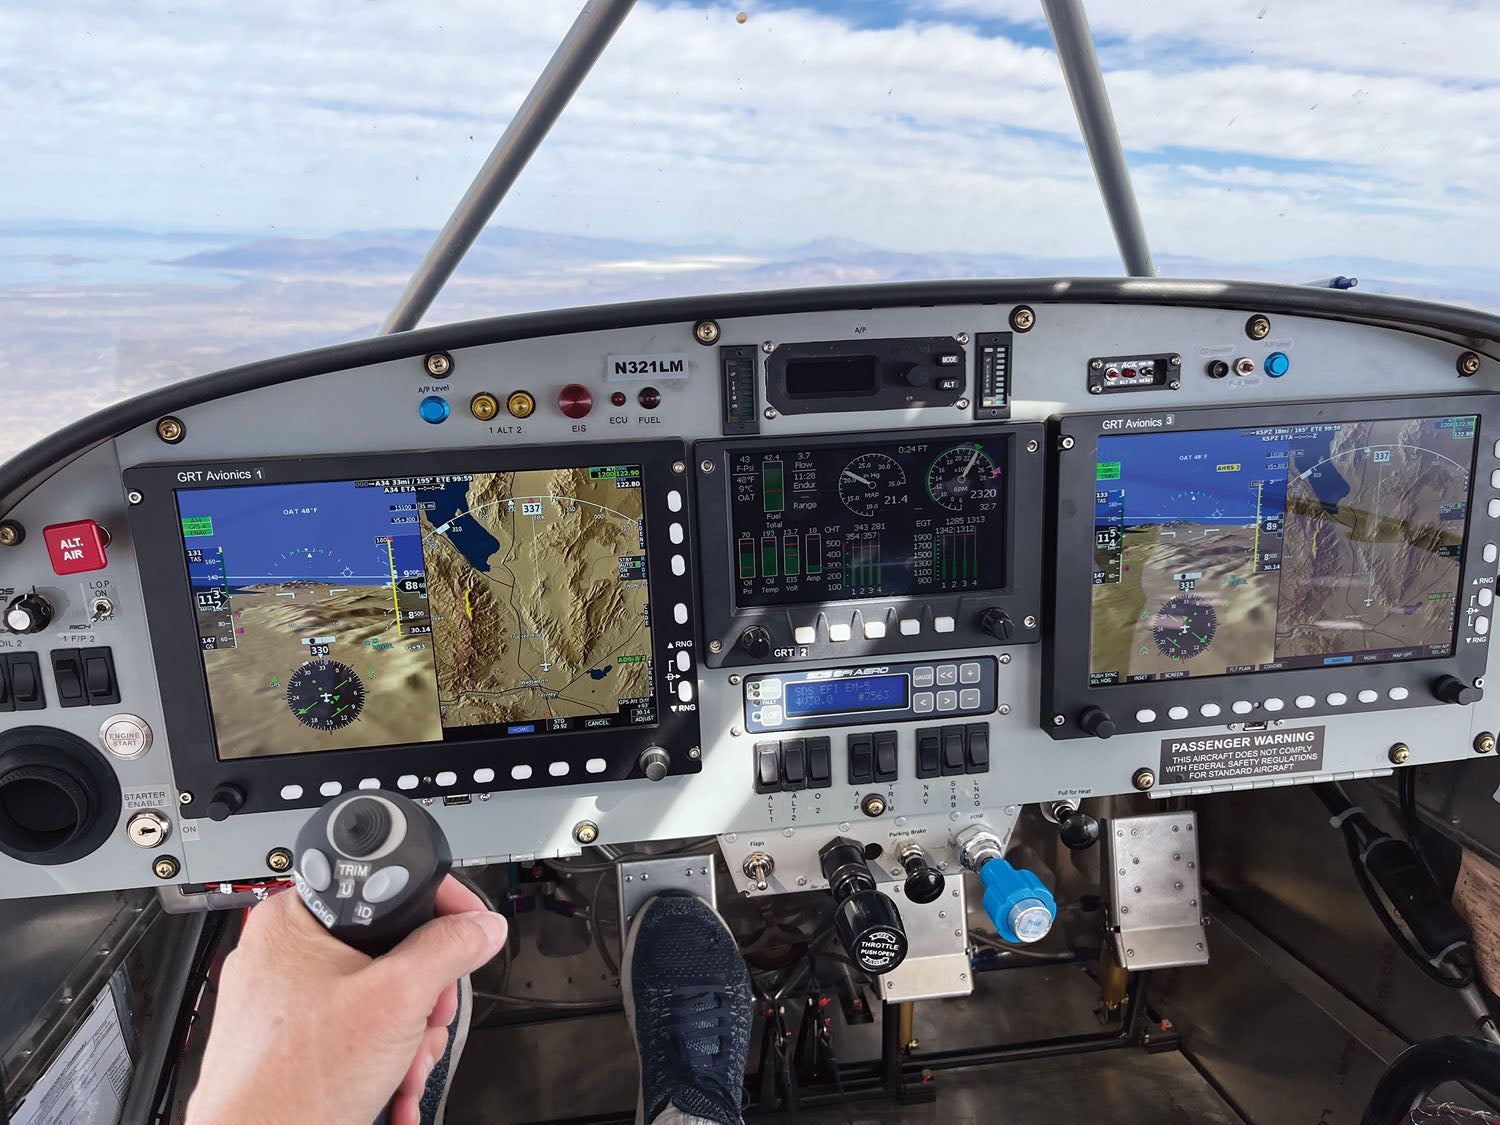
My concerns about learning our S-21 centered on the glass panel—I’d always had round gauges to fly by—a stick instead of a yoke and the constant-speed prop. The glass-panel concerns were severalfold in that I needed to know at a glance where to gather my information for flight. Also, I had never used ADS-B when flying, only looking out the window for traffic. I knew that this would take time to get used to and I just had to be confident enough in my skills as a pilot to keep from fixating on the screens.
The stick was pretty intuitive and didn’t really concern me too much. In fact, I looked forward to having a stick instead of a yoke! For the constant-speed prop concern, I reviewed the concept many times with other pilots and got the theory down in my head. To help with my transition, I asked our neighbor, Paul Dye, to join me as an additional pilot during Phase I for my first flight. He graciously agreed, which gave me a comfort level in knowing he would be in the right seat.
Back to the Manual
When we started Phase I flight test, Paul mentioned that EAA’s Flight Test Manual along with the test-card book could, some day, become an alternative to flying a specific number of hours—in our case, 40. Complete all the tasks and you’re done. But that’s not the rule now, so we flew our full 40 hours, in part because we had a lot of Experimental-class components on board. (Mike’s previous build, a Van’s RV-10, got the 25-hour test period because it used a certified engine-and-prop combination.)
The EAA Flight Test Manual is designed to test not only the plane and its capabilities, but to familiarize the pilot through a structured task-based approach. Paul encouraged both Mike and I to do the test cards for this purpose. Mike had a good start on the cards, so I had a bit of familiarity in watching him and recording data on the ground. But now it was my turn to take a stab at being a test pilot.
Finally, on December 3, 2021, I got my first chance to pilot our RANS with Paul in the right seat. There was a great mix of emotions—anxiety, excitement, anticipation, fear. I had it all, but was ready to settle in, focus and do this! The plan Paul and I had discussed was to do Test Card #2 and get me comfortable with the avionics.
The Real Deal
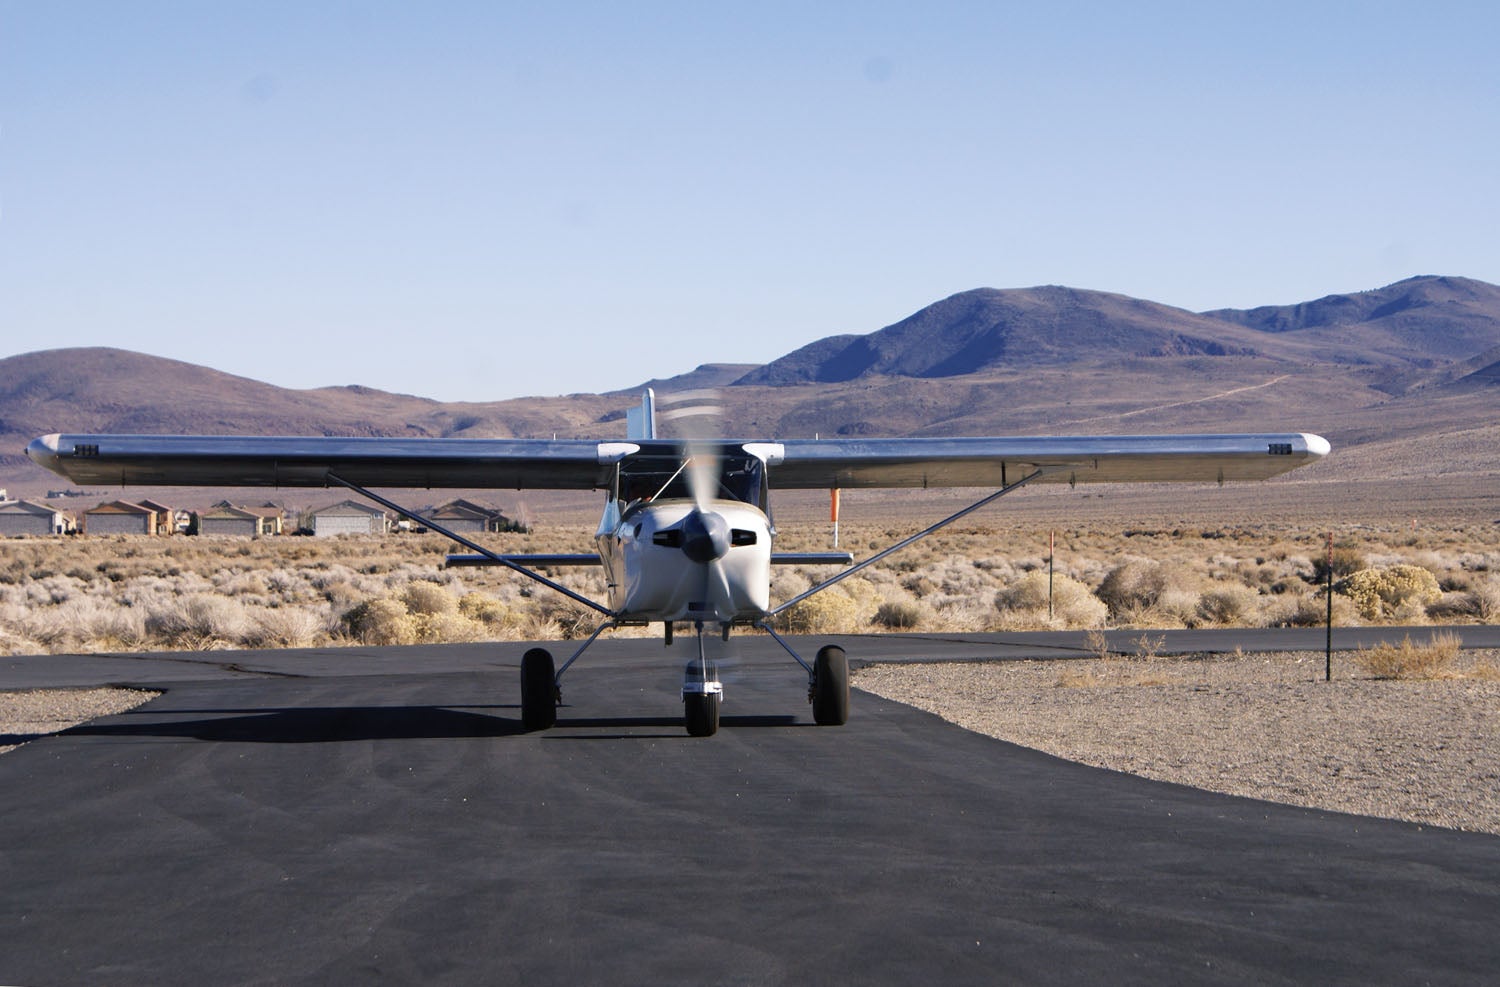
On my first pre-solo flight, we took off way faster than I was used to. I was amazed at the short ground roll, even with the two of us in the airplane. When we got to altitude, Paul had me practice slow flight at 70 mph by holding altitude and then accelerating back to maneuvering speed. We then did some steep turns and a few stalls (buffet, mush controls, no real drop-out at 49 mph) that showed the S-21 regained flying speed rapidly by dropping the nose. We also did a simulated landing in the sky to get the feel prior to the real landing. During this time, I was getting used to seeing other traffic on the GRT displays and had begun to learn where to find the altitude and airspeed information, among other things. It was all coming together.
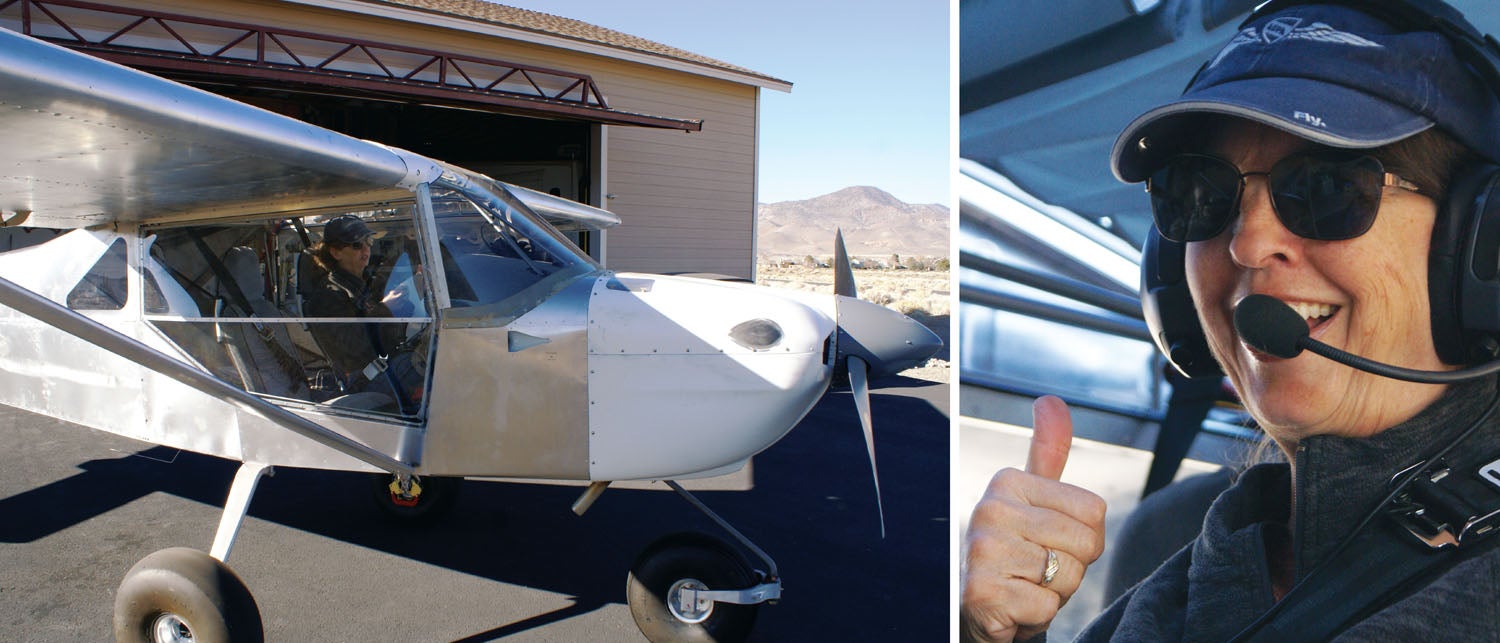
After about 45 minutes of flight, Paul was comfortable with my progress but wanted me to practice some landings prior to letting me loose. We did a few at the home airport, and I was happy to see that the S-21 was stable and confidence inspiring. Even better, it felt much like the factory’s S-21 that I trained in with RANS founder Randy Schlitter. No big surprises. With a few more landings completed, Paul gave me the thumbs-up to fly solo and suggested that I go out that afternoon after having some lunch.
And Now Solo!
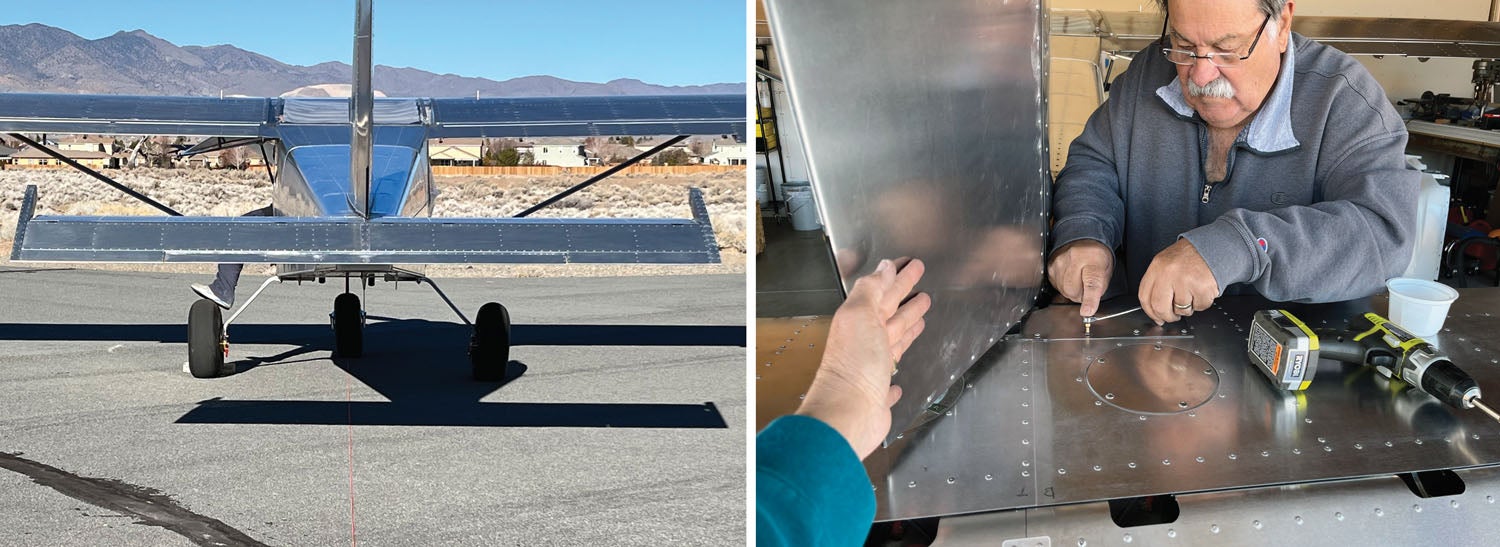
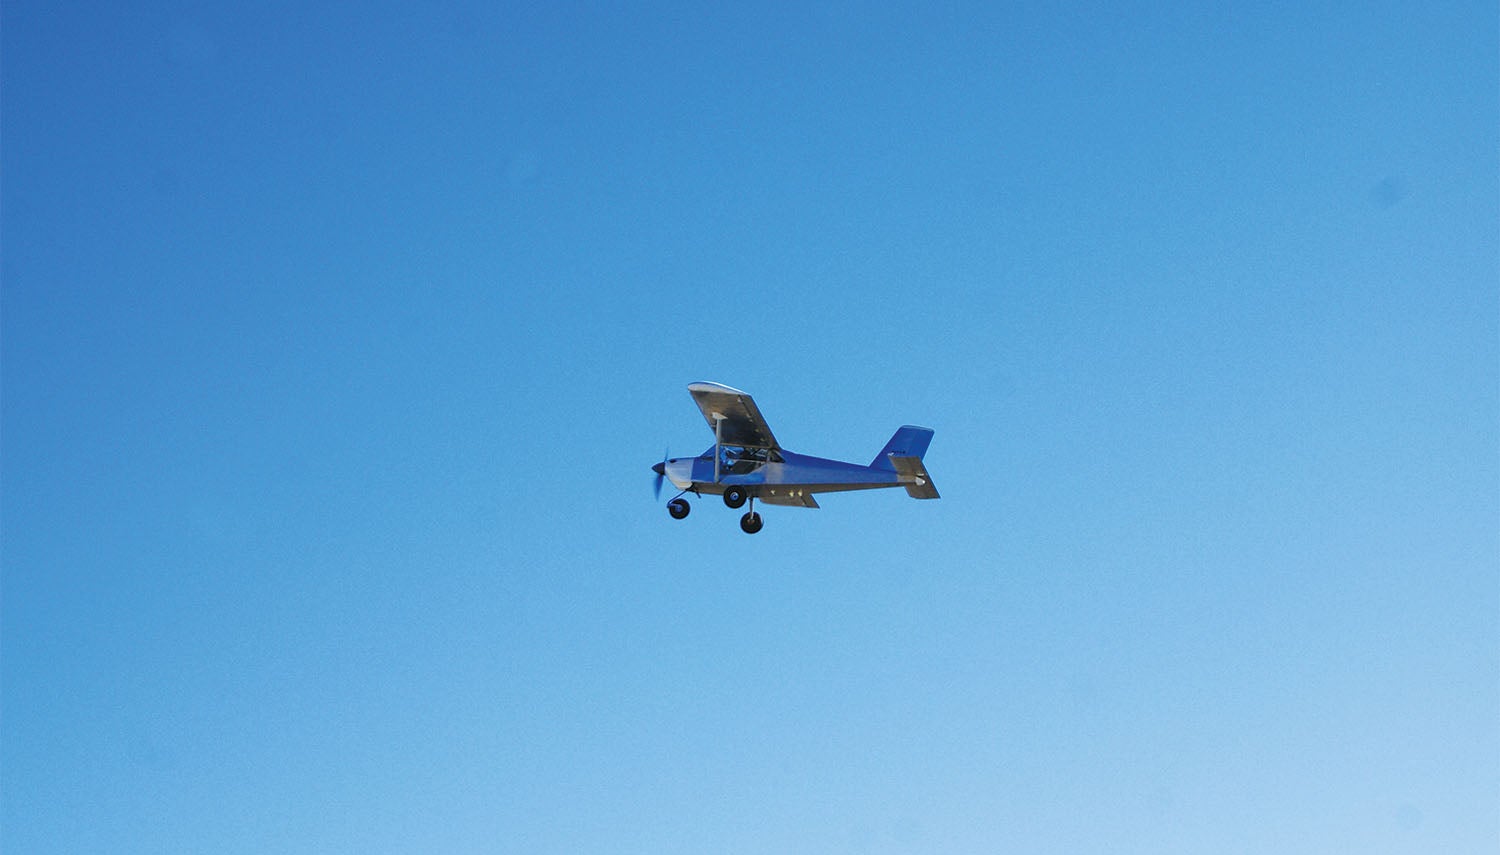
Finally, it was time to fly the plane by myself. I took Paul up on his suggestion to roll the plane out on the runway far enough to make sure the nosewheel is pointed in the right direction, come to a complete stop, hold the brakes, apply full throttle and go. It worked great and I was off in less than 500 feet. Here I was at last in the plane, alone and flying. I planned to just review the maneuvers that we had done that morning and that was exactly what I did. Once again, no surprises and it felt really solid in flight. The panel was still a bit overwhelming for me, with way more information than I am used to looking at!

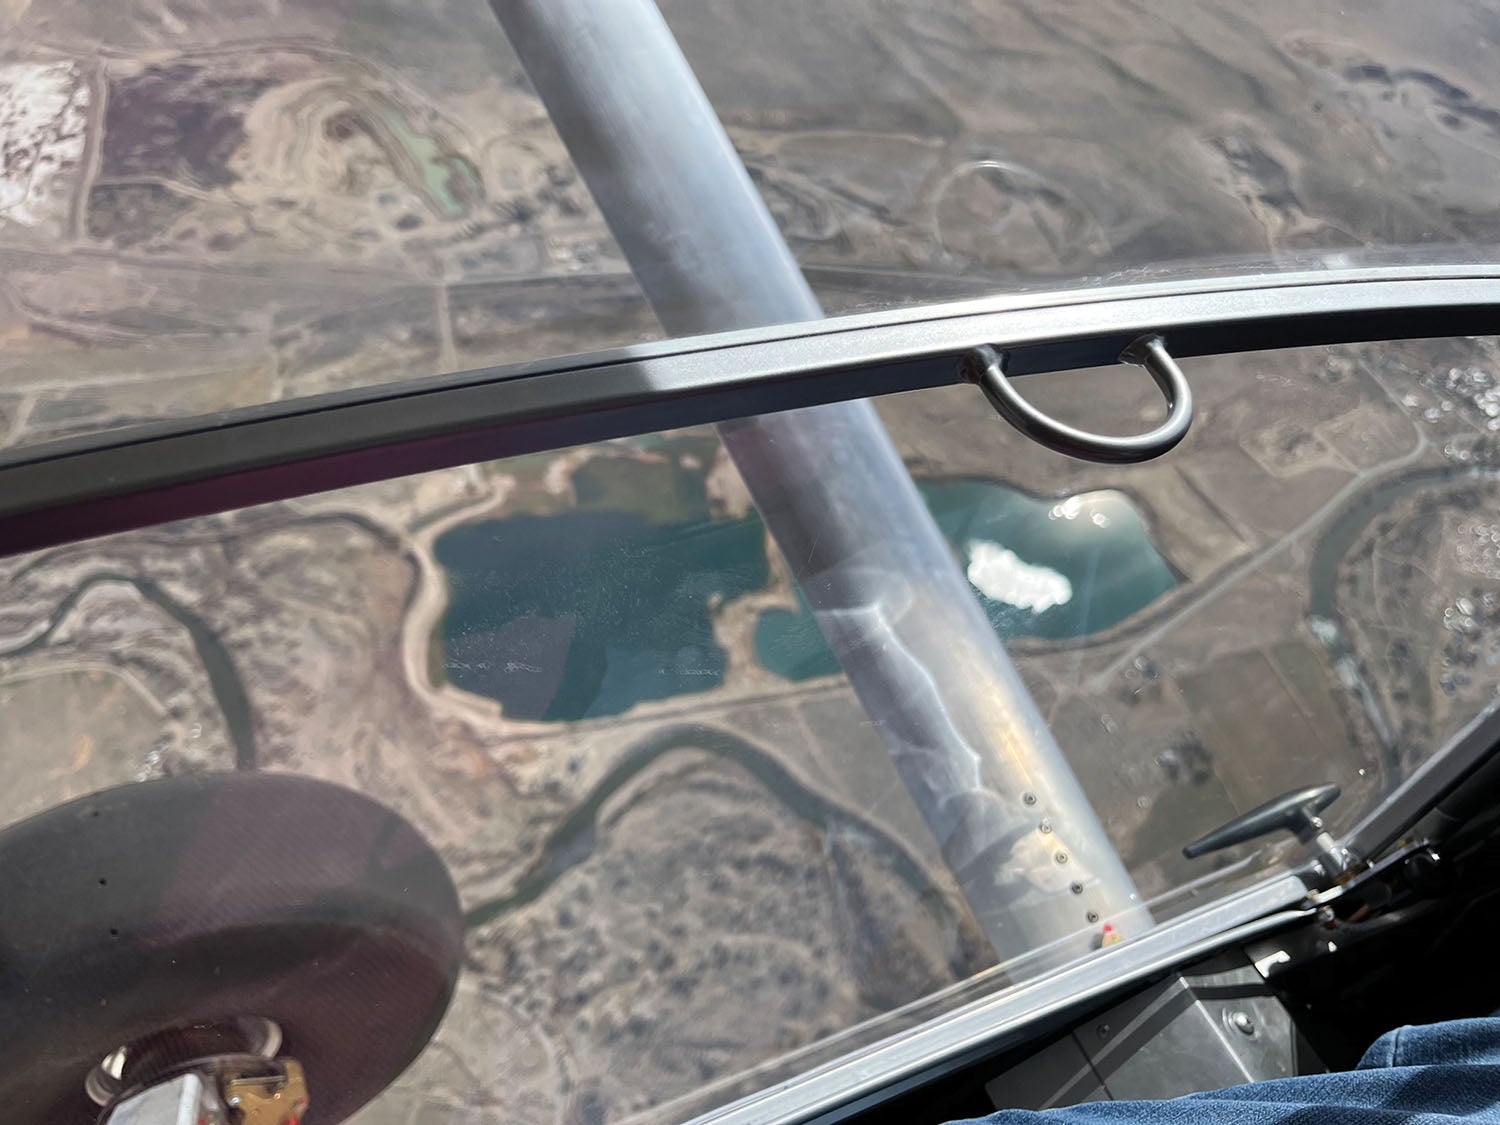
We were grounded for a few weeks because of the weather. My next flight picked up a few items on another test card, with me getting more comfortable with every minute. There was one more flight on January 10 where I did some maneuvering over a local dry lake bed and flew toward the south from there and just spent time at different speeds and turns, changing altitude and getting more familiar with the plane—this wasn’t on the test card but maybe should be. Mike took the plane out a few times after this and by this time we had just over 17 hours on the plane.
I learned during the Phase I time that a to-do list does not end with the completion of the build. The only way to really track things as they arose and needed attention was to create a new checklist. One item was getting the magnetometer calibrated. Fortunately, an engineer neighbor had recently built a plane and needed to dial in his magnetometer. In doing so, he had left screws in the ground just off the taxiway, making a sort of homebrew compass rose.
Grounded
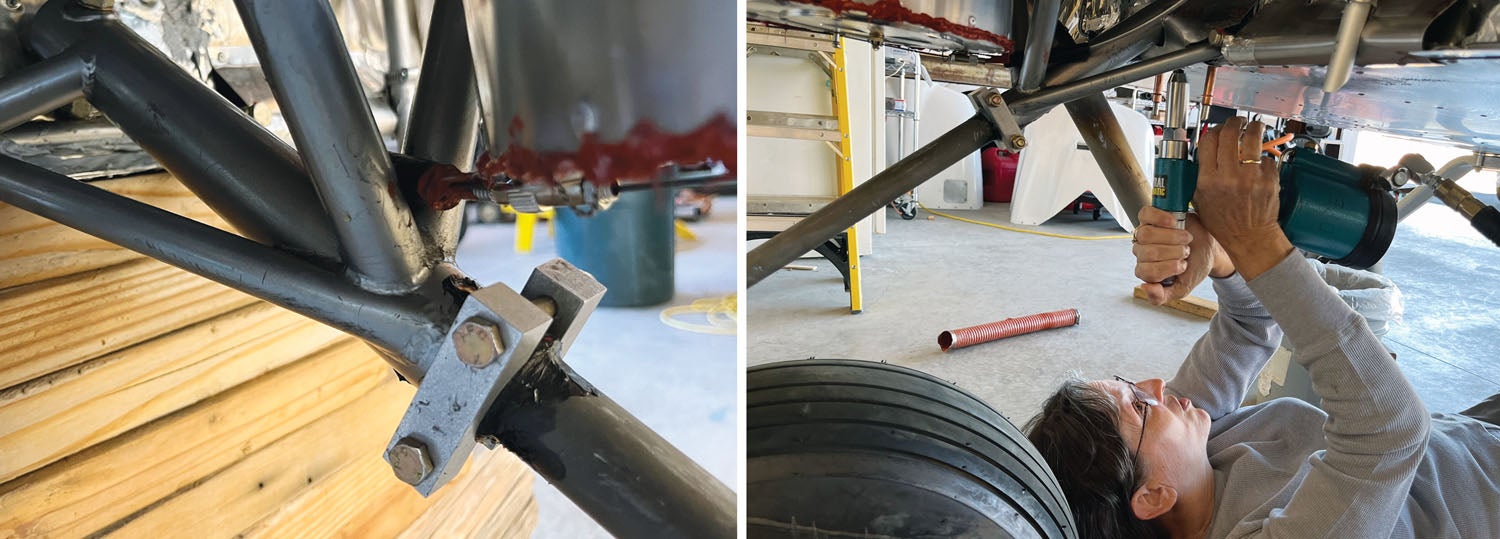
Our progress was slowed by an airworthiness directive issued by RANS. (Yes, it’s true that only the FAA can technically issue an AD, but RANS calls this update “AD: 141” and says it’s mandatory. Semantics aside, it’s good that RANS recognizes areas that need improvement and provides guidance.) RANS’ AD: 141 calls for an upgrade of the pinning bolt and clamp in the nosewheel assembly. We were assured by the factory that there would be replacement parts and instructions sent out to all trike owners as soon as a fix was identified and replacement parts could be fabricated.
In early February during this “time of rest,” Mike noticed that battery #1 had died. Mike wasn’t sure of the cause other than it had been sitting for a long time before we started using it in the plane.
I wanted to be the one to log that I had done the battery replacement, so he walked me through the process with advice like always remove the ground cable first and reinstall it last (and why it is important to do so). Afterward, I signed it off in the logbook. Another milestone—my first airframe log entry.
We were able to get another small repair done during this downtime. A RANS friend had flown up from Minden to visit and noticed that the rudder was rubbing on something when he moved it. We investigated and found there was a small bolt on the bottom of the rudder that was rubbing against the horizontal stabilizer trim piece. We had to remove the close-out between the vertical and horizontal stabs and cut the hole a bit bigger. That thing is a bugger to get on and off, but now the rudder is no longer rubbing.
Repair Plan
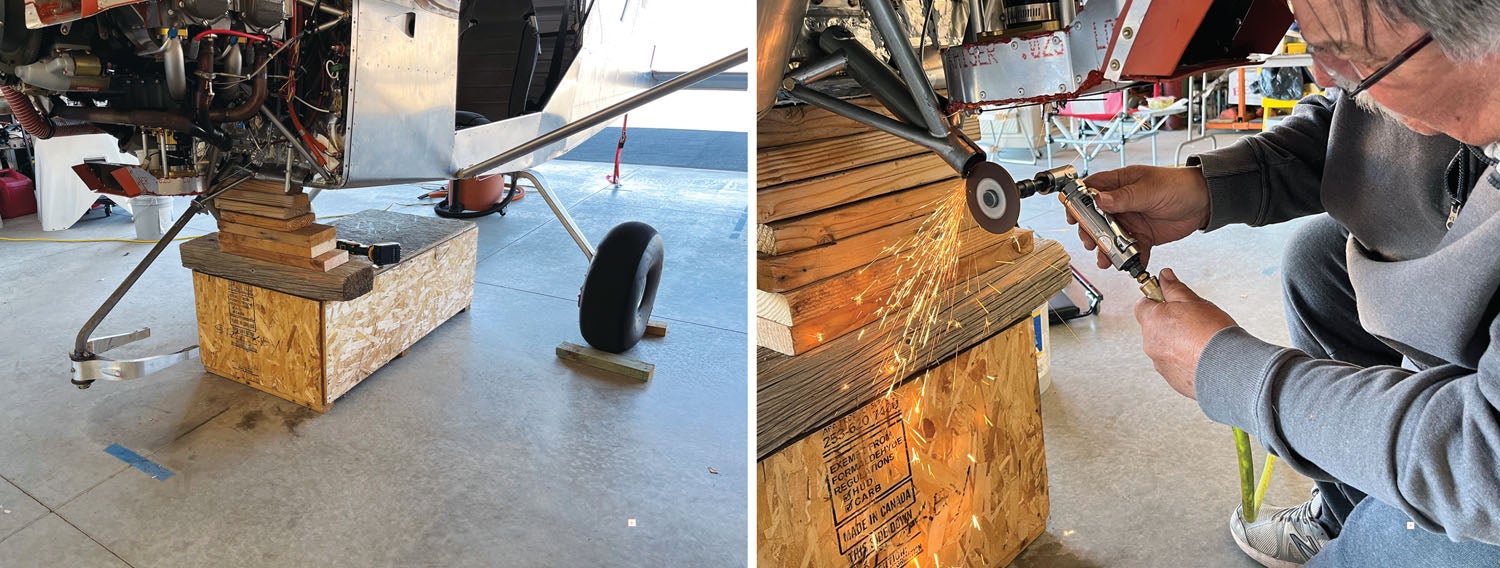
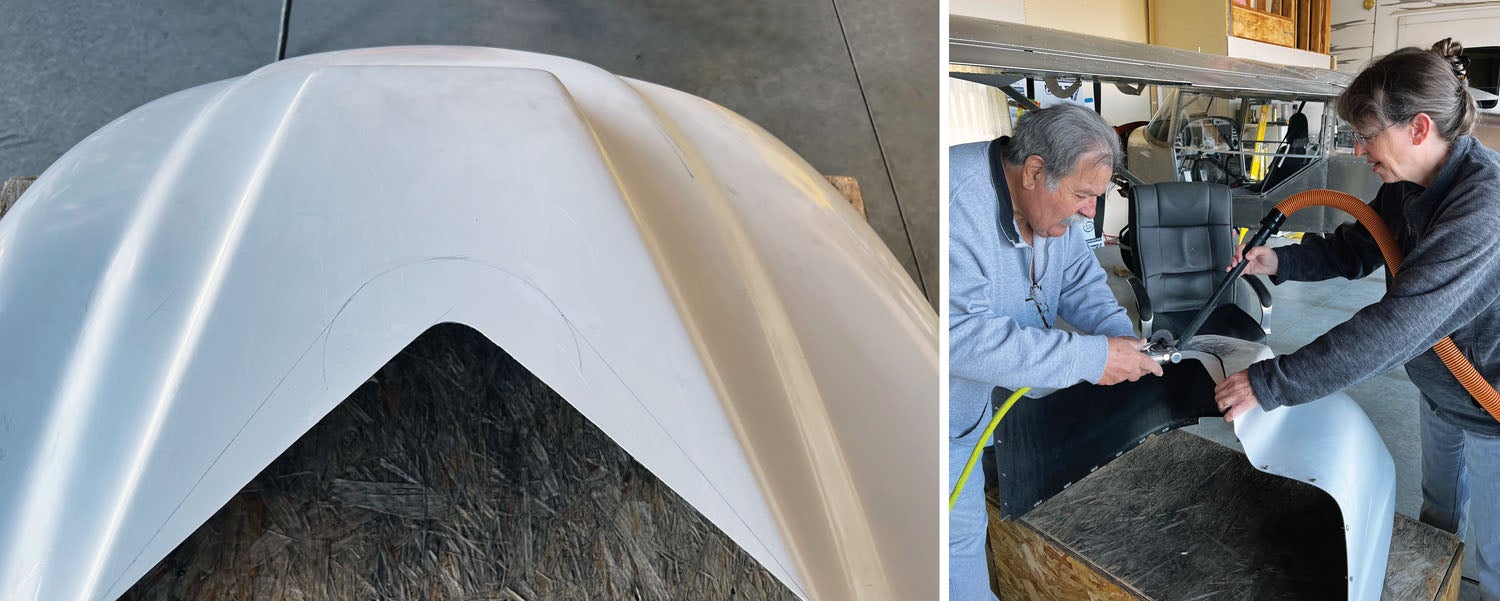
Being grounded gave Mike plenty of time to plan the nose gear fix. The main problem was that the bolt on the upper part of the nose gear was going to have to be drilled out from ¼ to ⅜ inch. Unfortunately, there was no way to get a straight shot to the hole, and the painful conclusion was that the nose gear would have to be removed from the airplane. Finally, on February 25, we received the parts from the factory and by March 3 we were back in business with the repair done.
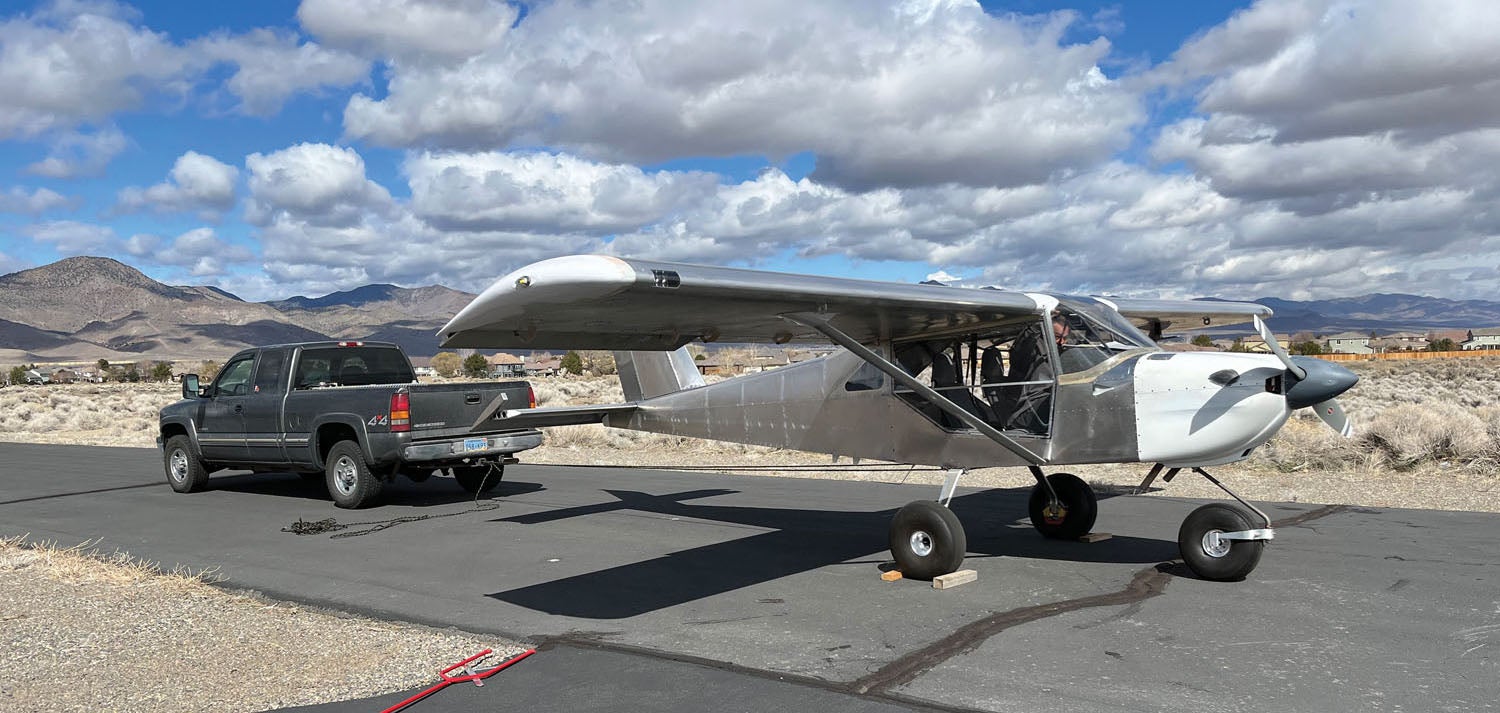
It was finally time to get the SDS electronic fuel-injection and ignition system dialed in. Once we understood where to look in the screens in the engine control unit (ECU) and what button to push to make the necessary adjustments, we were good to go. We had the plane tied down to the truck on the taxiway behind our hangar, Mike was in the pilot seat controlling the plane and I was in the copilot seat assisting with taking notes and letting him know the targeted air/fuel ratio (AFR) for each combination of engine speed and manifold pressure. The first day we were able to successfully set the AFR from idle to 2000 rpm but had to abort finalizing the settings due to high CHTs. Two days later, we were able to get the remaining settings.
On March 7, Mike was able to take the plane up and evaluate that the SDS system was working as expected. Mike tested the lean of peak (LOP) operation as well. When switched on in cruise, the system leans for good economy. Mike made sure it ran smoothly and the temperatures were fine. It seemed to be right on, with the results as expected.
With the changes verified by Mike, I was extremely anxious to get back to flying. Mike had in the interim reduced the idle speed because it had been too fast, so when I was doing the run-up, I noticed that the idle was too low and nearly stalled the engine (it dropped clear down to 400 rpm) and I had to be careful to remember on landing not to pull the throttle all the way back for fear of having the engine stop on me.
I cut the flight short anyway because it was too windy to do any testing (you want to get reliable data) and it is really not enjoyable to be bouncing all over the place. Another reason it’s important to pick the right flight-test days. If you go when it’s marginal, chances are good you’ll just have to do it over anyway.
While he had the cowling off to adjust the throttle stop, Mike made an administrative decision to adjust the throttle back up a bit. While he was at it, he cut more off the lower cowl outlet so it’s closer to what is now recommended by the factory for the S-21. Mike has had to make many modifications to the cowl to dial in the CHTs to his satisfaction, but I believe he is finally getting there. I have learned that this is an issue that many builders have to address for each airplane, especially those that stray from the standard configuration.
Back on the Test Cards
Over the next few weeks, I was able to complete more test cards. Some Mike had already done but I wanted to try myself. There were times that I went out and could not test due to turbulence, and there were times when I could only do part of one test card and another part of it the next day. Testing does not always go as planned and you have to be willing to delay if things are not going right.
Mike talked to Paul about doing the accelerated-stall series. Neither Mike nor I was comfortable with them, so Paul once more kindly volunteered to complete this test card for us. On March 18, Paul took the plane up and completed the configurations, speeds and 30° turns to the right and left in each configuration. He noted that the stick force was always positive and there was never a reversal of controls. During the postflight brief, he said it was very benign testing. He did notice that EGT #4 was erratic and wanted Mike to check the sensor wire.
Over the next week, Mike took the plane up several times. He got it up to 16,500 feet and it was still climbing at 300 fpm. He figured that was high enough. The portable oxygen system was working fine. He also had a chance to further test the autopilot.
Mike wanted to wait to do the test card calling for determining Vx and Vy (best rate and best angle of climb speeds) until after our 40 hours and I could be in the cockpit with him recording while he just flew the plane. Being bullheaded as I am at times, I set out on April 1 to attempt to do that test card. It was a beautiful morning so I got up early to have the best opportunity at calm air, got clear out over Yerington (about a 20-minute flight to the southeast of Dayton) and discovered I didn’t have my phone for timing the 30-second intervals used to record data during the climbs!
I flew back home, picked up my phone, got clear back out to Yerington, and discovered that this was not an easy test to do on my own! I believe it could be called poor cockpit management! I would get the speed for the climb set, get my stopwatch on my phone started, record and then the phone blacked out. I couldn’t figure out how to get it to stay on. I knew it had to be in settings. After messing around with it for a while, I just finally said forget it!
Mike took the plane out for a jaunt to Hawthorne (about a two-hour round-trip flight but still within our Phase I test area) with the excuse to go get some cheap fuel and test the autopilot some more. When coming in for a landing, he did a go-around that I thought was a bit suspicious because he was lined up just fine.

Turned out that when he landed and rolled up the ramp at home, the hours on the plane were exactly 40.0!
We finally got to use that Phase I completion sticker that our DAR had preprinted for us, pasting it into the aircraft logbook and writing these words: “I certify that the prescribed flight test hours have been completed and…” Well, you probably know the rest. Still, what a wonderful feeling of completion and accomplishment!
Even so, we were not done: We removed the cowl and inspected the engine area for any signs of wear or anything unusual. We went ahead and readjusted the way the wiring was bundled on either side of the engine where the rough skin protecting some of the sensor wires was rubbing against some other wiring and showing some wear. Other than that, everything looked really good.

The following morning, we went out together to breakfast at our favorite little local airport breakfast spot in Minden, Nevada, to celebrate with a few friends from the airport. It was cool to finally be able to fly together in the plane. Mike flew over and I flew back.
Repair Person
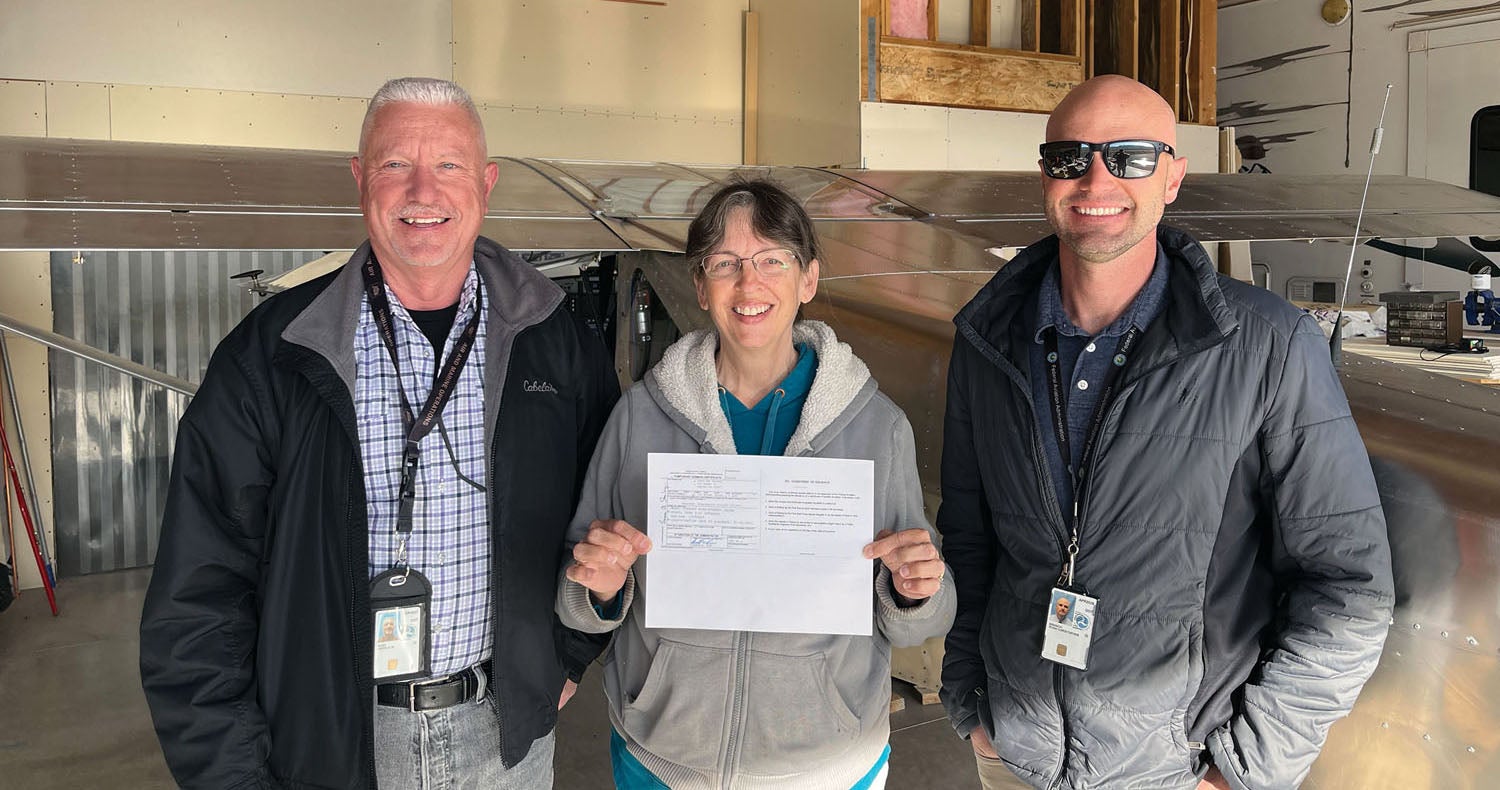
The icing on the cake was on April 6. We had a visit from two FAA employees from the Reno FSDO who came over to the hangar, inspected the plane, reviewed the build manuals, asked me some questions and issued the repairman certificate. To me! Mike wanted me to be the named person on the certificate due to my being 10 years younger; the certificate follows only one person for the life of the plane. I was nervous about them visiting, but it all went well and they loved the S-21. Now we get to look forward to John Stahr coming over to paint our RANS S-21. This is not the end of the story by any means.


Thanks for the great report on your flight progress.
In looking closely at the pic of the panel, the GRT-2 is showing a 13.7 volts. Normal voltage is regulated at 14.0 to 14.2 volts, for a lead-acid battery. I don’t know if the a/c may have a lithium battery..?
I’m currently in phase 1 testing at around 25 hours in my Zenith 750 Stol, I Have my EAA test Cards but not sure if I really like how they are set up, For my plane with an Auto engine conversion a lot of the card gets filled in with NA. I think it would be better to have an automated generated test card where you could select if you have things; like constant speed props, flaps, retractably gear and such. And yes I agree with you about finding some place safe and “and just spent time at different speeds and turns, changing altitude and getting more familiar with the plane” I think that should be about the second card in after the madden. And maybe repeated several times as some of my flights where I planed to do one test card but winds and turbulence get in the way. It is hard to test lateral stability when your head is bouncing off the canopy.
Great report Laura! Looking forward to the trip reports too 🙂
Safety wise -be sure to have Mike wear side shields on the glasses when cutting/grinding. I have a sliver pulled from my eye to validate that.
Comments are closed.